Tape Measure for Woodworking: 5 Smart Picks That Prevent Costly Mistakes
Tape measure for woodworking matters because most fit problems start as measuring problems. A tape can be accurate on paper and still cause gaps if the hook is loose, the blade is hard to read, or your method changes from cut to cut. This guide breaks down the tape features that help in a wood shop, the lengths that make sense, and the measuring habits that keep parts consistent. I’ll also show a quick accuracy check and simple care steps that stop a tape from turning into a liar.
When you’re rounding out your kit, my guide to basic woodworking tools for a small shop helps you choose layout and cutting tools that pair well with a tape.
What makes a tape measure good for woodworking?
A tape measure works well in woodworking when it reads fast, stays consistent at the hook, and behaves predictably when you lock it and mark a line. Woodworking is full of close tolerances, and the tape has to support layout, not fight it.
Look for these shop-friendly traits:
- Clear graduations: High-contrast marks and legible fractions or millimeters reduce misreads under shop lighting.
- Stable lock: The blade should not creep when you press a pencil to the mark.
- Controlled rewind: A smooth return protects the hook and reduces blade kinks.
- Comfortable case: A tape that sits well in your hand is easier to hold flat on a board edge.
- Blade stiffness that matches your reach: You want the blade to stay straight across a bench or sheet without collapsing.
Read next: Combination Square and Speed Square Comparison
What length tape measure should a woodworker buy?
A 16-foot or 25-foot tape covers most woodworking because it handles cabinet parts, furniture components, and sheet goods without becoming clumsy. Shorter tapes feel nimble at the bench, but they run out of reach when you measure plywood or long rails.
Use this as a practical match:
- 12-foot to 16-foot: Small furniture, boxes, jigs, and quick bench measurements.
- 16-foot to 25-foot: Cabinet work, sheet goods, and general shop tasks.
- 25-foot and up: Built-ins, room layout, and install work where you measure walls and openings.
If you cut a lot of plywood, it also helps to understand real panel sizing and thickness. My guides to plywood sheet sizes chart and plywood thickness chart can save you from planning around “nominal” numbers that do not match the sheet in front of you.
How do blade width and standout affect shop accuracy?
Blade width and standout affect accuracy because a blade that collapses or twists is harder to hold on a true line. In a shop, you often pull a tape across a bench, across a panel, or along an edge while you mark with a pencil or knife. A stiffer blade stays flatter, which keeps the reading square to the edge.
Pick a blade that feels stable for your most common measuring distance. If you mainly measure parts under 36 inches, you can prioritize a smaller, lighter tape with good readability. If you often measure sheet goods alone, a stiffer blade becomes more useful.
Which tape markings are easiest to read for woodworking?
The easiest markings to read are the ones you can interpret without pausing. In woodworking, that usually means clean fractions in imperial work or crisp millimeter marks in metric work.
What helps in real shop use:
- Bold foot marks or major increments: Faster navigation when you measure long stock.
- Consistent fraction layout: Clear 1/16 marks if you work in inches.
- Double-sided printing: Helpful when you hook the tape and read from above without twisting your wrist.
- Matte blade finish: Reduces glare under overhead lights.
If you find yourself squinting, you will start rounding numbers. Rounding is where gaps are born.
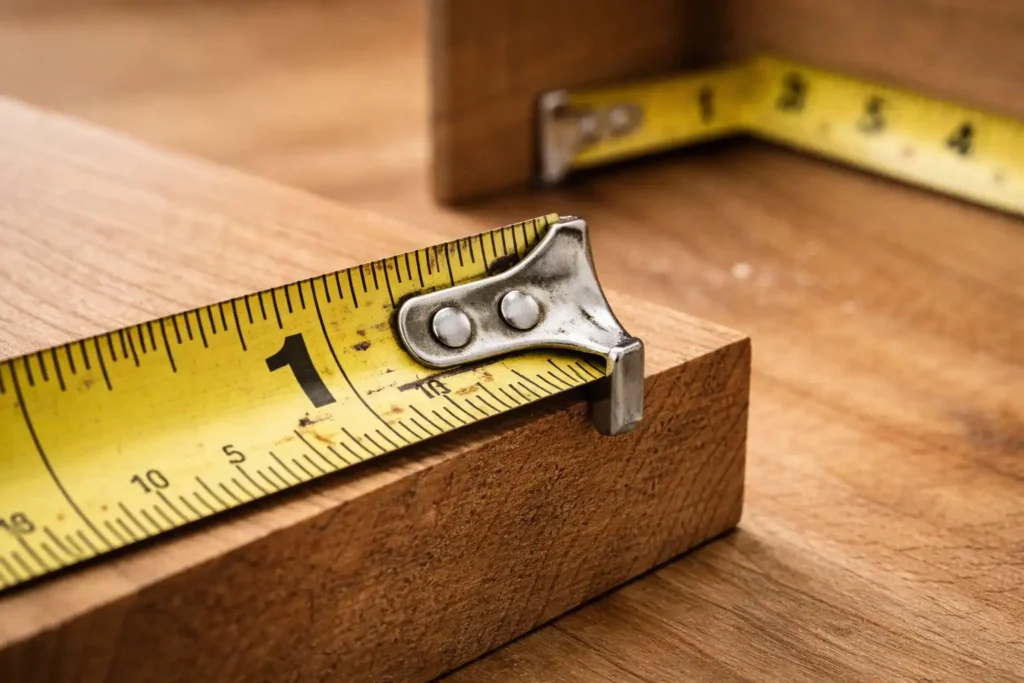
Why does the end hook move, and is that a problem?
The end hook moves by design because it has to account for its own thickness when you measure inside versus outside. When you hook an outside edge, the hook pulls outward. When you push into a corner, the hook compresses inward. That movement keeps the measurement consistent when the hook stays tight and straight.
It becomes a problem when:
- The hook is bent from drops.
- The rivets loosen and the hook rattles.
- Sawdust packs under the hook and changes how it seats.
In those cases, the tape can “shift” enough to matter on joinery parts.
How do you check a tape measure for accuracy in the shop?
You check a tape for accuracy by comparing it to a known reference and confirming repeatability at a few common lengths. The goal is not theoretical perfection. The goal is a tape that gives the same result each time you measure the same distance.
Do this in order:
- Use a reliable reference. A quality steel rule or the rule on a trusted combination square works well.
- Check multiple points. Verify at 1 inch, 6 inches, 12 inches, and 24 inches (or 25 mm, 150 mm, 300 mm, and 600 mm).
- Test both directions. Pull the hook on an outside edge, then push the hook into an inside corner.
- Repeat the same measurement. If you get different readings with the same setup, retire the tape to rough work.
If two tapes disagree, trust the one that matches your rigid reference.
How do woodworkers avoid hook error on fine measurements?
Woodworkers avoid hook error by “burning an inch” and by using fixed references for repeat cuts. Burning an inch means you start your measurement at the 1-inch mark instead of the hook, then subtract 1 inch from the final number. This bypasses hook play and keeps your mark based on a printed section of the blade.
Here’s how it looks in practice: if you need 18 inches, align the 1-inch mark at your starting edge and mark at 19 inches.
For repeat parts, a stop block or story stick beats a tape every time. You measure once, then you copy the physical reference.
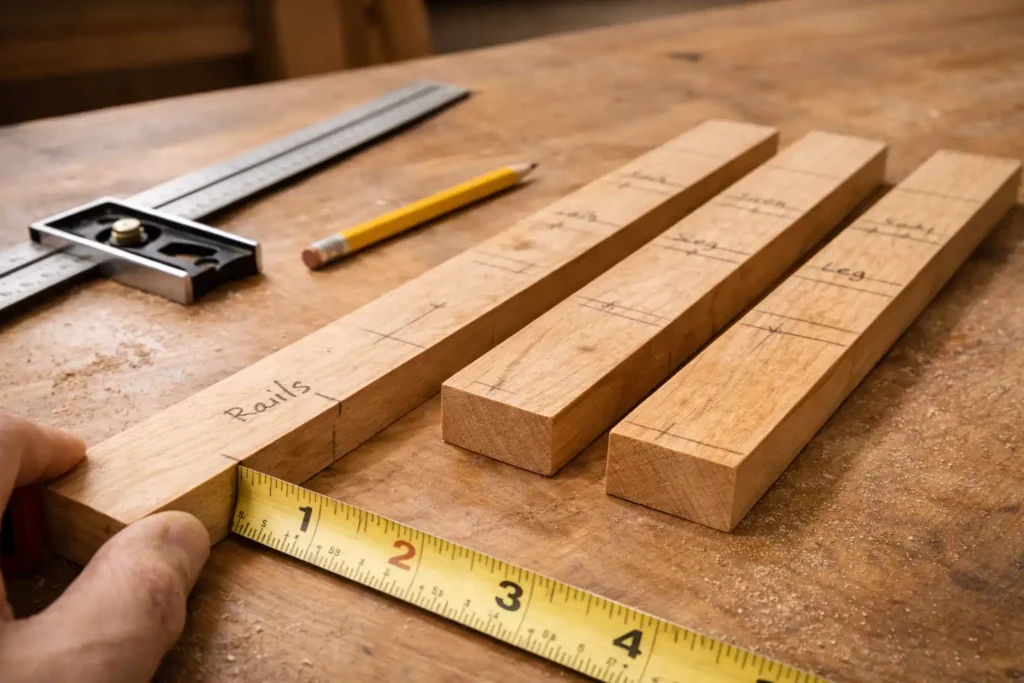
How should you hold a tape measure when you mark a board?
You should hold a tape measure flat to the work and lock the blade before you mark. A tape that floats or twists changes the reading because you are no longer measuring from a straight line along the edge.
Use this shop routine:
- Seat the hook or starting mark firmly on the reference end.
- Pull the blade straight along the edge you trust.
- Lock the blade.
- Put your eye directly over the graduation.
- Mark with a sharp pencil or marking knife.
- Square the mark across the face with a square.
That last step matters. A perfect tick mark does nothing if the cut line is not square to the edge.
When should you use a tape versus a rule or square?
You should use a tape for rough sizing and longer spans, and use a rule or square for short layout and joinery. Tapes excel at speed over distance. Rigid tools excel at stability and repeatability on small parts.
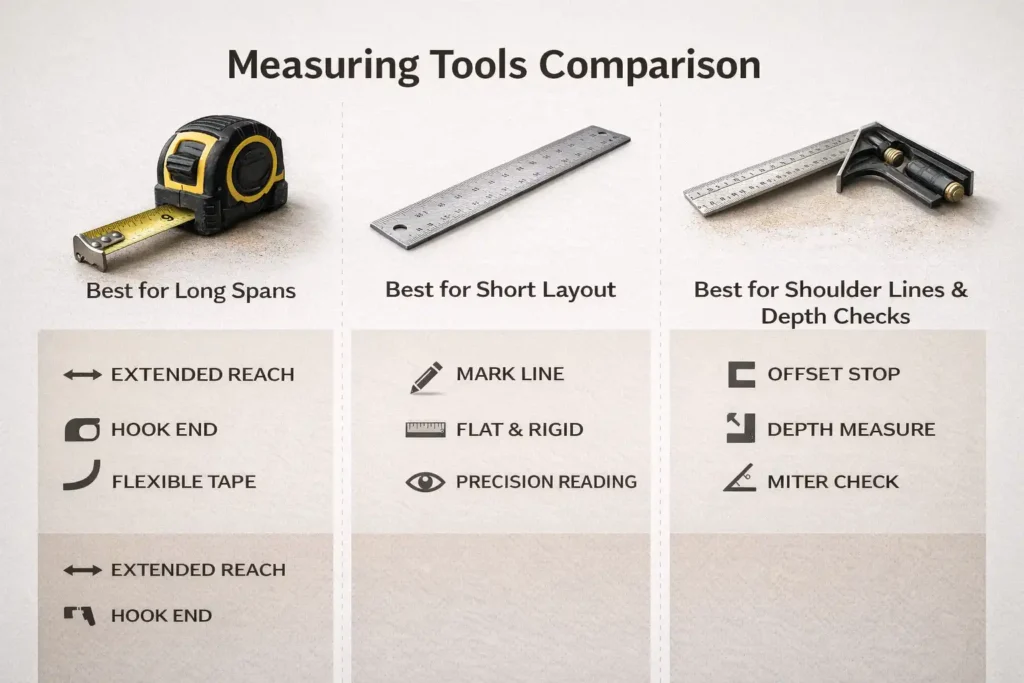
A practical split in a wood shop:
- Tape measure: Breaking down lumber, rough cut lists, sheet goods, room checks.
- Steel rule: Layout under 12 inches, hardware offsets, small part fitting.
- Combination square: Shoulder lines, depth checks, consistent offsets from an edge.
If you are building cabinets, you will use both systems constantly. The tape gets you close, and the rigid tools keep the layout crisp.
Should you use imperial, metric, or a dual-scale tape?
You should use one measurement system per project because consistency prevents math errors. Imperial fractions work fine when your plans and hardware are in inches. Metric works well when you want simple math and clean increments.
A dual-scale tape can help, but it also invites mixing systems when you are tired. If you do switch systems, do it at the planning stage, not mid-cut.
What tape features help when measuring plywood and sheet goods?
The most helpful features for sheet goods are a blade that stays stiff across a panel and markings you can read while standing over the work. Sheet goods are big, and most mistakes happen when the tape sags or the blade twists away from the edge.
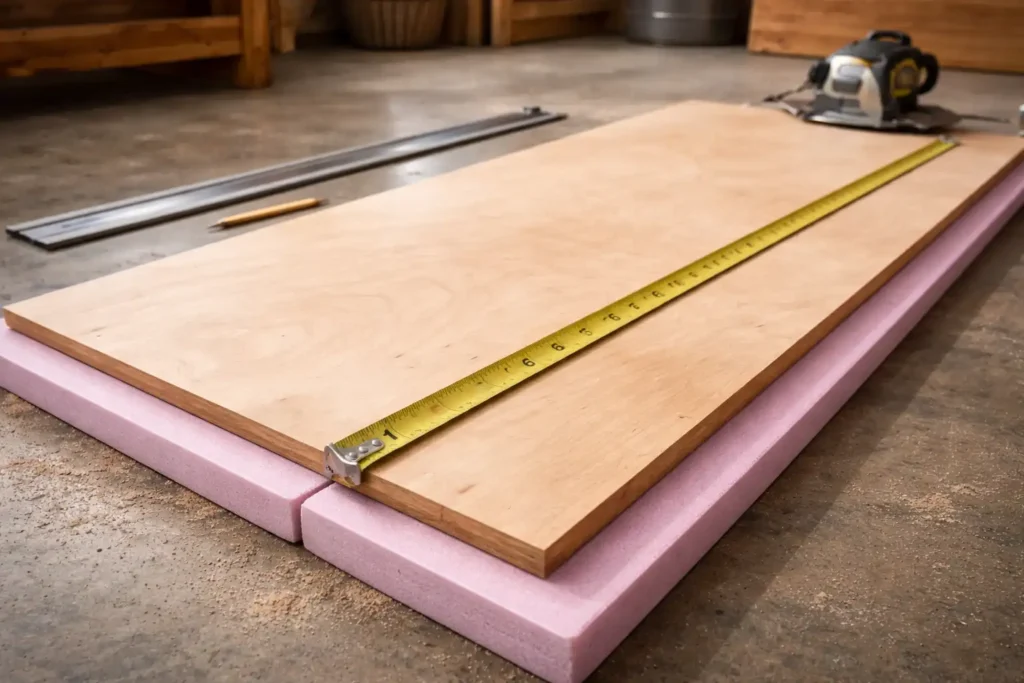
These habits also help:
- Support the sheet on foam or a cutting table so the tape lies flat.
- Measure from a factory edge you trust, then mark both ends of the cut.
- Connect marks with a straightedge or track, not by “eyeballing” the line.
If you prefer having the store make the first rough cuts, my guide on where to get plywood cut to size can help you plan around what most shops will and will not do.
How do you keep measurements consistent across a whole project?
You keep measurements consistent by using one reference face, one reference edge, and one measuring tool for the cut list. In woodworking, the tape is only part of the system. Your method controls the outcome.
These shop rules hold up:
- Reference from the same end. Do not flip boards back and forth and expect identical parts.
- Use story sticks for repeated lengths. Mark the stick once, then transfer the marks.
- Gang parts when possible. Cut matching parts together to reduce variation.
- Measure, mark, then cut. Do not measure from a moving fence setting unless you confirmed the stop.
If fasteners are part of the layout, accurate spacing matters. My guide on how to screw into wood cleanly covers pilot holes and seating so your parts pull together without shifting off your marks.
What are the most common tape measure mistakes in woodworking?
The most common mistakes are reading at an angle, letting the tape sag, and changing reference points between parts. None of those mistakes feel big in the moment. They show up later as drawers that rack and frames that fight clamps.
Watch for these problems:
- Reading the blade from the side instead of straight above the mark
- Pulling the tape across a gap so it bows and shortens the reading
- Measuring inside corners without confirming the hook seats fully
- Using the hook on fine layout when the hook is loose
- Copying measurements instead of copying parts or stops
A tape is a tool for decisions. If you do not trust the decision, do not cut.
How do you maintain a tape measure in a wood shop?
You maintain a tape by keeping dust out of the case, retracting it under control, and protecting the hook from impact. Fine sawdust can work into the lock and spring. Snap-back rewinds beat up the hook and curl the blade.
Keep it working with these habits:
- Wipe the blade after dusty sessions and before you store it.
- Retract the blade with your hand guiding it, not by letting it whip in.
- Inspect the hook for bends and packed debris.
- Do not use the tape as a scraper, pry bar, or clamp spacer.
If the blade kinks, the tape can still serve for rough layout, but it should not be your “standard” tape for joinery.
What should you look for when buying a tape measure for woodworking?
You should look for readability, a stable hook, and a lock that holds while you mark. Fancy features do not help if you misread the blade or fight the lock.
A quick buying checklist:
- Clear markings you can read without squinting
- Hook that feels tight and seats flat
- Lock that holds without slipping
- Smooth rewind that does not slam the hook
- Case size that fits your hand and work style
- Length that matches your common projects
If you buy one tape to keep as your shop standard, keep it near your bench and use it for your cut list and layout. That one choice reduces small differences that stack up over an entire build.
The Best Tape Measure for Woodworkers
Woodworkers usually do best with a tape that reads cleanly, locks without creeping, and has a hook that stays consistent. These five are solid “shop standard” candidates, each with a different strength depending on how you work.
1) Stanley FATMAX 25 ft Tape Measure (33-725)

Stanley FATMAX is one of the best measuring tape for woodworking in my shop list. A durable, easy-reading tape with blade coating and extra protection at the hook. It’s a good fit for general shop work where the tape gets handled a lot and needs to stay legible.
Pros
- Blade coating plus hook protection helps long-term wear
- Large numbers are quick to read
Cons
- Built for jobsite toughness more than fine layout feel
2) Milwaukee Wide Blade Magnetic 25 ft (48-22-0225M)
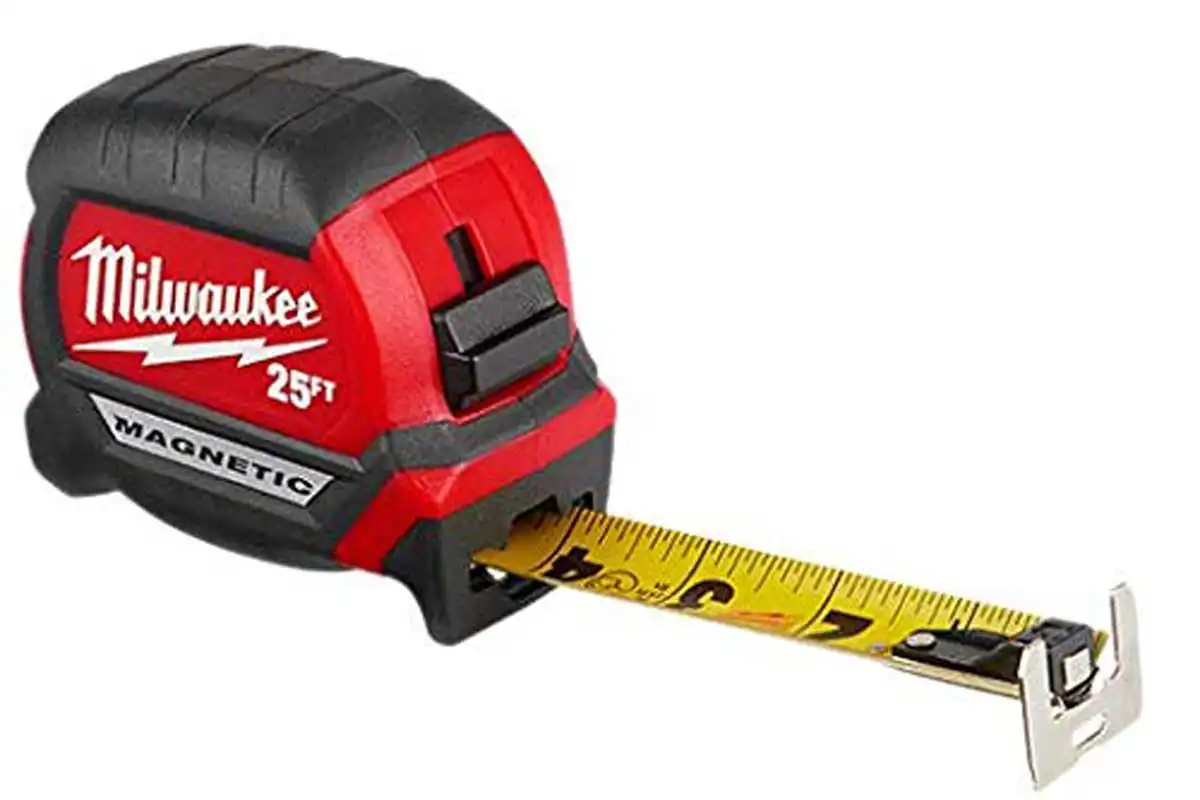
Wide blade and strong standout make this useful when you measure plywood or long parts alone. The magnetic hook is handy on steel setups but can be a nuisance around loose hardware on the bench.
Pros
- Straight standout design reduces blade arc on long pulls
- Nylon blade protection and reinforced frame aim at durability
Cons
- Magnetic hook can grab small metal bits unintentionally
3) Komelon Self-Lock 25 ft (Self-Lock Series)
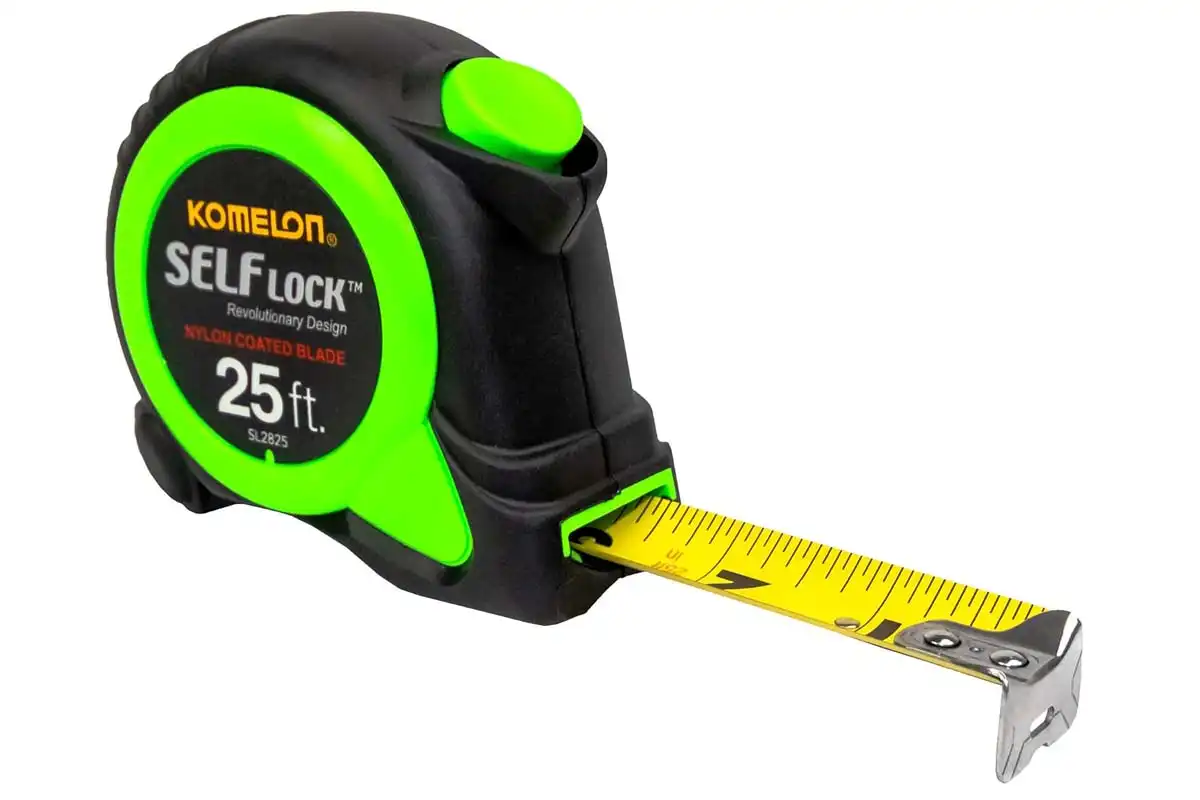
The self-lock mechanism is the main draw: pull it out and it stays put, which helps when you mark alone. Retract is controlled by a button, so it’s less likely to snap back.
Pros
- Self-locking blade supports one-handed marking
- Button-controlled retract helps prevent hook damage
Cons
- The lock style is different, and some woodworkers prefer a traditional slide lock
4) Tajima G-Series 25 ft Tape Measure (G-25BW)
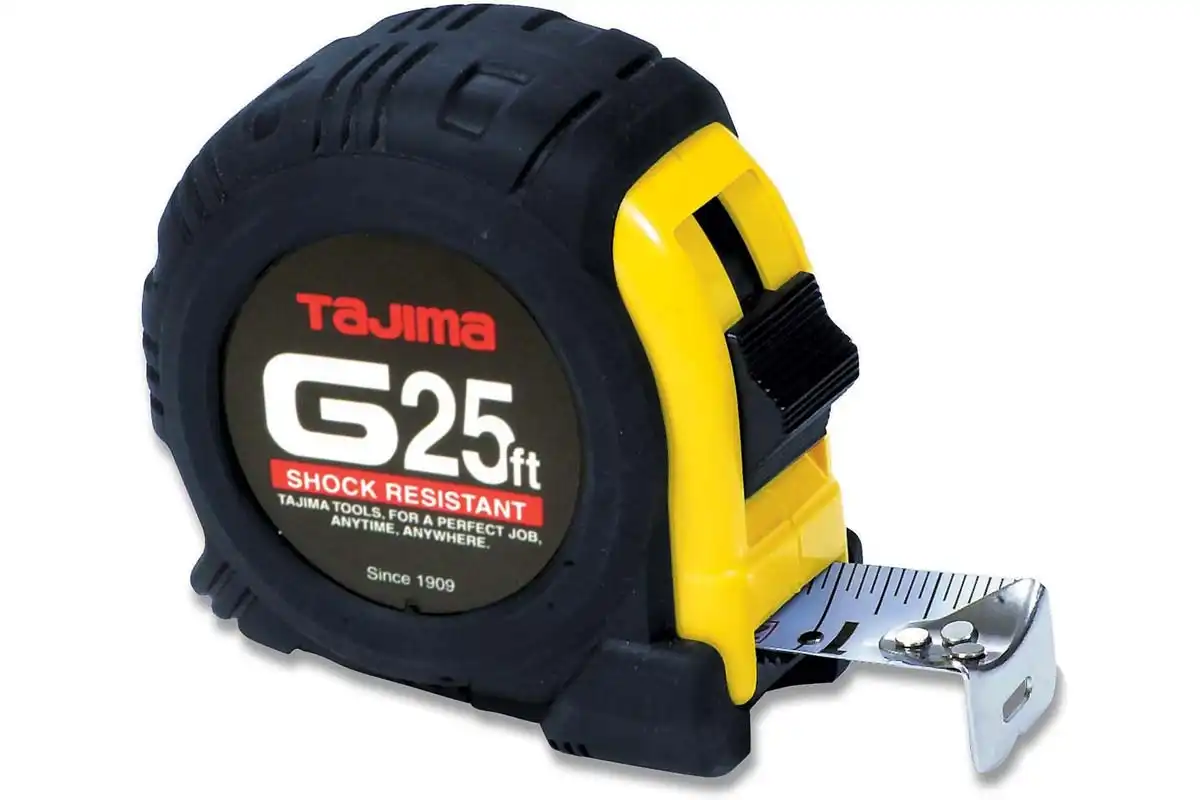
A tape aimed at accuracy and readability with a non-reflective coating and a sturdy, triple-riveted hook. It feels more “toolmaker” than “disposable,” which matters if you’re careful about layout and handling.
Pros
- Non-reflective coating improves scale readability under shop lights
- Triple-riveted hook and cushioned return protect the end
Cons
- Not marketed around huge standout, so it’s less specialized for long solo pulls
5) FastCap ProCarpenter (various lengths and scales)
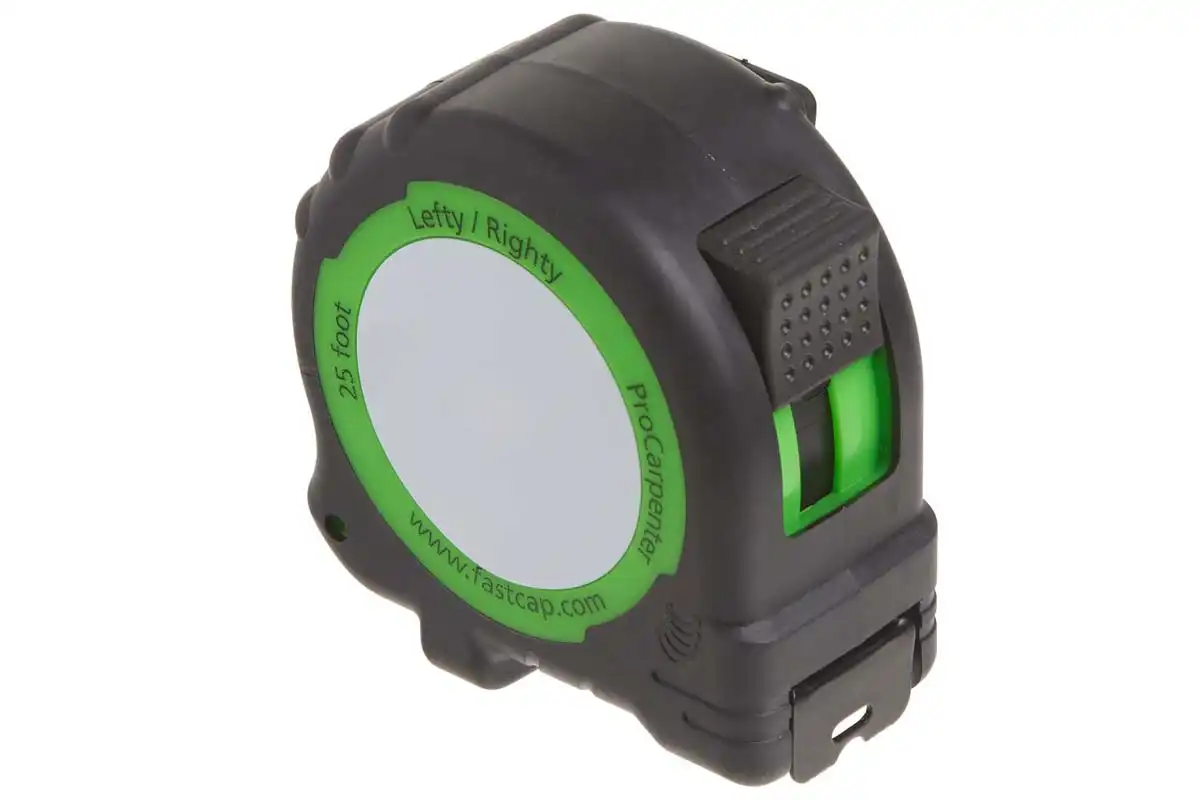
Built for people who lay out and cut all day. The standout features are workflow extras like an erasable notepad and pencil sharpener. It’s most useful when you actually use those features instead of ignoring them.
Pros
- Built-in notepad and pencil sharpener support fast on-the-fly layout
- Dual locking system and high-contrast tape help daily use
Cons
- Extra features add bulk if you only want a simple, compact tape
Final thoughts
Tape measure for woodworking is less about chasing a perfect tool and more about building a consistent measuring system. Choose a tape you can read quickly, confirm that the hook behaves the way it should, and use the same reference habits on every part. When a tape starts to drift, demote it to rough work and protect your standard tape for layout that affects fit. That approach saves lumber, saves time at the clamps, and keeps your work predictable.