How to Finish Walnut Wood: 7 Easy Steps for a Rich, Durable Glow
How to finish walnut wood is probably on your mind if you’re staring at a nice walnut board and worrying about ruining it. Walnut is one of those woods that almost finishes itself, but the way you handle it still makes a huge difference.
Over the years I’ve seen the right finish make walnut look deep and rich, and the wrong one leave it flat and lifeless. A lot of you message me saying you’re scared to “mess up” good walnut. I get it. It’s not cheap, and mistakes hurt, so let’s walk through it step by step.
What’s special about walnut wood and why finish matters
Walnut is open-pored, moderately hard, and naturally dark. That combo gives you three big things to think about:
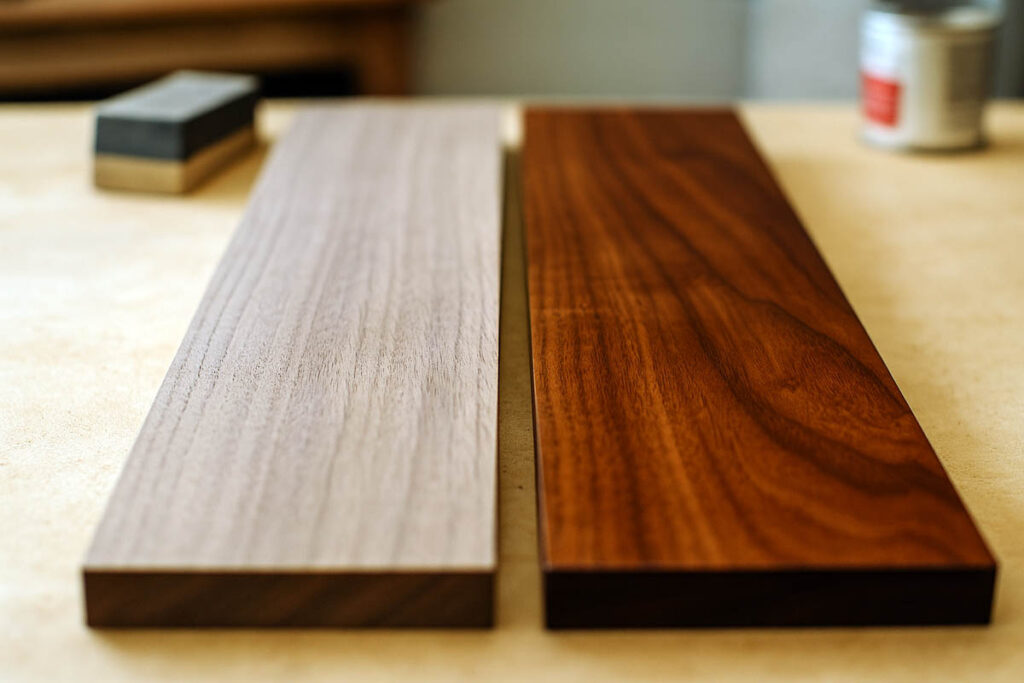
- Color and depth: Raw walnut looks a little gray and dry. Finish adds depth, contrast, and warmth. Oil especially makes the grain pop.
- Pores and texture: Walnut has visible pores. With a simple oil finish, you’ll feel the texture. With thicker film finishes, you can build a smoother, almost glassy surface.
- Durability and use case: A wall shelf doesn’t need the same protection as a dining table. If he’s building a desk he’ll use every day, he needs more protection than you need on a decorative box.
So before touching sandpaper or finish, you should decide what you actually want out of this walnut piece.
Step 1: Decide the look and use
Ask yourself a few simple questions:
- Is this piece high use (table, desk, countertop) or light use (frame, shelf)?
- Do you want it to look natural and matte, or glossy and “finished”?
- Do you care more about easy repair, or maximum toughness?
Here’s how I usually match the situation:
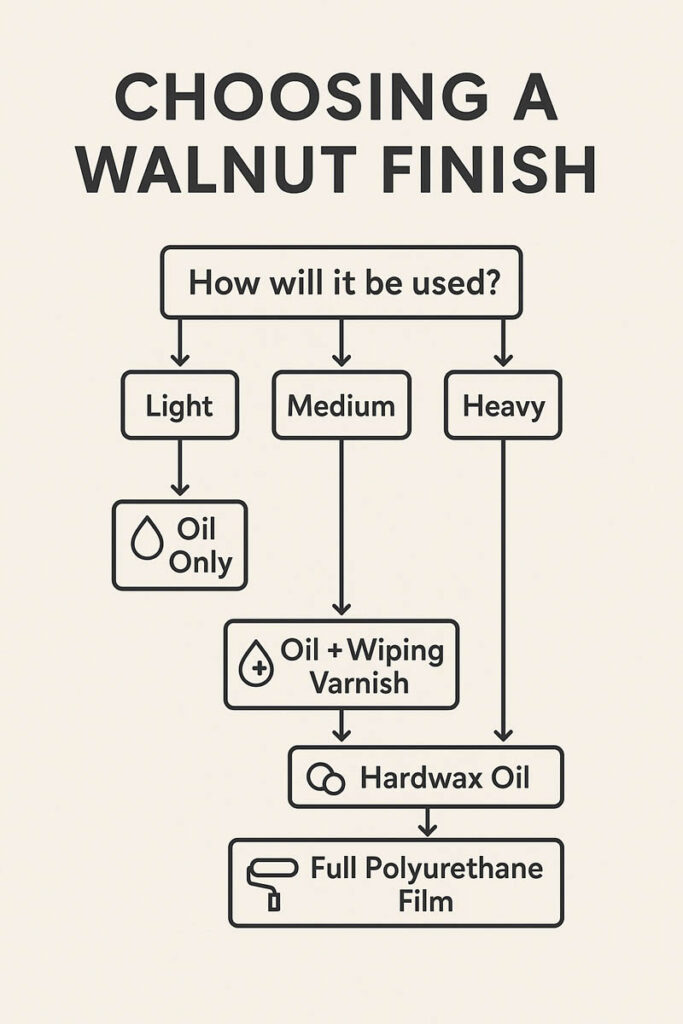
- Low to medium use (picture frames, small boxes, trim): Oil finish, or oil + a couple light coats of wiping varnish.
- High use indoors (dining tables, desks, dressers): Oil for color, then several coats of wiping varnish or polyurethane.
- Cutting boards, spoons, food stuff: Food-safe oil or oil + wax (mineral oil, walnut oil, or a board cream).
Once you answer those, picking a finish is much easier.
Step 2: Prep the walnut wood properly
Good finish starts with good prep. This is where a lot of people cut corners.

1. Inspect and fill
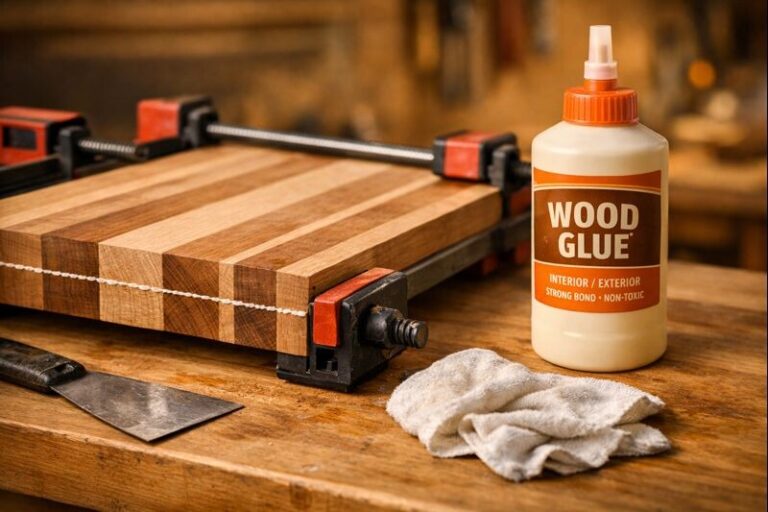
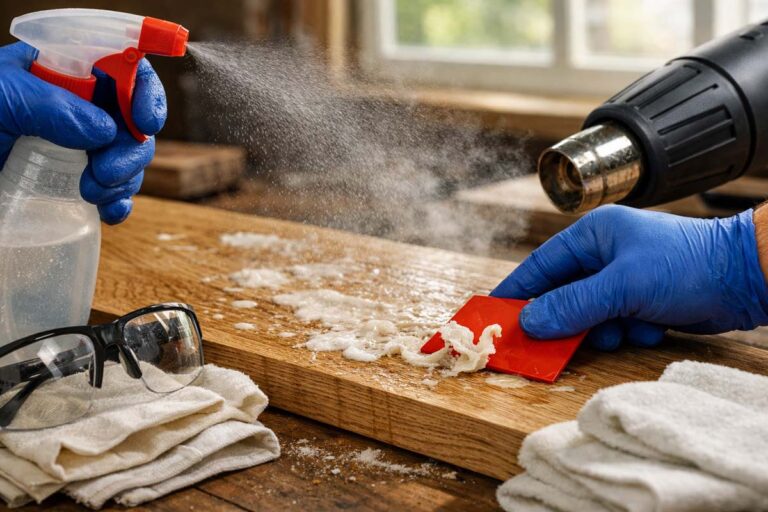
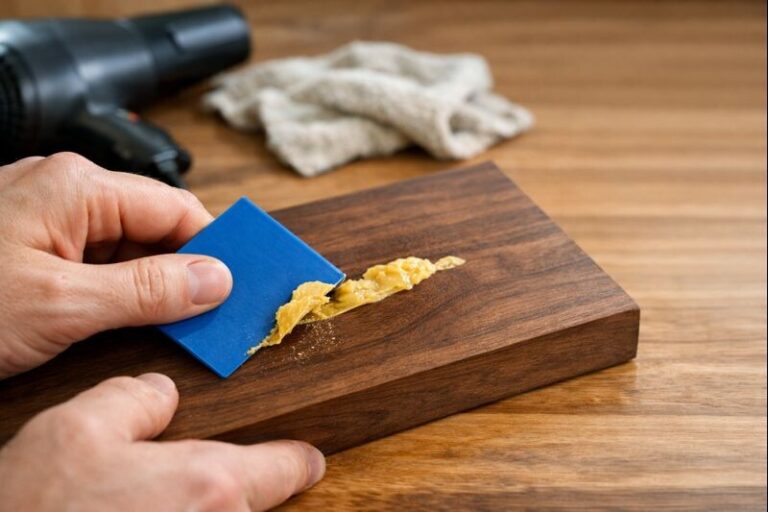
- Look for dents, deep scratches, or glue squeeze-out.
- Scrape dried glue with a sharp chisel or card scraper. Glue spots will show up as light patches after finishing.
- If you have cracks or small voids, fill with wood filler or epoxy before sanding.
2. Sanding grits
My usual sequence for walnut:
- Start at 120 grit if the surface is rough or planed.
- Move to 150 or 180 grit.
- Finish at 220 grit for most oil/varnish finishes.
Don’t rush the sanding. Remove the scratches from the previous grit before moving on. If you see swirl marks now, they’ll be louder after finish.
3. Break the edges
Lightly ease sharp edges with 220 grit by hand. Sharp edges don’t hold finish well and chip more easily. A small chamfer or soft edge looks better and lasts longer.
4. Clean the dust
- Vacuum the surface.
- Wipe with a clean, slightly damp cloth or a tack cloth.
- Check in raking light for scratches or glue you missed.
Once the surface looks even and clean, you’re ready to think about the actual finish.
Step 3: Choose the finish type (what, why, pros, cons)
I’ll keep this to the finishes I actually use on walnut.
Option 1: Oil only (natural look)
What it is: Boiled linseed oil, tung oil, Danish oil, or a similar penetrating oil.
Why use it:
- Brings out rich color and grain.
- Easy to apply and repair.
- Feels natural and warm.
Benefits:
- Great for pieces that are more visual than functional.
- Simple maintenance: just re-oil when it looks dry.
Drawbacks:
- Not very protective against water, heat, or heavy wear.
- Will show rings and scratches on tables and desks.
Best for: picture frames, small boxes, shelves, accent pieces.
Option 2: Oil + wiping varnish (my go-to for most walnut)
This is what I use on a lot of walnut tables and cabinets.
What it is: First a penetrating oil for color, then a wiping varnish (thinned polyurethane or a commercial wipe-on product).
Why use it:
- Oil gives depth.
- Varnish builds a protective film over it.
Benefits:
- Nice balance of beauty and durability.
- Easy to apply with a rag.
- You can choose sheen: satin, semi-gloss, or gloss.
Drawbacks:
- Takes several coats and some patience.
- You need decent ventilation and dust control.
Best for: dining tables, desks, dressers, nightstands, shelves with regular use.
Option 3: Hardwax oil
What it is: Oil + wax blend that penetrates and leaves a thin film. Products like these are popular for floors and furniture.
Why use it:
- Natural feel under hand.
- Simple maintenance.
- Decent protection without a plasticky look.
Benefits:
- Easy for beginners.
- Often low-VOC and more pleasant to use.
Drawbacks:
- Not as tough as a thick polyurethane film.
- Can be pricier per can.
Best for: furniture that sees regular but not abusive use, like coffee tables, side tables, chairs.
Option 4: Full film finish (polyurethane, lacquer)
What it is: A thicker, film-building finish. Brushed, sprayed, or wiped-on polyurethane; or spray lacquer.
Why use it:
- Maximum protection from water, heat, and spills.
- Good for families, rentals, or anything that will be abused.
Benefits:
- Strong and durable.
- Easy to clean.
Drawbacks:
- Can look more “plastic” if built too thick.
- Mistakes (runs, sags) stand out more.
- Harder to spot-repair invisibly.
Best for: dining tables, bar tops, desks, kids’ furniture.
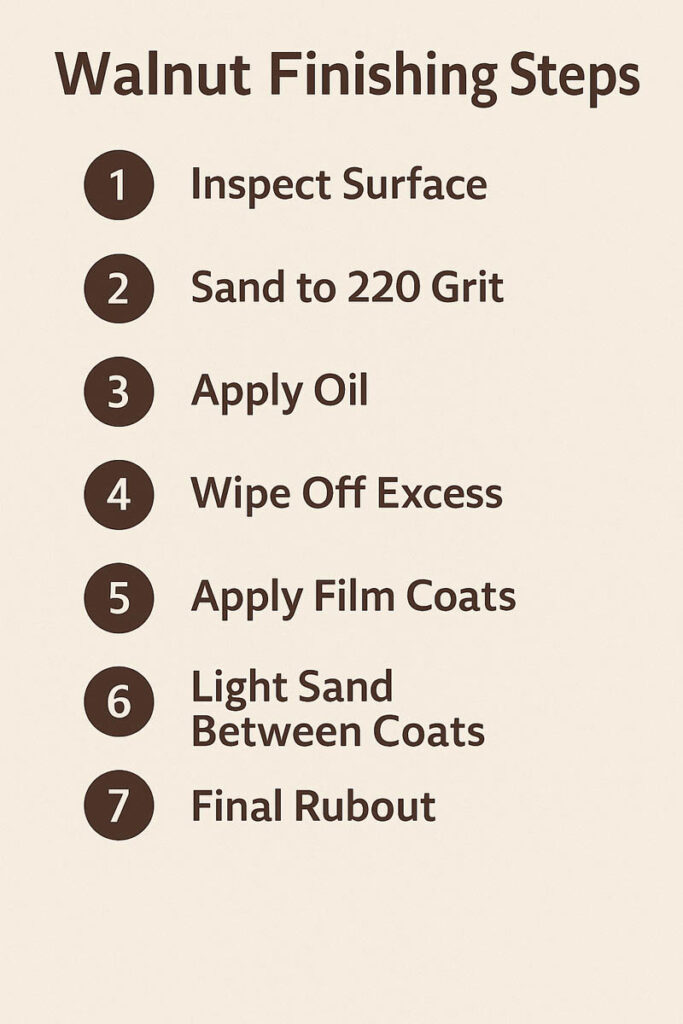
Step 4: How I actually finish walnut (step-by-step)
Here’s my standard process for a walnut table or similar piece.
1. Test on a scrap
If you can, keep an offcut from the same board.
- Sand the scrap exactly like the project.
- Apply your planned finish.
- Let it dry and see if you like the color and sheen.
This saves you from surprises.
2. Apply the first oil coat
Let’s say you’re using Danish oil or similar.
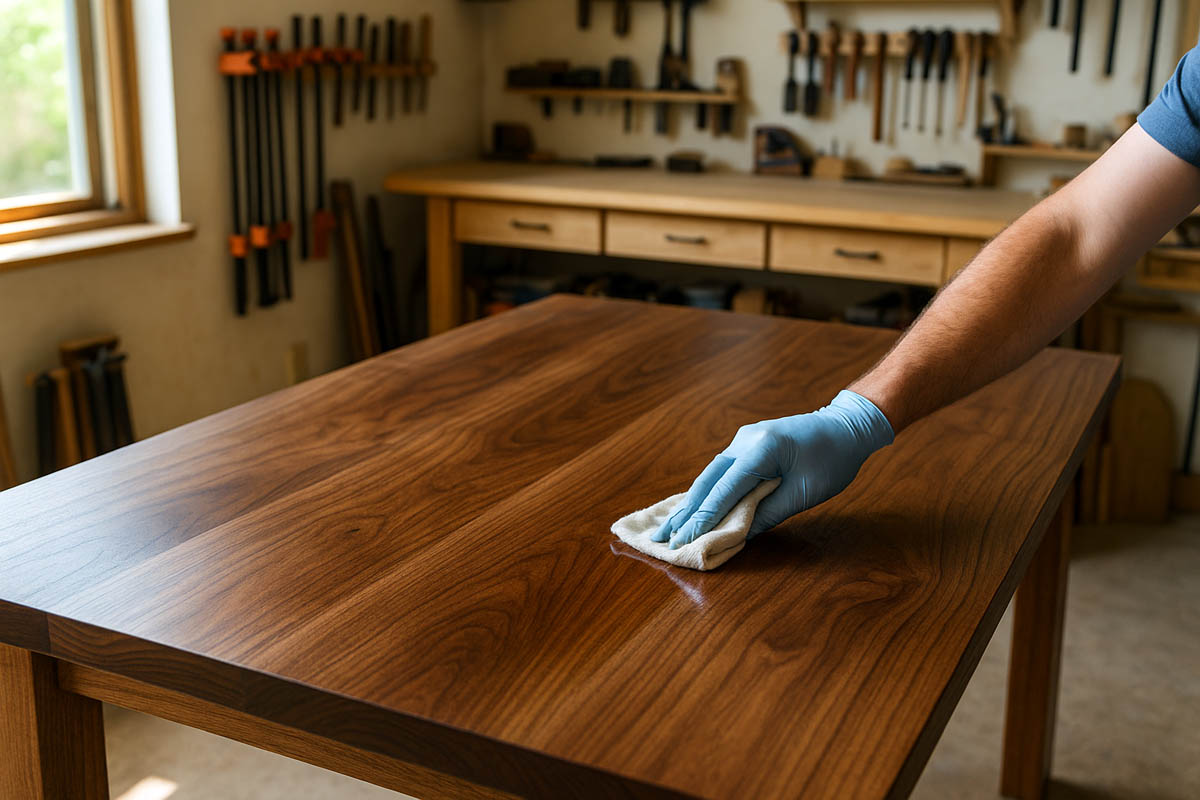
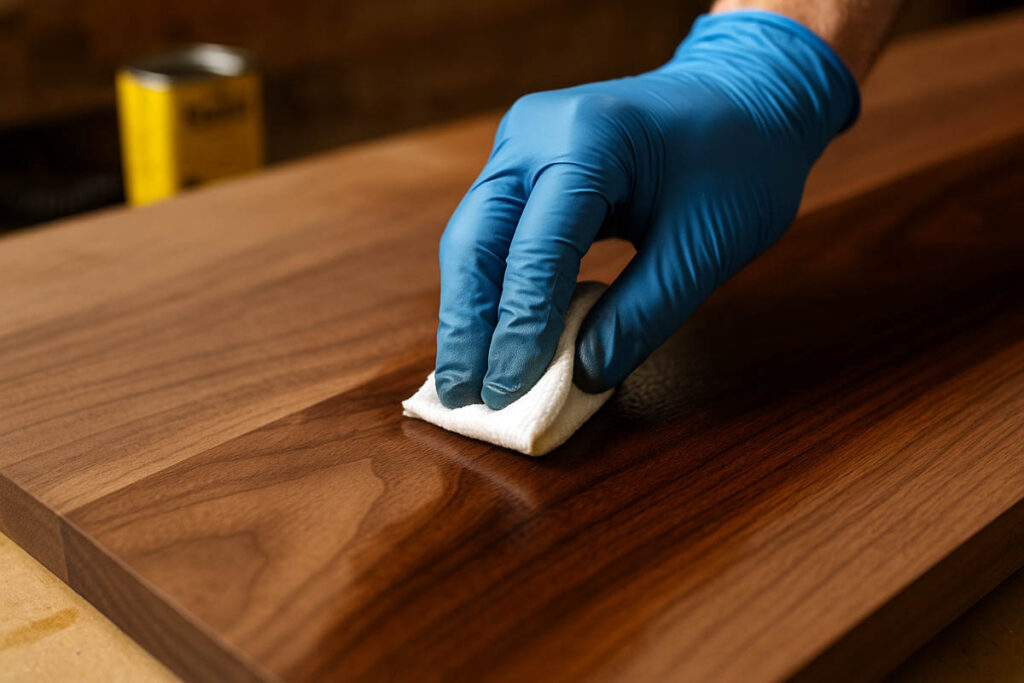
- Flood the surface: Pour a small puddle on a clean rag or directly on the wood. Wipe it on with the grain until the surface looks wet and even.
- Keep it wet for 10–15 minutes: If dry spots appear, add more oil. The goal is to let the wood drink what it wants.
- Wipe off all excess: After 15–20 minutes, go back with a clean rag. Wipe thoroughly. The surface should feel damp, not sticky or puddled.
- Let it cure: Follow the can directions, but usually overnight is safe.
Important safety note: Lay oily rags flat to dry outside or put them in a metal can with water. Don’t toss them in a pile. They can self-ignite.
3. Light sanding after oil (optional but helpful)
Once the oil is fully dry:
- Take a gray or white non-woven pad, or 400-grit sandpaper.
- Lightly scuff with the grain.
- This knocks down any raised fibers and keeps the surface smooth.
Wipe off the dust.
4. Build the protective coats
Now you add your wiping varnish or polyurethane.
For wipe-on varnish or oil-poly blend:
- Stir the finish gently. Don’t shake.
- Use a clean lint-free cloth or applicator pad.
- Wipe on a thin, even coat with the grain. Don’t leave puddles.
- Let it dry as the can says (usually a few hours).
- Lightly scuff with 320–400 grit or a gray pad.
- Wipe off dust.
- Repeat for 3–5 coats on table tops, 2–3 coats on lighter-use items.
You’ll see the sheen and build increase with each coat. Stop when it looks and feels right, and when you’re confident about protection for how you’ll use it.
5. Final rubout (making it feel nice)
After the last coat has cured (often 24–72 hours):
For a satin, soft feel:
- Use a gray or white pad with a tiny bit of paste wax.
- Rub with the grain lightly.
- Buff with a clean cloth.
For higher sheen:
- Use polishing compound made for finishes and follow the label.
This step is all about feel. Even a tough film finish can feel silky if you rub it out right.
Learn more: Tool Maintenance for Woodworking
Step 5: Fixing common walnut finishing problems
Blotchy color or light spots
Why it happens:
Glue spots, uneven sanding, or the wood taking up oil differently.
What to do:
- If it’s minor, sometimes another coat evens it out.
- If it’s bad: sand back, remove glue, and refinish the area.
- Always sand consistently and check under good light.
Dust nibs and tiny bumps
You’ll almost always get a few.
- Let the coat fully dry.
- Lightly sand with 400 grit or a fine pad.
- Wipe the dust.
- Add another thin coat.
Thin coats in a clean area reduce this a lot.
Runs and sags
Usually from putting finish on too heavy, especially on vertical parts.
- Let the run harden fully.
- Level it with a sharp razor blade or sandpaper on a hard block.
- Re-coat that area lightly.
Finish feels sticky or soft
- Most of the time it just needs more cure time.
- Cold or damp shops slow drying way down.
- If it still feels gummy after several days, you may have put on too many thick coats too fast. Lightly sand, then give it more time between coats.
FAQs about to Finish Walnut Wood
How to Finish Black Walnut Wood?
To finish black walnut wood, sand through 120, 180, and 220 grits, remove all dust, apply a penetrating oil and let it soak, wipe off excess, then add two to four thin coats of polyurethane, sanding lightly between coats.
How Fine to Sand Walnut Wood Before Finishing?
For most finishes on walnut, sand to 220 grit for a smooth, even surface, stopping at 180 grit if using stain so the wood accepts color better instead of looking too sealed, slick, or washed out afterward.
How to Finish Polyurethane Walnut Wood?
To finish walnut wood with polyurethane, sand to 220 grit, remove dust, brush or wipe on a thin first coat, let it dry fully, scuff sand with fine grit, then apply two or three more thin coats.
How to Finish Raw Walnut Wood?
To finish raw walnut wood, flatten the surface if needed, sand through 120, 180, and 220 grits, clean off all dust, then apply either an oil plus polyurethane system or several thin polyurethane coats, sanding lightly between each.
What is the best finish for a walnut dining table?
For most people, an oil plus wiping varnish or polyurethane works best on a walnut dining table. The oil adds depth, and the varnish builds a protective film that can handle spills, heat, and daily use with simple cleaning and occasional refresh coats.
Do I need grain filler when finishing walnut?
You don’t have to use grain filler on walnut, but it depends on the look you want. If you prefer a perfectly smooth, almost piano-like surface, a grain filler helps. If you like a more natural, open-pore feel, you can skip it entirely.
Final thoughts
When I first started, I was more scared of finishing than cutting joints. Walnut felt “too nice” to experiment on. What helped was building a habit: same sanding routine, always test on a scrap, and don’t rush the drying.
If you pick one go-to system and really learn it, you’ll get predictable results. For me, that’s oil plus wiping varnish on most walnut furniture. Once you’re comfortable with that, you can play with hardwax oils or different sheens as you go.
The main thing is this: let the wood lead a little. Walnut already has character. Your finish’s job is to protect it and bring out what’s already there, not bury it.
Finishing walnut isn’t about fancy products. It’s about a clear plan:
- Decide the look and use.
- Prep the surface properly.
- Choose a finish that matches the job.
- Apply thin, consistent coats.
- Fix little issues instead of ignoring them.
If you follow those steps, you’ll end up with walnut pieces that still look good years down the road, not just on the day you post them. Next time you’re standing in front of a bare walnut board, you won’t have to guess. You’ll know exactly what to do.