Guides
Is Birch Plywood Good for Cabinets? 7 Fast Ways to Avoid Voids
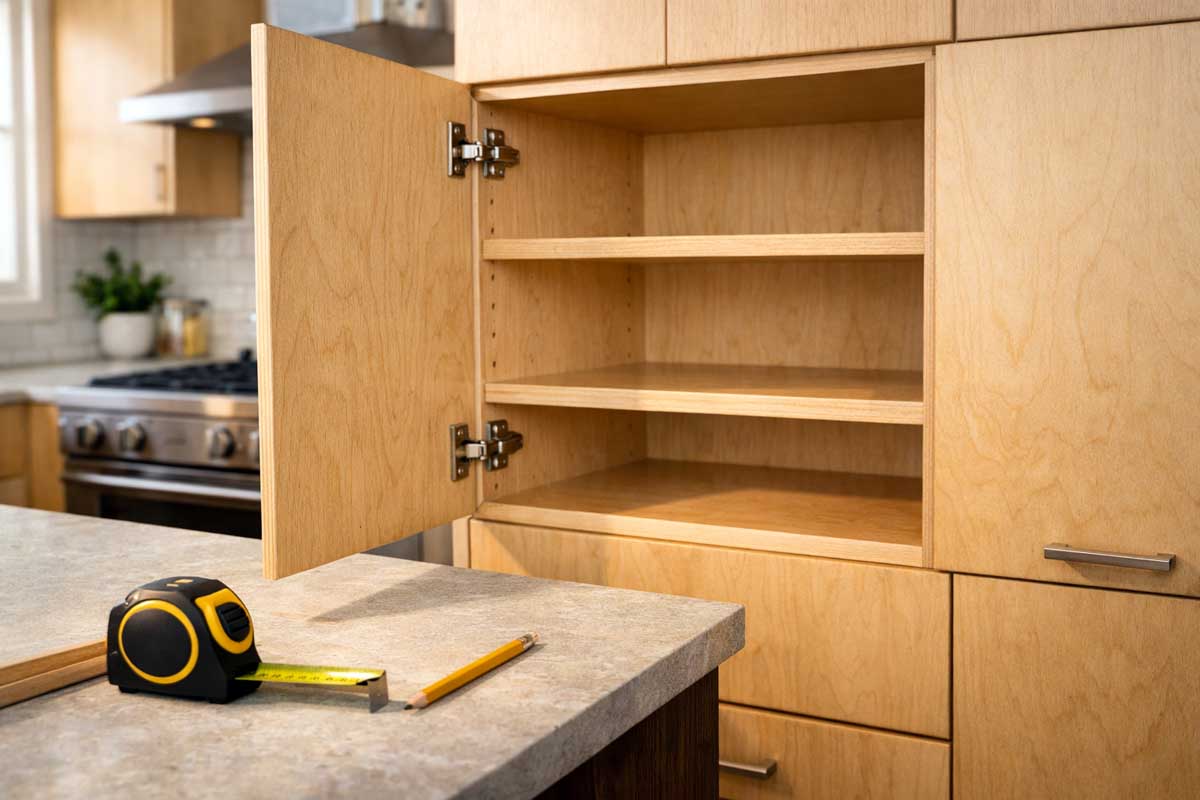
Is birch plywood good for cabinets? Yes—birch plywood builds strong, flat cabinet boxes, and it holds screws reliably…
Tutorials, material reviews, and styling ideas for your home projects.
Is birch plywood good for cabinets? Yes—birch plywood builds strong, flat cabinet boxes, and it holds screws reliably…
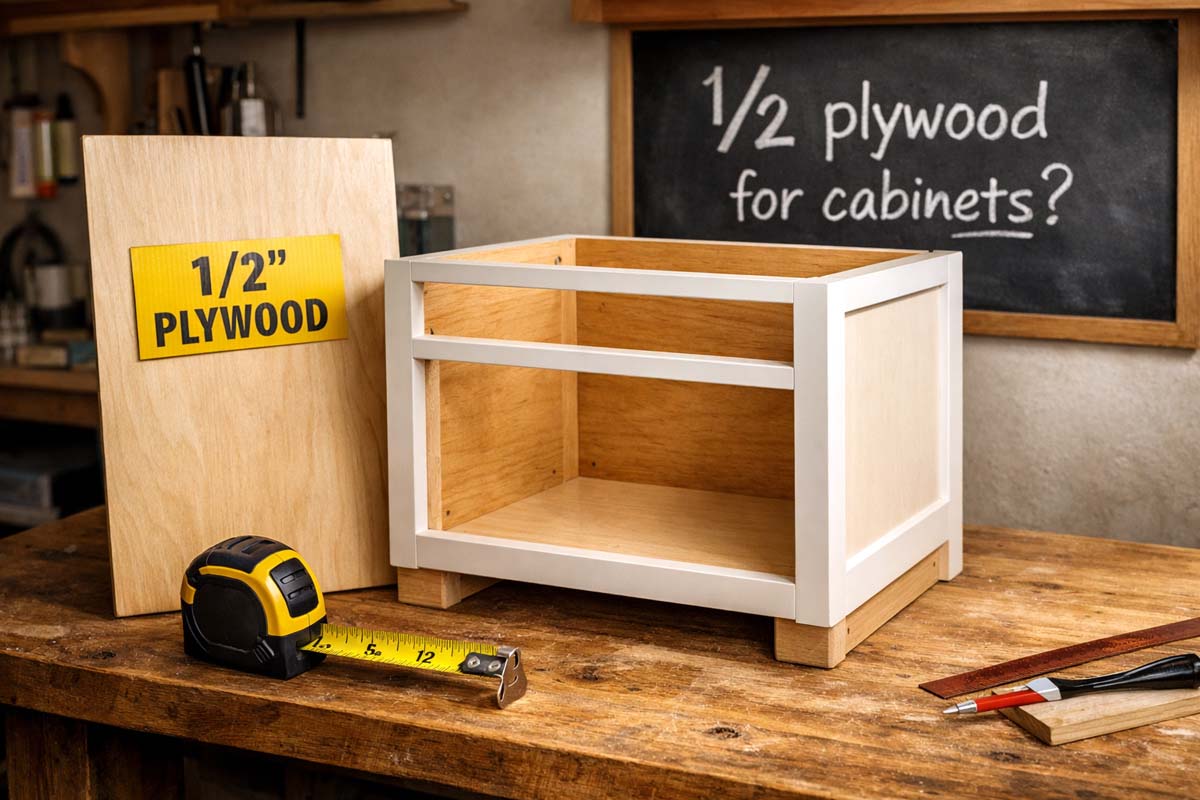
1/2 plywood is good for cabinets when it’s used in supported parts (like backs and framed boxes) and…
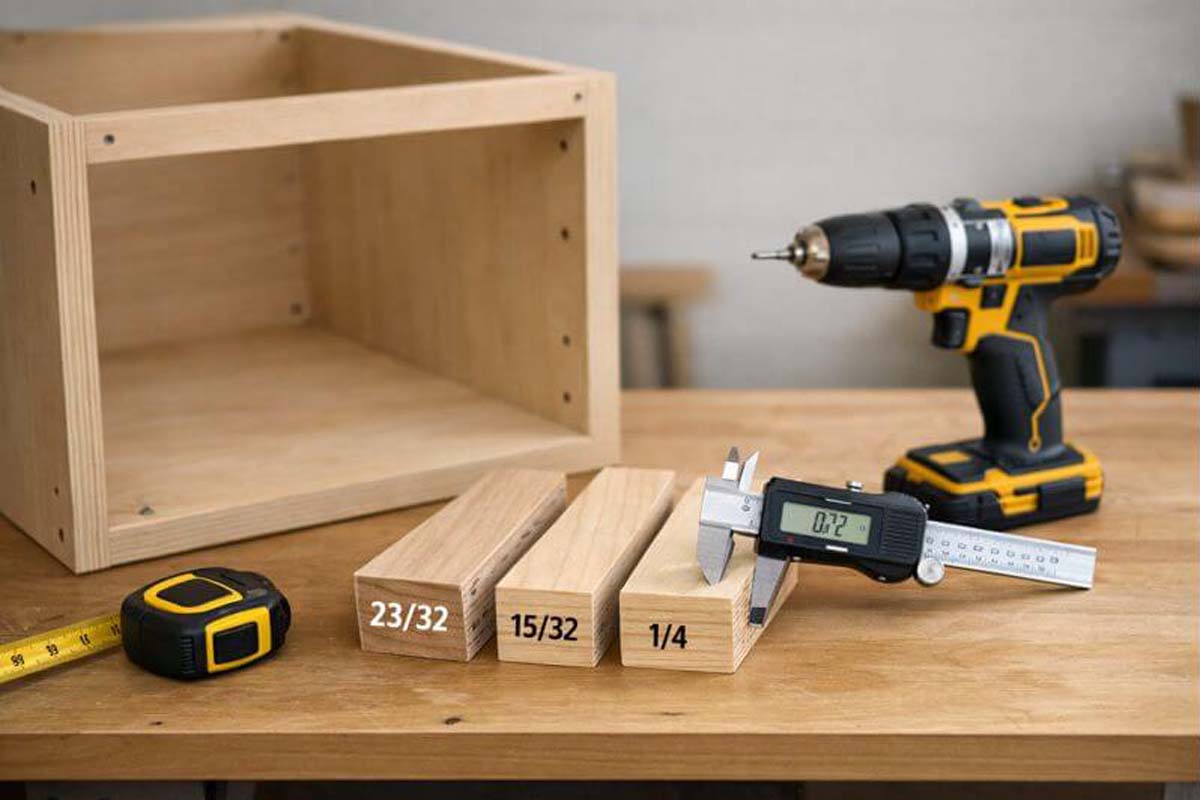
Choosing what size plywood for cabinets comes down to two decisions: thickness for strength and sheet size for…
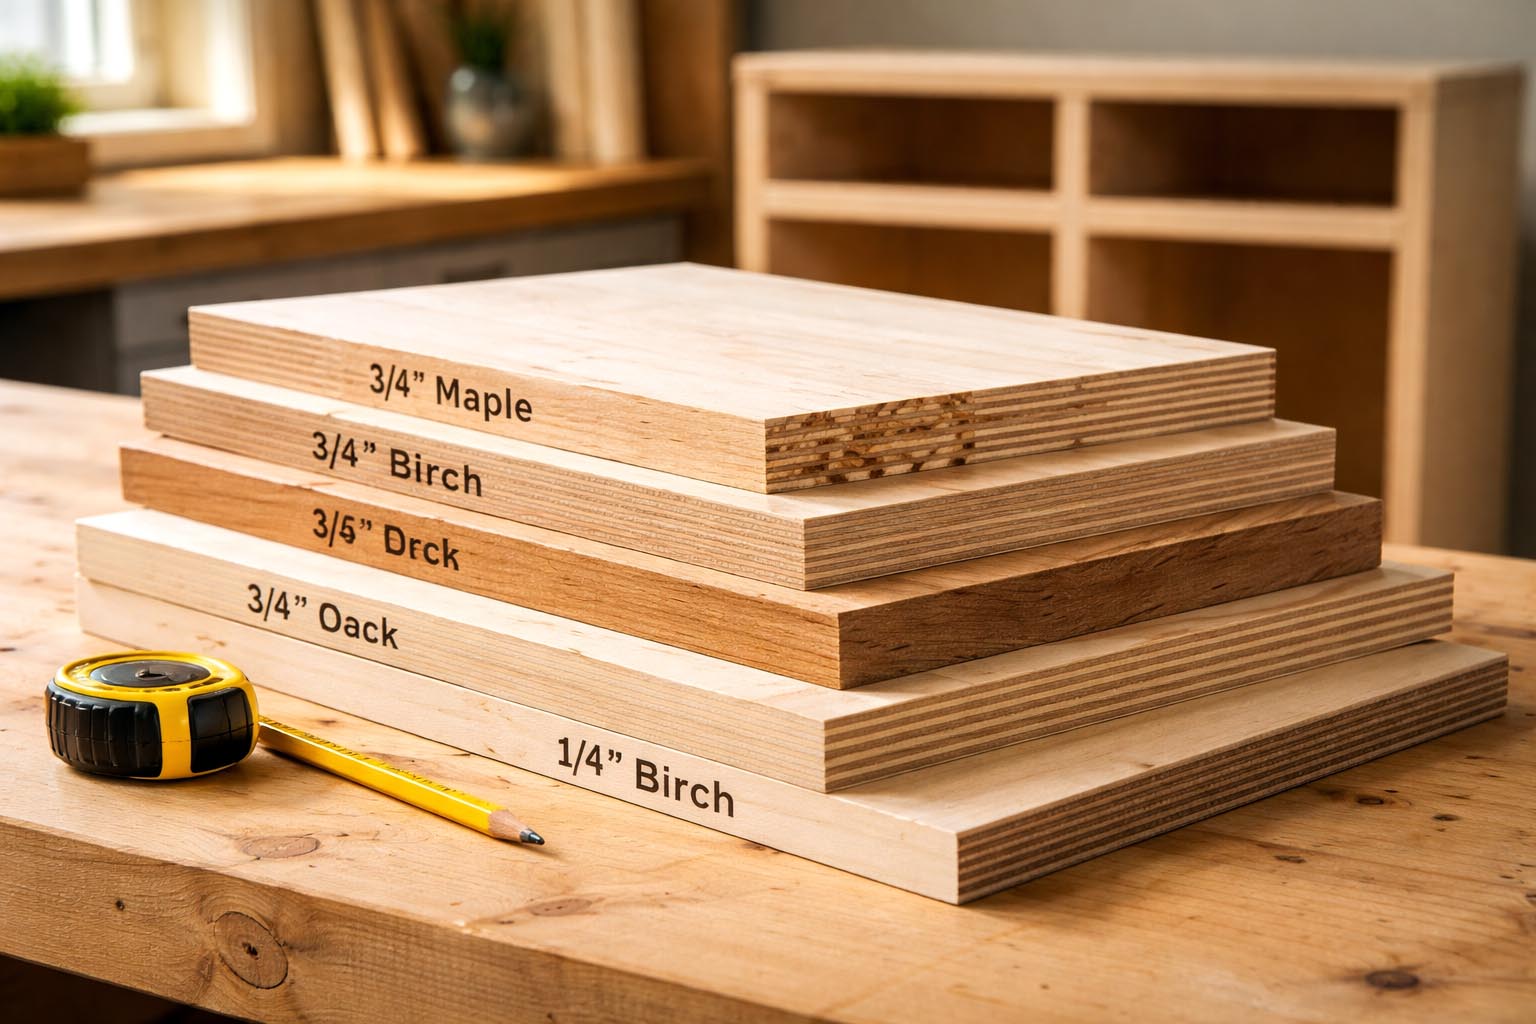
The type of plywood for cabinets comes down to core type, face grade, and thickness. For most kitchens…
Compare policies and make smarter decisions on auto, health, home, and life insurance.
Health insurance premiums eating into your budget? These proven strategies can help you lower your monthly costs without…
Choosing between term life and whole life insurance is one of the most important financial decisions you’ll make.…
Home insurance protects your biggest investment — but it doesn't cover everything. Learn exactly what's included and what's…
Clear, actionable guidance on credit cards, investing, loans, and managing your money.
Learn how to start investing in 2026 with this beginner's guide. Compare account types, platforms, and investment strategies…
Discover the top tax deductions and credits for 2026. Learn how to reduce your tax bill with legitimate…
Compare the best student loan refinancing lenders of 2026. Find lower rates, flexible terms, and learn when refinancing…
Destinations, hotel reviews, budget travel tips, and everything for your next trip.
Find the best hotels in Europe for 2026. Top picks in Paris, Rome, Barcelona, Amsterdam, and Prague across…
Discover the best places to visit in Europe in 2026. From Lisbon to the Norwegian Fjords, find top…
Find cheap flights in 2026 with these proven strategies. Learn the best booking timing, flight search tools, and…
Fresh content across all our topics and categories.
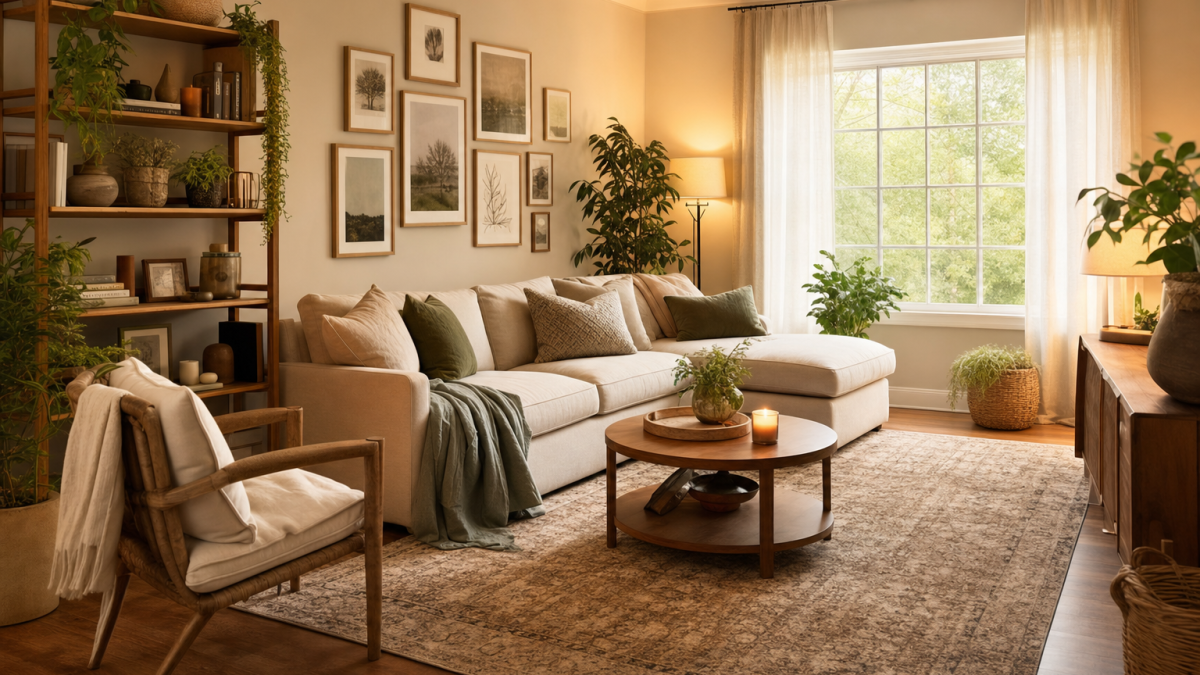
You don’t need a designer budget to create a home that feels curated, comfortable, and genuinely yours. Some…
Is birch plywood good for cabinets? Yes—birch plywood builds strong, flat cabinet boxes, and it holds screws reliably…
1/2 plywood is good for cabinets when it’s used in supported parts (like backs and framed boxes) and…
Health insurance premiums eating into your budget? These proven strategies can help you lower your monthly costs without…
Choosing what size plywood for cabinets comes down to two decisions: thickness for strength and sheet size for…
The type of plywood for cabinets comes down to core type, face grade, and thickness. For most kitchens…