2 Tier Round Tray: 7 Smart Ways to Organize and Style Any Space
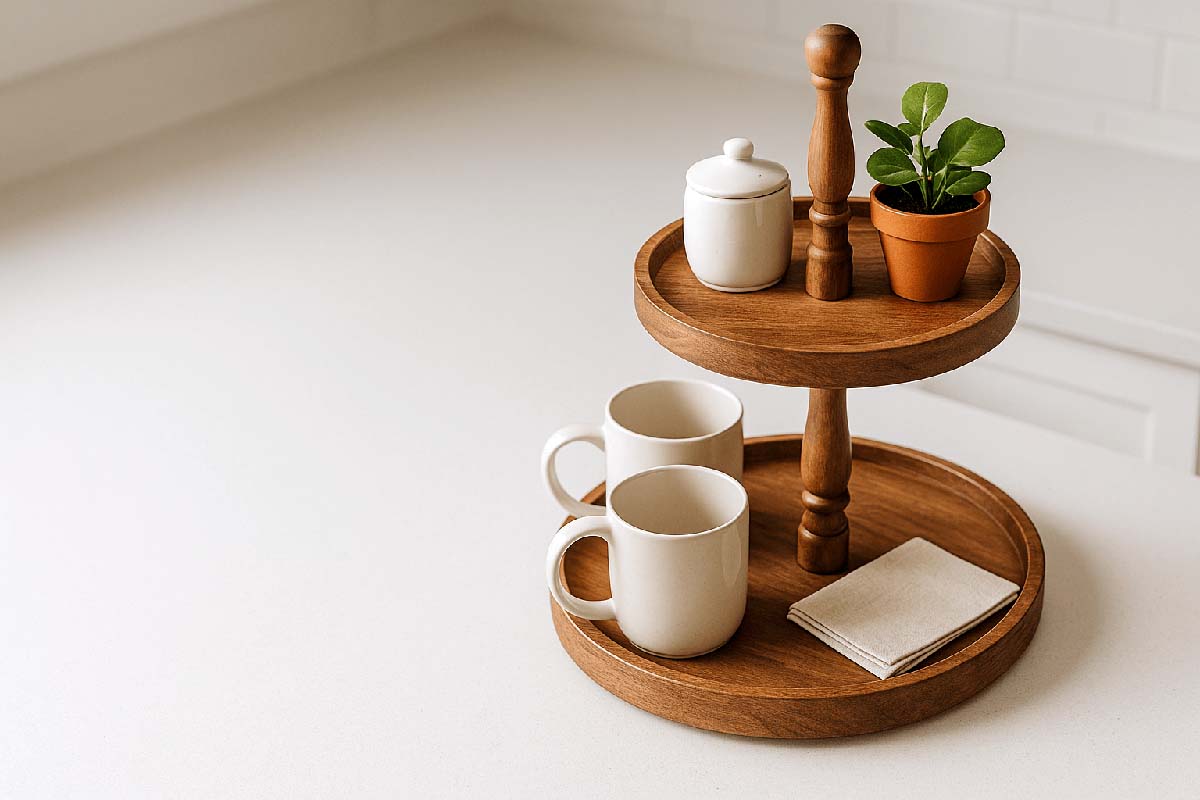
A 2 tier round tray sounds simple, but it can quietly solve a lot of small everyday problems. It saves counter space, keeps things organized, and doubles as decor or a serving piece. When it’s chosen well, it works in the kitchen, living room, bathroom, or at a party. When it’s chosen poorly, it wobbles, chips, or just collects clutter. This guide walks through what a 2 tier round tray is, why it’s useful, what to watch out for, how to pick one, how to style it, and how to keep it in good shape for years.
What is a 2 tier round tray?
A 2 tier round tray is simply two circular trays stacked vertically with a center post or rod connecting them. There’s usually:
- A larger round base tray
- A smaller round top tray
- A center pole or spindle
- Sometimes a handle at the top
You’ll see them called “2 tier serving trays,” “2 tier tray stands,” or “two tier round stands.” They’re used for:
- Serving snacks, cupcakes, fruit, or drinks
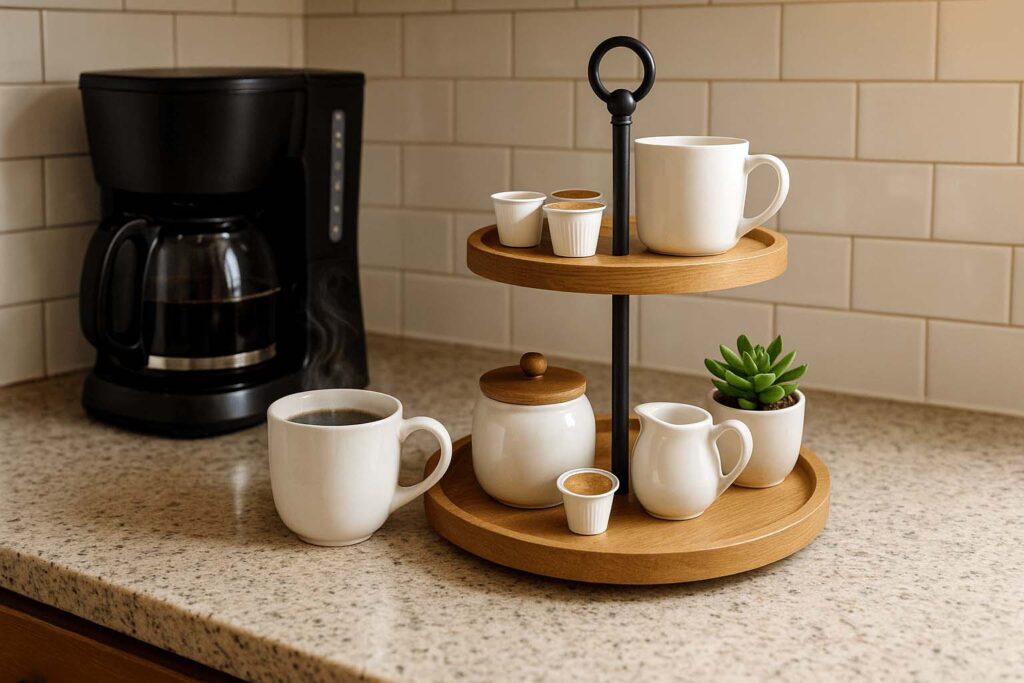
- Holding coffee station supplies
- Organizing bathroom items
- Displaying seasonal decor
A good 2 tier round tray makes better use of vertical space. Instead of spreading everything across the counter, you stack it, but it still needs to stay stable and easy to use.
Main benefits of a 2 tier round tray
A 2 tier round tray looks decorative, but it’s very practical if you set it up correctly.
1. More storage in less space: You gain a second level without taking more counter area. This helps in small kitchens, apartments, or busy coffee bars.
2. Easy to move things at once: Need to clear the table fast? Just pick up the handle and carry everything in one go instead of grabbing items one by one.
3. Built-in decor: Even if it’s just holding mugs and sugar, a round tray looks more intentional than loose items scattered around. It becomes a small focal point.
4. Flexible use: The same tray can serve snacks at a party one day and hold spices or candles the next. You just swap what’s on it.
5. Works with many styles: Farmhouse, modern, rustic, or minimal. Wood, metal, ceramic, or mixed materials all work as long as the shape and finish fit the room.
When you want a deeper look at different serving options, it also helps to compare shapes and layouts on a dedicated 2 tier serving tray overview before buying.
Drawbacks and how to avoid them
A 2 tier tray isn’t perfect by default. A few problems show up over and over:
1. Wobble and tipping: Cheap hardware or a narrow base can make the tray feel shaky. Avoid stands that flex easily when you gently push the top tier.
Tip: tighten the center rod firmly and check for a wide, solid base plate or thick bottom tray.
2. Not enough clearance: If the space between tiers is too low, taller mugs or bottles won’t fit. Measure your everyday items and compare.
3. Hard to clean: If the tiers don’t detach from the post, you’ll end up reaching around awkward angles. Look for trays that break down into pieces for cleaning.
4. Finishes that stain or chip: Soft paint, rough metal edges, or low-quality wood can chip quickly. A better surface and solid wood choice will last. For wood versions, it’s worth reading up on the best wood types for sturdy tiered tray stands so the stand doesn’t sag or crack.
How to choose the right 2 tier round tray
When picking a tray, look at more than just the color. Focus on size, material, finish, and hardware.
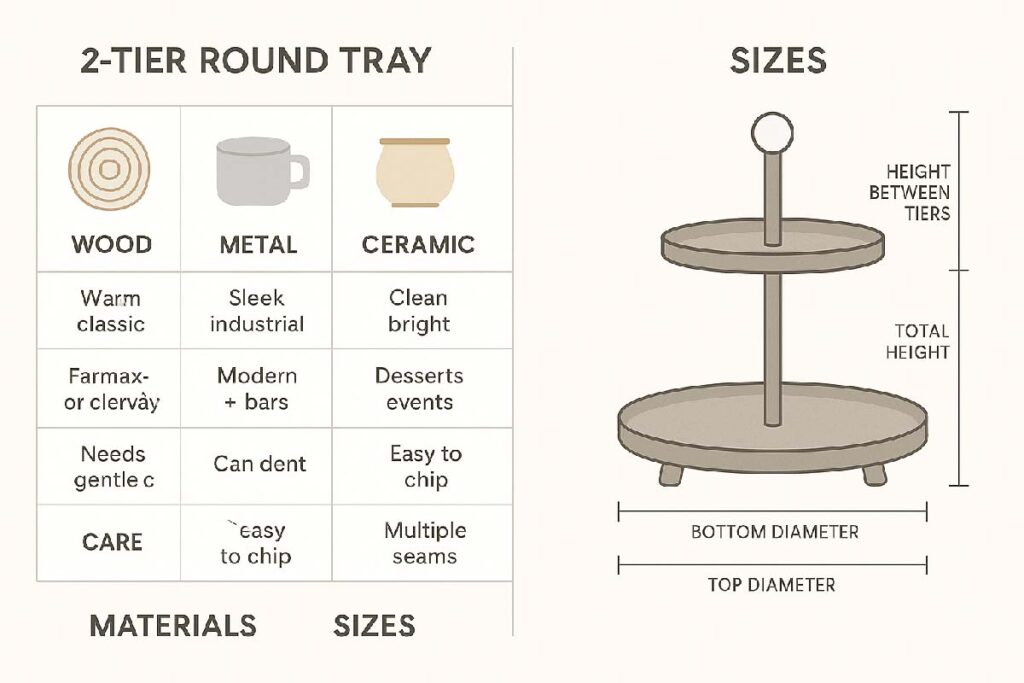
1. Size and proportions
Ask a few quick questions:
- Counter space: How wide can the base be without blocking drawers or doors?
- Bottom tray diameter: For most kitchen counters, 10″–14″ works well.
- Top tray diameter: Usually 2″–4″ smaller than the bottom.
- Height between tiers: At least 6″–8″ clearance so mugs and jars fit.
- Total height: Shorter trays (under 16″) feel more stable and fit under cabinets.
If you’re unsure, lay out a circle on the counter using painter’s tape to mimic the bottom tray size. That shows you how much space it will really take.
2. Material choices
Here’s a simple comparison chart:
| Material | Look and feel | Best for | Watch out for |
|---|---|---|---|
| Wood | Warm, classic | farmhouse, rustic, everyday | needs gentle cleaning, no soaking |
| Metal | Sleek or industrial | modern kitchens, bars | can dent, gets noisy with metal cups |
| Ceramic | Clean, bright | dessert tables, special events | heavier, easier to chip |
| Mixed | Trendy, custom | decor focus | more joints, more cleaning seams |
Wood trays are usually the easiest to touch up and refinish. Metal or ceramic trays often win on easy wipe-down after parties.
3. Hardware and handle
The small parts matter more than people think:
- Look for a thick center rod, not flimsy threaded rod that bends.
- Check that tiers lock firmly with washers or caps, not just thin nuts.
- A rounded handle is easier on the hand when the tray is loaded.
If the listing or product page shows assembly, a clear breakdown with solid hardware usually means better design.
Where a 2 tier round tray works best
You can park a 2 tier tray in a lot of spots around the house. Here are some of the most practical:
- Kitchen counter: hold olive oil, salt, pepper, small jars, or tea.
- Coffee station: mugs, sugar, creamer, stir sticks, napkins.
- Dining table: sauces, napkins, small side dishes, snacks.
- Bathroom: lotions, cotton swabs, soaps, small jars.
- Entryway: keys, wallet, sunglasses, mail.
- Office or craft area: pens, clips, small tools, tape, glue.
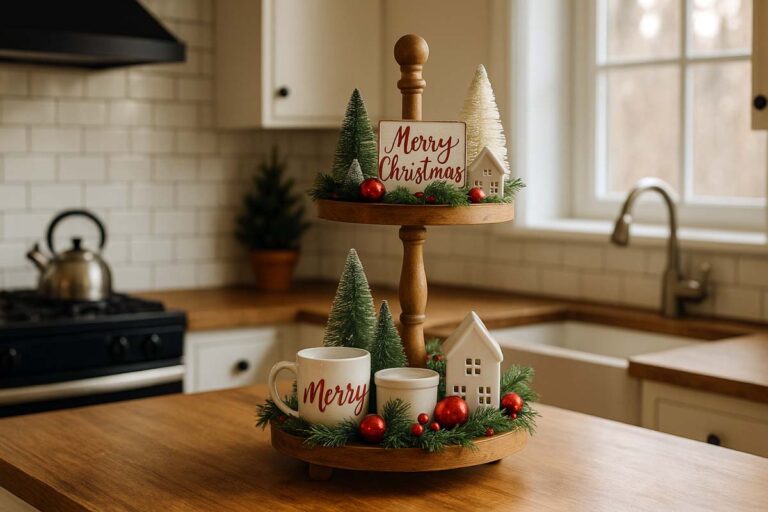
- Party or holiday table: cupcakes, cookies, candy, small decorations.
Use the bottom tier for heavier or daily-use items. Save the top tier for lighter, decorative pieces so the stand feels stable.
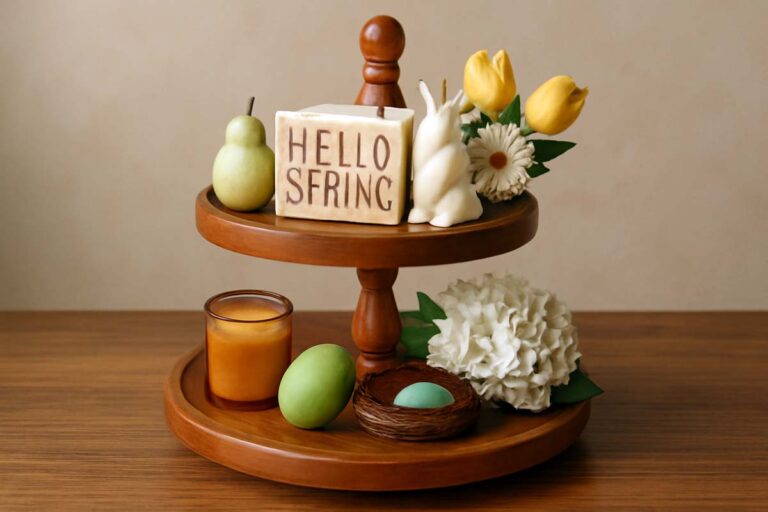
How to style a 2 tier round tray (step by step)
When you want the tray to look good and still work every day, use a simple process.
Step 1: Decide the main job: Is this tray for serving, for decor, or both? For pure decor, you can use more fragile pieces. For daily use, stick with items you grab often.
Step 2: Pick a small color palette: Choose two main colors and one neutral. For example, wood + white + black, or black metal + glass + greenery. This keeps the tray from looking messy.
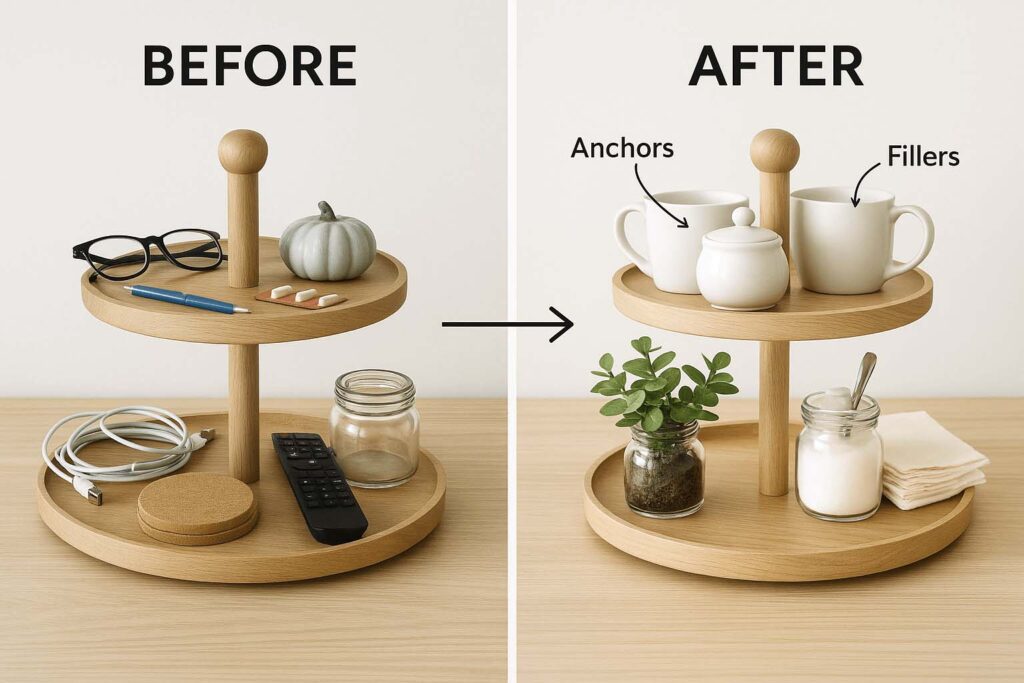
Step 3: Start with “anchor” pieces
Place one or two sturdy items on each tier:
- Bottom: a stack of small plates, a jar with utensils, or a candle.
- Top: a small plant, a sugar jar, or a decorative figure.
These anchors give the tray weight and shape.
Step 4: Fill in medium items: Next, add mugs, jars, or bowls. Angle handles and labels so they’re easy to grab and read. Don’t pack every inch; leave some breathing room.
Step 5: Add small “filler” items: Drop in coasters, napkins, greenery, or seasonal items. These fill the gaps without making things heavy or hard to reach.
Step 6: Check balance from different sides: Step back and look from the front, then from both sides. Adjust height and spacing so no side looks bare or overloaded.
If you want more ready-to-use decor layouts and seasonal ideas, it’s worth skimming a dedicated guide with 2 tier tray decor ideas.
Step 7: Test usability: Finally, try grabbing items as if you’re in a rush. If something is hard to reach or keeps tipping, either move it to the bottom tier or take it off the tray.
Serving food safely on a 2 tier round tray
When the tray is used for snacks or desserts, treat it like a serving tool, not just decor.
- Line the tiers with food-safe paper, doilies, or small plates.
- Keep heavy items low, like dips or glass jars, on the bottom tier.
- Avoid tall, top-heavy stacks on the upper tier.
- Don’t exceed the weight limit if the maker lists one.
If the finish is unknown, keep food in wrappers or on plates instead of directly on the surface. That way the tray stays clean and you don’t risk any finish contact with food.
Basic care and maintenance
Care is simple if you keep it consistent.
- Wood trays: wipe with a slightly damp cloth, then dry. Avoid soaking or harsh cleaners. If the finish dulls, a light coat of food-safe mineral oil (when allowed by the maker) brings it back.
- Metal trays: wipe dry after cleaning to avoid water spots.
- Ceramic trays: hand wash if there are glued or screwed joints; only use the dishwasher if the manufacturer says it’s safe.
Every few weeks, check the center rod and all screws. Tighten them so the tray doesn’t start to wobble over time.
Quick buying checklist
Before you click “buy,” run through this list:
- Does the bottom diameter fit your counter or table?
- Is there at least 6″–8″ clearance between tiers?
- Do your usual mugs or jars fit without hitting the top?
- Is the base wide enough to feel stable?
- Are the materials and finish suitable for your room and use?
- Does it break down easily for cleaning and storage?
If you want a very simple breakdown of stand layout and proportions, a short 2 tier tray stand guide gives a quick overview of common designs and shapes.
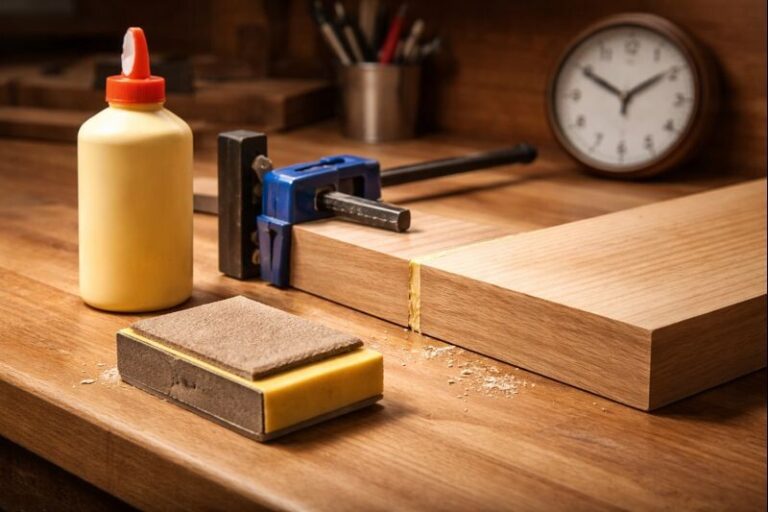
Simple DIY notes if you want to build your own
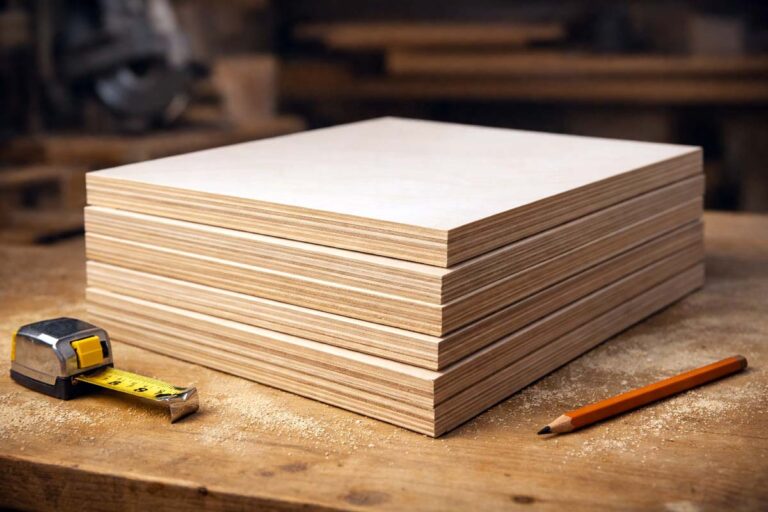
If you’re handy and like working with wood, a 2 tier round tray is a solid beginner project.
- Use a stable hardwood or good quality plywood for the trays.
- Cut clean circles, then sand edges smooth so they don’t splinter.
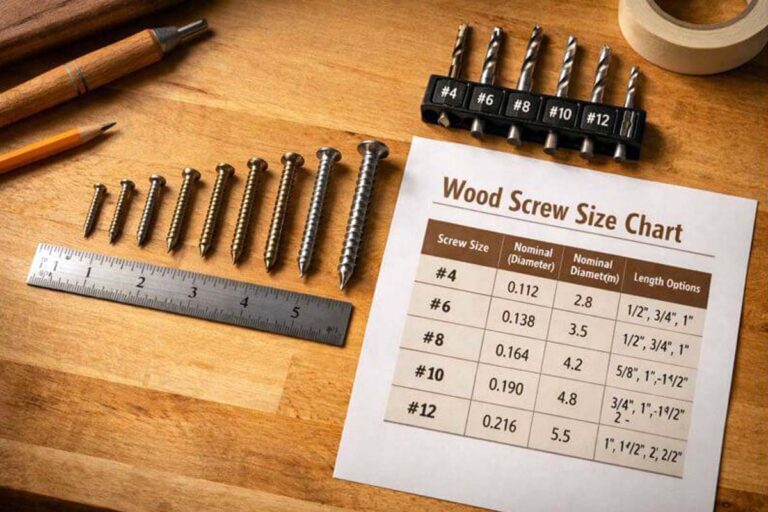
- Drill a centered hole in each tray for the rod.
- Use a thick center dowel or threaded rod with sturdy caps.
- Finish with a durable clear coat, and let it cure fully before using.
If you prefer step-by-step build photos, you can follow a full tiered tray stand build guide on the site and then tweak the sizes to keep it round and compact for your space.
Final thoughts
A 2 tier round tray is one of those pieces that quietly works all day without drawing much attention. With the right size, stable hardware, and a little thought about what lives on each tier, it can replace cluttered corners with a clean, organized spot. It’s flexible, easy to restyle for seasons, and doesn’t require much maintenance beyond a quick wipe and occasional tightening.
If you want more function on your counters or tables without adding bulky storage, a 2 tier round tray is a straightforward answer. Choose solid materials, check proportions, and set it up with a clear purpose. Whether it’s holding coffee supplies, bathroom items, or snacks at a party, the tray will earn its space if it’s stable, easy to clean, and laid out with intention.