2 Tier Rectangle Tray: 7 Smart Ways to Organize Any Space
A 2 tier rectangle tray looks simple, but it solves a lot of everyday problems. It adds vertical storage, keeps counters cleaner, and lets small items actually stay visible instead of vanishing in a pile. On a coffee bar, bathroom vanity, craft table, or entryway, it keeps things organized and still looks good.
This guide walks through what it is, where it works best, how to choose one, and how to build one yourself from wood using basic tools. By the end, you’ll know exactly what to look for and how to set it up without wasting money or space.
What Is a 2 Tier Rectangle Tray, Really?
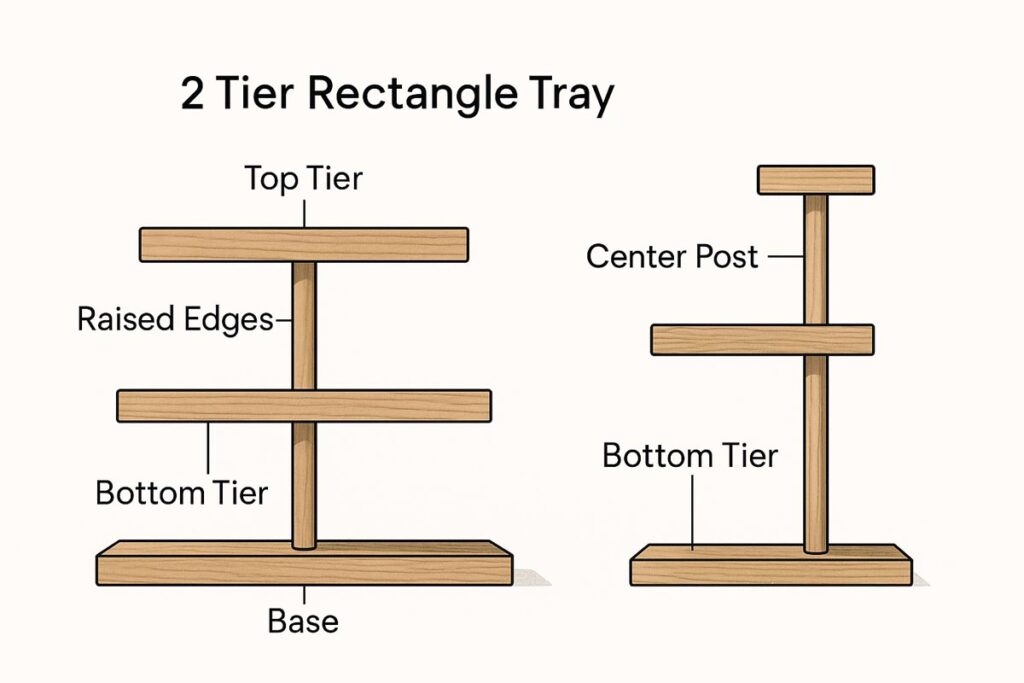
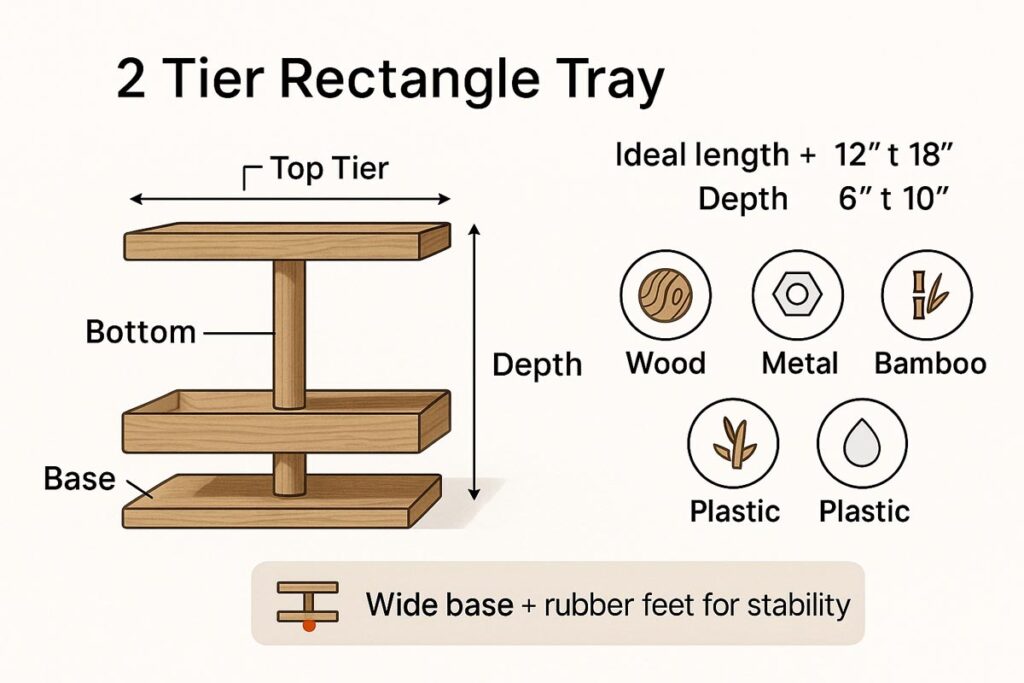
A 2 tier rectangle tray is basically:
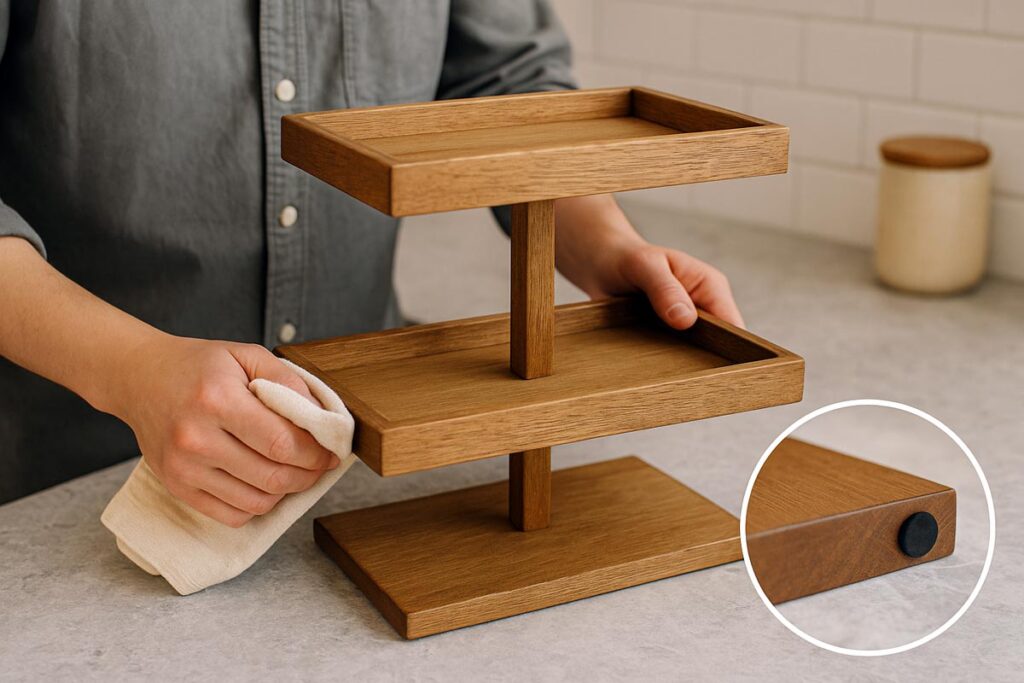
- Two rectangular trays
- Stacked vertically
- Connected by a center post, rods, or side supports
The upper tier usually sits directly over the lower one, leaving enough room to reach items on the bottom.
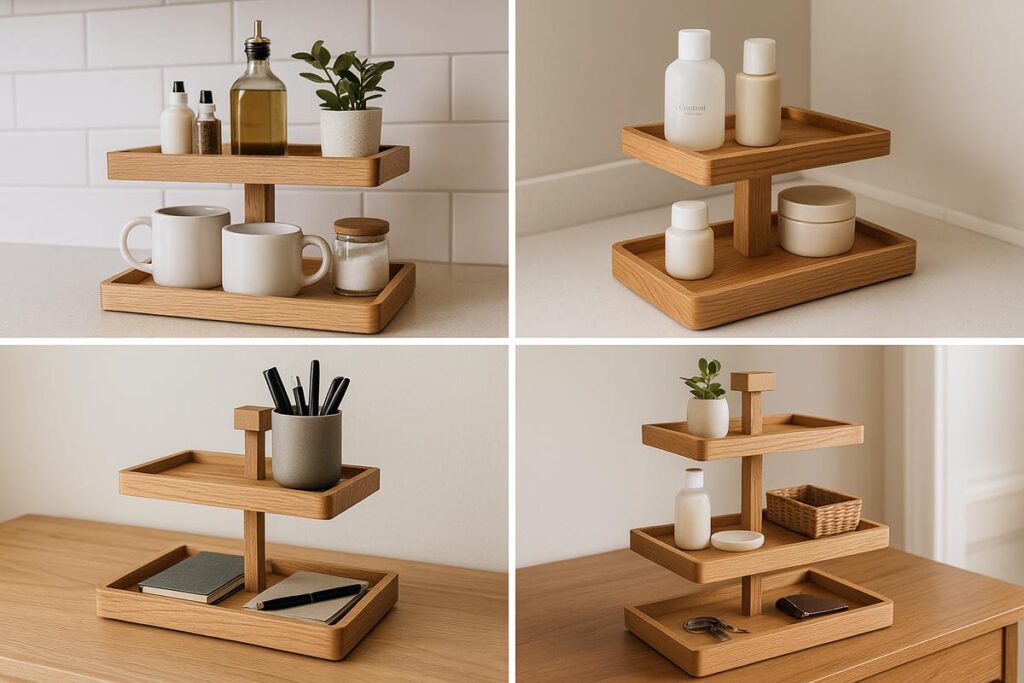
You’ll see them used for:
- Coffee bars (mugs, syrups, spoons)
- Bathrooms (lotions, candles, jars)
- Kitchens (spices, oils, towels)
- Desks (pens, notebooks, small gear)
- Parties (wrapped snacks, cupcakes, plates)
Common materials:
- Wood (pine, oak, walnut, etc.)
- Metal (steel, iron, aluminum)
- Bamboo
- Mixed: wood shelves with metal posts
A good 2 tier rectangle tray balances three things:
- Capacity – holds enough stuff to matter.
- Stability – doesn’t wobble when someone bumps it.
- Style – looks like it was meant to be there, not an afterthought.
Also see: Christmas 2 Tier Tray Ideas
Why Use a 2 Tier Rectangle Tray? (Benefits and Drawbacks)
Main Benefits
A 2 tier rectangle tray actually fixes specific problems, not just “looks cute.”
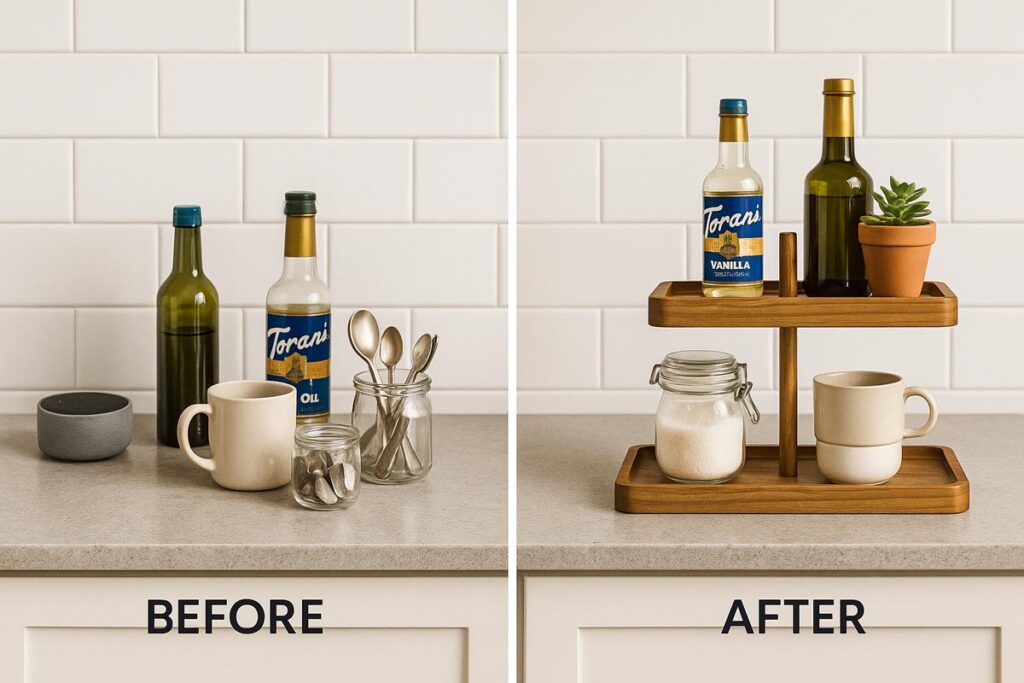
- Saves counter space: You’re stacking up instead of spreading out. Same footprint, more storage.
- Defines a zone: Everything on the tray belongs together. Coffee stuff, skincare, office stuff, whatever. Easier to keep tidy.
- Easy to move: Need the table cleared? Just grab the tray and move the whole setup at once.
- Works for both storage and decor: You (plural) can mix practical things with decorative items. Think jars + plants, or soap + small art piece.
- Flexible use: It moves from kitchen to party table to craft zone. One piece, many jobs.
See more: GENMOUS & CO 2 Tiered Tray Stands
Possible Drawbacks
Knowing the downsides up front helps avoid a bad purchase or build.
- Can feel cluttered if overloaded: When every inch is packed, it looks messy and is hard to use.
- Tall items may not fit on bottom tier: Bottles, dispensers, or taller jars can hit the upper shelf.
- Can tip if poorly designed: Narrow base + heavy items high up = risky. Especially around kids or pets.
- Harder to clean under: If there’s no feet or space under the base, wiping the counter underneath is annoying.
When picking or building one, the goal is to keep all the benefits and avoid these drawbacks with smart size and design choices.
Where a 2 Tier Rectangle Tray Works Best
A 2 tier rectangle tray shines in spots where small items spread everywhere.
Good locations:
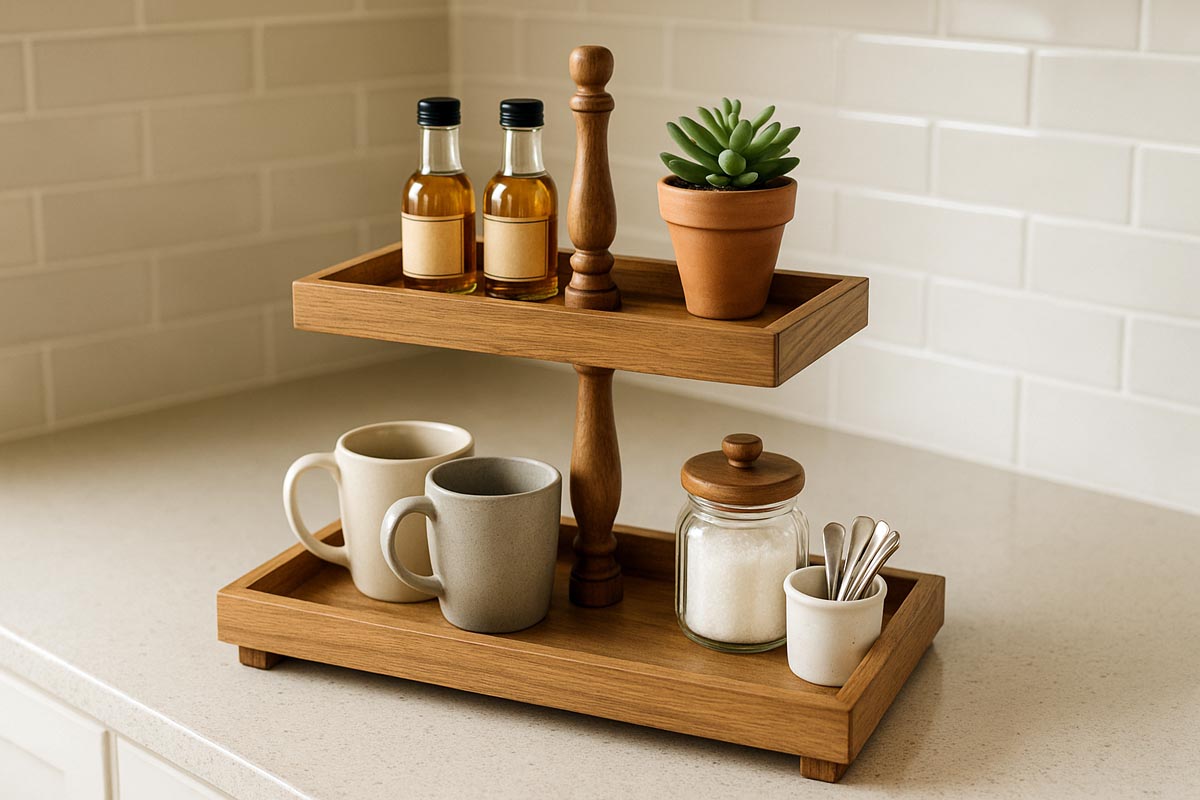
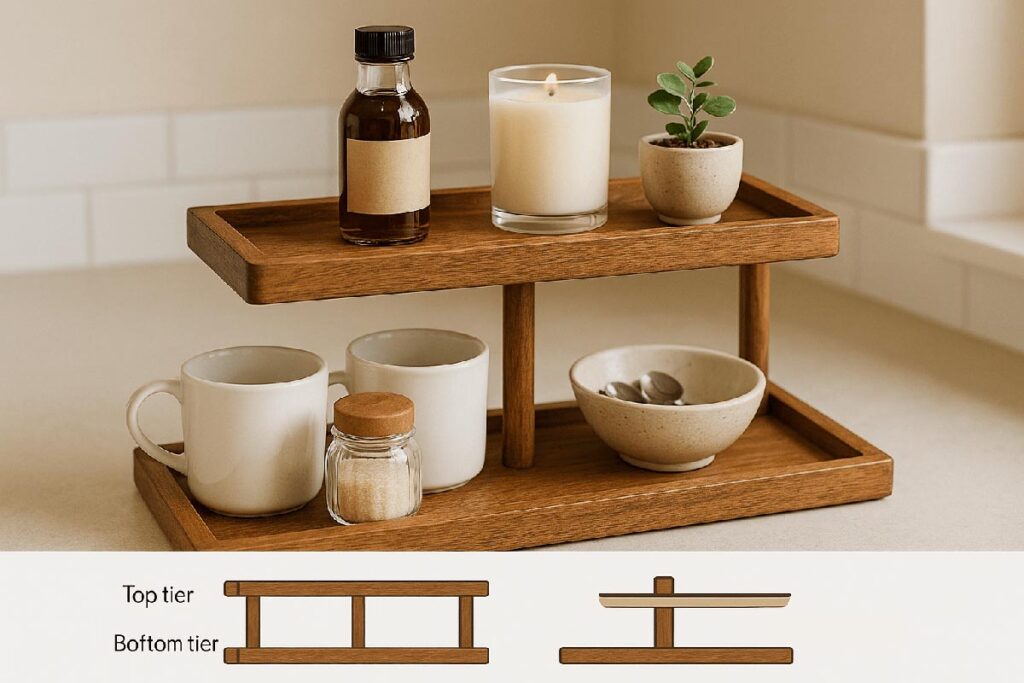
1. Coffee bar
- Bottom: mugs, sugar, spoons, napkins
- Top: syrups, cocoa, cinnamon, small decor
2. Kitchen counter
- Bottom: oils, everyday spices, salt cellar
- Top: timer, small bowls, garlic, small plant
3. Bathroom vanity
- Bottom: daily skincare, toothbrush holder
- Top: cotton rounds, q-tip jar, perfume, candle
4. Desk or home office
- Bottom: notebooks, planner, sticky notes
- Top: pen cup, stapler, headphones, phone stand
5. Entryway
- Bottom: wallets, sunglasses, mail
- Top: keys, change, small tray for rings
If a surface feels like “random stuff everywhere,” that’s usually a good spot for a 2 tier rectangle tray.
Read more: 2 Tier Serving Trays
How to Choose a 2 Tier Rectangle Tray (Buying Guide)
When shopping, don’t just go by looks. Check a few key details so you don’t regret the purchase.
1. Size and Footprint
Ask:
- How much space is available on the counter or table?
- Will the tray block something (cabinet door, outlet, faucet, screen)?
General guideline:
- Small spaces: 10″–12″ long, 6″–8″ deep
- Standard counter: 14″–18″ long, 8″–10″ deep
Measure the area before buying. This avoids the “looks huge in real life” problem.
2. Height and Clearance
Check:
- Distance between tiers
- Total height
If you use it for bottles (syrups, lotions, oils), measure the tallest one. Make sure it fits under the upper tier with some breathing room.
3. Material Comparison
Here’s a quick way to think through materials:
| Material | Look & Feel | Pros | Cons |
|---|---|---|---|
| Wood | Warm, natural | Easy to refinish, can be food-safe | Can warp with water if unfinished |
| Metal | Modern, industrial | Strong, thin profile, durable | Can scratch counters if no pads |
| Bamboo | Light, clean, eco feel | Lightweight, usually affordable | Softer, can dent more easily |
| Plastic | Simple, functional | Easy to clean, cheap | Looks cheaper, less durable over time |
Choose based on where it goes. For a farmhouse kitchen, wood works. For a sleek office, metal or black wood makes more sense.
4. Style Details
Look at:
- Corner shape (sharp vs rounded)
- Edge style (flat, raised lip, railings)
- Color and finish (natural, stained, painted, powder-coated)
A raised lip or shallow side rail helps keep items from sliding off when someone bumps the tray.
5. Stability and Base
This part gets ignored a lot, but it matters.
Check:
- Width of the bottom tray vs height
- Weight of the base material
- Feet or pads underneath
A good tray:
- Has rubber or felt pads
- Doesn’t rock if you press on one corner
- Feels heavier at the bottom than the top
6. Maintenance and Cleaning
Think about:
- Is the finish water-resistant?
- Will it handle spills from coffee, oils, or soap?
- Can you wipe it with mild cleaner without damage?
For kitchen or bathroom use, a sealed or coated surface is best. Raw wood looks nice but stains fast and holds odors.
Know more: Hanobe 2 Tier Tray Stands
How to Build a Wooden 2 Tier Rectangle Tray (Step by Step)
If you prefer something custom, a simple wooden 2 tier rectangle tray is totally doable with basic tools.
Basic Design Example
You (singular) can adjust, but here’s a solid starting point:
- Bottom tray: 16″ long x 10″ wide
- Top tray: 12″ long x 8″ wide
- Space between tiers: about 10″
- Overall height: around 14″–16″ including feet
Tools Needed
- Tape measure and pencil
- Square
- Saw (miter saw, circular saw, or even a good handsaw)
- Drill and drill bits
- Sandpaper (120, 180, 220 grit) or sander
- Clamps (helpful but not mandatory)
- Screwdriver or drill driver
Materials
- 3/4″ thick wood board for tray bottoms (pine, oak, or other hardwood)
- Optional 1 1/2″ or 2″ wide strips for side rails
- Center post: Either a wooden dowel, turned post, or metal pipe/rod
- Screws (1 1/4″–1 1/2″ wood screws)
- Wood glue (if using wood center post or rails)
- Wood finish (polyurethane, oil, or food-safe finish if needed)
- Rubber or felt pads for the bottom
Step 1: Plan the Size and Layout
Measure the spot where the tray will live. Decide:
- Max length and depth
- Max height (watch for cabinets or shelves above)
Sketch a quick rectangle for the bottom tier, then a slightly smaller one on top. A noticeable size difference looks better and gives easier access to the bottom tier.
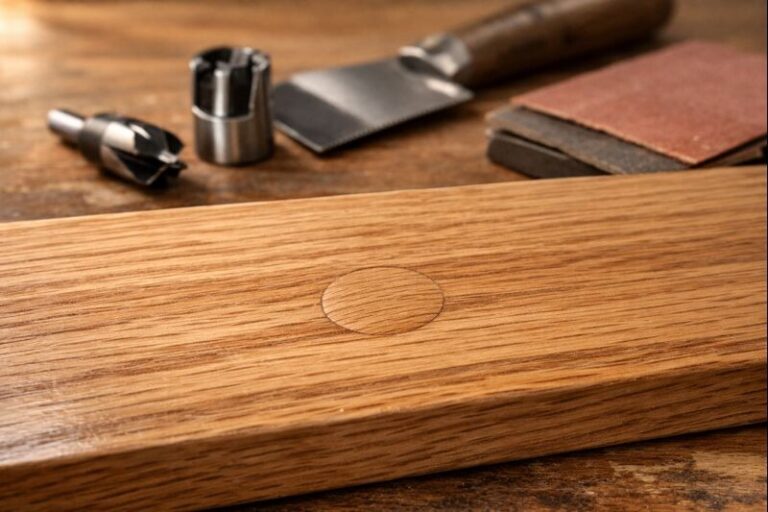
Step 2: Cut the Tray Bottoms
- Mark your two rectangles on the wood.
- Use a square so corners stay at 90°.
- Cut both pieces carefully.
- Check that edges are straight and corners line up.
Optional: lightly round the corners with sanding or trimming if you want a softer look.
Step 3: Add Side Rails or Lips (Optional but Helpful)
You can:
- Keep trays flat and just ease the edges, or
- Add shallow rails around the edges for a more secure tray
For rails:
- Cut 4 strips for each tray: Two to match the length. Two to match the width minus the thickness of the long rails
- Glue and clamp rails around each tray bottom.
- Add a couple of brad nails or short screws if you want extra strength.
Aim for rails around 3/4″–1″ high so they keep items in place but don’t hide everything.
Step 4: Mark and Drill Center Holes
Find the center of each tray:
- Measure length and divide by two.
- Measure width and divide by two.
- Mark the crossing point.
Drill:
- A hole in the bottom tray for attaching the center post from below.
- A hole in the top tray for the post to pass through or fasten into.
Choose a drill bit that matches your dowel or hardware size.
Step 5: Prepare the Center Post
Two common options:
1. Wooden dowel/post:
- Cut to your chosen height between tiers, plus extra if it passes through the bottom.
- Lightly round the ends and sand smooth.
2. Metal rod or pipe:
- Cut to length if needed (or buy pre-cut).
- Use matching screws or threaded rods and nuts to attach.
Make sure the post is straight and not warped. That keeps the upper tray level.
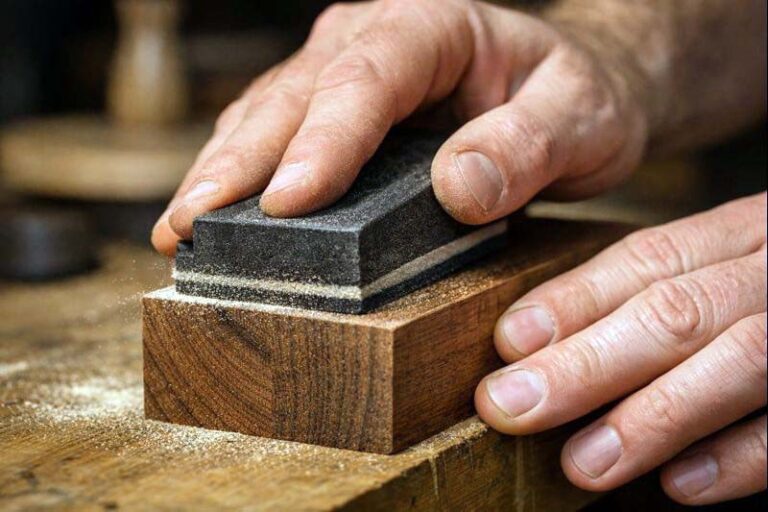
Step 6: Sand Everything Smooth
Work through grits:
- 120 grit to remove marks and roughness
- 180 grit to refine
- 220 grit for a nice touch-ready surface
Break sharp edges slightly so the tray feels good in the hand and doesn’t chip easily.
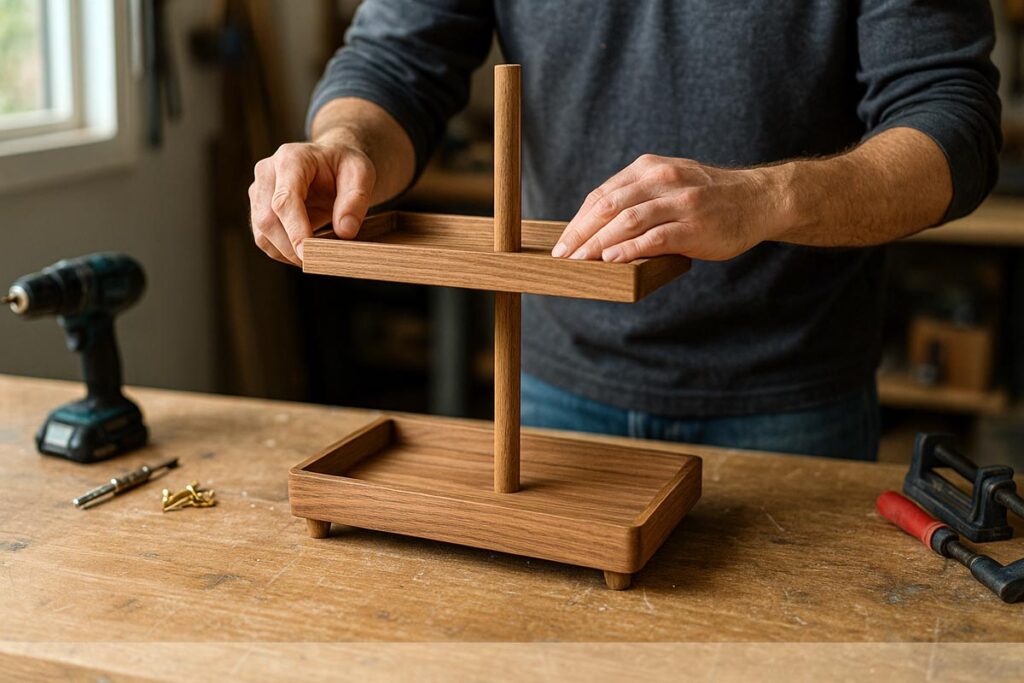
Step 7: Dry Fit the Whole Tray
Before any glue or finish:
- Set the bottom tray down.
- Insert or attach the center post.
- Place the top tray on the post.
Check:
- Is the top tray level?
- Are the trays centered on each other?
- Does it feel stable if you gently press on the sides?
Adjust hole positions or post length now, not later.
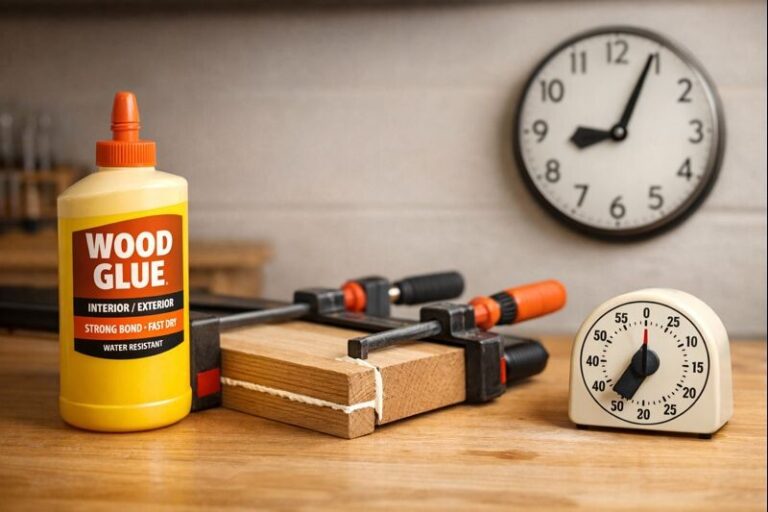
Step 8: Attach the Center Post
For a wooden dowel post:
- Use wood glue in the holes.
- Drive a screw from underneath the bottom tray into the post for strength.
- For the top tray, either glue the post into the hole or secure with a screw from above, then hide the screw with a small wood plug if you want.
For metal rod or pipe:
- Use screws and brackets if the rod allows it, or
- Use a threaded rod with nuts and washers that clamp the trays in place.
The goal is solid, no wobble.
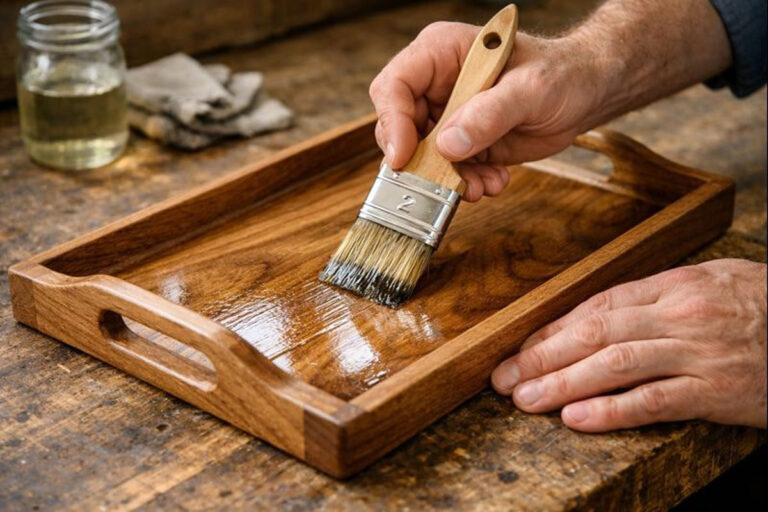
Step 9: Apply Finish
Choose based on where it’ll sit:
- Kitchen/coffee bar: A few coats of clear polyurethane or wiping varnish works well.
- Bathroom: Water-resistant clear coat to handle steam and splashes.
- For food contact (cookies, wrapped snacks, etc.): A food-safe oil or wax on wood surfaces.
Apply:
- Wipe off dust.
- Apply the first coat evenly.
- Let it dry fully.
- Lightly sand with very fine grit.
- Add 1–2 more coats.
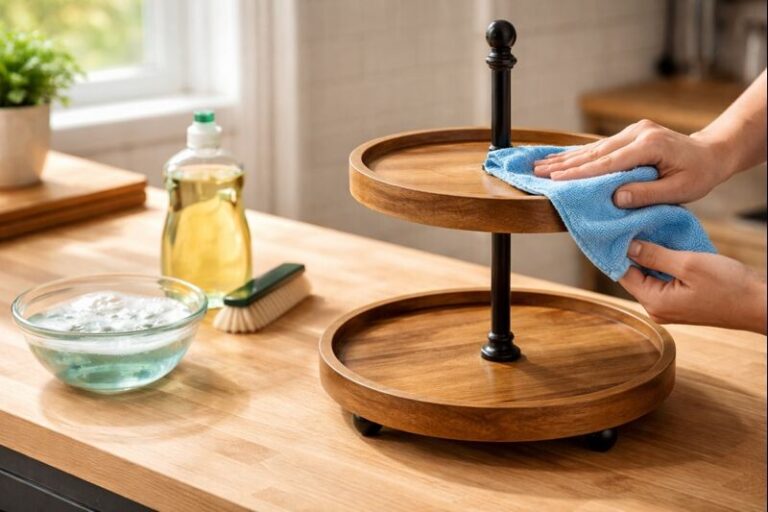
Step 10: Add Feet or Pads
Stick felt or rubber pads under the bottom tray:
- Protects your counter or table
- Adds grip, reducing sliding and rocking
- Makes it feel more “finished”
Now the tray is ready for daily use.
See my article on: Farmhouse 2 Tier Tray Stands
Styling and Using a 2 Tier Rectangle Tray
A few simple rules help keep it looking clean instead of cluttered.
Tips:
- Group by use – Coffee items together, skincare together, etc.
- Mix heights – Taller items at the back, shorter at the front.
- Leave breathing room – Don’t fill every inch. Empty space makes it look intentional.
- Use small containers – Jars, bowls, or cups keep loose items under control.
- Add one decorative piece – A small plant, framed mini print, or candle can finish the look.
If something keeps getting knocked over or lost, either move it off the tray or give it its own small container.
See ideas: 2 Tier Tray Decor Ideas
Care, Safety, and Long-Term Use
To keep your tray working well:
- Wipe spills quickly, especially oils or colored liquids.
- Don’t overload the top tier with heavy glass or stone items.
- Keep it away from constant splashes or standing water if the material doesn’t like moisture.
- Tighten any screws or hardware once in a while if you notice a wobble.
Around kids or pets, avoid stacking heavy or breakable items up high. Stability matters more than aesthetics there.
Final Thoughts
A 2 tier rectangle tray seems like a small item, but it has a big impact on how a space feels. When you pick the right size and material, it instantly calms a chaotic counter or table. Building one instead of buying also lets you dial in the exact look and dimensions that fit your home. With a little planning and attention to stability, it becomes one of those pieces you use every single day without thinking about it.
To recap the basics:
- Understand what a 2 tier rectangle tray does and where it fits best.
- Weigh benefits vs drawbacks so you avoid wasted money and clutter.
- When buying, check size, material, stability, and finish instead of just style.
- When building, follow a clear, step-by-step plan and focus on straight cuts, smooth sanding, and solid connections.
Do that, and you end up with a tray that isn’t just decor. It becomes a small, reliable tool that keeps your daily routines smoother and your surfaces cleaner.