How to Apply Polyurethane Glue: 6 Costly Mistakes to Avoid Today
Apply polyurethane glue by lightly dampening one surface, spreading a thin coat on the dry surface, assembling the joint, and clamping evenly until it sets, then scraping off any cured foam. Polyurethane glue is a moisture-activated adhesive that expands as it cures, which makes it useful for mixed materials and tricky repairs—but it punishes sloppy prep.
If you landed here because you’re thinking about “polyurethane” as a clear finish, that’s a different product. For trays and serving pieces, my guide on the food-safety question around cured clear coats covers that side of the shop.
Contents Here
- 1 What’s the quick, safe process in 60 seconds?
- 2 What does polyurethane glue do, and when is it the right choice?
- 3 What tools and supplies help polyurethane glue behave?
- 4 How do you prep the joint so polyurethane glue bonds hard?
- 5 How do you apply polyurethane glue step by step?
- 6 How much polyurethane glue should you use?
- 7 How do you clamp polyurethane glue without starving the joint?
- 8 How long should polyurethane glue stay clamped?
- 9 How do you handle foam squeeze-out without wrecking the surface?
- 10 How do you clean polyurethane glue off hands, tools, and finished wood?
- 11 What are the most common polyurethane glue mistakes?
- 12 How do you troubleshoot polyurethane glue problems?
- 13 When should you pick a different adhesive?
- 14 FAQs about applying polyurethane glue
What’s the quick, safe process in 60 seconds?
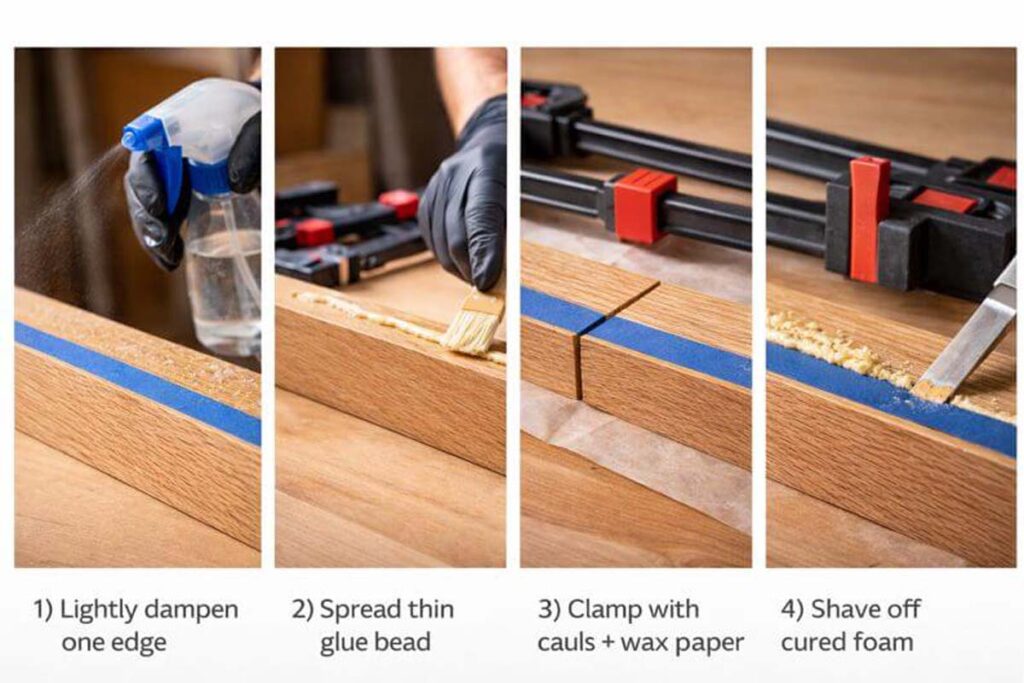
A clean, tight-fitting joint plus a thin glue film gives polyurethane glue the best chance to cure strong. Lightly dampen one surface, apply glue to the dry surface, assemble, and clamp evenly until set—then leave the joint alone until full cure.
Quick steps
- Dry-fit the parts and set your clamps.
- Clean dust/oil; scuff shiny surfaces.
- Lightly dampen one surface (both for dense hardwoods).
- Apply glue to the dry surface in a thin layer.
- Assemble and clamp with even, moderate pressure.
- Remove foam squeeze-out with a chisel/scraper after it firms up.
- Wait for full cure before sanding, stressing, or finishing.
Learn more: How to Clean Up Polyurethane Glue: 7 Fast Fixes for Any Surface
What does polyurethane glue do, and when is it the right choice?
Polyurethane glue bonds by reacting with moisture and expanding as it cures, which helps it grab onto surface texture on many materials. Gorilla describes Original Gorilla Glue as a moisture-activated polyurethane adhesive that expands and can bond wood, stone, metal, ceramic, glass, and more.
I reach for it when:
- I’m bonding dissimilar materials (wood to metal/stone/ceramic).
- The assembly is fussy and I want more working time than many fast-setting glues (Lee Valley lists a 20-minute minimum open assembly time at room conditions).
- The project sees moisture, with the caveat that “waterproof” depends on the specific product and exposure.
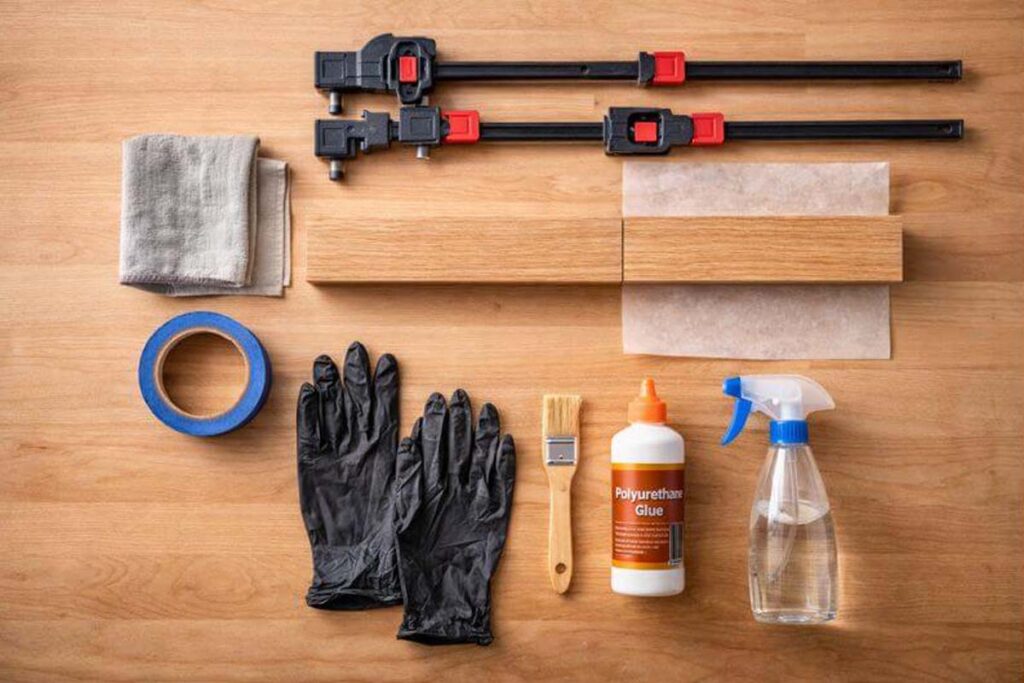
What tools and supplies help polyurethane glue behave?
A small kit keeps polyurethane glue from foaming onto show surfaces and turning cleanup into carving practice. Gloves, controlled moisture, and sharp scraping tools matter more here than fancy spreaders.
My go-to setup
- Nitrile gloves (Gorilla notes the glue can be a skin sensitizer and recommends gloves).
- Spray bottle or damp rag for controlled wetting.
- Small disposable brush or stick for spreading thin films.
- Clamps + cauls (scrap boards) + wax paper (keeps cauls from becoming permanent).
- Blue painter’s tape for masking joint edges.
- Sharp chisel or card scraper for cured foam.
How do you prep the joint so polyurethane glue bonds hard?
A polyurethane glue joint holds best when the mating surfaces are clean, dust-free, and tight-fitting. Gorilla’s directions call for clean, dust-free, tight-fitting surfaces and tell you to rough up shiny materials so the glue can “bite.”
Prep that actually changes the outcome
- Dry-fit first: clamp once with no glue, confirm alignment, and mark clamp locations.
- Remove barriers: vacuum sanding dust; wipe off oil/grease from hardware or metal parts.
- Scuff slick surfaces: sand metals, glass, or glossy plastics lightly so the glue keys in.
- Mask show edges: tape both sides of the seam if squeeze-out would stain or interfere with finishing.
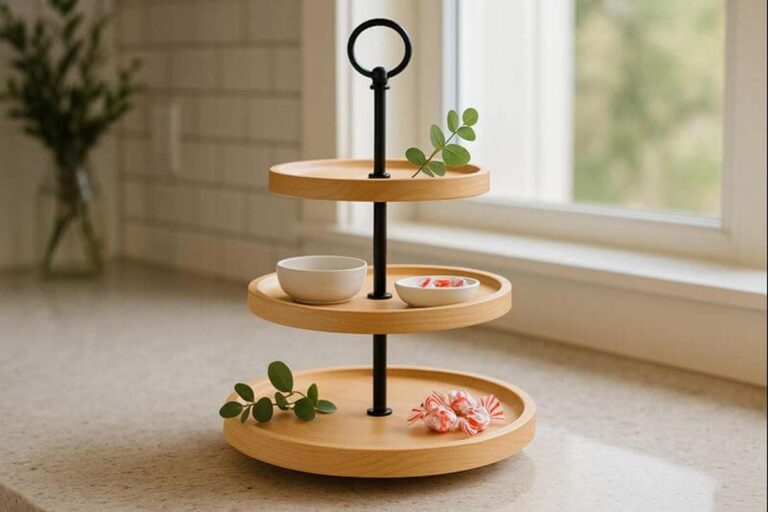
If you’re repairing a tray stand or hardware area, my walkthrough on getting a solid bite with wood screws in real wood helps you avoid “glue as a crutch” fixes.

How do you apply polyurethane glue step by step?
You apply polyurethane glue by dampening one surface, spreading a thin layer on the dry surface, assembling promptly, and clamping evenly until the glue sets. That sequence matches Gorilla’s directions and keeps the expansion from pushing the joint open.
1) Set your clamps and cauls before the bottle opens
A staged clamp-up keeps you inside the open assembly window and prevents panic adjustments mid-foam. Lee Valley lists a minimum 20-minute open assembly time at room temperature and 50% humidity.
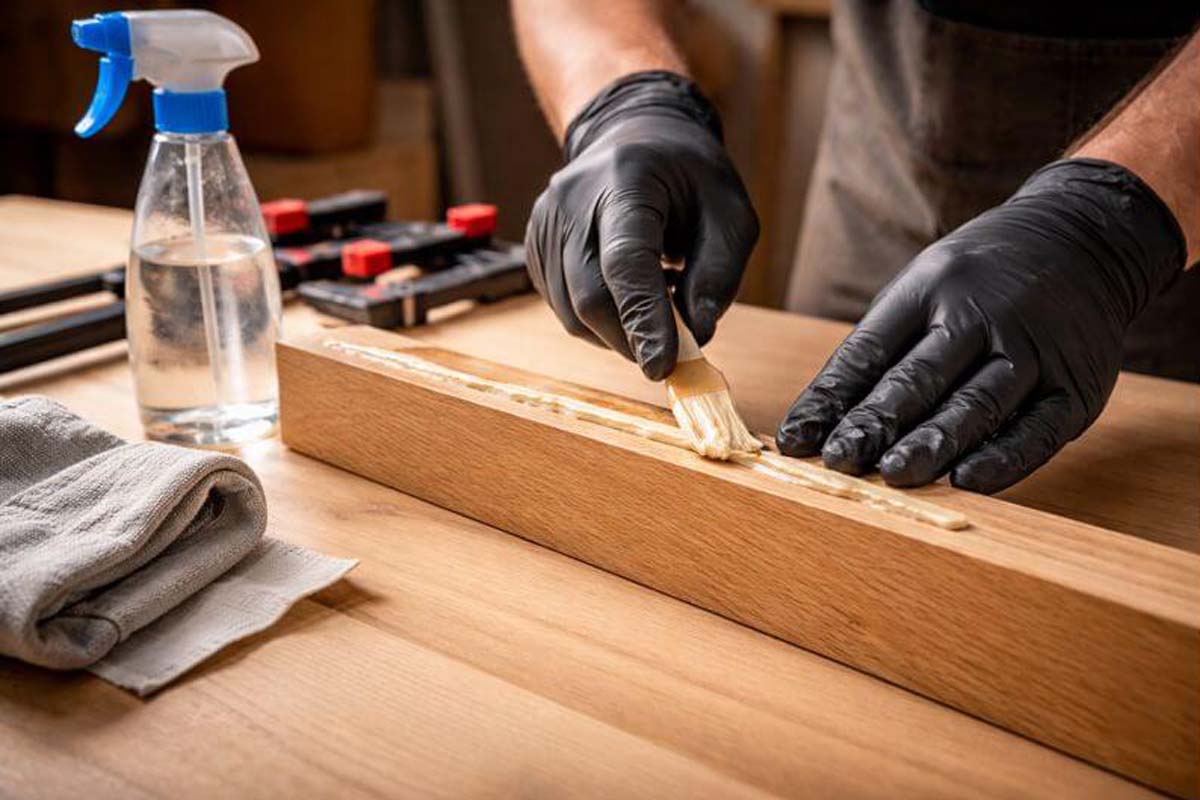
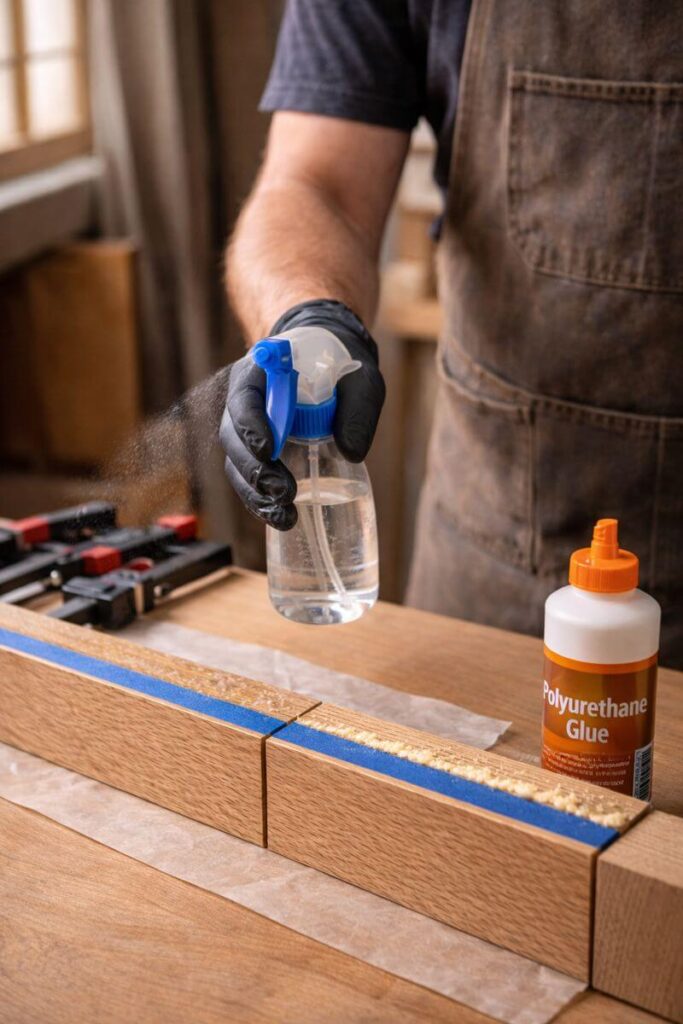
2) Lightly dampen one surface
Moisture triggers cure, so you want “damp,” not “wet.” Gorilla says to lightly dampen one surface and not saturate it, and to dampen both surfaces for dense hardwoods.
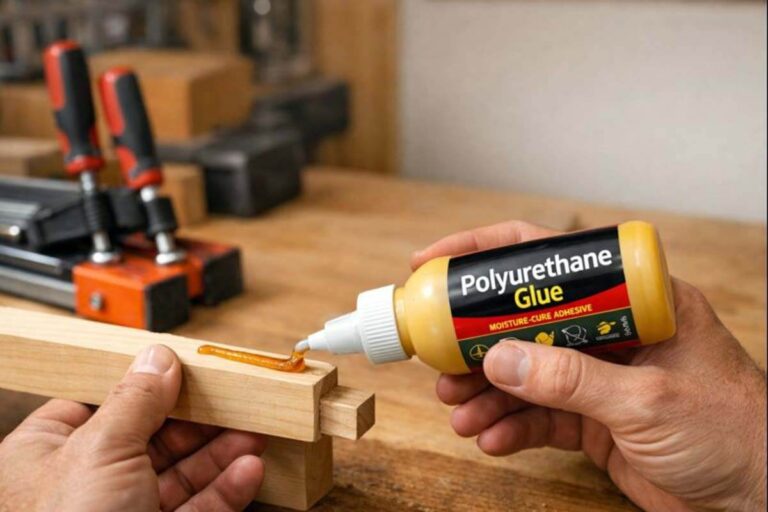
3) Apply glue to the dry surface
A thin, even film beats blobs because the foam isn’t the strong part of the bond. Gorilla says to apply glue to the dry surface and not over-apply, and it gives a coverage guide of ½ ounce per square foot.
4) Assemble and clamp with even pressure
Clamps keep expansion from pushing parts apart and keep the glue line consistent. Gorilla tells you to distribute pressure evenly and clamp for 1–2 hours; Lee Valley calls for moderate clamping force (about 30–60 psi at the point of contact).
5) Don’t “check it” every five minutes
Movement breaks a fresh glue line. Set the assembly aside where it won’t get bumped until clamp time passes.
How much polyurethane glue should you use?
You use less polyurethane glue than you think because it expands as it cures. Gorilla states the glue expands up to 3 times and suggests ½ ounce per square foot as a general guide.
My practical rule: run a small bead, then spread it into a thin haze that still looks wet. If you see thick ridges, you’re buying yourself foam cleanup instead of strength.
For a broader baseline on glue coverage (and what “enough” looks like in real joints), my guide on dialing in glue quantity without starving the joint is a good companion read.
How do you clamp polyurethane glue without starving the joint?
You clamp polyurethane glue with moderate, even pressure that holds parts in contact without squeezing all the adhesive out. Lee Valley recommends about 30–60 psi at the point of contact and warns against overclamping, especially on dense hardwoods.
Clamp tips that prevent surprises
- Use cauls to spread pressure across edges and panels.
- Add wax paper under cauls to stop accidental bonding.
- Tighten clamps until the joint closes, then stop—don’t chase foam.
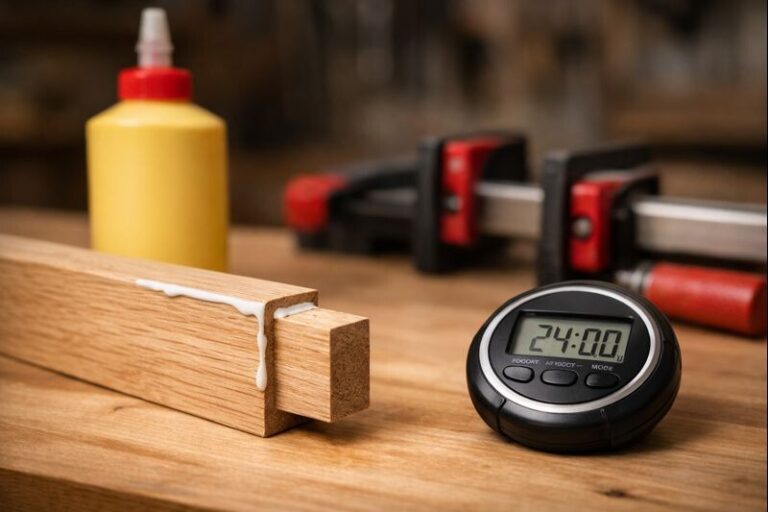
How long should polyurethane glue stay clamped?
Polyurethane glue stays clamped until it reaches handling strength, and it reaches full cure later. Gorilla specifies 1–2 hours of clamp time and 24 hours for best cure; Lee Valley recommends a minimum 2 hours and says overnight clamping gives best results.
Shop-safe approach: follow your bottle’s label first, and default to leaving clamps on overnight when the schedule allows.
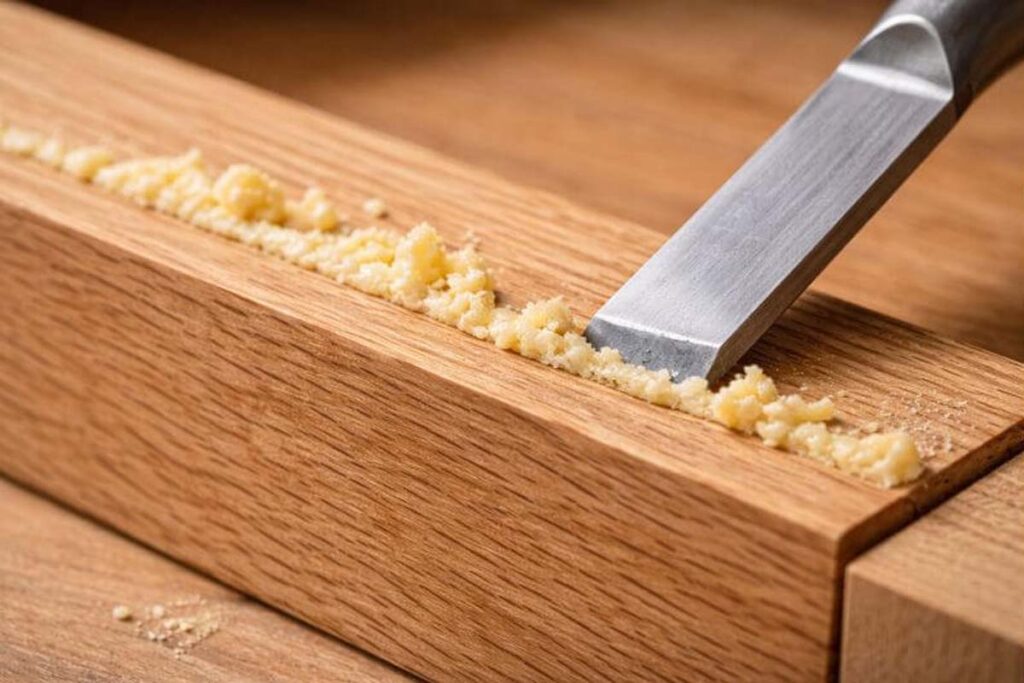
How do you handle foam squeeze-out without wrecking the surface?
You manage polyurethane squeeze-out by preventing it near show faces and removing the foam mechanically once it firms up. Lee Valley states the foamy squeeze-out has no strength and comes off easily with a sharp chisel or scraper.
Two clean methods
- Tape-and-peel: mask both sides of the seam; pull tape after the glue gels but before it hardens fully.
- Chisel-and-scrape: let foam set up, then pare it flush with a sharp chisel held low.
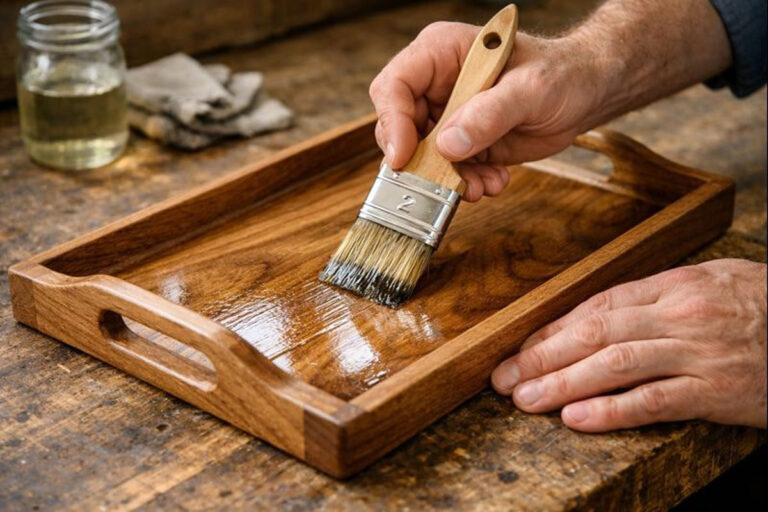
If you’re finishing a tray after glue-up, stray residue can telegraph through clear coats; this is the same failure pattern I cover in fixing cloudy clear topcoats from contamination.
How do you clean polyurethane glue off hands, tools, and finished wood?
You clean polyurethane glue best by avoiding skin contact, wiping wet squeeze-out early, and scraping/sanding once cured. Gorilla recommends gloves, wiping uncured squeeze-out with a dry cloth (or using standard paint thinner on surfaces), and removing cured glue mechanically by sanding, chiseling, scraping, or picking.
What I actually do in the shop
- Hands: wear gloves; if you get glue on skin, follow the manufacturer’s cleanup steps and skip solvent experiments (Gorilla specifically advises against alcohol or acetone for skin).
- Tools: keep glue off your good brushes; use disposable spreaders.
- Finished wood: test any cleaner in a hidden spot first, because the finish can soften long before the glue does.
For general cleanup techniques that protect wood fibers, my guide on removing stubborn glue without gouging the surface can help (even though it’s written around common wood glues).
What are the most common polyurethane glue mistakes?
Most polyurethane glue failures come from dry joints, too much glue, or clamp setups that let the expansion move parts. Gorilla’s directions emphasize moisture, thin application, and clamping, and Lee Valley reinforces moderate clamp pressure and notes the foam has no strength.
Mistakes I see the most
- Skipping moisture (slow or uneven cure).
- Over-applying (foam everywhere; messy seams).
- Under-clamping (joints creep open as the glue expands).
- Treating foam as “gap filling strength” (foam fills space but doesn’t add strength).
- Gluing in a cold shop (Lee Valley and Gorilla both call out performance above 40°F / 5°C, best around room temperature).
How do you troubleshoot polyurethane glue problems?
You troubleshoot polyurethane glue by matching the symptom to moisture, temperature, pressure, and surface prep. Lee Valley states water is the curing catalyst and gives temperature guidance, and Gorilla’s directions show the same moisture → glue → clamp sequence.
Why didn’t the glue cure?
Low moisture or a cold shop usually causes slow or incomplete cure. Lee Valley says water is the catalyst and recommends spritzing water when wood moisture is low, and it notes PUs require temperatures above 40°F (5°C) and work best at 68°F (20°C).
Why did the joint push apart?
Too much glue and not enough clamp control lets expansion act like a jack. Gorilla says the glue expands and tells you to clamp with evenly distributed pressure.
Why is the bond weak even though it “filled the gap”?
Foam fills space but doesn’t replace wood-to-wood contact. Lee Valley explicitly says the foamy squeeze-out has no strength, which is the same issue inside an oversized gap.
When should you pick a different adhesive?
You pick another adhesive when you need true gap-filling strength, longer repositioning, or easy cleanup on clean wood joints. Lee Valley frames polyurethane as a good choice where you might select epoxy (like dissimilar materials), which hints at the overlap and the limits.
Common swaps
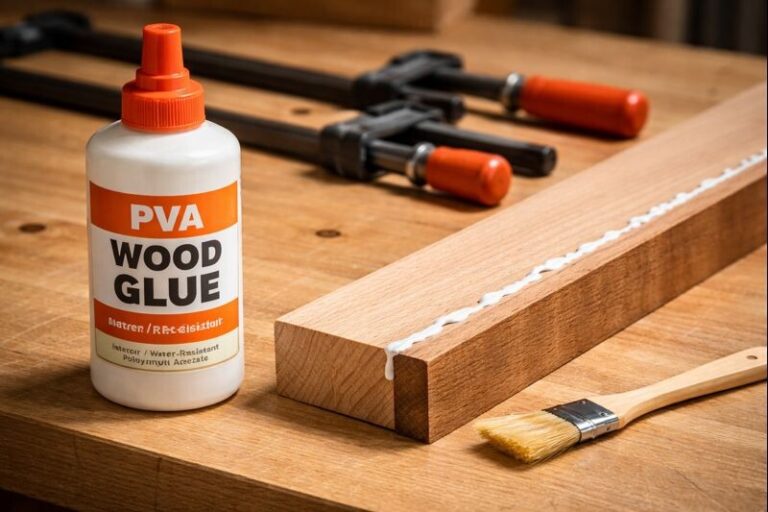
- Tight indoor wood joints: a quality PVA wood glue often clamps cleaner and sands easier.
- Real gaps or missing material: epoxy handles gap filling more reliably than foamed polyurethane.
- Fast tack, tiny parts: CA glue wins for speed when the joint design supports it.
If you’re weighing glue types for repairs, my comparison on epoxy versus wood glue for strength and cleanup can help you choose the right lane.
FAQs about applying polyurethane glue
Do you dampen one side or both?
You dampen one surface for most joints and dampen both surfaces for dense hardwoods. Gorilla explicitly recommends lightly dampening one surface and notes dense hardwoods benefit from dampening both sides.
How long do you have before the glue starts grabbing?
You usually have time to assemble if the clamp plan is ready, but you still need to work with purpose. Lee Valley lists a minimum 20-minute open assembly time at room temperature and 50% humidity.
Can you sand and stain over polyurethane glue?
You can sand cured polyurethane glue, but you still want to remove squeeze-out because residue can interfere with stain and finishing. Lee Valley notes polyurethane adhesives accept stains more readily than most adhesives, and it recommends sanding spots if you notice them while staining.
Is polyurethane glue actually waterproof?
Some polyurethane glues resist water well, but the rating depends on the product and exposure. Gorilla markets Original Gorilla Glue as waterproof, while Lee Valley notes Gorilla Glue is water-resistant and not intended for continuous submersion. If you wish to see waterproof wood glue click here.