How to Seal a Wooden Serving Tray Like a Pro (Easy DIY Guide)
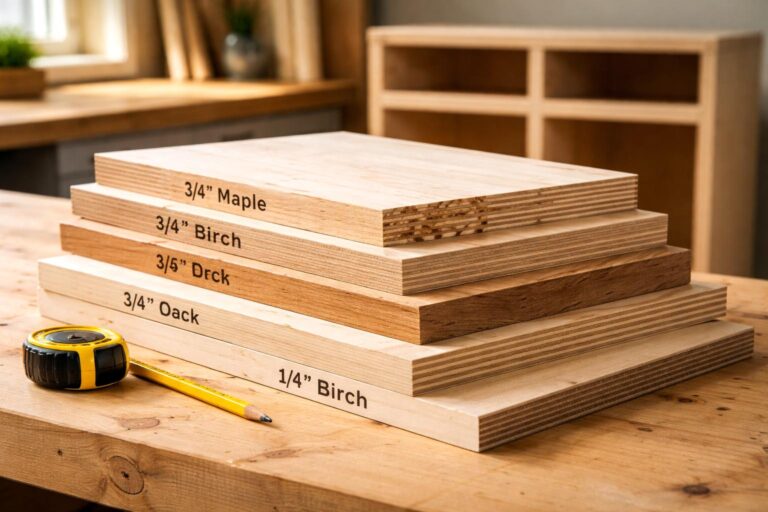
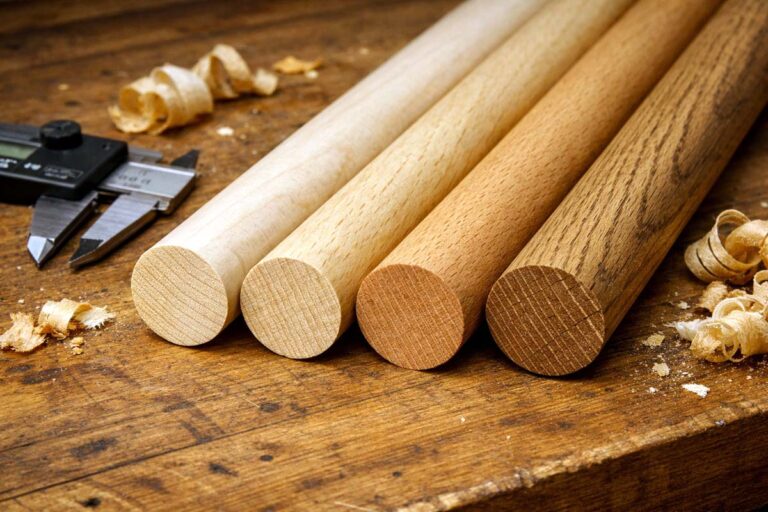
To seal a wooden serving tray, start by understanding what kind of use the tray will get and what type of wood you’re working with. That simple step decides which finish to use, how long it’ll last, and how safe it’ll be for food.
A good seal doesn’t just protect the wood — it adds beauty, durability, and makes cleaning easier. If you skip sealing or use the wrong product, moisture and stains will eventually ruin the surface.
So let’s walk through how to seal a wooden serving tray properly. You’ll learn what products to use, the steps to follow, and how to get a smooth, lasting finish.
Why Sealing Matters
Unsealed wood absorbs moisture, oil, and stains easily. That means water rings, cracks, and even mold over time.
Sealing prevents that damage by closing the pores of the wood. It keeps out moisture and creates a layer that’s easy to wipe clean.
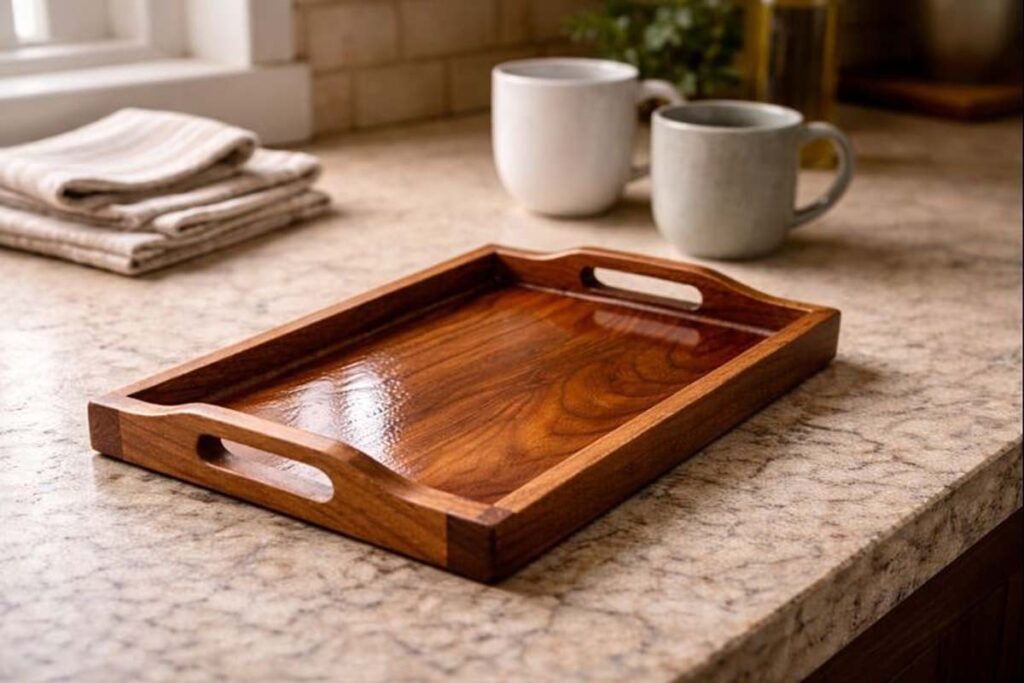
Plus, a well-sealed tray looks better. The right sealer brings out the grain and gives your piece a warm, finished look.
If you plan to serve food, sealing is essential for hygiene too.
Choosing the Right Sealer
Not all sealers are safe for food contact or decorative use. Choosing the right one depends on how the tray will be used.
| Tray Type | Best Sealer | Reason |
|---|---|---|
| Decorative only | Polyurethane or lacquer | High gloss and long-lasting protection |
| Light food use (dry snacks, fruit) | Food-safe mineral oil or beeswax | Non-toxic and easy to reapply |
| Heavy use (wet foods, regular washing) | Food-grade polyurethane or epoxy resin | Strong, waterproof finish |
If the tray will hold glasses, cups, or snacks, go for a food-safe oil or wax finish. If it’s more decorative, polyurethane or lacquer is fine.
Preparing the Tray
Preparation makes or breaks the finish. Before sealing, the surface needs to be clean, smooth, and dust-free.
Here’s what to do step by step:
- Clean the tray — Remove all dust and dirt with a slightly damp cloth.
- Inspect for damage — Fill any small cracks or dents with wood filler.
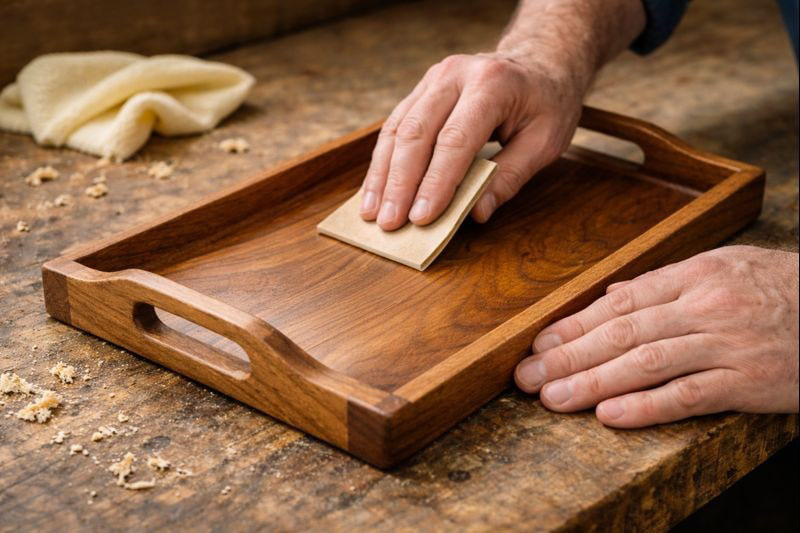
- Sand the surface — Use 120-grit sandpaper to smooth rough spots. Then move up to 220-grit for a fine finish.
- Wipe with tack cloth — Remove sanding dust before applying sealer.
You’ll notice how much smoother the wood feels after that. That smoothness helps the sealer go on evenly.
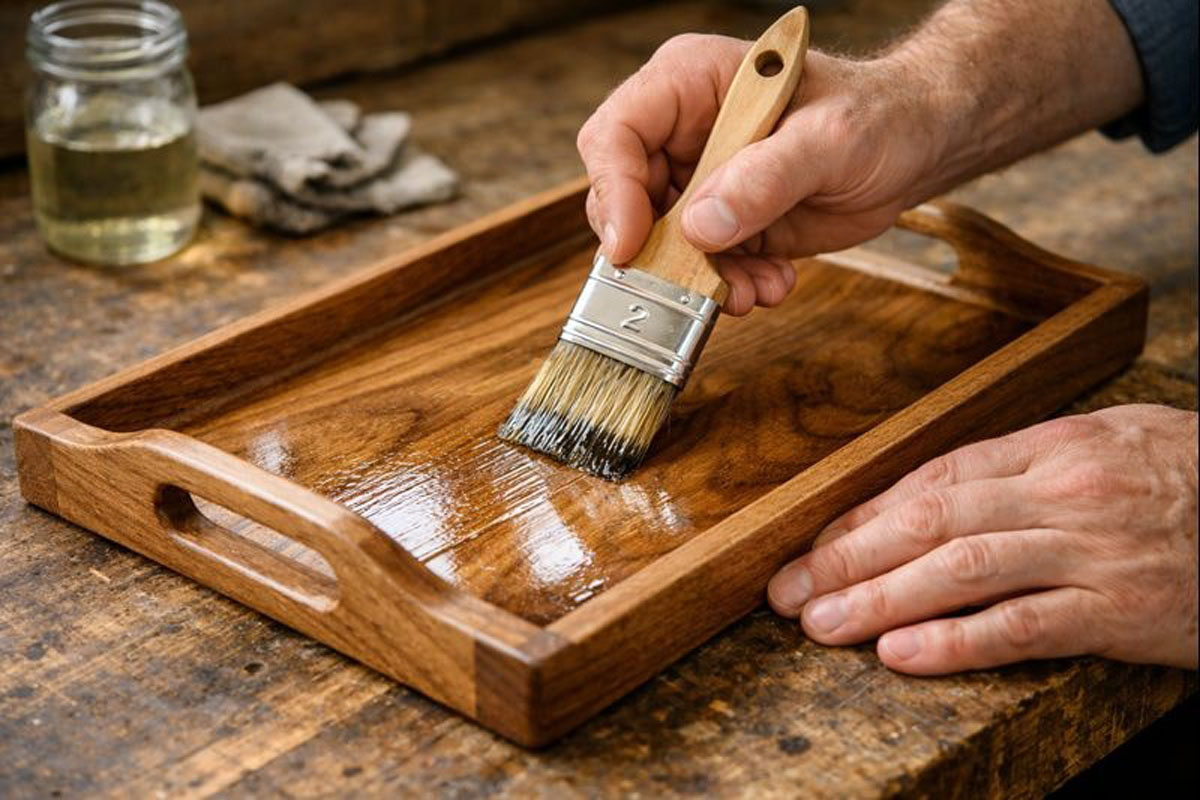
Applying the Sealer
There are two main ways to apply sealers — wiping and brushing. The method depends on the product you choose.
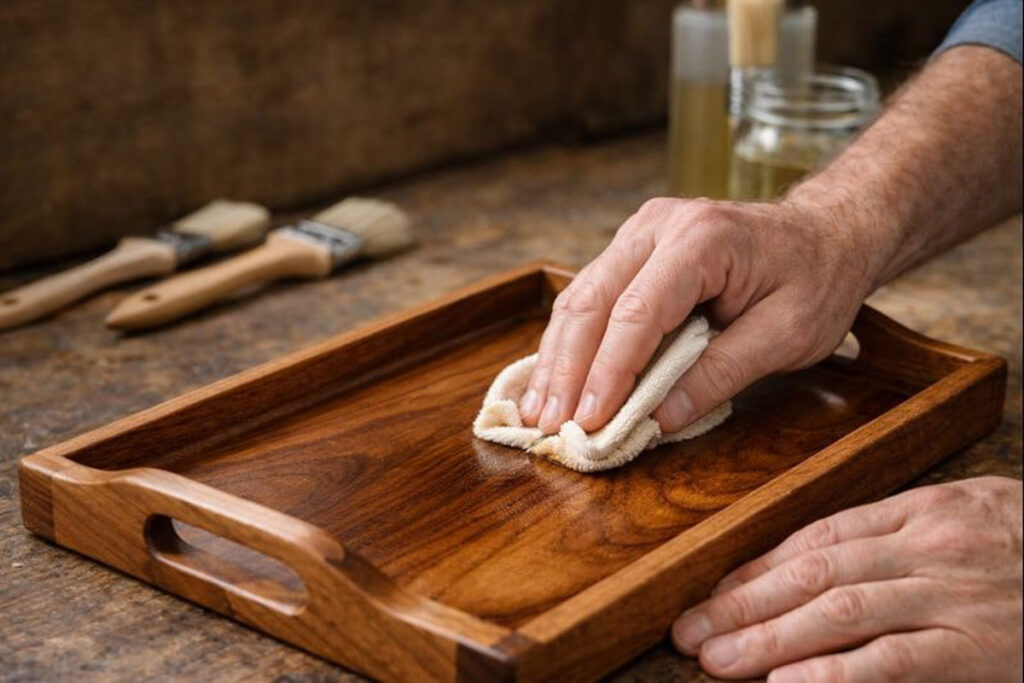
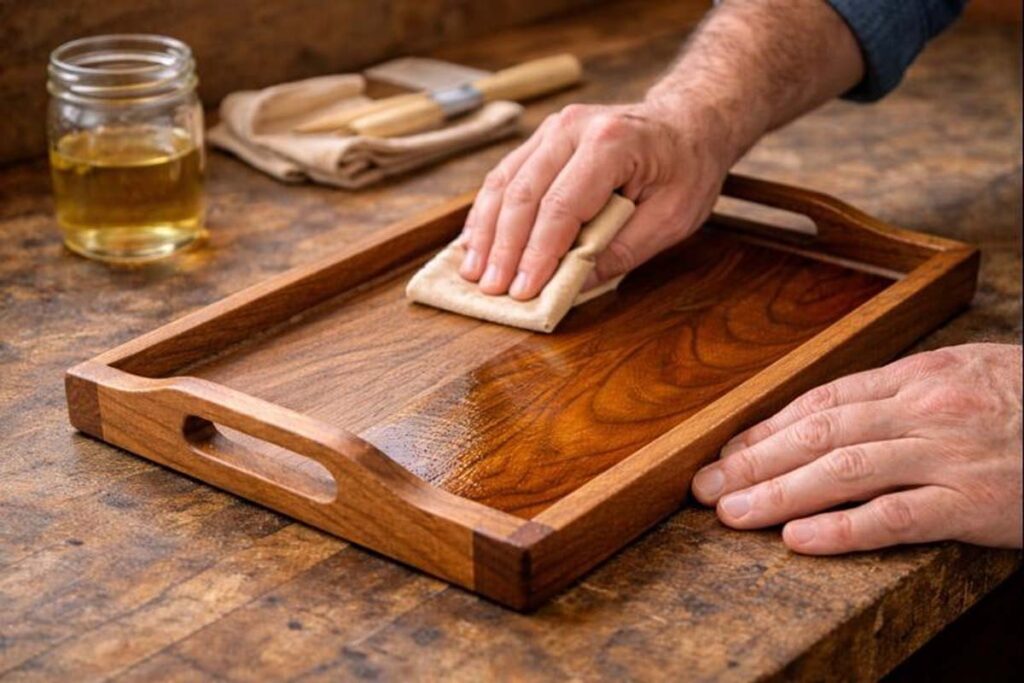
For oils and waxes:
- Apply a small amount with a soft lint-free cloth.
- Rub it along the grain, covering the entire surface.
- Let it soak for about 15–20 minutes.
- Wipe off excess oil.
- Repeat once or twice for deeper protection.
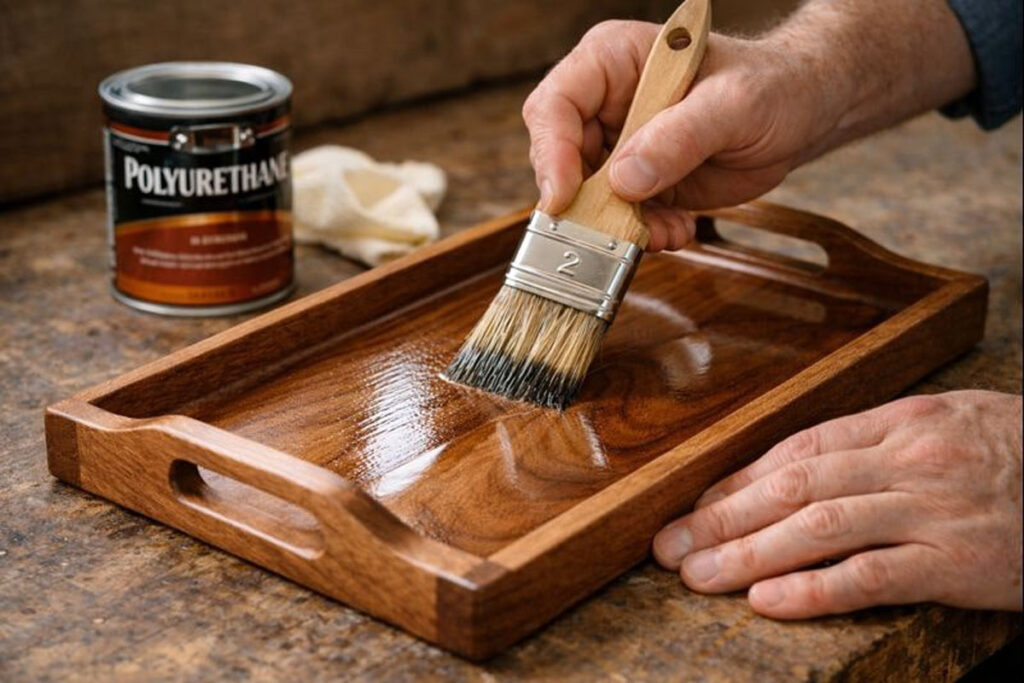
For polyurethane or resin finishes:
- Stir gently (don’t shake — that causes bubbles).
- Apply with a clean brush in long, even strokes.
- Let it dry completely — usually 4–6 hours.
- Lightly sand with 320-grit paper between coats.
- Apply at least two to three coats.
You’ll know it’s ready for another coat when the surface feels dry and slightly smooth, not tacky.
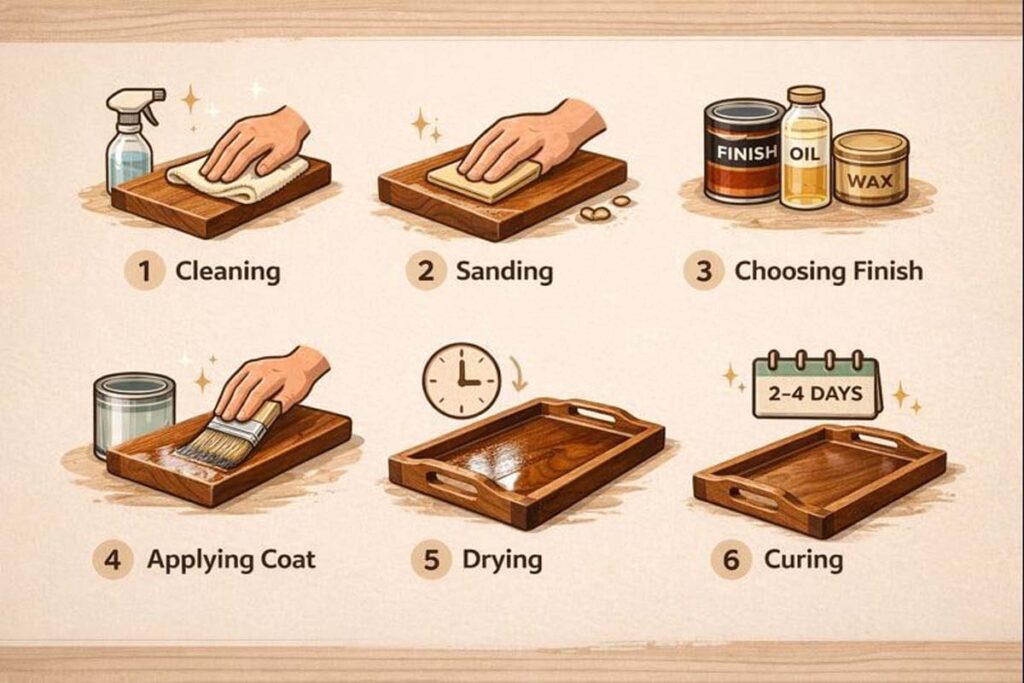
Drying and Curing
Drying and curing are two different things. And drying means the surface isn’t sticky anymore, but curing means the finish has hardened fully.
Oils and waxes may cure in 24–48 hours. Polyurethane can take up to 7 days for a full cure, depending on humidity and temperature.
Let the tray sit in a dust-free, well-ventilated space during this time. Avoid stacking or covering it too soon — trapped moisture can dull the finish.
Tips for a Smooth Finish
Here are a few things that make a big difference:
- Always sand lightly between coats.
- Apply thin layers instead of one thick coat.
- Use clean brushes or cloths only.
- Keep dust away while drying.
- Avoid direct sunlight during application — it dries too fast and causes streaks.
A small amount of patience goes a long way. A slow, careful finish looks smoother and lasts much longer.
Common Mistakes to Avoid
Even experienced woodworkers make sealing mistakes. Here’s what to watch out for:
- Using the wrong sealer: Don’t use non-food-safe finishes on trays that touch food.
- Skipping sanding: Rough surfaces cause uneven absorption.
- Rushing coats: If you recoat too early, you’ll trap moisture and cause cloudiness.
- Using dirty cloths or brushes: Even small debris can leave bumps.
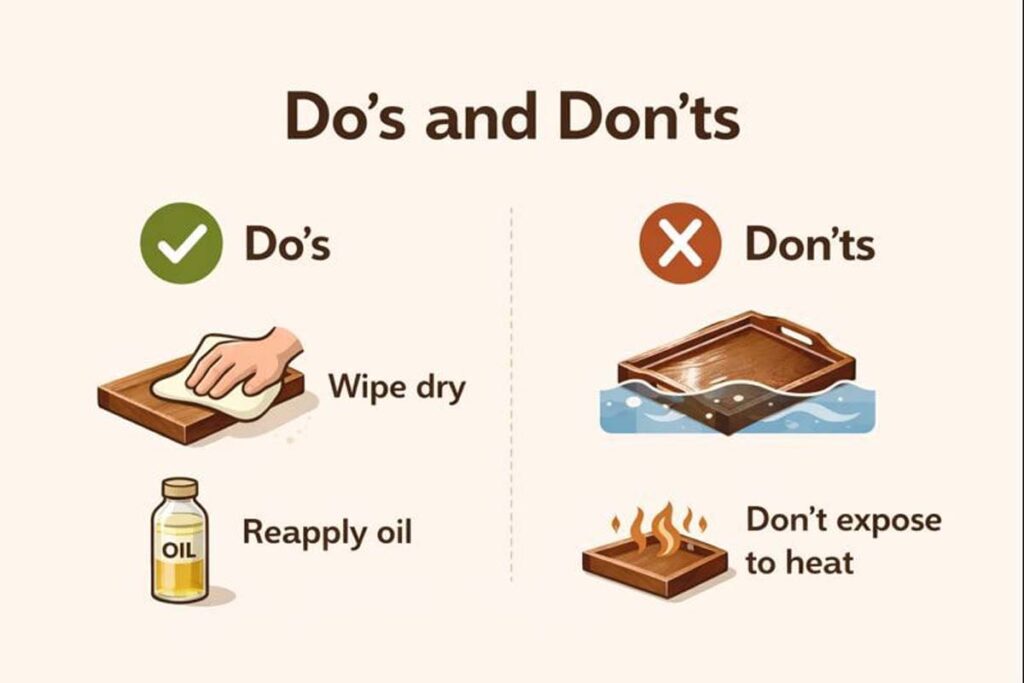
Maintenance After Sealing
Maintenance keeps the tray looking new. Even the best seal will wear down with time and use.
- Wipe clean with a damp cloth — never soak it.
- Reapply mineral oil or wax every few months if it’s a food-use tray.
- Keep away from extreme heat or humidity.
If scratches appear, lightly sand and reapply a thin coat of finish. It’ll look like new again with minimal effort.
When to Reseal
You’ll know it’s time to reseal when:
- Water doesn’t bead up on the surface anymore.
- The finish looks dull or patchy.
- The tray feels dry and rough to the touch.
If that happens, clean, sand lightly, and apply another coat of oil or finish. It’s quick maintenance that extends the life of your tray for years.
Frequently Asked Questions (FAQs)
What’s the best food-safe sealer for a wooden tray?
Use mineral oil or a beeswax-mineral oil blend. Both are non-toxic and easy to reapply. They protect the wood without affecting the taste or safety of food.
Can you seal a tray with polyurethane for food use?
Yes, but only if it’s labeled food-safe after curing. Once fully hardened, food-safe polyurethane forms a durable, waterproof layer that resists moisture and stains.
How long should you wait before using the tray after sealing?
Wait at least 24–48 hours for oils and up to 7 days for polyurethane or resin finishes. Full curing ensures the sealer has hardened and is safe to use.
Can I use olive oil or vegetable oil to seal the tray?
No, avoid edible oils like olive or vegetable oil. They can turn rancid over time. Stick with food-grade mineral oil or wax finishes for safety and longevity.
How often should I reseal a wooden serving tray?
If you use the tray often, reseal every 3–6 months. If it’s decorative, once a year is enough. You’ll notice when the finish dulls or water stops beading up — that’s your cue.
Final Thoughts
Sealing a wooden serving tray isn’t complicated — it just takes patience and care. When you follow each step correctly, the finish will protect your work and make it stand out.
Remember: good preparation, the right product, and thin, even coats make all the difference.
A sealed tray doesn’t just look better — it lasts longer and performs better every time you use it.