Is polyurethane food safe when cured? 5 Must-Know Cure Checks
Is polyurethane food safe when cured? Most of the time, for home projects, the practical answer is “yes for incidental contact,” as long as it’s fully cured and used the way a film finish is meant to be used.
However, “food safe” means different things in different settings, and that’s where people get tripped up.
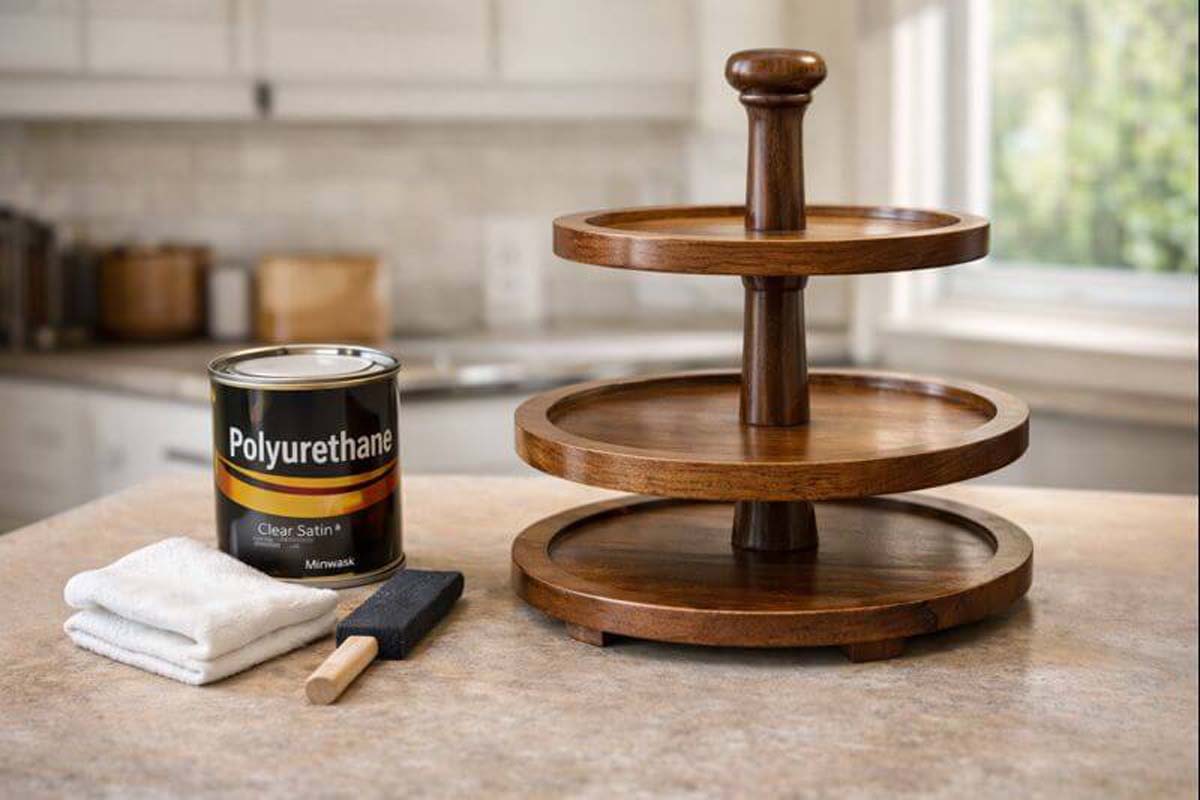
This guide breaks it down in plain terms so you can finish a tray stand (or serving tray) confidently and avoid the common mistakes that cause odor, tackiness, or worry later.
What “food safe” actually means in a woodshop
In woodworking, “food safe” usually means the cured finish isn’t expected to transfer anything harmful to food under normal use.
In manufacturing and regulation, “food contact” is a whole category with specific rules, testing, and conditions of use.
Here’s the simple way to think about it on a tray stand.
- Direct food contact: food sits straight on the finished wood (cookies on the tray surface, charcuterie on the wood, etc.).
- Indirect food contact: food is on a plate, liner, cupcake wrapper, parchment, doily, or dish, and the finished surface mainly deals with crumbs and quick wipe-downs.
For most tiered tray stands, indirect contact is the real situation, even when people call them “serving stands.”
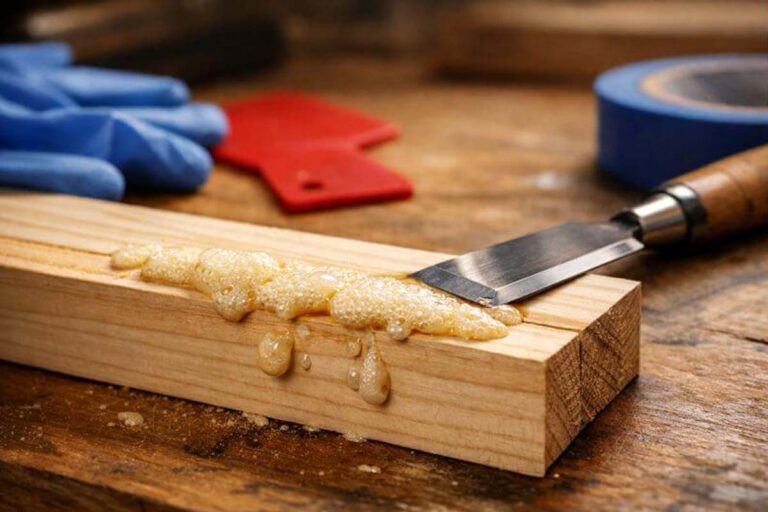
What polyurethane is, in plain terms
Polyurethane (in the wood finish sense) is a clear film finish that cures into a hard protective layer.
That cured layer is why people like it on trays: it resists water rings better than most oils and it cleans up easier.
You’ll usually see it in two families:
- Water-based polyurethane: clearer look, lower odor, faster cure in many cases.
- Oil-based polyurethane: warmer/amber tone, longer cure, stronger odor during dry-down.
Both can be great on a tray stand, but the cure time and “when it’s truly safe to use” is where you need to be strict.
If you’re still deciding between pine, oak, and maple, this best wood types for a sturdy tray stand breakdown makes the decision easier.
So… is cured polyurethane actually food safe?
The honest, useful answer for home tray projects
A fully cured polyurethane film is generally treated as inert for normal home use, especially for incidental or indirect contact.
That “fully cured” part matters more than brand names.
Why people bring up “FDA approved”
The FDA does regulate materials used in food-contact applications, and polyurethane resins show up in that world.
For example, 21 CFR 177.1680 covers certain polyurethane resins that “may be safely used” as food-contact surfaces for specific use conditions (notably dry foods, with limits).
But here’s the key shop takeaway.
A consumer wood finish is not automatically “FDA approved” just because it’s polyurethane. “Approved” and “compliant” depend on formulation, intended use, and conditions.
So instead of chasing buzzwords, use a practical rule:
Treat polyurethane as acceptable for trays and tray stands once fully cured, especially when food is plated or lined.
If you want extra reassurance, choose a product that specifically talks about indirect food contact in its guidance (some brands do).
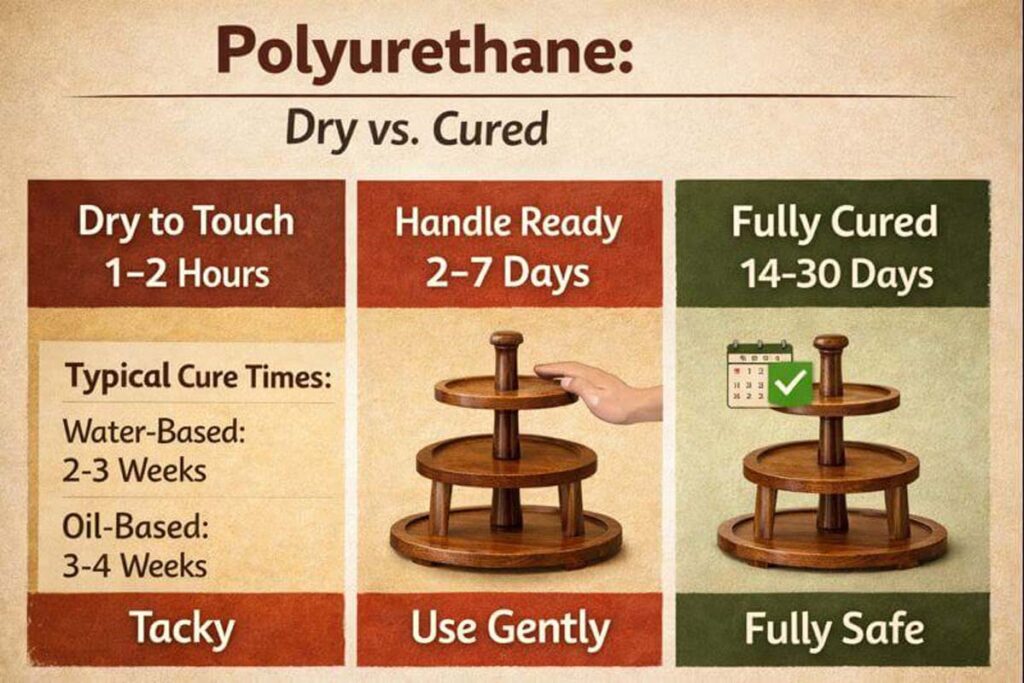
Dry vs cure: the mix-up that causes 90% of the stress
A finish can feel dry and still not be cured.
Cure is when the film reaches its intended hardness and stability.
Here’s a quick “shop language” table.
| Stage | What you notice | What it means | What to do |
|---|---|---|---|
| Tack-free / dry to touch | Not sticky | Surface solvents/water flashed off | Don’t stack items yet |
| Handle / light use | Can be touched carefully | Film is forming, still soft | Avoid plates dragging |
| Fully cured | No odor, hard feel, better scratch resistance | Finish reached normal service hardness | Normal use is appropriate |
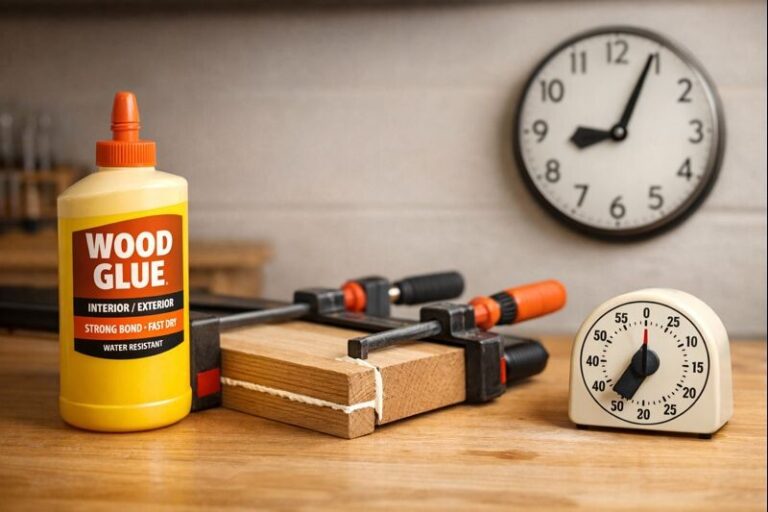
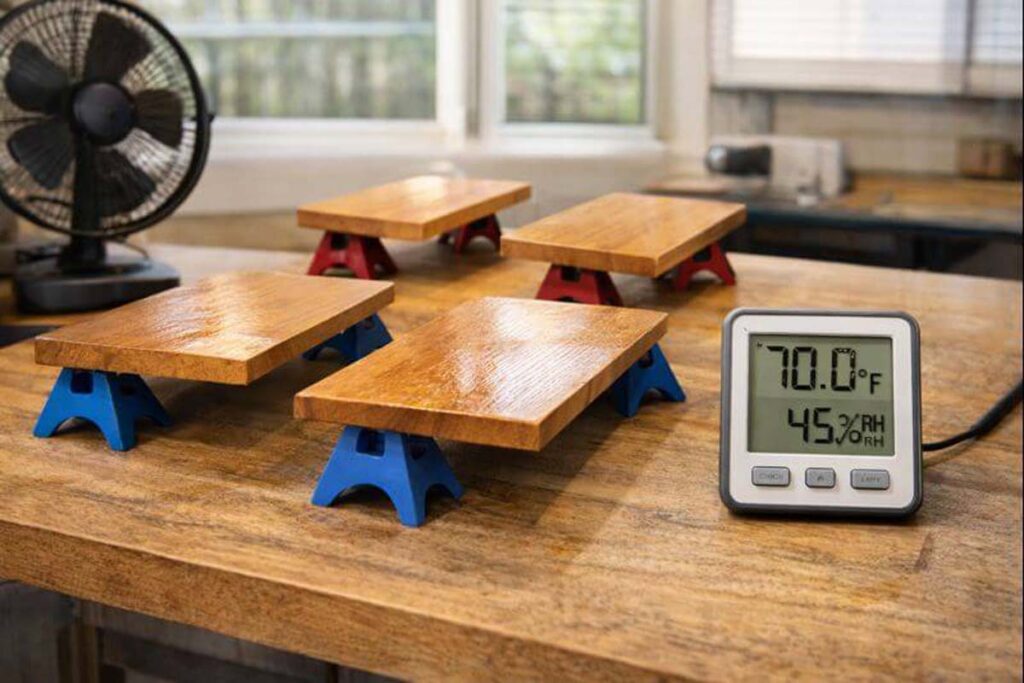
General Finishes (a reputable finishing company) puts average cure times around 21 days for water-based products and 30 days for oil-based products under recommended conditions.
That’s a solid rule of thumb for tray stands, too.
Also, odor is a practical clue.
If an oil-based finish still smells like solvent, it’s not done curing yet. Here’s a breakdown of the stages. If you’re still uncertain about your tray’s wood choice, choosing between pine, oak, and maple might be useful.
Best-use reality for tray stands (decor vs serving)
Here’s how this plays out on actual tiered tray stands in a kitchen.
Decor-only tray stands
If the stand is holding décor, coffee bar jars, or seasonal items, polyurethane is an easy “set it and forget it” finish.
It handles fingerprints and quick wipes well.
If you’re building one from scratch, my full build guide is here: How to Make a Tiered Tray Stand.
“Serving” tray stands for parties
For cupcakes, cookies, or snacks, polyurethane works best when you treat the wood like a tabletop.
- Use plates, wrappers, parchment, or doilies.
- Wipe spills quickly.
- Don’t soak it in the sink.
If you want a dedicated serving build with wobble fixes and finishing steps, the 3-tier wood serving tray guide helps a lot.

Cutting boards and heavy knife use
This is where polyurethane is a poor match.
A knife cuts the film, then water gets under it, and you end up with flaking or cloudy spots.
For cutting boards, stick with penetrating oils/waxes designed for that job.
Step-by-step: finishing a tray stand with polyurethane safely and cleanly
This is the workflow that keeps the finish reliable and avoids that “chemical smell forever” problem.
Step 1: Decide how the tray will be used
Be honest about it.
If you know people will set unwrapped food directly on the wood, plan on liners or switch finishes.
A simple photo helps here: include an image showing your tray stand “use case”—decor items vs plated food—so readers can match your finish choice to real use.
Step 2: Pick the right polyurethane type
Use water-based if you want less color change and a faster cure window.
Use oil-based if you want warmth on woods like oak or walnut and you can give it more time.
Wood choice matters, too.
If you’re still deciding between pine, oak, and maple, this breakdown makes the decision easier.
Step 3: Prep the surface like it matters (because it does)
Sand flat surfaces to 180 or 220 grit for most tray projects.
Remove dust completely before any finish goes on.
If you’re working walnut, this finishing walkthrough is the cleanest path to a rich look without blotch.
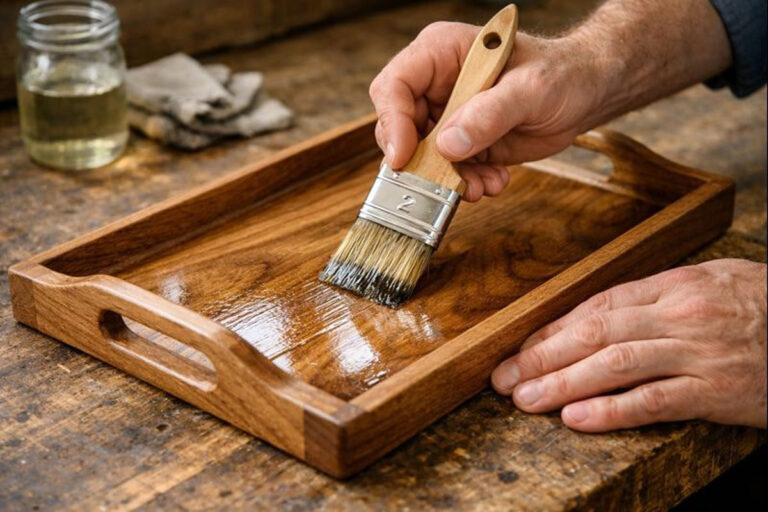
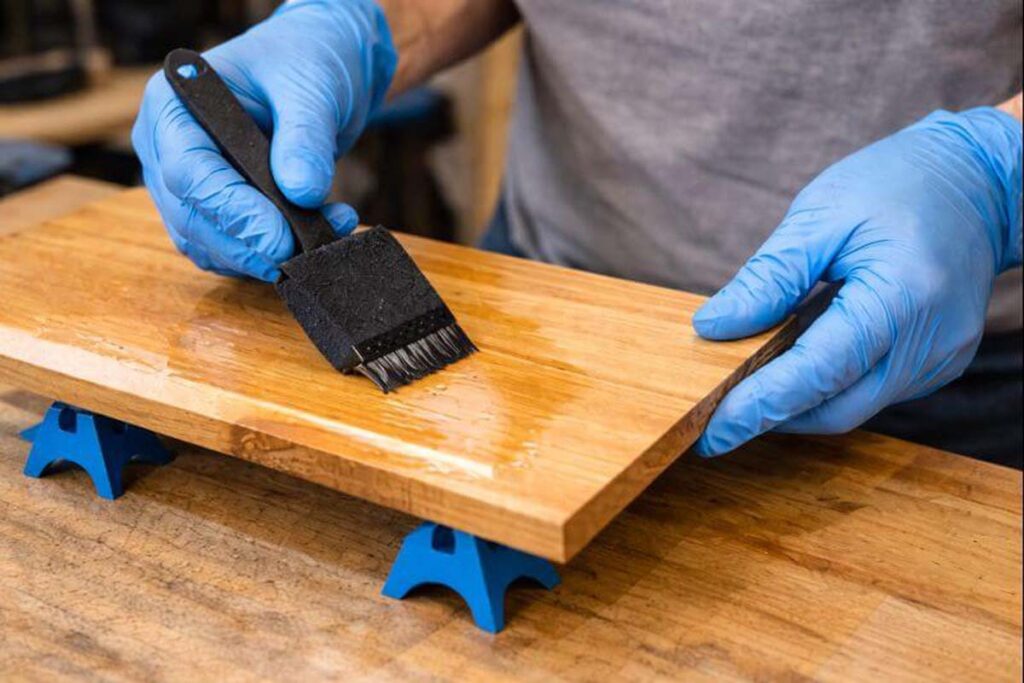
Step 4: Apply thin coats (thick coats cure slower)
Brush, foam brush, or wipe-on is fine.
The goal is a thin, even film that levels well.
A good supporting image here is a close-up: one tray half with a thin coat, one half with a heavy coat so readers can see why “thin wins.”
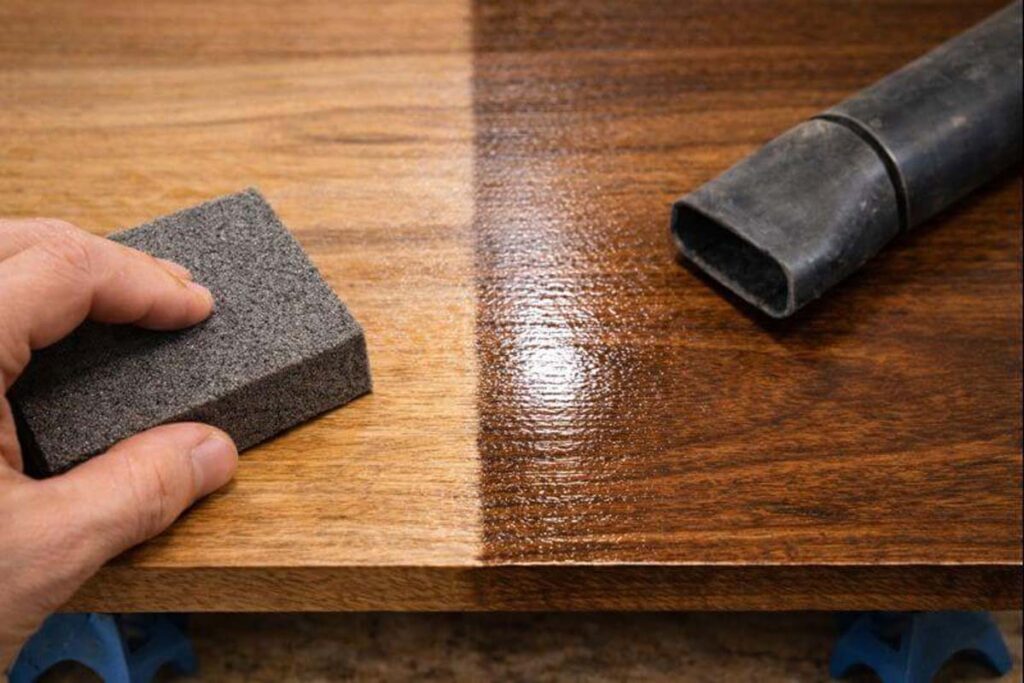
Step 5: Respect recoat time, then scuff sand
Let the coat dry per the label.
Then scuff sand lightly (typically 320 grit) to knock down dust nibs and help bonding.
Step 6: Build enough film for the job
For a tray stand that gets wiped often, 2–4 coats is normal, depending on product and application method.
More coats aren’t always better if you’re rushing recoat windows.
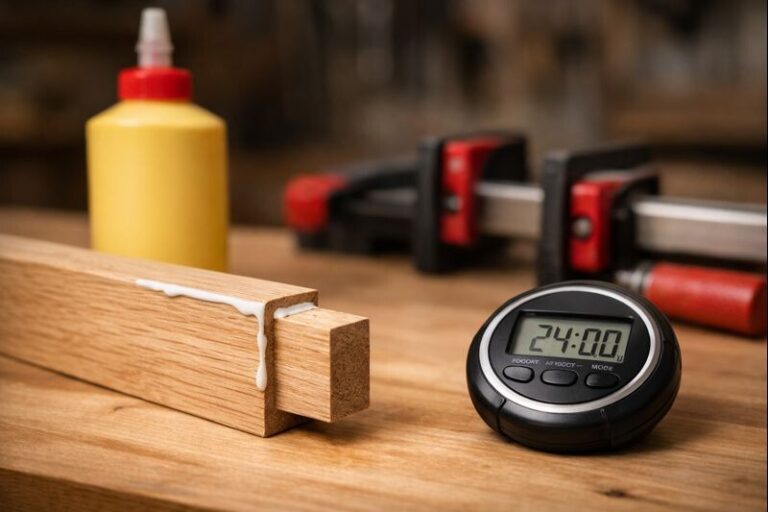
Step 7: Let it cure fully before food use
This is the part most people skip.
Plan around cure time instead of hoping it’ll be “fine by Saturday.”
A reputable benchmark is about 21 days (water-based) or 30 days (oil-based) under normal indoor conditions.
Light handling can happen sooner, but normal use should wait until cure is complete.
Step 8: Do a simple “ready” check
Use three checks:
- No solvent smell (especially oil-based).
- Hard feel (fingernail pressure doesn’t leave a dent).
- Paper test: a piece of kraft paper left on the surface overnight doesn’t stick.

Benefits and drawbacks of polyurethane on tray stands
Benefits
- Moisture resistance for spills and quick wipe downs.
- Good abrasion resistance compared to straight oils.
- Easy cleaning once cured.
Drawbacks
- Cure time is long if you want full hardness.
- Film can chip if the wood gets banged or if the surface flexes.
- Not ideal for knife work or constant wet use.
If you’ve started your build and are running into issues with wobble or alignment, this tray stand troubleshooting guide might save some time.
Safety notes that matter (especially in small shops)
Polyurethane is safe to use when cured, but it’s not casual stuff while you’re applying it.
Ventilation and cleanup matter.
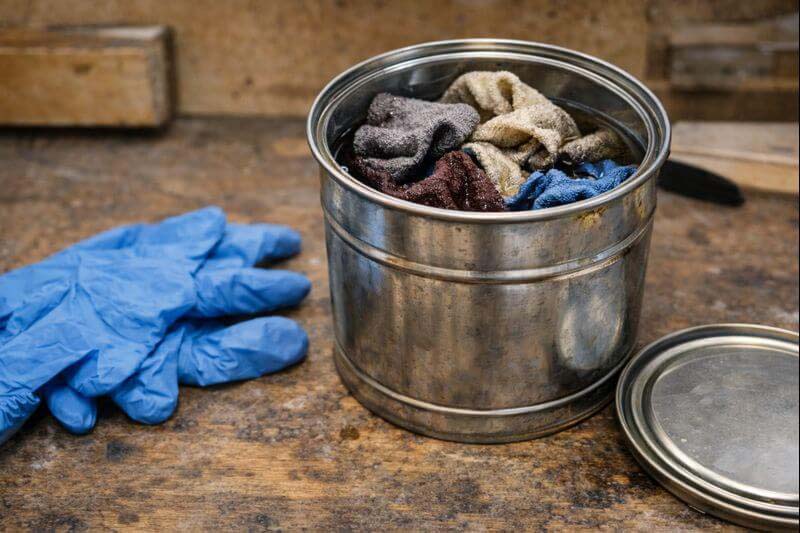
One big hazard people forget is oily/solvent rags.
Minwax specifically warns that rags and waste soaked with finish can spontaneously ignite if handled incorrectly, and recommends storing them in a sealed, water-filled metal container before disposal.
If you need a full PPE list for tray builds, this safety gear guide lays it out clearly.
And if cutting feels rough or sanding takes forever, tool condition is usually the hidden culprit.
This tool maintenance guide keeps your work safer and cleaner.
Alternatives if you don’t want polyurethane on a food-adjacent tray
Sometimes polyurethane isn’t the best fit, even if it’s “fine” when cured.
Here’s a practical comparison for tray and tray-stand use.
| Finish type | Best for | Not great for | Notes |
|---|---|---|---|
| Polyurethane (water/oil) | trays, stands, tabletops | cutting boards | tough film, longer cure |
| Hardwax oil | low-sheen trays, easy refresh | standing water | spot-repair friendly |
| Shellac | dry serving, warm glow | hot mugs / alcohol spills | very food-friendly reputation, but less heat/chemical resistance |
| Mineral oil + wax | cutting boards | glossy “sealed” look | needs reapplication |
If you’re building a farmhouse-style tray where décor is the main goal, this farmhouse tray guide helps you choose a finish path early.
Common problems and the fastest fixes
“It still smells after a week”
That’s usually trapped solvent from thick coats or cold/humid conditions.
Move it to a warmer, well-ventilated space and give it time, because cure is time + conditions.
“It feels tacky or rubbery”
Often caused by heavy coats, bad recoat timing, or contamination (oil, silicone, polish).
Scuff sand to degloss, then apply thinner coats with longer waits.
“Dust nibs everywhere”
Finish in a cleaner area and wipe dust better between coats.
A tack cloth (used correctly) or a damp microfiber wipe (for water-based) helps.
If your stand has wobble or alignment issues that make finishing annoying, the troubleshooting hub is the fastest way to track down the cause.
FAQs
Is polyurethane safe for a serving tray once it’s cured?
Yes, for typical home use, a fully cured polyurethane film is generally considered suitable for incidental contact on serving surfaces. Allow full cure time, follow the product label, and use plates or liners for wet, fatty, or acidic foods.
How long should polyurethane cure before it touches food?
A practical benchmark is about 21 days for water-based finishes and 30 days for oil-based finishes under normal indoor conditions. Some items can be handled sooner, but full cure is the safest point for regular use.
What’s the difference between “dry” and “cured” polyurethane?
Dry means the surface is no longer tacky and can often be recoated. Cured means the finish has reached its intended hardness and stability. For oil-based finishes, lingering solvent odor is a reliable sign curing is not complete.
Should polyurethane be used on cutting boards?
It’s usually not recommended for cutting boards because knives can cut the film, leading to flaking or moisture intrusion. For boards and utensils, a penetrating oil/wax system is a more practical choice for ongoing maintenance.
Does “FDA approved” on polyurethane mean it’s always food safe?
Not automatically. Food-contact compliance depends on the exact formulation and intended conditions of use. FDA rules and clearances apply in specific ways, so manufacturer guidance and proper curing matter more than a generic claim.
Final thoughts
Polyurethane can be a smart finish for tray stands, especially when you treat it like a tabletop finish and let it fully cure.
The safest approach is simple: finish in thin coats, wait out the cure window, and keep direct food contact “incidental” by using plates, liners, and wrappers when serving.