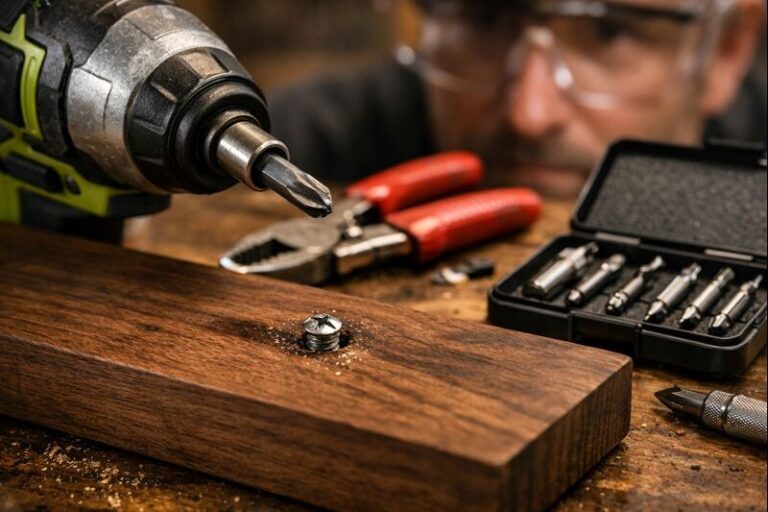
How to Fix Loose Screws in Wood: 5 Strong Repairs for Stripped Holes
Fix loose screws in wood starts with figuring out why the screw lost its bite, not just cranking harder on the driver. A loose screw usually means the hole has stripped, the joint is moving, or the screw was never the right size for the job. The good news is most fixes take 10–30 minutes and can make a tray stand, chair, cabinet hinge, or shelf feel solid again.
Contents Here
- 1 Why screws get loose in wood
- 2 Tools and supplies that make the job easier
- 3 Step 1: Diagnose the problem in 60 seconds
- 4 Step 2: Pick the right fix (a simple decision guide)
- 5 Option 1: Retighten the right way (when the hole isn’t stripped)
- 6 Option 2: Toothpicks (or skewers) + wood glue for light-duty repairs
- 7 Option 3: Switch to a longer screw (or slightly thicker) when you have depth
- 8 Option 4: Plug the hole with a hardwood dowel (best all-around fix)
- 9 Option 5: Threaded inserts for screws that need to come out repeatedly
- 10 Option 6: Through-bolts, washers, and nuts for high-stress joints
- 11 Option 7: What to do with MDF and particleboard
- 12 Quick comparison table: which fix should you use?
- 13 Prevent loose screws before they happen
- 14 Final thoughts
Why screws get loose in wood
Wood screws hold because their threads compress wood fibers and keep tension in the joint.
When that tension disappears, the screw backs out, wobbles, or just spins.
Common causes show up fast:
- Stripped pilot hole from overtightening
- Screw too short for the load or leverage
- Soft wood (pine, poplar) compressing over time
- Seasonal movement loosening joints (especially wide boards)
- Vibration (doors, chairs, stools, tray stands that get carried)
- Joint failure (glue joint cracked, parts shifting)
- Wrong screw style (coarse vs fine threads, cheap screws, dull threads)
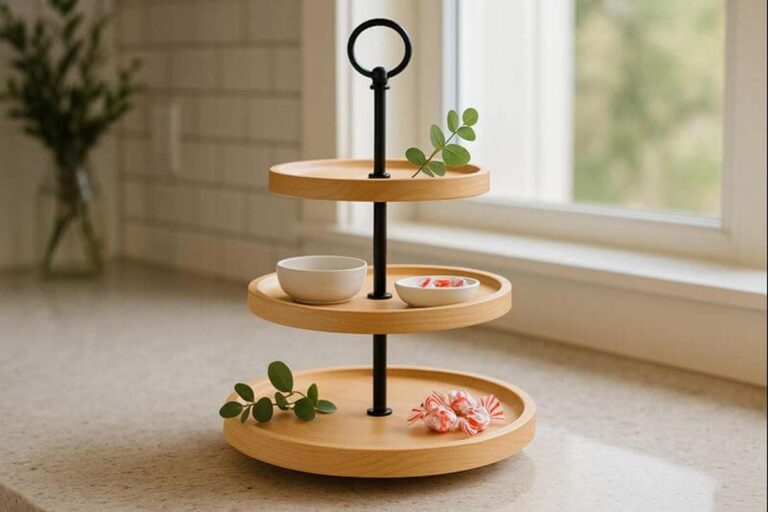
If you’ve ever dealt with a wobbly tiered tray stand, this is the same story in a smaller package. Movement plus a marginal screw bite equals loosening. If that sounds familiar, the guide on stopping a tiered tray stand from wobbling helps you track down the bigger stability issues, too.
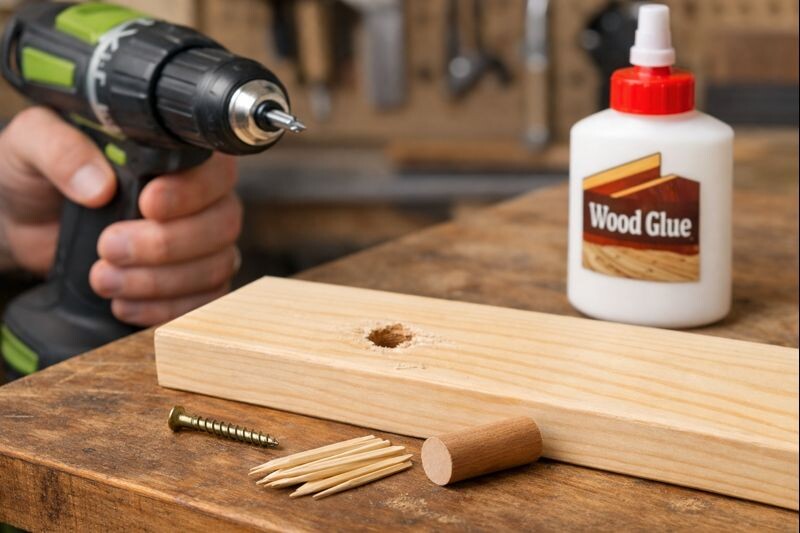
Tools and supplies that make the job easier
Most fixes don’t need fancy tools, but the right basics prevent repeat failures.
Keep these close:
- #2 Phillips or square/Robertson bit (whichever matches your screw)
- Drill/driver with clutch
- Drill bits for pilot holes
- Countersink bit (optional but helpful)
- Wood glue (PVA)
- Toothpicks or bamboo skewers
- Utility knife or flush-cut saw
- Sandpaper (120–220)
- Hardwood dowel or scrap wood (for the strongest fix)
- Optional: threaded inserts, machine screws, washers, epoxy
If the project is a tray stand or serving tray, it’s worth staying safe and consistent with shop habits. The checklist in essential safety gear for tray stand builds is a quick refresher before drilling or plugging holes.
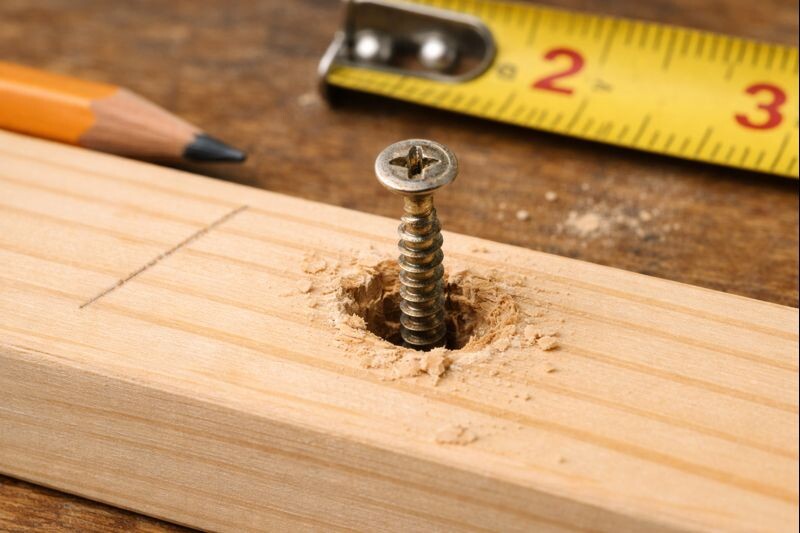
Step 1: Diagnose the problem in 60 seconds
Before choosing a repair, run these quick checks.
Check A: Does the screw spin without tightening?
If it spins and never gets snug, the hole is stripped.
Check B: Does it tighten, then loosen again after use?
That often means the joint is moving, or the screw is too short for the leverage.
Check C: Is the wood crushed under the screw head?
If the head sinks deeper and deeper, the screw may be “tight” but not holding tension.
Check D: Is the joint itself shifting?
Grab both parts and try to wiggle them. If the parts move even with the screw removed, the joint needs more than a hole repair.
If you’re working on a tray stand center post or handle, the leverage is high. That’s where “quick fixes” can fail early, so a stronger method is usually smarter.
Read more: How to Fix a Stripped Screw Hole in Wood
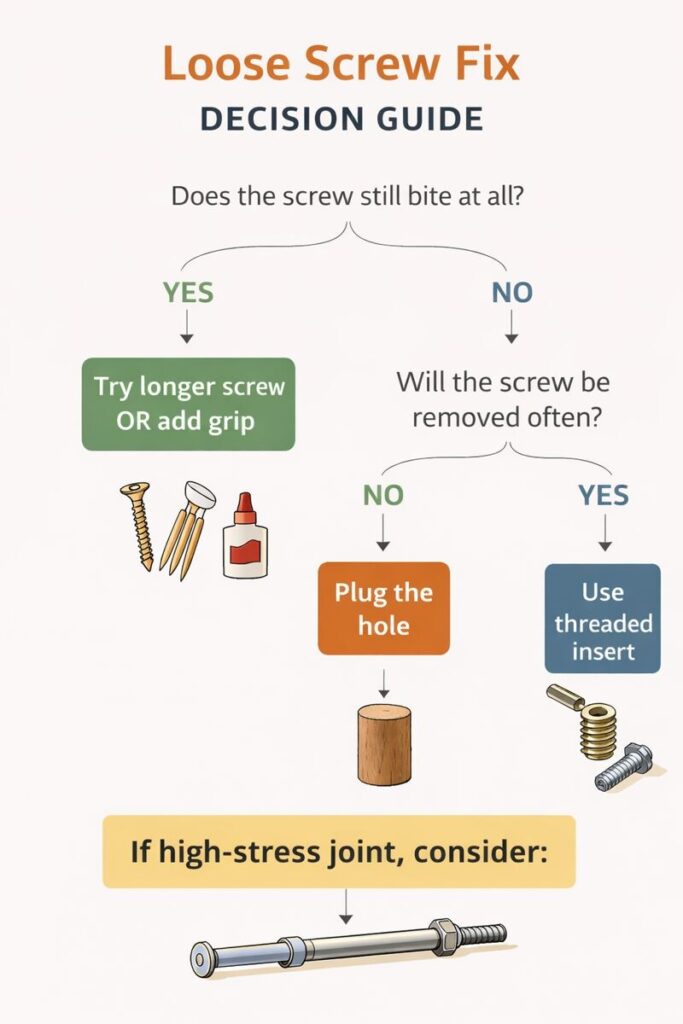
Step 2: Pick the right fix (a simple decision guide)
Use this quick guide and you’ll avoid wasting time.
- Screw still bites a little: try a longer screw or add grip (toothpicks + glue).
- Screw spins freely: plug the hole (dowel or wood plug), then re-drill.
- Screw removed often (seasonal décor, tiered trays): use threaded inserts + machine screws.
- Particleboard/MDF: use inserts made for composites or relocate the screw.
- Joint moves even with screw removed: tighten the joint itself first (glue, clamp, add fasteners).
Option 1: Retighten the right way (when the hole isn’t stripped)
This sounds basic, but it fixes a lot of “loose screw” complaints.
- Remove the screw.
- Inspect threads. Replace if bent, rusty, or stripped.
- Drive it back in with a proper bit.
- Set the drill clutch low.
- Stop when the joint is snug, not crushed.
Plus, if the screw head is chewing up the wood surface, add a washer (or switch to a screw with a wider head) so the head doesn’t sink and lose tension.
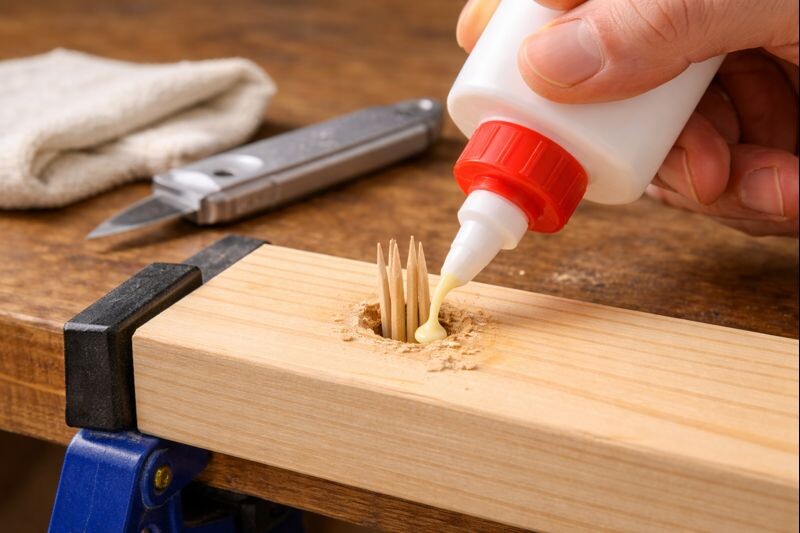
Option 2: Toothpicks (or skewers) + wood glue for light-duty repairs
This is the classic quick fix, and it works when the screw nearly holds but needs fresh fiber to bite into.
Best uses:
- Drawer slides
- Light hinges
- Small décor builds
- Non-load-bearing tray stand trim pieces
Steps:
- Remove the screw.
- Add wood glue into the hole (not dripping, just coated).
- Tap in toothpicks or a bamboo skewer until snug.
- Break or cut flush.
- Let glue set 30–60 minutes (longer is better).
- Re-drill a small pilot hole if needed.
- Drive the screw back in.
Drawback: it’s not the best choice for high leverage. A tray stand handle, center rod flange, or chair rung will usually work it loose again.
If the surrounding wood is soft (pine is common), it helps to understand what you’re working with. The breakdown in choosing between pine, oak, and maple makes it easier to predict whether the repair will stay tight long term.
Option 3: Switch to a longer screw (or slightly thicker) when you have depth
This fix is fast and surprisingly effective when the hole isn’t completely blown out.
Use it when:
- The screw only grabs near the surface
- The wood behind the joint is solid
- You can add depth without poking through the other side
Steps:
- Measure the wood thickness.
- Choose a screw that penetrates deeper into the second piece.
- Drill a proper pilot hole (don’t “force” a bigger screw into a small pilot).
- Drive it snug.
However, don’t jump to a much thicker screw in hardwood without the right pilot hole. That can split the wood, especially near edges.
If you want a clean finished surface afterward, take the time to keep your sanding and touch-up controlled. The steps in sanding end grain smooth help when you’re leveling plugs or repairing visible spots.
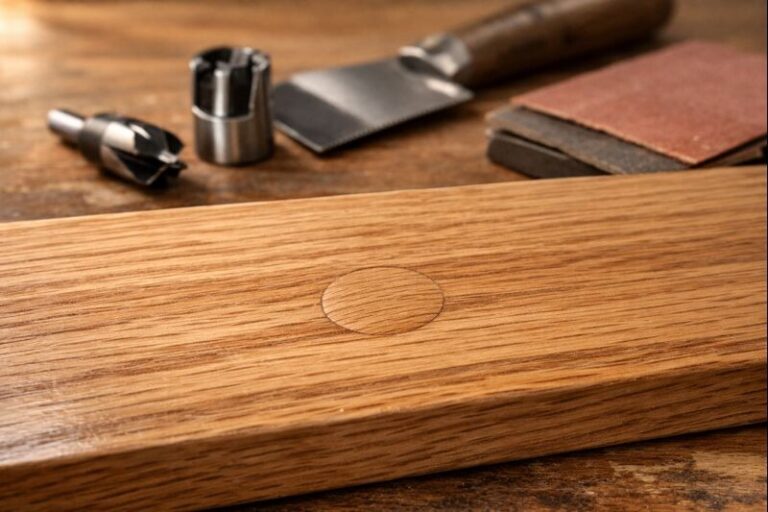
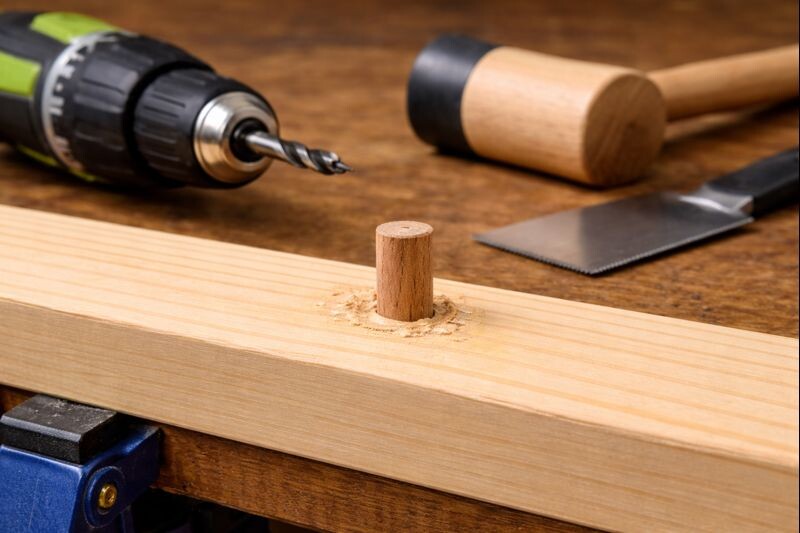
Option 4: Plug the hole with a hardwood dowel (best all-around fix)
If the screw spins freely, this is the repair that feels “factory solid” again.
This is also my default fix for tray stands that get lifted, rotated, and moved often.
You’ll want a picture here showing the sequence: drilled-out hole → glued dowel → trimmed flush → new pilot hole.
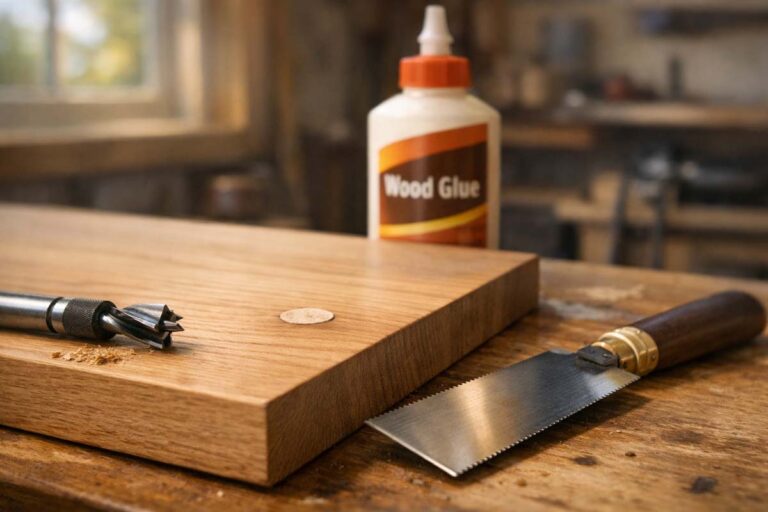
Steps:
- Remove the screw and hardware.
- Drill out the stripped hole to a clean, round size (¼” or ⅜” is common).
- Cut a hardwood dowel to length.
- Coat the dowel with wood glue.
- Tap it into the hole until fully seated.
- Let it dry fully.
- Trim flush and sand smooth.
- Mark the new screw location.
- Drill a pilot hole in the dowel.
- Reinstall the screw.
Why hardwood? It holds threads better and resists crushing. If the original piece is soft pine, a hardwood plug upgrades the connection.
If the project is a serving tray or anything that gets wiped down often, plan your finish touch-ups too. The guides on sealing a wooden serving tray and cleaning a sealed wood tray without dulling it pair well with visible screw-hole repairs.
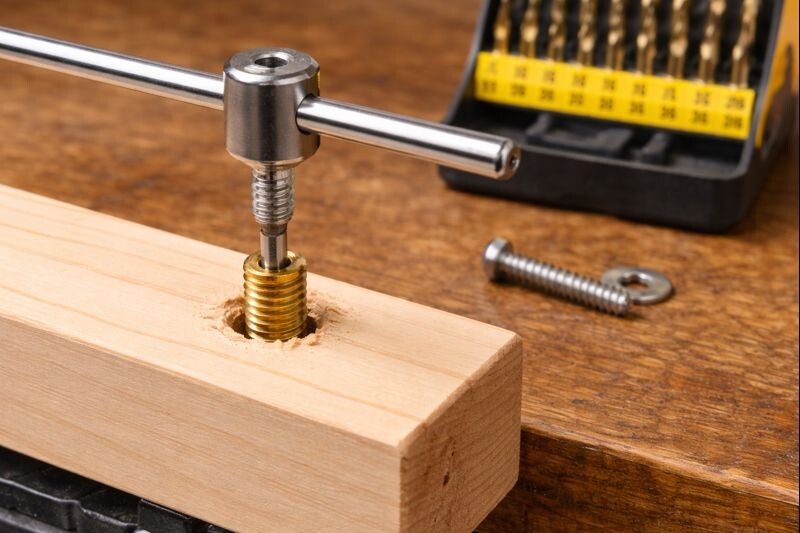
Option 5: Threaded inserts for screws that need to come out repeatedly
If you remove screws often—holiday tray stand rebuilds, seasonal swaps, frequent hardware changes—threaded inserts are hard to beat.
This turns your setup into:
- insert in wood + machine screw (metal-to-metal threads)
Benefits:
- Strong and repeatable
- Less wear over time
- Better for center posts and handles
Steps:
- Drill the hole size recommended for the insert.
- Add a tiny bit of wax or soap to the insert threads.
- Drive the insert in straight.
- Use a machine screw with a washer.
- Tighten snug.
Drawback: inserts require precise drilling and alignment. If you rush it, the screw can sit crooked.
For tool longevity and clean results, keep your bits sharp and drivers in good shape. The routine in tool maintenance for woodworking newbies prevents a lot of stripped heads and sloppy holes.
Option 6: Through-bolts, washers, and nuts for high-stress joints
When wood screws keep failing in the same spot, it’s often because the joint is under real stress.
A through-bolt spreads the load and doesn’t rely on wood threads.
Great for:
- Chair repairs
- Shelf brackets
- Tray stand center connections (when hidden hardware is acceptable)
Steps:
- Drill a clean through-hole.
- Add a washer under the bolt head and under the nut.
- Tighten until snug.
- Use a nylon lock nut if vibration is an issue.
Downside: you’ll see hardware unless it’s hidden or capped.
Option 7: What to do with MDF and particleboard
Composite boards fail differently. They crumble instead of compressing like real wood.
Better approaches:
- Use threaded inserts designed for MDF
- Use confirmat screws (common in flat-pack furniture)
- Move the screw to fresh material
- Use a through-bolt when possible
Avoid relying on wood filler alone. Most fillers don’t have the fiber strength to hold screw threads under load.
Quick comparison table: which fix should you use?
| Fix method | Strength | Best for | Drawbacks |
|---|---|---|---|
| Retighten correctly | Low–Medium | Slightly loose screws | Won’t fix a stripped hole |
| Toothpicks + glue | Medium | Light duty | Can fail under leverage |
| Longer screw | Medium–High | When you have extra depth | Risk of splitting if no pilot |
| Hardwood dowel plug | High | Most repairs, long-term | More steps, needs dry time |
| Threaded insert | High | Repeated removal | Needs precision |
| Through-bolt + nut | Very High | High-stress joints | Visible hardware |
Prevent loose screws before they happen
Most “loose screw” problems are preventable.
These habits help a lot:
- Drill pilot holes sized to the screw and wood type.
- Add a countersink so the head seats cleanly.
- Don’t overtighten. Snug is enough.
- Use quality screws (cheap screws strip heads and threads).
- For softwoods, consider longer screws or plugs from the start.
- If a clear coat gets cloudy during repair touch-ups, the fixes in why clear coats get cloudy can save the finish without stripping everything.
If the piece is pine and you’re repainting or refinishing after repair, be mindful of blotching. Preventing pine blotching keeps patch areas from looking like obvious “repairs.”
Final thoughts
Loose screws usually aren’t a mystery. They’re a sign that wood fibers lost grip, the joint shifted, or the screw choice wasn’t ideal. For quick wins, toothpicks and glue or a longer screw can work. For real, long-term strength, a hardwood plug or threaded insert is the move. Pick the method that matches the load, and the repair will stay tight for years.