How Long to Clamp Wood Glue: 10-Minute Guide for Beginners

How long to clamp wood glue depends on the glue type, the joint fit, and the room conditions. In short, clamp most wood glue joints for 30–60 minutes, then don’t stress the joint for 24 hours (longer if it’s cold, humid, or load-bearing).
If you remember one shop rule, make it this: clamp until the joint won’t creep, then give it a full day before hard use. That simple habit prevents most glue-up failures.
Contents Here
- 1 Quick answer: a clamp-time cheat sheet you can trust
- 2 Clamp time vs set time vs cure time
- 3 What changes how long you should clamp
- 4 Clamp time by glue type (with plain-shop advice)
- 5 How to clamp correctly (pressure, placement, and timing)
- 6 If you can’t clamp: workable alternatives
- 7 FAQs on clamp time for wood glue
- 8 Conclusion
Quick answer: a clamp-time cheat sheet you can trust
Most woodworkers get in trouble by mixing up clamp time with full strength. Clamps are about keeping parts from moving. Cure time is about letting the adhesive reach its rated strength.
Here’s a practical starting point for typical indoor conditions (around 70°F / 21°C):
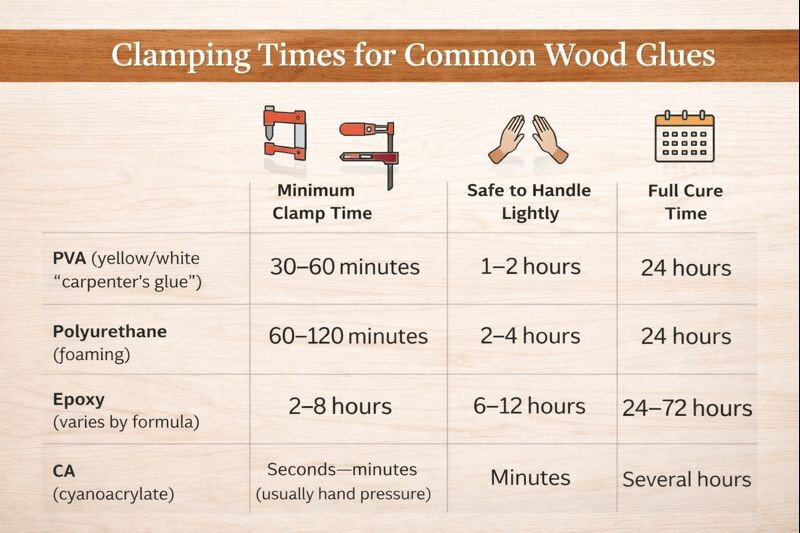
| Glue type | Minimum clamp time (typical) | Safe to handle lightly | Full strength (plan for) |
|---|---|---|---|
| PVA (yellow/white “carpenter’s glue”) | 30–60 minutes | 1–2 hours | 24 hours |
| Polyurethane (foaming) | 60–120 minutes | 2–4 hours | 24 hours |
| Epoxy (varies by formula) | 2–8 hours | 6–12 hours | 24–72 hours |
| CA (cyanoacrylate) | Seconds–minutes (usually hand pressure) | Minutes | Several hours |
If you want a deeper breakdown of drying and handling timelines, see my notes on wood glue drying and handling times here: wood glue drying and handling times. It’ll help you match expectations to the glue you’re using.
Know more: How Strong Is Gorilla Wood Glue: 7 Hard Truths for Stronger Joints
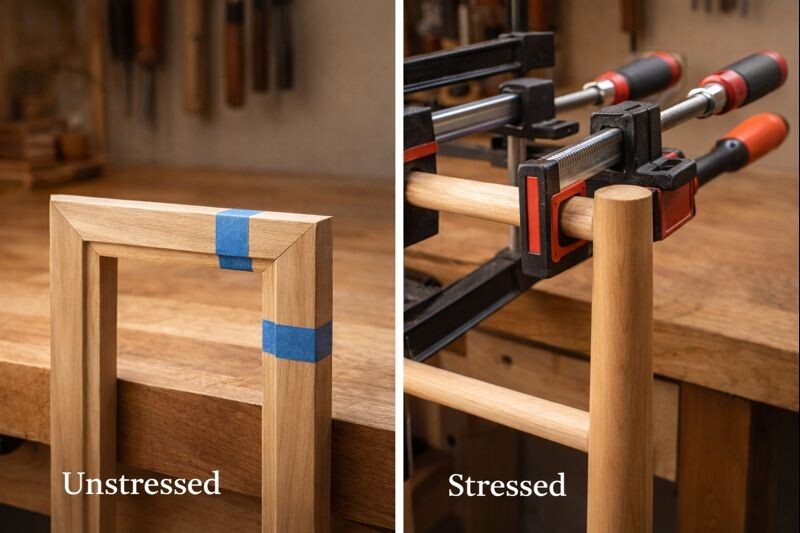
Unstressed vs stressed joints: the detail that changes everything
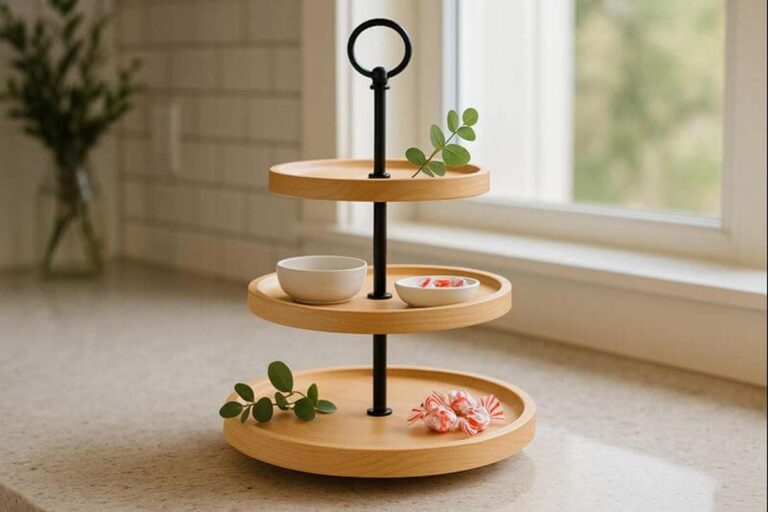
“Unstressed” means the joint won’t carry real load right away. Think trim, light frames, or decorative tray parts. “Stressed” means you’ll lean on it, sit on it, or hang weight from it. Chairs, stools, shelves, and table bases are stressed joints.
For unstressed work, unclamping at the minimum time often goes fine. For stressed work, keep clamps on longer when you can, then avoid load for a full day.
Clamp time vs set time vs cure time
Wood glue stages can sound like the same thing, but they’re not.
- Open time: How long you have to assemble after spreading glue.
- Clamp time: How long you keep parts under pressure so nothing moves.
- Set time: When the joint starts resisting movement on its own.
- Cure time: When the glue reaches near full strength.
If you’ve ever wondered why a joint feels “solid” but still fails later, it’s usually because it was stressed before it reached full strength. I break down the set-up phase when you should stop disturbing a joint in this post: the set-up phase when you should stop disturbing a joint.
Also know: How Much Wood Glue to Use: 7 Simple Tests for Stronger Joints
What changes how long you should clamp
Clamp-time recommendations assume decent conditions and a decent joint. Real shops aren’t always that tidy, so these factors matter.
- Temperature: Cold slows curing, sometimes dramatically.
- Humidity: High humidity slows water-based glues from drying.
- Wood moisture: Damp lumber makes everything take longer.
- Joint fit: Gaps reduce strength and extend clamp needs.
- Glue spread: Too thick slows drying; too thin starves the joint.
- Clamp coverage: Uneven pressure can leave dry spots and gaps.
If your shop is cool or muggy, don’t “split the difference.” Add time, keep the joint stable, and resist the urge to rush.
Glue amount and squeeze-out: what you’re aiming for
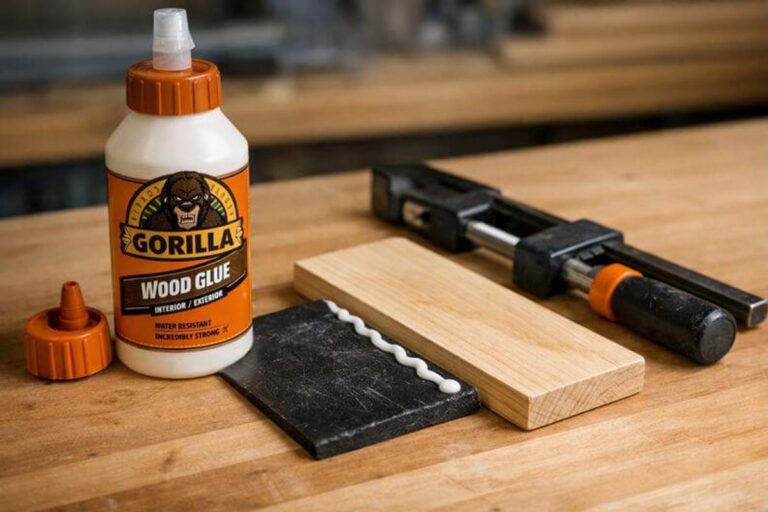
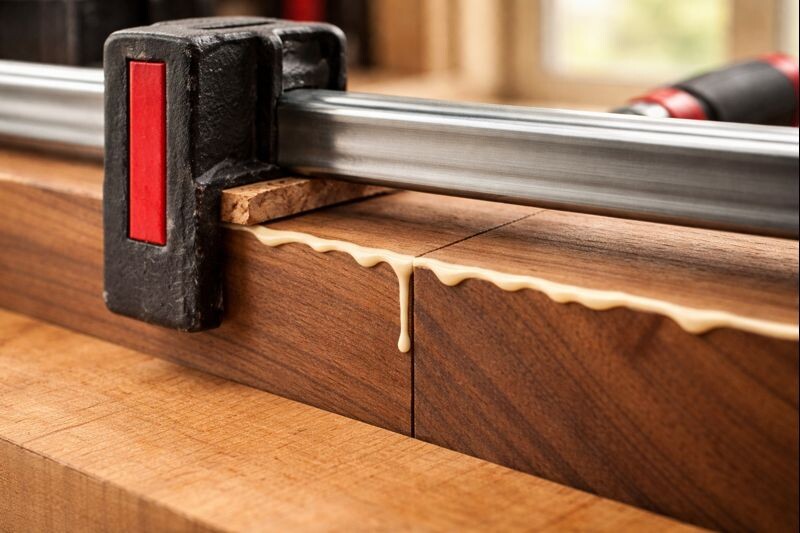
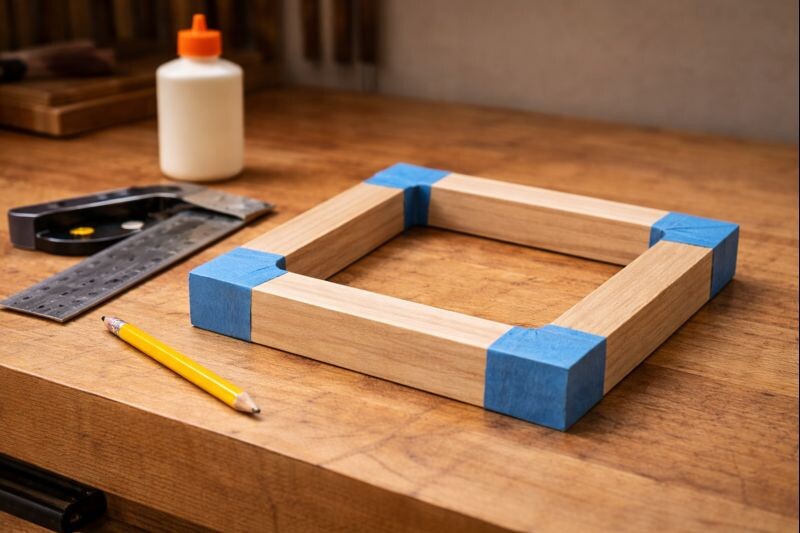
A good glue line looks boring. You want a thin, continuous film and a joint that closes cleanly. When you tighten clamps, a small bead of squeeze-out along the seam is a helpful sign.
If you crank clamps so hard that squeeze-out pours out and the joint looks dry, you can starve it. That’s especially common on end grain and softwoods.
See more: How Much Weight Can Wood Glue Hold? 7 Shocking Truths (PSI)
Clamp time by glue type (with plain-shop advice)
Different adhesives behave differently, even when the bottle looks similar. The points below keep you out of trouble without turning your glue-up into a science project.
PVA (yellow/white carpenter’s glue)
For most PVA glue-ups, 30–60 minutes of clamping is a safe baseline in normal conditions. After that, you can often remove clamps and move the assembly carefully. I still avoid planing, heavy sanding, or load until the next day.
If you’re choosing an adhesive for a repair or a high-stress joint, this guide helps you pick smart: choosing the right adhesive for a repair.
Polyurethane (foaming glue)
Polyurethane glue expands as it cures, so clamping isn’t optional. It can push parts apart if you don’t control it. Plan on at least an hour clamped, and longer if it’s cool.
One tip from experience: wipe the foamed squeeze-out after it turns rubbery, not when it’s wet. Wet cleanup smears it everywhere.
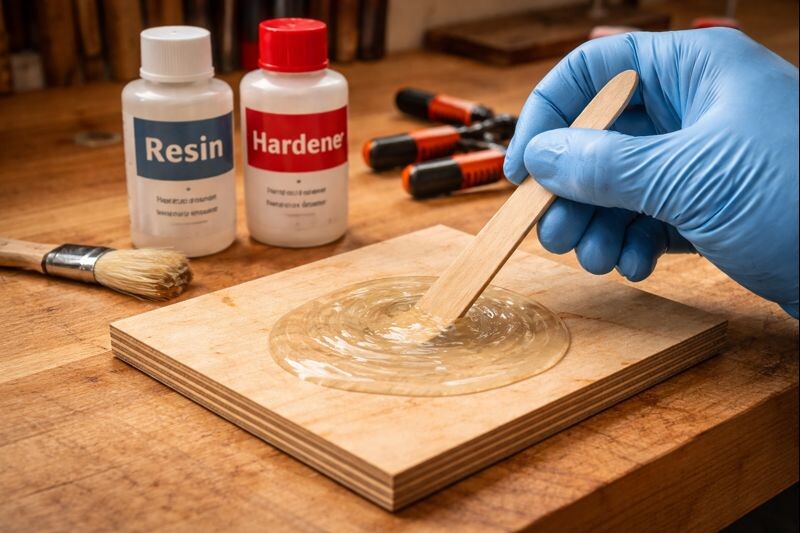
Epoxy and CA: fast isn’t always finished
CA (super glue) can “grab” in seconds, but it isn’t the best choice for most structural woodworking joints. Epoxy can be extremely strong, but cure time varies widely by formula.
When you use either, follow the label and don’t confuse “hard to the touch” with “ready for stress.” If you’re building something for food contact, remember finishes matter too, not just glue. This piece on food-contact safety after coatings cure is worth reading: food-contact safety after coatings cure.
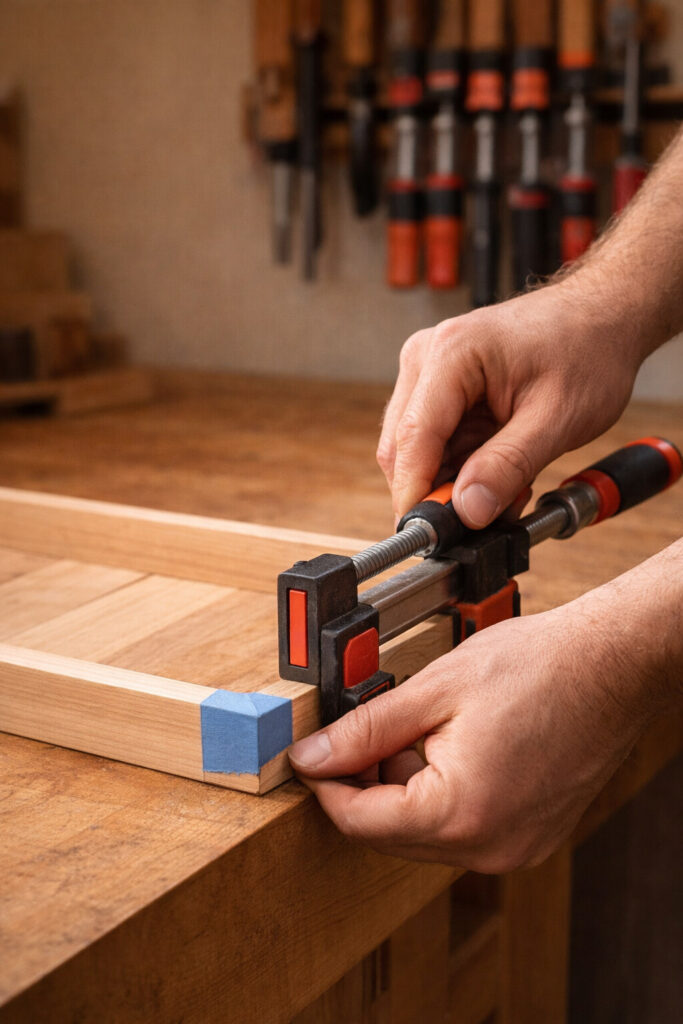
How to clamp correctly (pressure, placement, and timing)
Clamps don’t make a bad joint good. They hold a good joint still long enough for glue to do its job.
Here’s the workflow I teach in my own shop:
- Dry-fit first and confirm everything seats fully.
- Spread glue evenly across the mating surfaces.
- Bring parts together and apply clamps snugly.
- Tighten until the joint closes, then stop.
- Check alignment and adjust before the glue grabs.
- Leave it alone for the minimum clamp time.
- Avoid stress until the glue has had a full cure window.
For panels, use cauls or additional clamps to keep pressure even. For frames, check for twist by setting the assembly on a flat surface before you walk away.
How tight should clamps be?
Tight enough to close the joint, not enough to crush the fibers. If the wood dents under clamp pads, you’re overdoing it. If the joint line still shows gaps, you’re underdoing it or the fit needs work.
A good sign is a thin, consistent squeeze-out bead and clean closure along the seam.
Cleanup and next steps: scraping, sanding, and finishing
If you wipe wet glue with a soaked rag, you can drive it into the grain. I prefer letting squeeze-out gel, then scraping it clean with a chisel or plastic scraper.
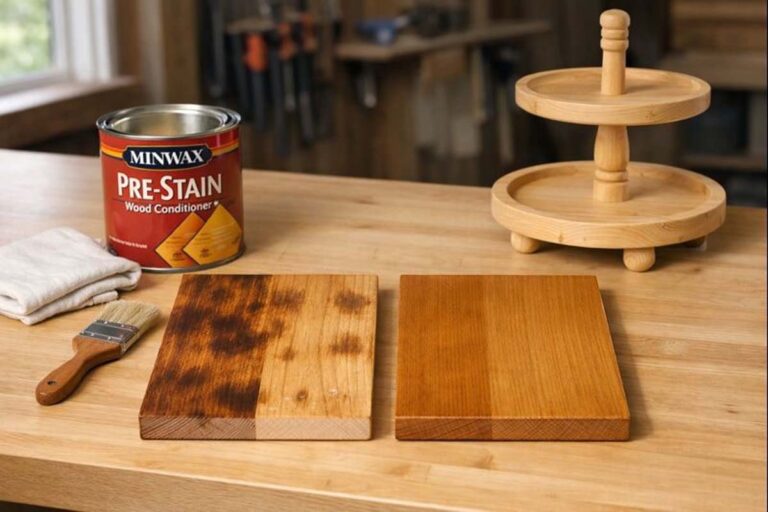
Once cured, sanding and finishing go smoother when the surface is truly clean. If you’re painting, this walkthrough on getting a smooth painted finish without brush marks pairs well with careful glue cleanup: getting a smooth painted finish without brush marks. If you’re working with walnut, finishing prep matters too: a clean walnut finishing routine that avoids blotch.
If you can’t clamp: workable alternatives
Sometimes clamps just won’t fit the job. You still need pressure and stability, even if it’s improvised.
- Painter’s tape for light-duty edge alignment.
- Rubber bands for small round assemblies.
- Weights for flat laminations (use cauls to distribute pressure).
- Pin nails or brads as temporary “hands,” then clamp what you can.
- Screws as a mechanical backup where appropriate.
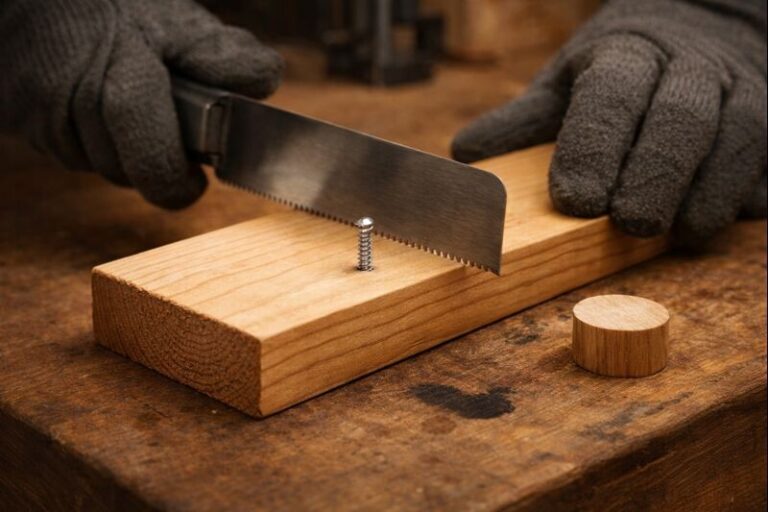
If you need a reliable mechanical option, this method for joining boards with screws when clamps aren’t practical can save a project: joining boards with screws when clamps aren’t practical.
FAQs on clamp time for wood glue
Can I remove clamps after 20 minutes?
Sometimes, on a tight-fitting, low-stress joint in warm conditions. It’s risky for anything structural. If you’re unsure, go longer and avoid stressing the joint for a full day.
What happens if I unclamp too early?
The joint can creep slightly out of alignment, or micro-gaps can form in the glue line. It may look okay, then fail later under load.
Do I really need clamps for wood glue?
For most joints, yes. Glue needs firm contact between surfaces. If you can’t clamp, use tape, weights, or a mechanical backup.
How long before I can sand or plane a glued panel?
Light sanding might be fine after a few hours, but planing and aggressive sanding are safer after a full cure window. When in doubt, wait overnight.
How do I make wood glue dry faster without weakening the joint?
Use a warm room, good airflow, and a proper glue film thickness. I cover safe speed-ups here: safe ways to speed up glue-ups.
Should I tighten clamps again after a few minutes?
Usually no. If the joint is closing and aligned, leave it alone. Over-tightening can starve the joint and crush fibers.
Conclusion
The safest answer to how long to clamp wood glue is: clamp until the joint won’t move, then don’t stress it for a full day. Most PVA glue-ups behave well with 30–60 minutes of clamping under normal conditions. When it’s cold, humid, or load-bearing, add time and let patience protect your work.
If you want a simple reference for full-strength expectations and cure windows, keep this bookmarked: full-strength expectations and cure windows. It’s the difference between “looks fine” and “stays fine.”