Essential Measuring Tools Checklist: 5 Must-Haves for Clean Cuts
Essential measuring tools checklist starts with a simple goal: every cut lines up with the layout line. Accurate measuring keeps trays square, joinery tight, and hardware aligned. This guide covers the core tools, the sizes that fit most projects, and the checks that keep them honest. You will also learn where each tool belongs in the workflow, how to pick durable versions, and how to troubleshoot mismatched readings. Build this kit once, and every project moves faster and wastes less wood.
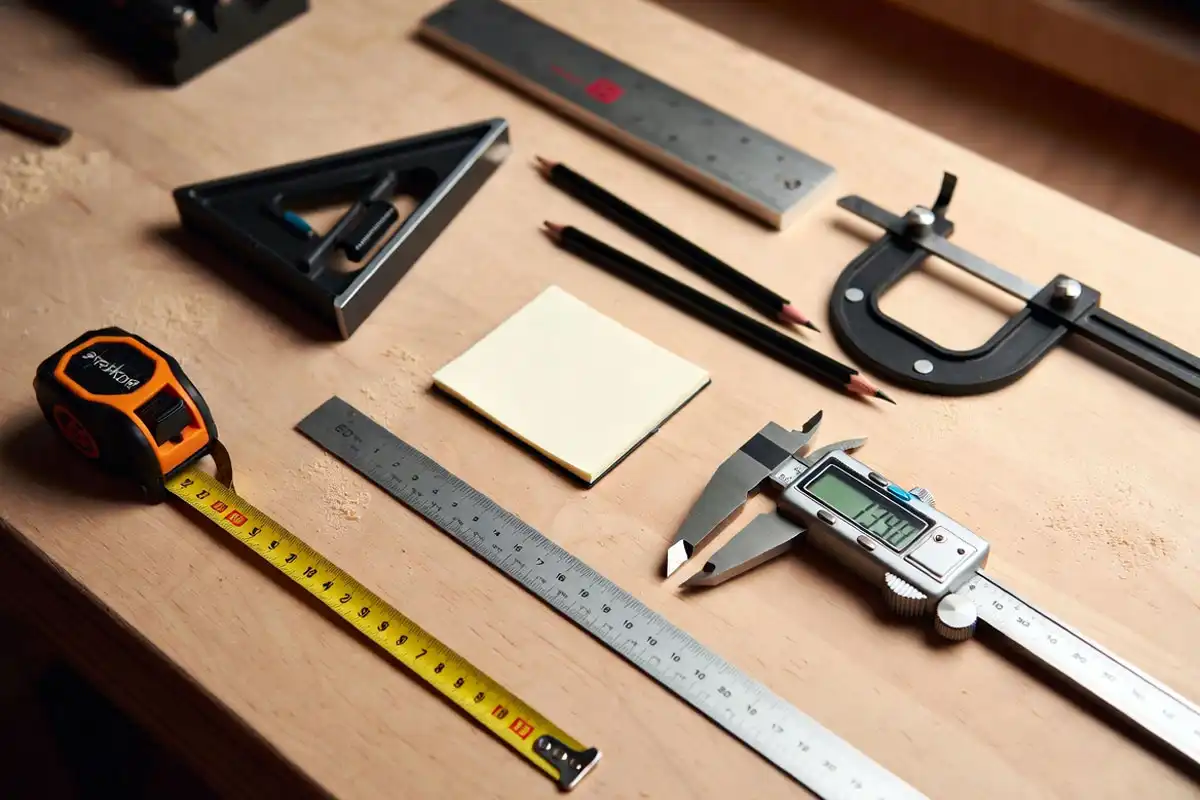
For most woodworking projects, keep 9 tools within reach: a 16 ft tape measure, a 12 in steel rule, a 6 in combination square, a marking knife, a sharp pencil, a marking gauge, a bevel gauge, a straightedge, and calipers. This set covers length, square lines, parallel lines, angles, and thickness checks. Add winding sticks and a small level when you tune assemblies or set hardware.
Top 5 Essential Measuring Tools
If you’re building out a starter kit, my basic woodworking tools roundup helps you balance essentials vs nice-to-haves.
1. Amazon Basics Self-Locking Tape Measure, 33 feet (10 m)
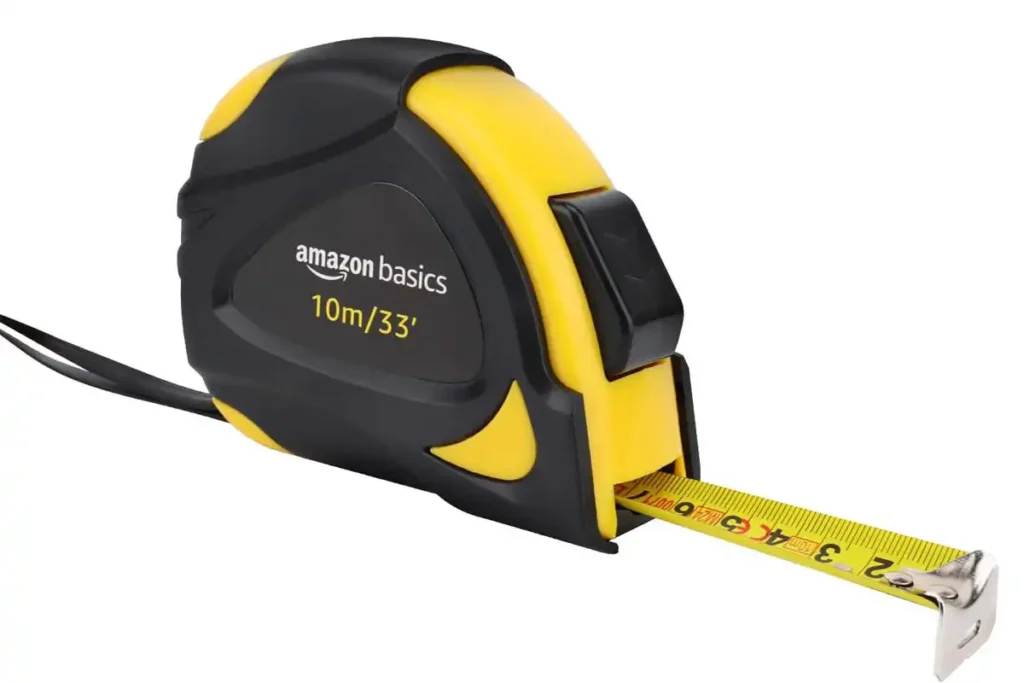
Self-locking blade keeps your mark steady while you read. You get inch and metric scales, a push-button release, and a grippy case that rides well on a belt. It’s a solid everyday tape for cabinetry and trim. Check hook play before fine layout.
2. IRWIN Tools Combination Square, Metal-Body, 6-Inch (1794468)
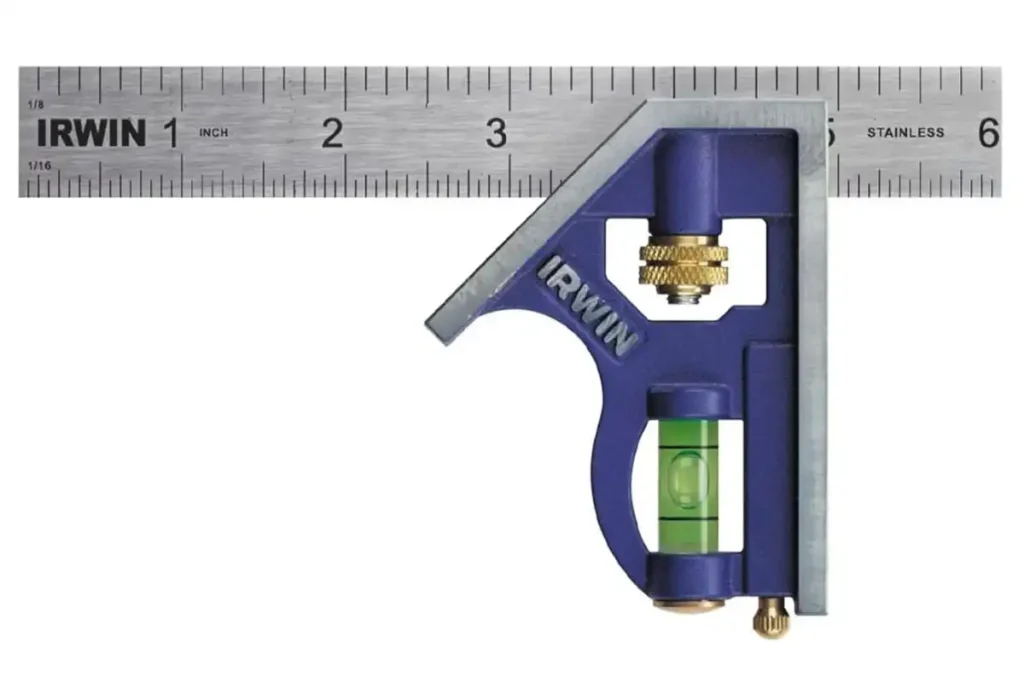
A basic 90° and 45° checker that earns its keep. The cast-zinc head feels sturdy, and the etched scale is easy to read for quick setups. Great for marking shoulders and setting blade height. Verify squareness when it arrives; budget squares vary.
3. NEIKO 01407A Electronic Digital Caliper, 0 to 6 inches
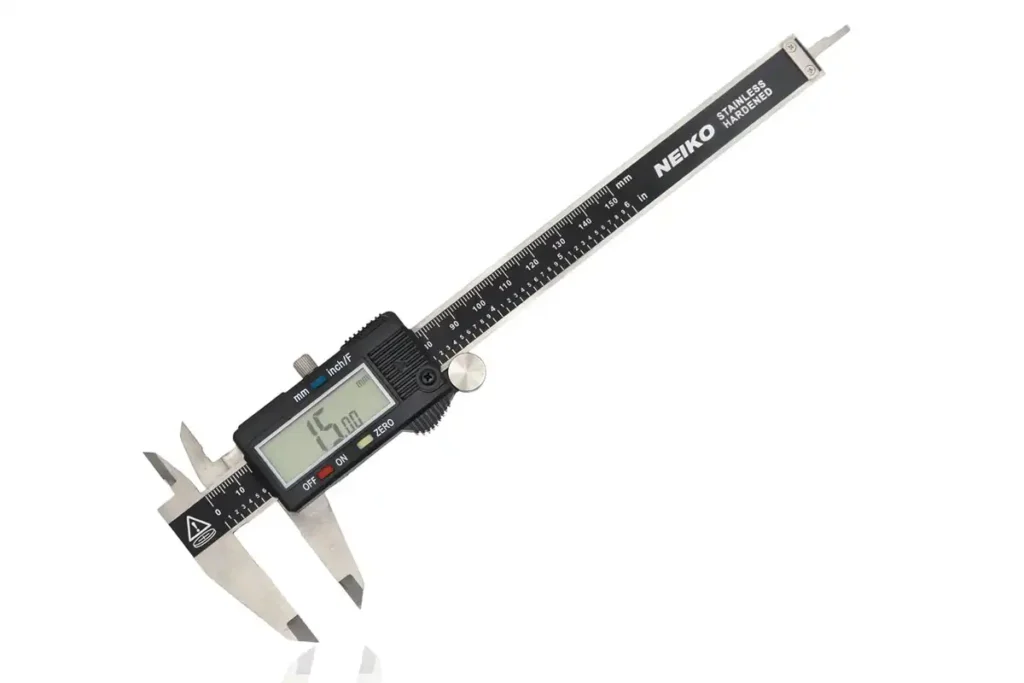
Handy for thickness, dowel diameters, and hardware sizing. It switches between inch, fraction, and millimeter, and lists 0.0005-inch resolution with 0.001-inch accuracy. Stainless construction and a big screen make it easy to use at the bench. Keep chips off the beam and zero it often.
4. PEC Tools 301-012EZ 12 Inch Flexible Ruler, 3R
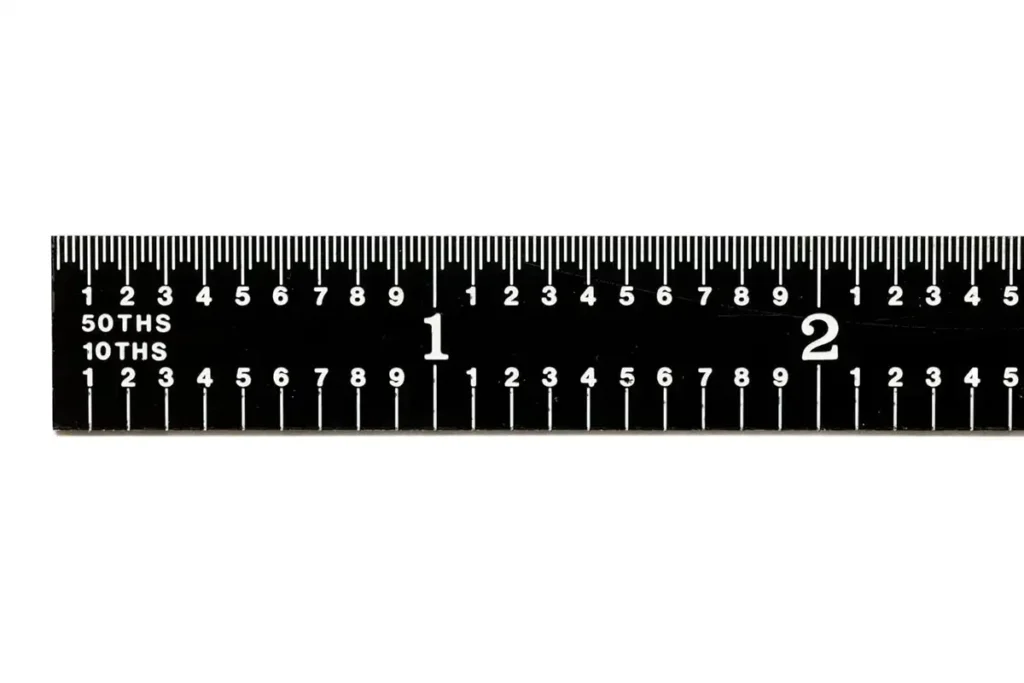
This slim steel rule reads 32nds and 64ths on one side and decimal graduations on the other. The black chrome finish reduces glare, and the thin profile reaches into tight spots. Best for layout and machine setup. Don’t use it as a pry bar.
5. Klein Tools 935DAG Digital Electronic Level and Angle Gauge
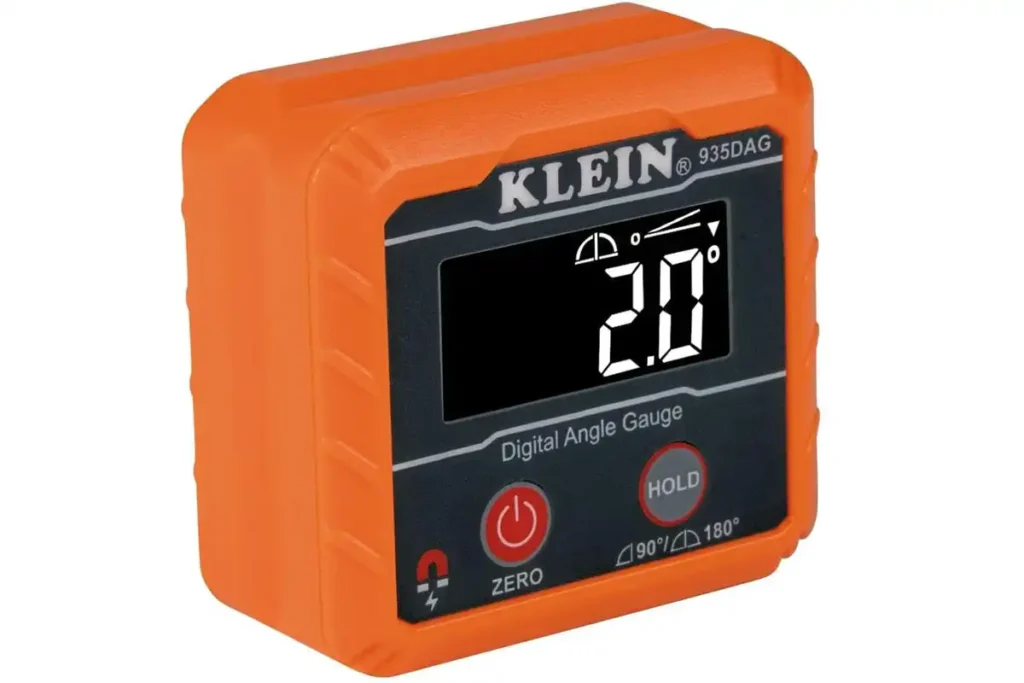
When you set table-saw or miter angles, this takes the guesswork out. The magnetic base sticks to blades, the display auto-rotates, and it covers 0–90° and 0–180° ranges. IP42 resistance helps in dusty shops. Calibrate to the table before each setup.
See more: Tape Measure for Woodworking: 5 Smart Picks That Prevent Costly Mistakes
What this checklist covers
A measuring tool either reads a dimension or creates a reliable reference line.
In woodworking, reference beats “perfect.” A square line that repeats beats a number that changes every time you read it.
Here are the jobs this checklist supports:
- Break down stock to rough size
- Lay out joinery and hardware locations
- Transfer dimensions between parts
- Verify flat, square, plumb, and parallel
- Set up machines and jigs with repeatable results
When and where each tool earns its keep
Measuring changes through the build.
Early on, you measure overall size. Later, you measure relationships like square, parallel, and matching pairs.
A practical workflow looks like this:
- Rough sizing: tape measure, pencil, speed square
- Layout: steel rule, combination square, marking knife, marking gauge
- Fit and match: calipers, story stick, straightedge
- Assembly checks: square, straightedge, winding sticks, level
- Hardware: rule, combination square, calipers, depth checks
Essential measuring tools checklist
If you build trays, stands, boxes, shelves, or trim, this list covers the whole range. If you like printable patterns and cut lists, grab a set of project templates and worksheets and keep your measurements tied to one source.
Measure length and overall size
- Tape measure (16 ft or 25 ft): Reads long dimensions fast. Pick one with clear markings and a stable hook.
- Steel rule (6 in and 12 in): Reads short dimensions with less error than a tape. A thin rule lands closer to the work.
- Folding rule (optional): Stays straight over edges and inside openings. It also works well for repeat measurements on large parts.
Create square reference lines
- Combination square (6 in): Sets 90-degree lines, checks shoulders, and locates hardware offsets.
- Try square (6 in or 8 in): Checks edges for square on wider stock. A fixed blade stays stable.
- Speed square (7 in): Marks quick 90-degree and 45-degree lines on framing-style parts and sheet goods.
Mark and transfer layout lines
- Marking knife: Slices a thin line that guides a chisel or saw. A knife line also reduces tearout at the edge.
- Pencil (mechanical or sharpened wood pencil): Lays out rough cuts and notes. Use a fine point for layout work.
- Marking gauge: Scribes a line parallel to an edge for rabbets, tenons, and consistent reveals.
- Story stick: Stores repeated dimensions without re-reading numbers. This helps when you build matching parts, like tray uprights.
- Dividers or compass: Steps off equal spacing and transfers distances without arithmetic.
If you want a build that forces clean, repeatable layout, follow a full start-to-finish project like making a tiered tray stand and treat every layout line as a reference line.
Measure thickness, depth, and inside dimensions
- Calipers (6 in): Checks thickness, diameters, and inside openings. Calipers also compare two parts fast.
- Depth rule or depth gauge: Verifies dados, rabbets, and drilled recesses. A combination square often fills this role.
- Setup blocks (optional): Provide repeatable heights for saw blades and router bits without re-measuring.
Set and copy angles
- Bevel gauge: Captures an angle from a part and transfers it to a saw or layout line.
- Protractor or angle finder (optional): Reads a number for odd angles. A digital gauge helps on machines, but repeatability matters more than the display.
Check flatness, straightness, and twist
- Straightedge (24 in to 48 in): Checks boards, assemblies, and glue-ups for bows and dips.
- Winding sticks: Show twist across a board or assembly. Use a matching pair and sight across the top edges.
- Feeler gauges (optional): Quantify small gaps under a straightedge during setup and troubleshooting.
Shop setup checks
- Level (small torpedo level): Sets shelves, mounts, and hardware. A level also reveals a leaning assembly during glue-up.
- Plumb reference (optional): A plumb bob or laser level helps when you mount tall parts or align wall-hung work.
How to choose measuring tools that stay accurate
Accuracy starts with the surfaces that touch the work.
A square with a true reference edge beats a fancy display with a loose joint.
Look for repeatability first
Repeatability means the tool gives the same result every time you use it the same way.
A repeatable tool lets you build matching parts, even if the number on the tool reads slightly different from another tool.
Pick readable graduations
- Choose markings you read fast in your preferred system.
- Avoid cluttered scales that slow your eye down.
- For layout, a rule with crisp etched lines reads cleaner than painted marks.
Favor solid joints and stable edges
- Check a square for play at the head.
- Check a rule for a straight edge.
- Check a tape for a hook that slides smoothly without rattle.
Match tool size to the work
- A 6 in combination square covers most joinery and hardware layout.
- A 12 in rule covers short-to-medium work with better control than a tape.
- A longer straightedge helps during glue-ups and panel work.
How to keep your measurements consistent
In a wood shop, “consistent” beats “perfect.” These checks keep tools honest.
1) Verify a square with the flip test
- Draw a line using the square against a straight edge.
- Flip the square over and draw a second line from the same starting point.
- Compare the lines. A gap that widens shows the square is out.
2) Confirm tape measure zero
- Hook the tape on a known straight edge.
- Pull light tension and read the first inch.
- Repeat with the hook pushed in.
- The readings stay aligned when the hook slide matches its design.
3) Keep one “master” reference
Use one primary rule or tape for a project.
When you mix tools, you mix zero points. That shift shows up as gaps.
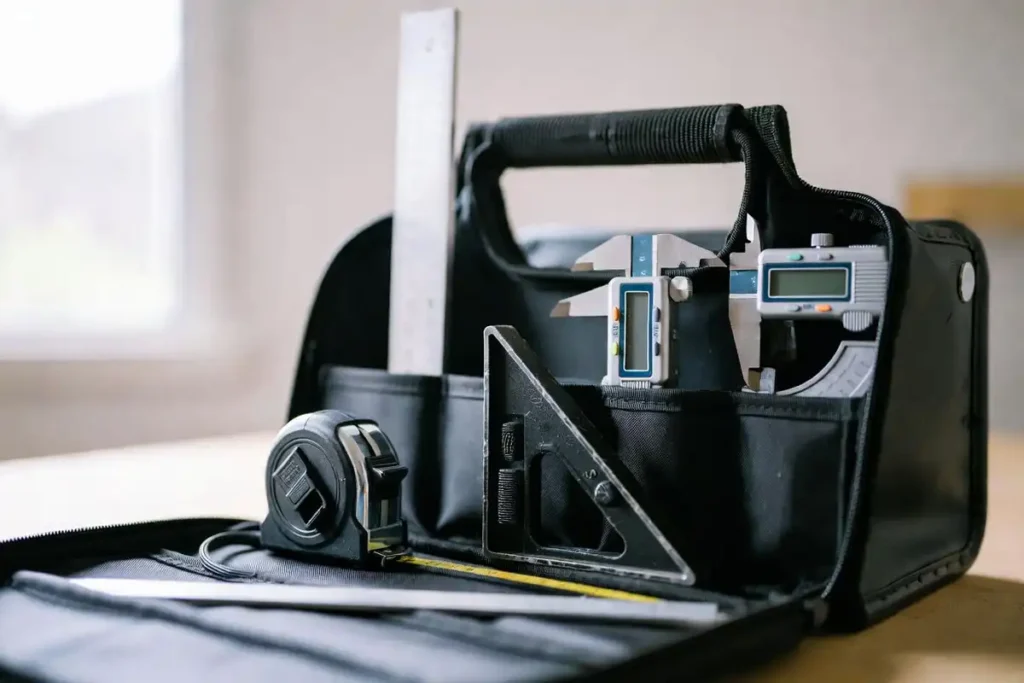
Solutions: build a measuring kit that fits your work
A kit beats a drawer full of mixed tools.
Here are three practical groupings.
Starter kit for small builds
- 16 ft tape measure
- 12 in steel rule
- 6 in combination square
- Pencil and marking knife
- Marking gauge
Joinery and fine-fit kit
- Add calipers
- Add dividers
- Add straightedge
- Add feeler gauges
Install and assembly kit
- Add torpedo level
- Add angle finder
- Add story stick for repeated spacing
Troubleshooting: when measurements stop agreeing
Why do my parts come out different lengths?
A shifting reference edge causes this. Mark one face and one edge as reference, then measure and mark from that pair for every part. Use a stop block for repeats. Cut slightly long, then trim to the knife line.
Why does my tape measure disagree with my steel rule?
Different zero points cause the mismatch. Tape hooks move by design, and wear changes the feel. Use the rule for short layout and the tape for rough sizing. Stick to one tool for final dimensions.
Why does my square line drift across a board?
The square is out, the reference edge is not straight, or the tool lifts during marking. Verify the square with a flip test. Joint or plane the reference edge. Hold the head tight to the wood and mark in one pass.
Why does an assembled stand wobble after glue-up?
A twist or uneven feet usually drives wobble. Check twist with winding sticks, then check each foot with a straightedge. Plane or sand the high points in controlled passes. For a full fix path, follow this guide on stopping a stand from wobbling.
Avoid these common measuring mistakes
- Reading a tape at an angle instead of straight on
- Using a thick pencil line for joinery layout
- Measuring from the wrong end of a rule
- Swapping between two tapes mid-project
- Marking without choosing a reference face and edge
- Forgetting saw kerf when you cut to an outside line
- Trusting a bowed board edge as a straight reference
- Rushing layout instead of using a story stick for repeats
Safety notes for measuring and layout
Layout tools include sharp edges, and measuring happens near cutters during setup.
- Retract tape blades slowly. A snapped tape edge cuts skin fast.
- Cap or sheath marking knives between uses.
- Cut away from your hand when you scribe.
- Keep fingers clear when you check blade height or fence distance. Unplug machines during setup.
- Use eye protection when you snap lines, trim tape, or work around spring tools.
For a complete baseline kit that covers eyes, lungs, and hearing, use this guide to essential safety gear for woodworking projects.
Final Words
A solid measuring kit relies on repeatable reference tools: a good square, a clear rule, and a clean marking system. Start with the 9-tool core set, then add specialty tools only when your projects demand them. Keep one master reference per build, verify your squares, and treat layout lines as the source of truth. That approach tightens joinery, speeds assembly, and saves lumber.