Wood Glue vs Epoxy: 7 Clear Tests for a Stronger Bond
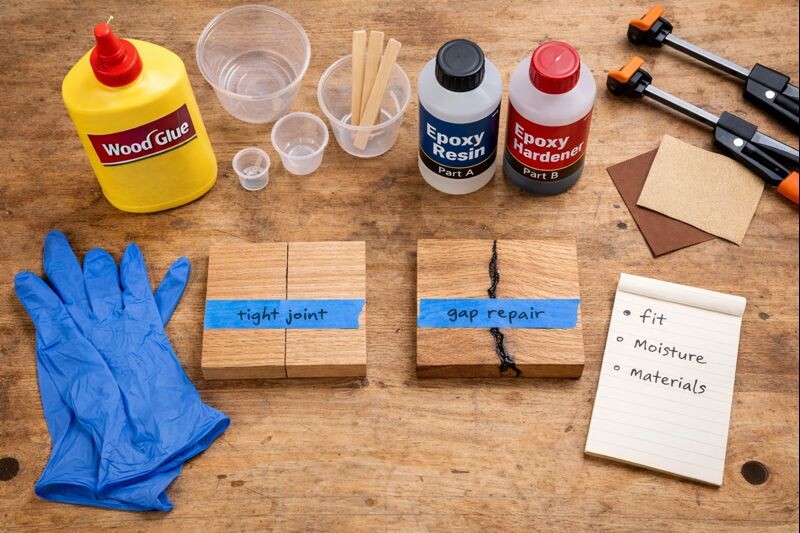
Wood glue vs epoxy comes down to joint fit, moisture exposure, and what you’re bonding. If you’re gluing clean, tight wood-to-wood joinery indoors, wood glue usually wins on speed, cost, and strength where it counts. If you’re dealing with gaps, mixed materials, or wet conditions, epoxy can save a project that wood glue can’t.
Contents Here
- 1 The 30-second rule for choosing
- 2 What is wood glue?
- 3 What is epoxy?
- 4 Difference between wood glue vs epoxy (the head-to-head comparison)
- 4.1 Strength (and what “failure” looks like)
- 4.2 Durability and water resistance
- 4.3 Gap filling, joint fit, and shrinkage
- 4.4 Working time, clamping, and cure time
- 4.5 Material compatibility (wood-to-wood vs mixed materials)
- 4.6 Ease of use, cleanup, and safety
- 4.7 Finishing and reversibility
- 4.8 Cost and shelf life
- 5 When should you use epoxy instead of wood glue?
- 6 When should you use wood glue instead of epoxy?
- 7 How to use epoxy for a strong, clean repair
- 8 How to use wood glue for joints that stay tight
- 9 Common mistakes that ruin either bond
- 10 The “best of both worlds” approach (when it makes sense)
- 11 FAQs on Wood Glue Vs Epoxy
- 12 Final Words
The 30-second rule for choosing
If you only remember one thing, remember this:
- Tight-fitting wood joint + clamps available → choose wood glue.
- Gaps, cracks, missing chunks, or questionable fit → choose epoxy.
- Outdoor moisture, repeated wet/dry cycles, or “unknown history” repairs → epoxy is usually safer.
- Wood-to-metal, wood-to-stone, wood-to-ceramic, or wood-to-plastic → epoxy is your friend.
If you want a deeper read on why yellow glue behaves the way it does, the breakdown on how PVA adhesives bond to wood fibers is worth keeping handy.
What is wood glue?
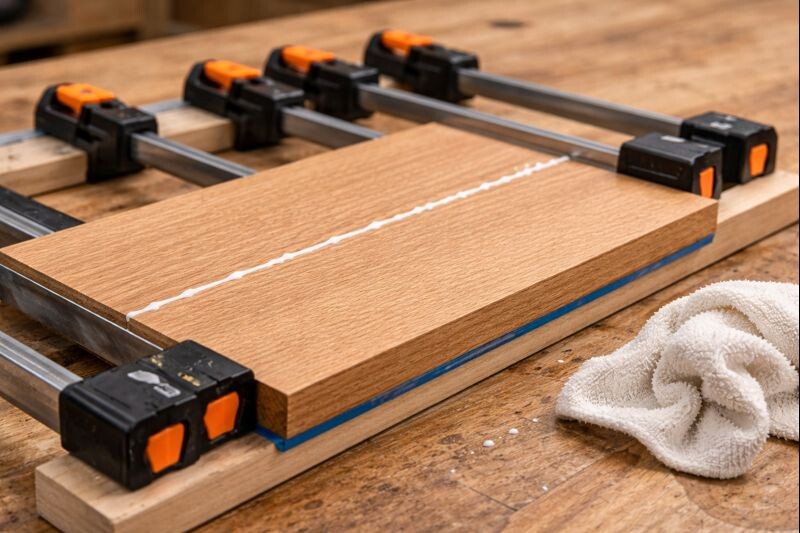
Wood glue usually means a PVA-based adhesive (the common yellow or white glue). It soaks into the wood surface, grabs the fibers, and creates a bond that’s excellent when two pieces fit well and are clamped properly. In good joinery, the wood often fails before the glue line does.
Wood glue also stays simple: apply, clamp, wipe squeeze-out, and let it cure. For indoor furniture, trays, cabinets, and most shop projects, that simplicity is a feature.
Common wood glue types (what matters for this comparison)
You’ll see a lot of labels, but only a few differences really affect the wood glue vs epoxy choice.
- Standard PVA (yellow/white): Great for tight wood joints. Not the best for constant water exposure.
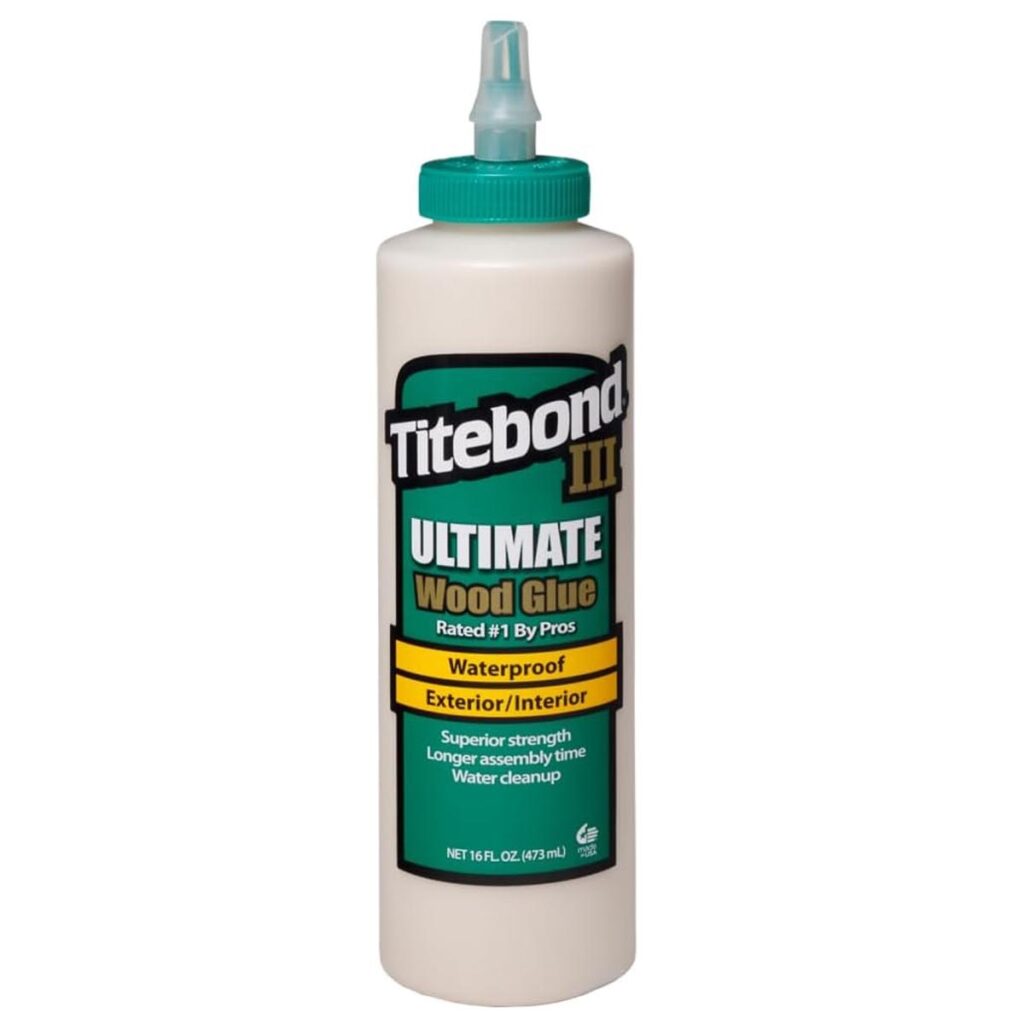
- Water-resistant PVA (often labeled Type II/III): Better for occasional moisture and outdoor pieces that don’t live in puddles.
- Polyurethane “wood glue”: Expands and can fill some gaps, but it’s messier and not my first pick for fine joinery.
- Hide glue: Niche, but useful for restorations because it can be reversed with heat and moisture.
If you’re trying to plan a glue-up schedule, these two guides help avoid rushed joints: timing your clamps on a glue-up and knowing when the bond is fully cured.
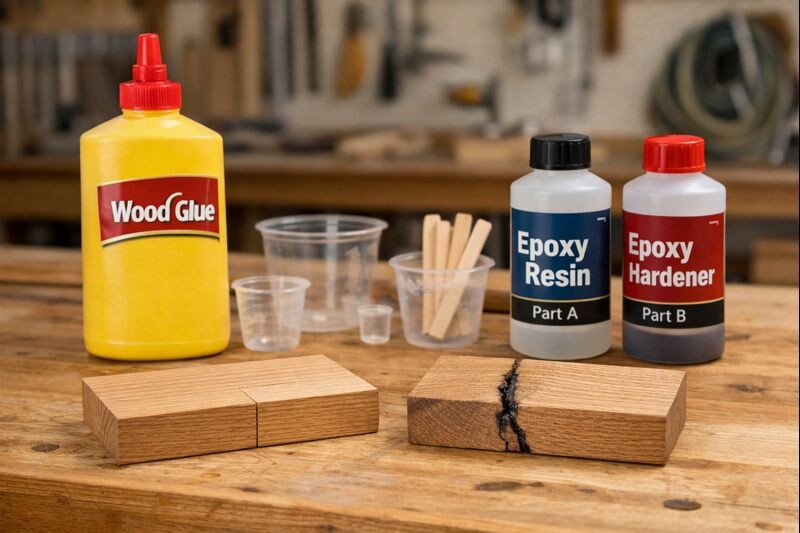
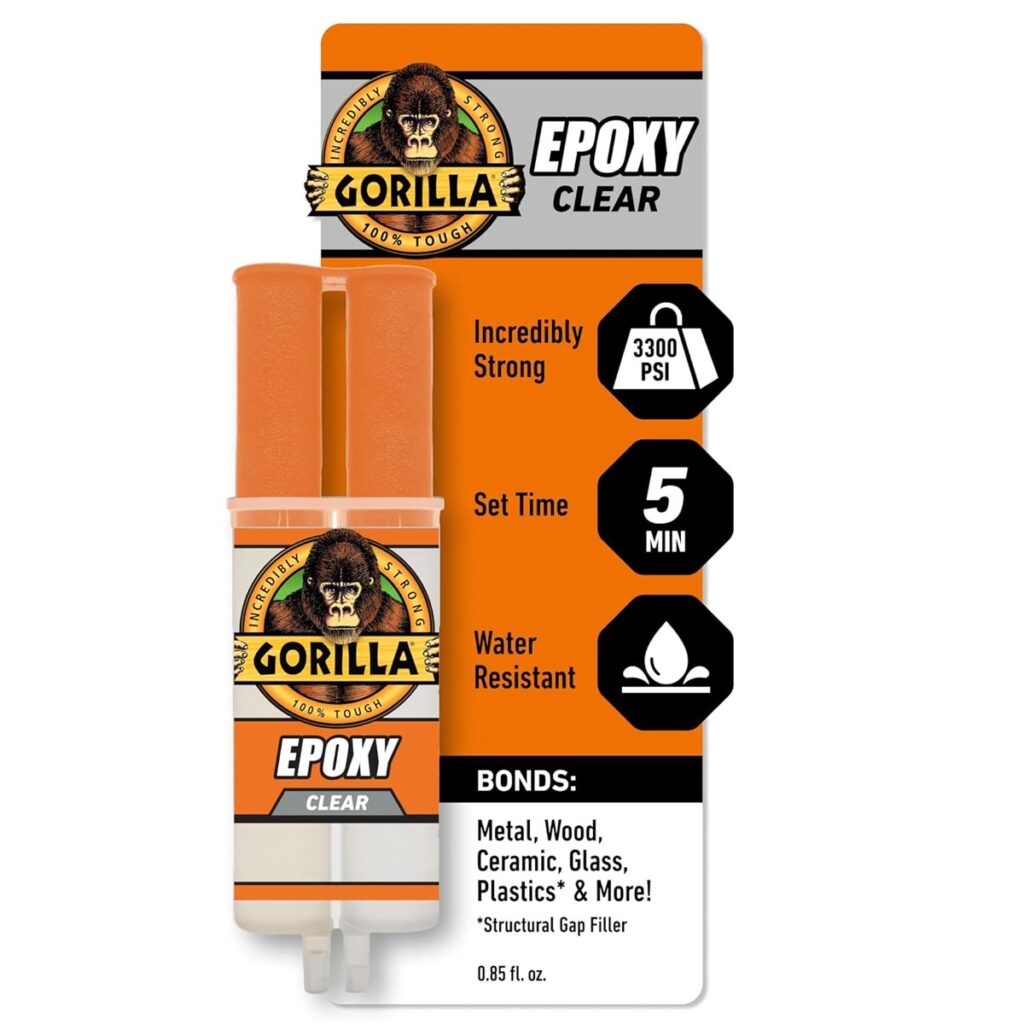
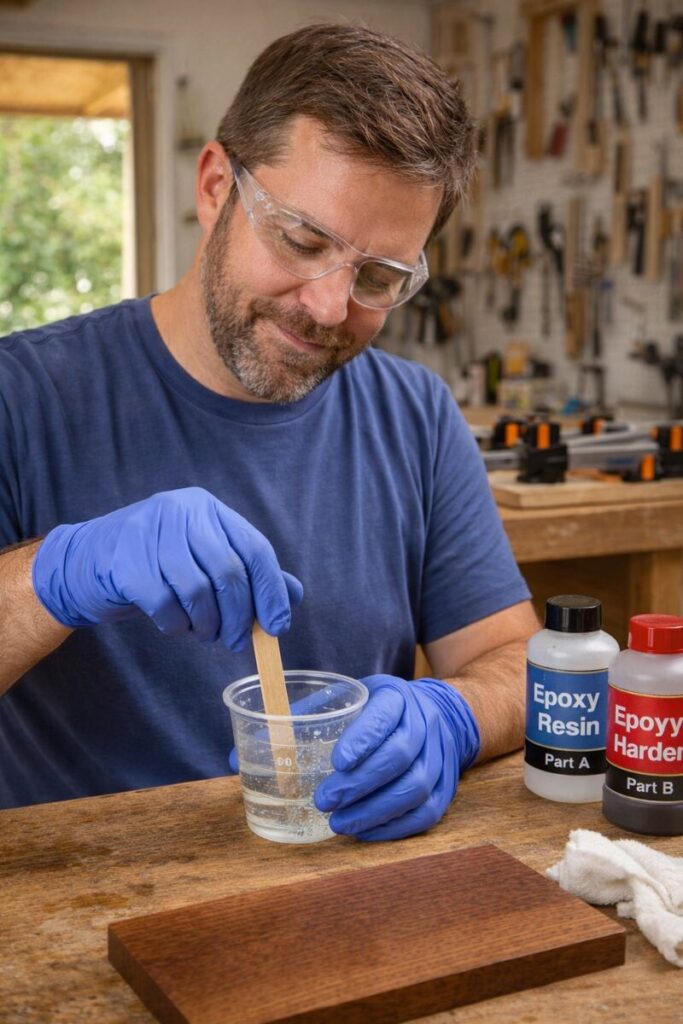
What is epoxy?
Epoxy is a two-part system: resin and hardener. When you mix them in the right ratio, a chemical reaction starts and the adhesive cures into a hard, stable plastic. Epoxy doesn’t need to soak into wood fibers to hold. It can bridge gaps and bond to surfaces that wood glue doesn’t like.
Epoxy shines when:
- A break is jagged and doesn’t pull back together cleanly.
- You’re bonding wood to non-wood parts.
- The repair lives outdoors or around water.
- You need a structural fill, not just an adhesive film.
Basic safety is non-negotiable. Wear gloves, keep the area ventilated, and avoid getting uncured epoxy on your skin.
“5-minute” vs slow-cure epoxy (why it changes results)
Fast-setting epoxy is convenient, but it often trades working time for speed. Slow-cure epoxies give you time to position parts, clamp carefully, and let the adhesive penetrate and level out. For bigger repairs, outdoor work, and anything load-bearing, longer working time usually makes the job cleaner and stronger.
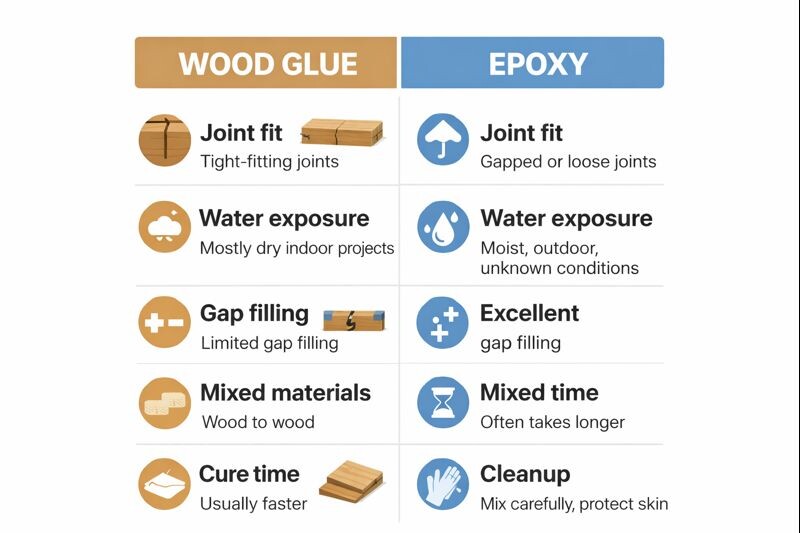
Difference between wood glue vs epoxy (the head-to-head comparison)
This is where most people get tripped up: they chase “strongest” instead of “best for the joint.” In the shop, strength is only one piece. Fit, surface prep, and environment matter just as much.
Strength (and what “failure” looks like)
- Wood glue is incredibly strong in tight wood-to-wood joints. In many clean joinery failures, the wood tears and the glue line stays intact.
- Epoxy can be stronger in messy, real repairs—especially where the joint fit isn’t perfect or the materials aren’t all wood.
If you like knowing what your joints can realistically handle, these two reads pair well with this topic: what glued joints can handle in real projects and how much load a glued bond can support.
Durability and water resistance
- Indoor furniture and trays: wood glue is usually plenty.
- Outdoor furniture, planters, wet entryways, boats, or repeated soaking: epoxy is the safer bet.
Water-resistant wood glue can do well in light exposure, but epoxy handles harsh moisture swings better. If a piece will live outdoors year-round, I treat epoxy as the more dependable repair adhesive.
Gap filling, joint fit, and shrinkage
This is the biggest practical difference.
- Wood glue wants contact. It works best when the joint closes tightly.
- Epoxy tolerates imperfect fit. You can thicken it so it stays where you put it, bridging gaps and rebuilding missing edges.
If you’re gluing something loose and hoping clamps will “pull it together,” that’s a warning sign. You may end up with a starved glue line. That’s when epoxy starts making sense.
Working time, clamping, and cure time
- Wood glue: often quick to apply, but it usually requires clamping pressure and set time before the joint can be handled.
- Epoxy: working time varies wildly. Some sets fast, some gives you an hour or more.
If you routinely get caught sanding too early, keep this on your radar: when it’s safe to sand a glued surface.
Material compatibility (wood-to-wood vs mixed materials)
Wood glue is designed for wood-to-wood. It doesn’t love slick, non-porous surfaces. Epoxy will often bond successfully to metal hardware, stone, ceramic, and some plastics, as long as you prep the surface properly.
Ease of use, cleanup, and safety
- Wood glue is beginner-friendly: squeeze, spread, clamp, wipe with a damp rag.
- Epoxy asks for more attention: measure accurately, mix thoroughly, apply neatly, and protect your skin.
With epoxy, sloppy mixing creates soft spots. With wood glue, sloppy clamping creates weak joints. Different mistakes, same outcome.
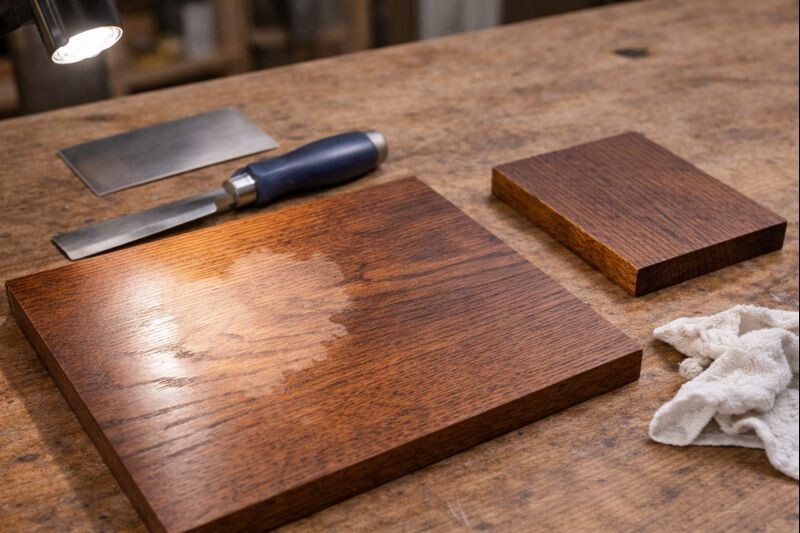
Finishing and reversibility
Glue problems often show up at finishing time, not during assembly.
- Wood glue squeeze-out can block stain and leave pale “ghost” streaks.
- Epoxy can leave glossy patches and can be harder to sand flush if you let it fully cure proud of the surface.
If you’ve been burned by stain blotching around glue lines, this is the clean explanation you want before your next finish job: why glue residue can fight your stain. And if you need to clean up a mistake without chewing up the surface, bookmark removing dried glue without scarring the wood.
Cost and shelf life
Wood glue is cheaper per joint and hard to waste. Epoxy costs more, and you can waste a batch quickly if you mix too much.
Also, adhesives don’t last forever. If you’re using a bottle that’s been rolling around your shop for years, it’s smart to check: how to tell when your glue has gone bad.
When should you use epoxy instead of wood glue?
Epoxy is the right call when the joint can’t be made “wood-glue perfect.”
Here are the situations where epoxy earns its keep:
- Loose-fitting joints you can’t remake: old chairs, busted tray handles, split legs.
- Cracks and voids: missing chunks, knot holes, checks, and gaps.
- Outdoor repairs: pieces exposed to rain, condensation, and big humidity swings.
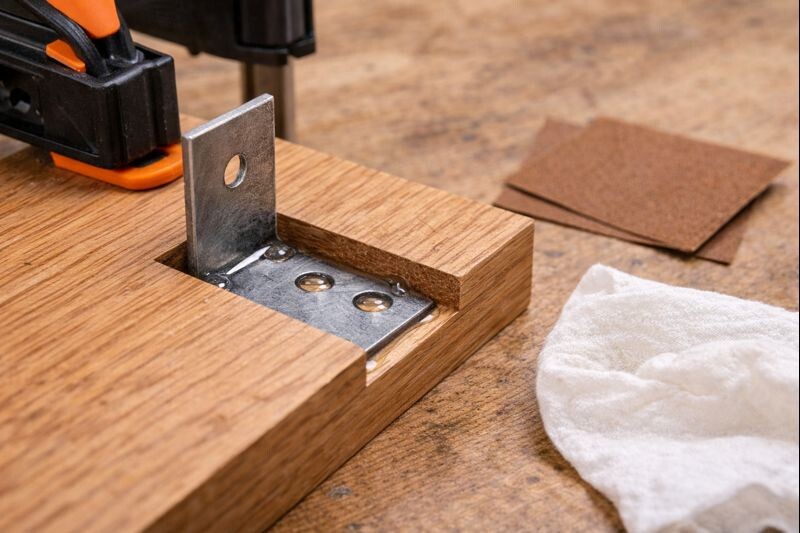
- Mixed-material bonds: wood bonded to metal brackets, threaded inserts, or stone inlays.
- Unknown surfaces: previously finished, contaminated, or oily areas that won’t glue cleanly.
Wood to non-wood bonds (hardware, inserts, brackets)
If you’re bonding a metal bracket into a wooden tray stand, epoxy is usually more reliable than wood glue. Rough the metal with sandpaper, clean it well, and give the epoxy something to bite.
If the project includes screws and you’re troubleshooting hardware choices, this guide fits nicely with tray builds and stand repairs: choosing corrosion-resistant screws for wood projects.
Filling cracks, knot holes, and missing wood
Epoxy can act like an adhesive and a structural filler in one step. Wood glue is not a true filler. It can shrink and it doesn’t build thickness well in big voids.
If you go the epoxy-fill route, plan your sanding carefully. Epoxy dust is irritating, and cured epoxy can be harder than surrounding wood. A steady sanding approach matters.
When should you use wood glue instead of epoxy?
Use wood glue when you can make the joint clean and tight. That’s most woodworking.
Wood glue is the better tool for:
- Edge-gluing boards into panels.
- Tray frames and rails that mate cleanly.
- Mortise-and-tenon, dowels, biscuits, and tight lap joints.
- Most indoor furniture and décor pieces.
If you’re repairing a chair rung or drawer joint and want a glue recommendation based on the type of repair, this one is made for that: picking the right glue for common furniture fixes.
Tight-fitting joints (mortise/tenon, biscuits, dowels, edges)
When surfaces close fully and clamps can apply even pressure, wood glue is hard to beat. You’re getting wood fiber-to-wood fiber contact with adhesive tying it together. That’s the recipe for long-lived joinery.
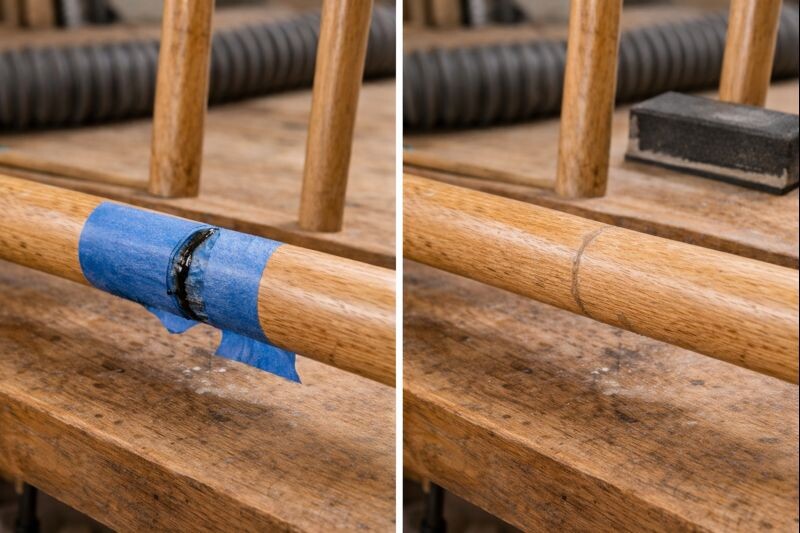
How to use epoxy for a strong, clean repair
Epoxy rewards patience. If you rush the mix or skip prep, you’ll fight the joint later.
Step-by-step epoxy workflow
- Dry fit the parts and plan clamping or taping.
- Prep the surfaces: sand lightly, remove dust, and clean oily spots.
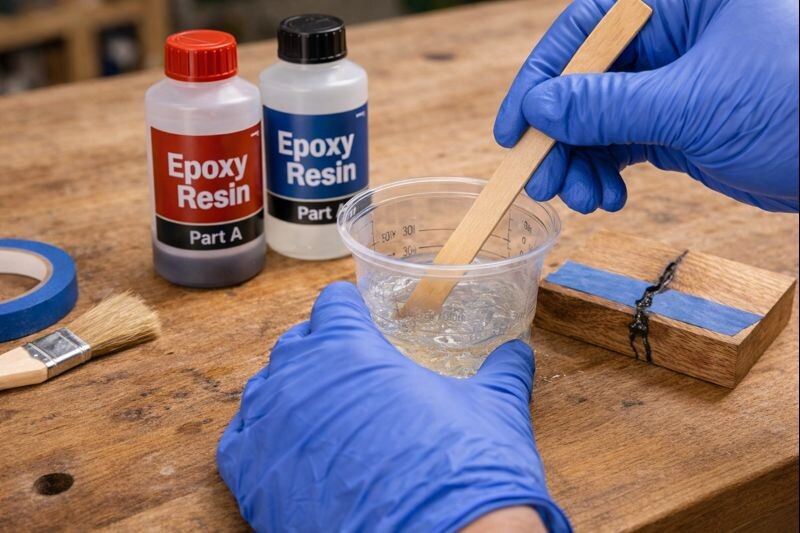
- Measure the mix ratio exactly as directed.
- Mix thoroughly: scrape the sides and bottom of the cup.
- Apply epoxy and work it into cracks or pores.
- Clamp or hold gently: you’re positioning, not squeezing it all out.
- Clean squeeze-out early if the surface will be visible.
- Let it fully cure before sanding, drilling, or loading the joint.
Safety notes that matter:
- Wear nitrile gloves.
- Ventilate the area.
- Don’t sand uncured epoxy.
- If you sand cured epoxy, use dust collection and a proper mask.
How to use wood glue for joints that stay tight
Wood glue works best when you treat it like joinery, not caulk.
Step-by-step wood glue workflow
- Dry fit first so clamps are ready and the joint closes.
- Clean the surfaces: dust and oil reduce bond strength.
- Apply a thin, even coat on both mating faces when possible.
- Clamp with even pressure across the joint.
- Wipe squeeze-out with a damp rag, or let it gel and scrape.
- Respect clamp time before handling.
- Wait for full cure before heavy stress or aggressive sanding.
If you’re trying to speed up a build and keep your schedule realistic, this helps: ways to shorten dry time without weakening the joint.
Common mistakes that ruin either bond
Most “bad glue” stories are really “bad prep” stories.
Mistakes that cause failures
- Gluing dirty wood: sanding dust and oils block adhesion.
- Trying to glue a gap with wood glue: it needs contact, not space.
- Over-clamping: squeezing too hard can starve the joint.
- Wrong epoxy ratio: soft cure, weak bond, sticky surface.
- Poor mixing: unmixed resin stays gummy inside the joint.
- Rushing the cure: moving or loading the part too soon.
- Finishing over glue residue: stain and paint will highlight it.
If your projects include end grain glue-ups or tray edges, sanding technique makes a visible difference. This is a solid reference for clean surfaces before glue and finish: getting end grain smooth without tearing it up.
The “best of both worlds” approach (when it makes sense)
Sometimes you can use both adhesives in the same project, but not in the same glue line.
A practical combo looks like this:
- Wood glue for the joinery, because the fit is tight and clamps work well.
- Epoxy as a sealer or reinforcement in areas that see moisture or wear, like the underside of an outdoor tray table or exposed end grain.
If the project is food-related—like a serving tray or cutting board—finish choices matter too. Here’s a clear discussion on safe coatings once cured: what “food safe after curing” actually means for finishes And if you’re building with walnut, this finishing guide is practical and straightforward: a clean, durable finish schedule for walnut.
FAQs on Wood Glue Vs Epoxy
Is wood glue stronger than epoxy?
In tight wood-to-wood joints, wood glue can be extremely strong and reliable. Epoxy often wins when the joint fit is imperfect, the wood is damaged, or the environment is wet.
Can I use epoxy as wood glue for normal furniture joints?
You can, but it’s usually unnecessary. For clean joinery that closes tightly, wood glue is easier, cheaper, and plenty strong.
Do I need clamps with epoxy?
Often you still need a way to hold alignment. Epoxy doesn’t always require heavy clamp pressure, but it does require stable positioning while it cures.
Is epoxy waterproof for outdoor wood projects?
Many epoxies handle moisture very well once cured. Outdoor durability still depends on surface prep and protecting the repair from UV and weather when needed.
How long does epoxy take to fully cure?
It depends on the formula and temperature. Fast epoxies set quickly but still need time to reach full strength. Slow-cure epoxies may take longer but can be easier to work cleanly.
Will wood glue or epoxy show through stain and finish?
Both can. Wood glue residue blocks stain and leaves light patches. Epoxy can leave glossy spots or sanding halos. Clean squeeze-out early and sand carefully.
Final Words
Wood glue vs epoxy isn’t a debate you “win” with one product. Wood glue is the everyday choice for tight wood-to-wood joinery and indoor builds.
Epoxy is the problem-solver for gaps, mixed materials, and moisture-heavy repairs. Pick the adhesive that matches the joint and the environment, and your work will last.
Read next: How to Remove Wood Glue From Wood: 9 Fast, Safe Fixes