Wood Glue for Dowels 2026: 9 Strong Choices for Tight, Clean Fits
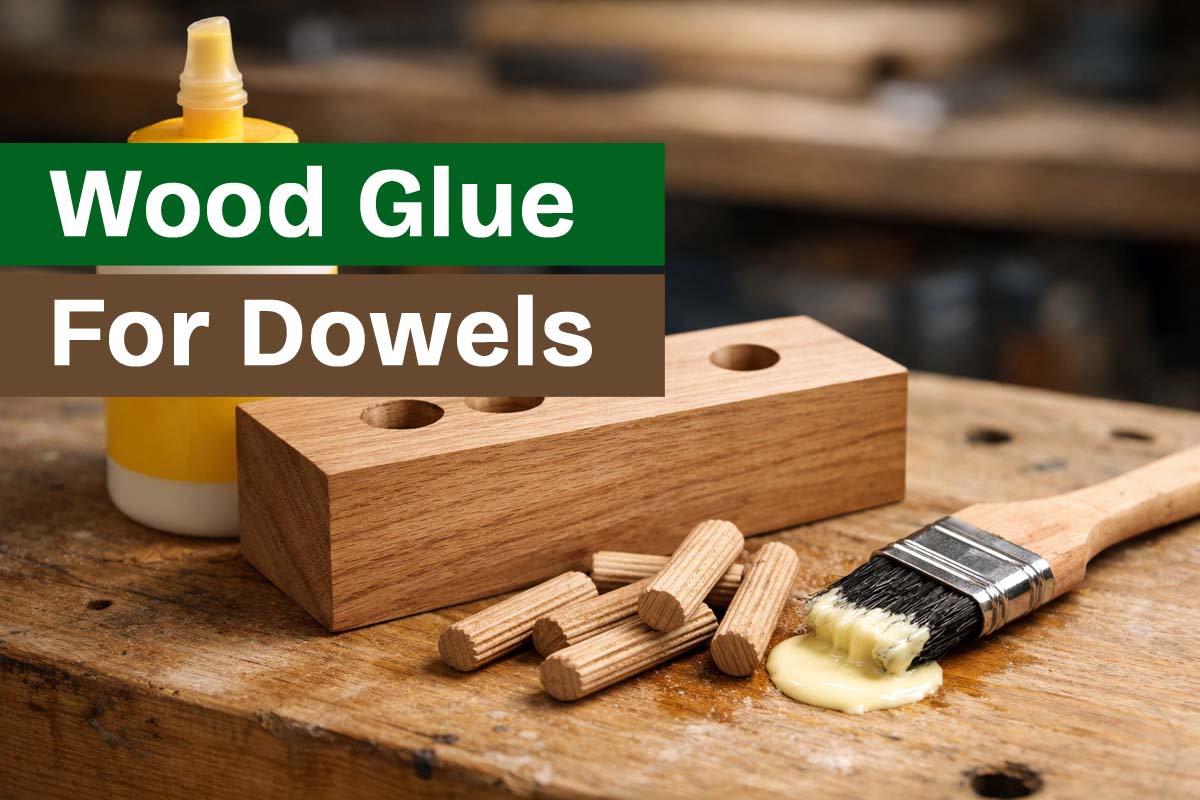
Wood glue for dowels matters more than most folks expect because the bond happens inside a blind hole. If you’ve ever tapped a dowel in, felt it “bottom out,” and still ended up with a tiny gap, you’ve already met the two enemies: trapped glue/air and poor glue coverage. The good news is you don’t need fancy tricks to beat them. You just need the right glue for the job and a clean, repeatable glue-up routine.
Contents Here
- 1 Quick Checklist: 9 Wood Glue for Dowels Picks
- 2 Why this joint is different than a flat glue-up
- 3 Why dowel joints are picky about glue
- 4 Reviews of Nine Wood Glues for Dowels
- 4.1 Gorilla Wood Glue for Dowels
- 4.2 Gorilla Original Gorilla Glue
- 4.3 Titebond II Premuim Cream Wood Glue
- 4.4 Titebond III Ultimate Wood Glue
- 4.5 Titebond Liquid Hide Glue
- 4.6 J-B Weld ClearWeld 5 Minute Epoxy
- 4.7 WEST SYSTEM G/flex Epoxy
- 4.8 Starbond Medium Super Glue Pro Kit
- 4.9 Titebond Original Wood Glue 5063
- 5 Best glue choices based on how the dowel joint will be used
- 6 Dowel and hole prep that makes any glue work better
- 7 Dry fit and surface prep before glue touches wood
- 8 How to apply glue in dowel holes without overdoing it
- 9 Clamping pressure, clamp time, and full cure
- 10 Cleanup that won’t wreck stain or finish later
- 11 Troubleshooting dowel glue-ups
- 12 Glue specs and shop conditions that affect results
- 13 FAQs on Wood Glue for Dowels
- 13.1 What is the best wood glue for dowels in furniture?
- 13.2 Should I put glue in the dowel hole, on the dowel, or both?
- 13.3 How do I stop a dowel joint from “hydraulic locking” and not closing?
- 13.4 Are fluted dowels better than smooth dowels for glue-ups?
- 13.5 How deep should I drill dowel holes for proper glue space?
- 13.6 How long should dowel joints stay clamped?
- 13.7 Can I use epoxy instead of wood glue for dowels? When should I?
- 13.8 Is polyurethane glue good for dowels, or will it push the joint apart?
- 13.9 What’s the best glue for outdoor dowel joints?
- 13.10 What’s “doweling glue” and how is it different from regular wood glue?
- 14 What to Remember
Quick Checklist: 9 Wood Glue for Dowels Picks
- Gorilla Wood Glue
- Gorilla Original Gorilla Glue
- Titebond II Premuim Cream Wood Glue
- Titebond III Ultimate Wood Glue
- Titebond Liquid Hide Glue
- J-B Weld ClearWeld 5 Minute Epoxy
- WEST SYSTEM G/flex Epoxy
- Starbond Medium Super Glue Pro Kit
- Titebond Original Wood Glue 5063
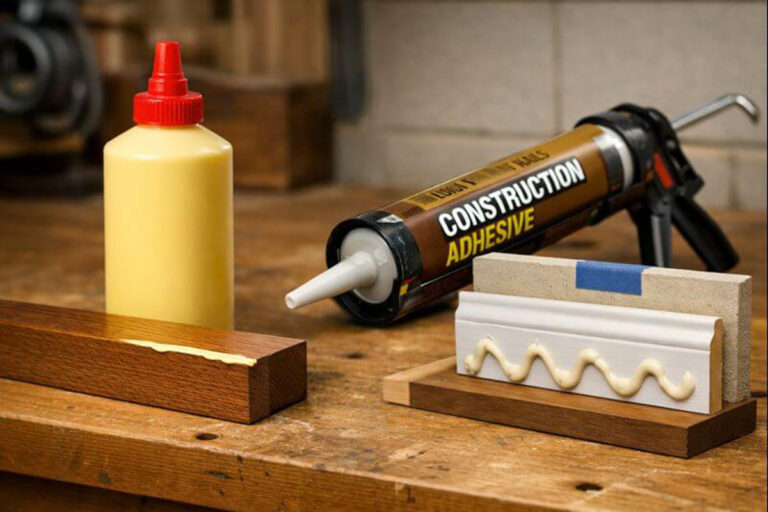
Looking for safe glue options for DIY furniture fixes? Check this out now.
Why this joint is different than a flat glue-up
A dowel joint has less forgiveness than a board-to-board glue seam. The hole can trap pressure, the dowel can swell from moisture, and the glue has to coat two curved surfaces you can’t really see. When something goes wrong, it usually shows up as:
- The joint won’t close all the way
- The dowel seats, but the joint feels weak later
- Alignment drifts during clamp-up
- Glue squeeze-out is messy, then ruins stain or finish
If you plan for glue escape and even coverage, dowels become dead reliable.
Why dowel joints are picky about glue
A dowel joint is basically a sleeve-and-pin bond. The glue needs to wet the hole walls and the dowel’s surface, then cure without being starved or hydraulically locked. Two practical realities drive everything else:
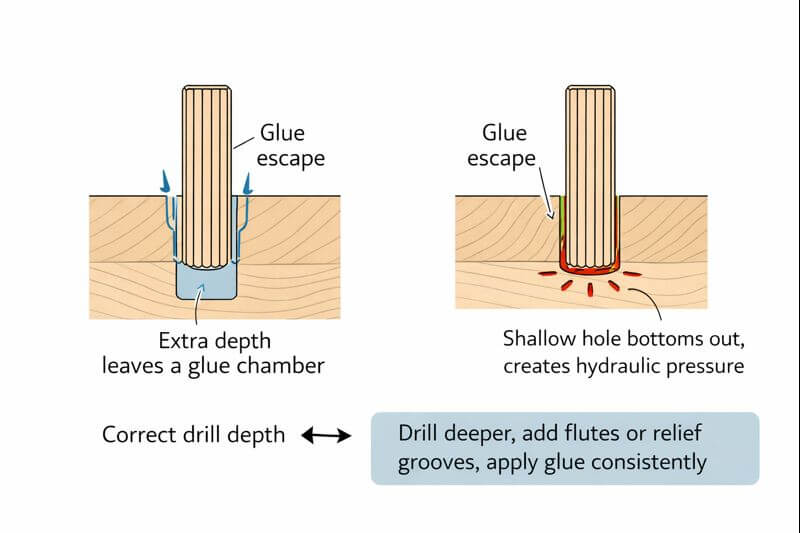
First, the hole is a pressure chamber.
If the dowel is snug and the hole is filled with glue, the dowel can’t displace the liquid fast enough. That pressure keeps parts from closing, even if you clamp hard.
Second, dowels can swell.
Water-based glues add moisture. A tight dowel can get tighter, fast, which increases seating resistance and can create tiny gaps at the joint line.
The fix is simple: give glue and air somewhere to go, and don’t drown the hole.
Reviews of Nine Wood Glues for Dowels
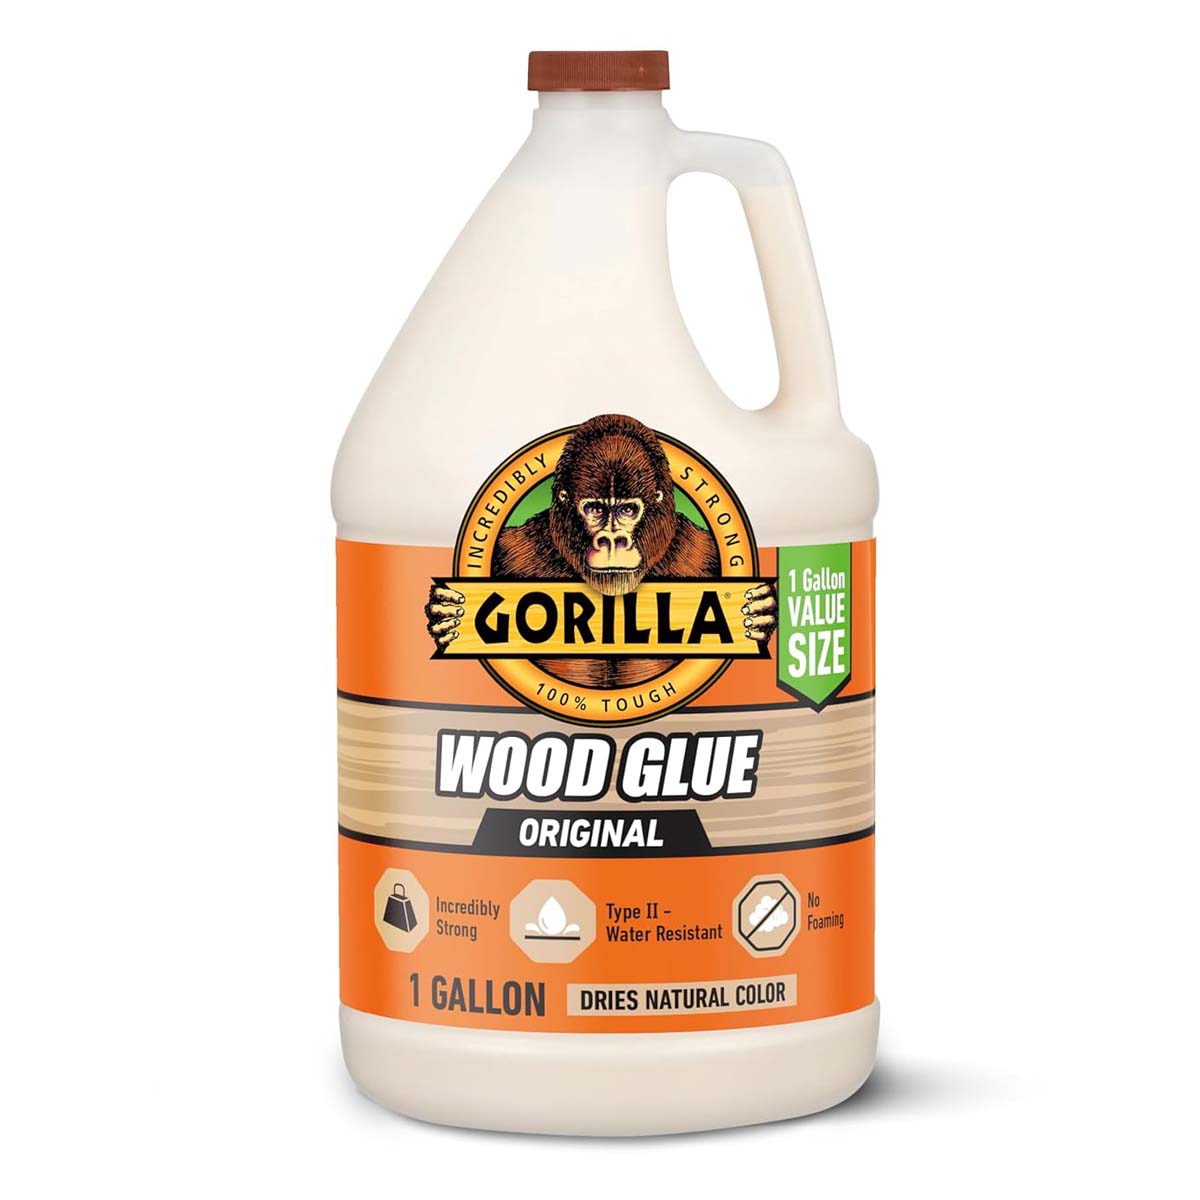
Gorilla Wood Glue for Dowels
Water-Resistant PVA for Dowel Joinery and Clean Glue Lines
This is a solid pick when your dowel holes fit well and you want easy cleanup. It clamps in 20–30 minutes, dries to a natural tan line, and stays sandable and paintable without the foaming you get from polyurethane. I like it for indoor furniture dowels and sheltered outdoor pieces where Type II water resistance is enough.
$26.99 at AmazonSpecifications
- Type: PVA (liquid)
- Water resistance: Type II (water resistant)
- Clamp time: 20–30 minutes
- Full cure: 24 hours
Pros
- Easy water cleanup
- No foaming, finish-friendly
Cons
- Not “waterproof” for constant exposure
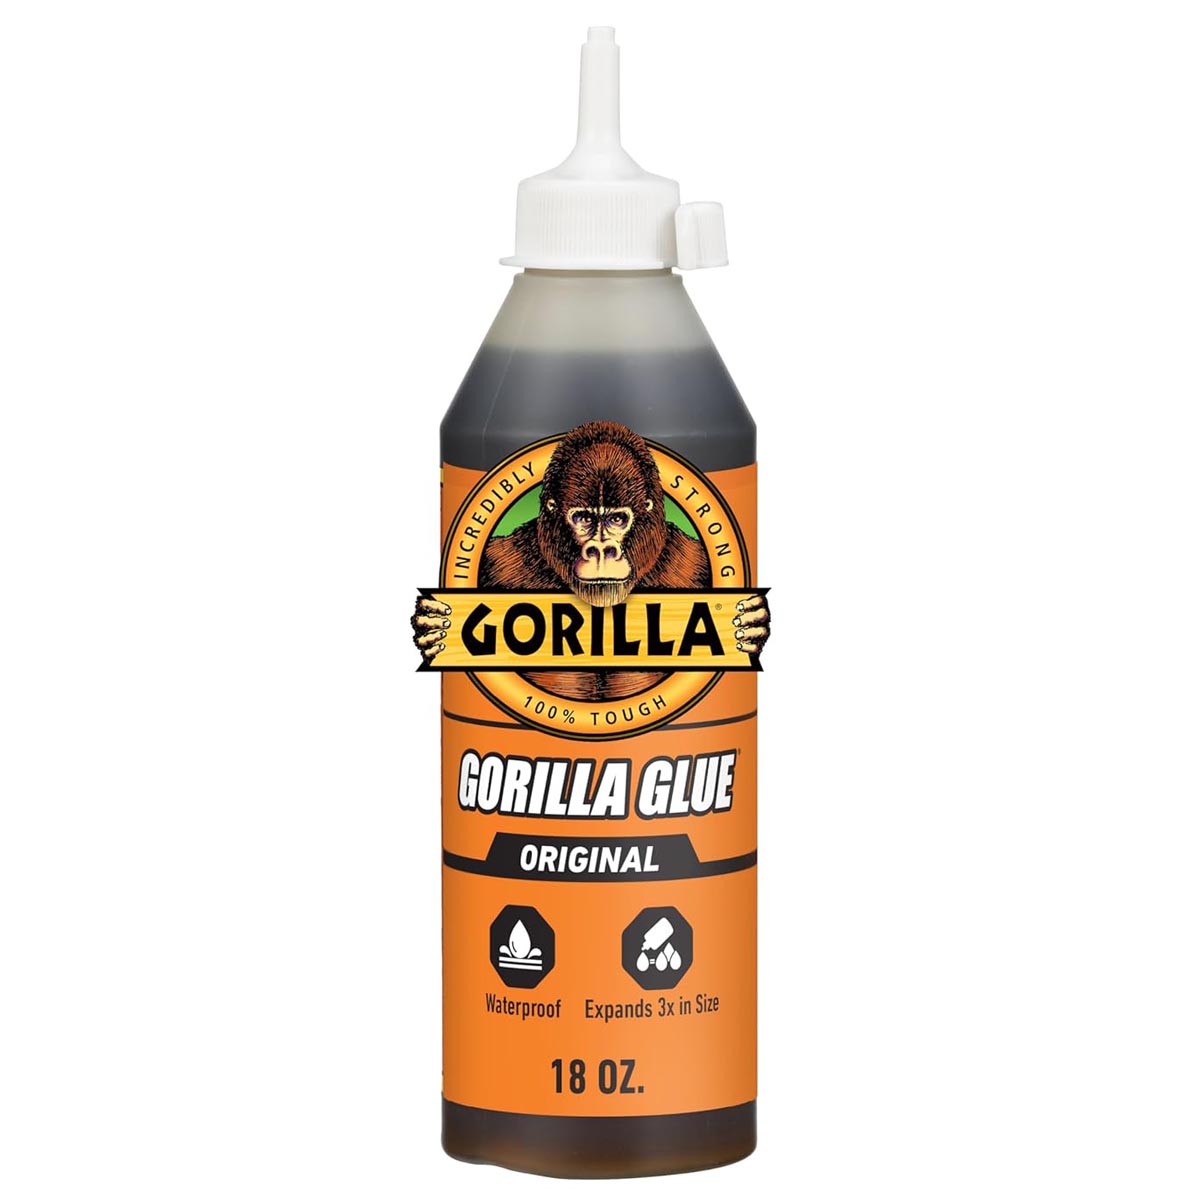
Gorilla Original Gorilla Glue
Waterproof Polyurethane for Slightly Loose Dowels
When a dowel hole is a hair sloppy, this polyurethane glue can help because it expands and bites into porous surfaces. That expansion also means you must clamp firmly so it doesn’t push the joint open. Use a light mist of water to activate it, then watch squeeze-out and protect the surface with tape. Best for outdoor dowel joints or mixed-material repairs.
$23.99 at AmazonSpecifications
- Type: Polyurethane (liquid resin)
- Water resistance: Waterproof
- Expansion: Up to 3x
- Full cure: 24 hours
Pros
- Bonds many materials
- Handles weather well
Cons
- Foams and can stain wood
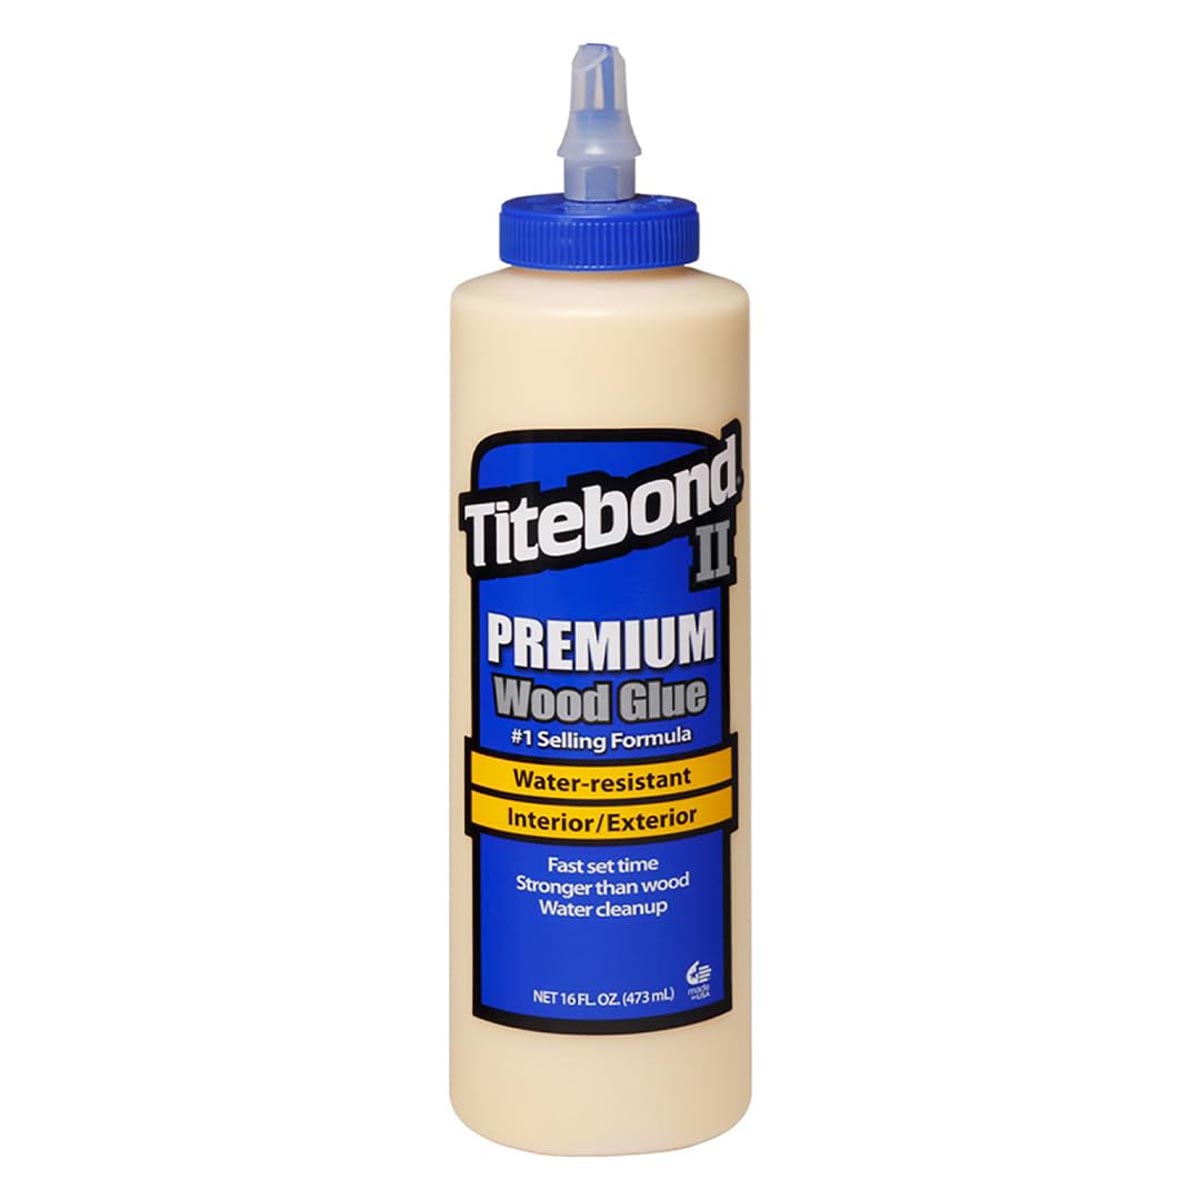
Titebond II Premuim Cream Wood Glue
Type II glue for dowel joints in damp areas
Titebond II is a dependable step up from basic indoor PVA when your project sees humidity, spills, or frequent wipe-downs. It grabs fast, sets quickly, sands well, and cleans up with water while wet. For dowels, it’s best when the fit is snug and you’ve drilled a little extra depth for glue escape.
$8.06 at AmazonSpecifications
- Type: One-part PVA (cream)
- Water resistance: ANSI Type II
- Tensile strength: 3,750 PSI
- Full cure: 24 hours
Pros
- Strong initial tack
- Good for interior/exterior (not submerged)
Cons
- Avoid use below 55°F
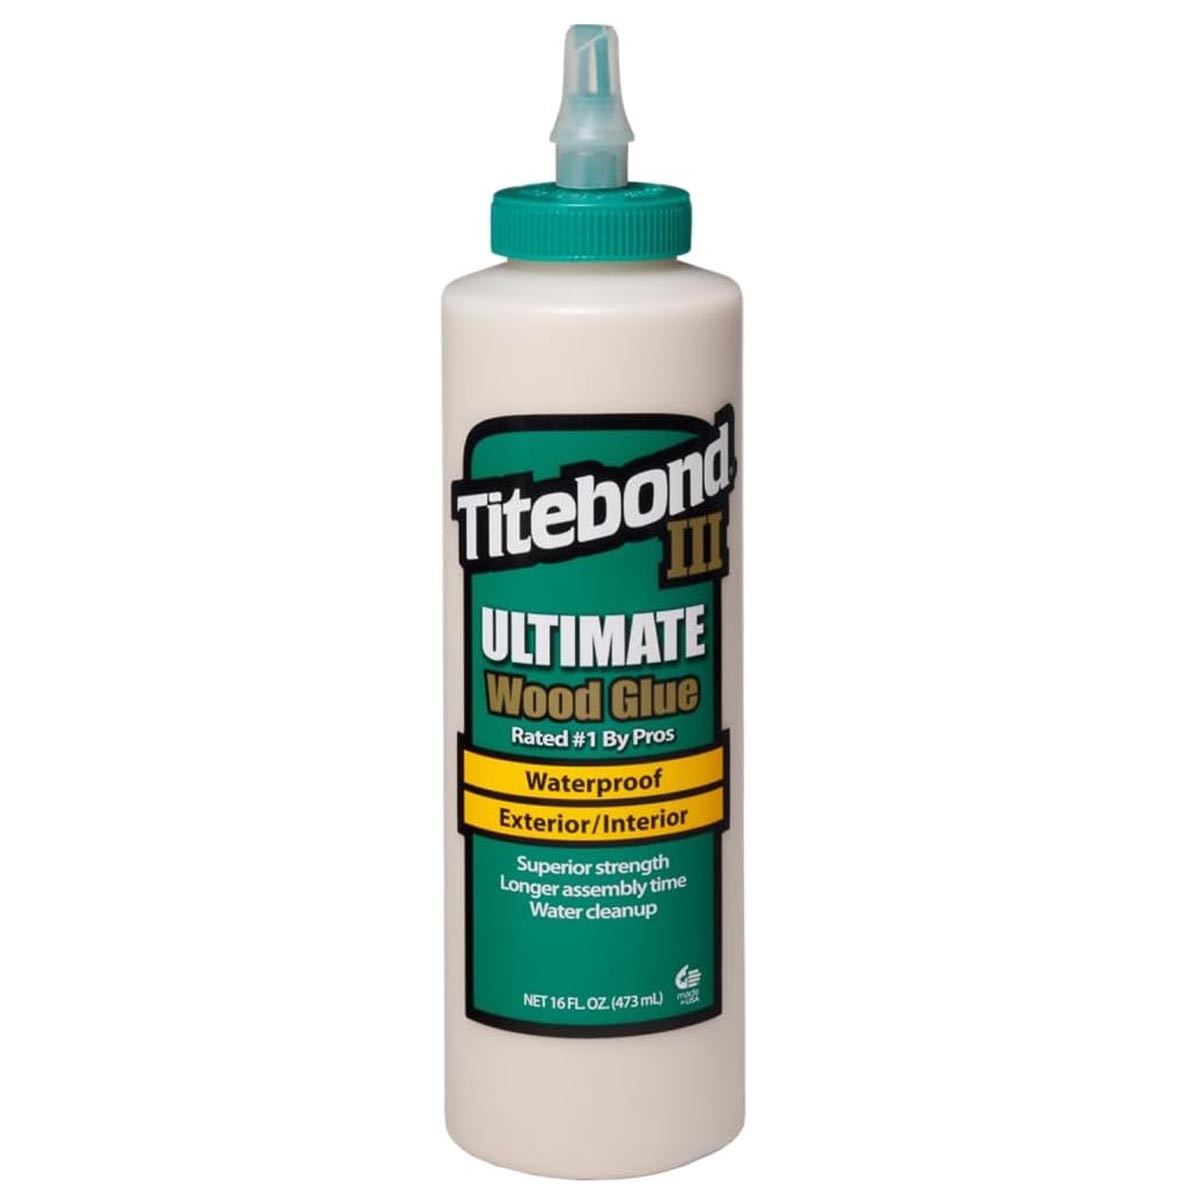
Titebond III Ultimate Wood Glue
“Waterproof” Glue for Dowels Used Outdoors
If you’re building outdoor furniture or anything that sees heavy moisture, this one is the safer bet in the Titebond line. It’s rated to a stricter water-resistance standard, offers longer open time for complex assemblies, and still cleans up with water while wet. For dowels, it shines when you need time to align parts before clamping.
$7.97 at AmazonSpecifications
- Type: PVA (liquid)
- Water resistance: ANSI/HPVA Type I (“waterproof”)
- Tensile strength: 4,000 PSI
- Clamp time: ~30 minutes
Pros
- Longer working time
- Sands clean, strong bond
Cons
- Keep from freezing; temp limits apply
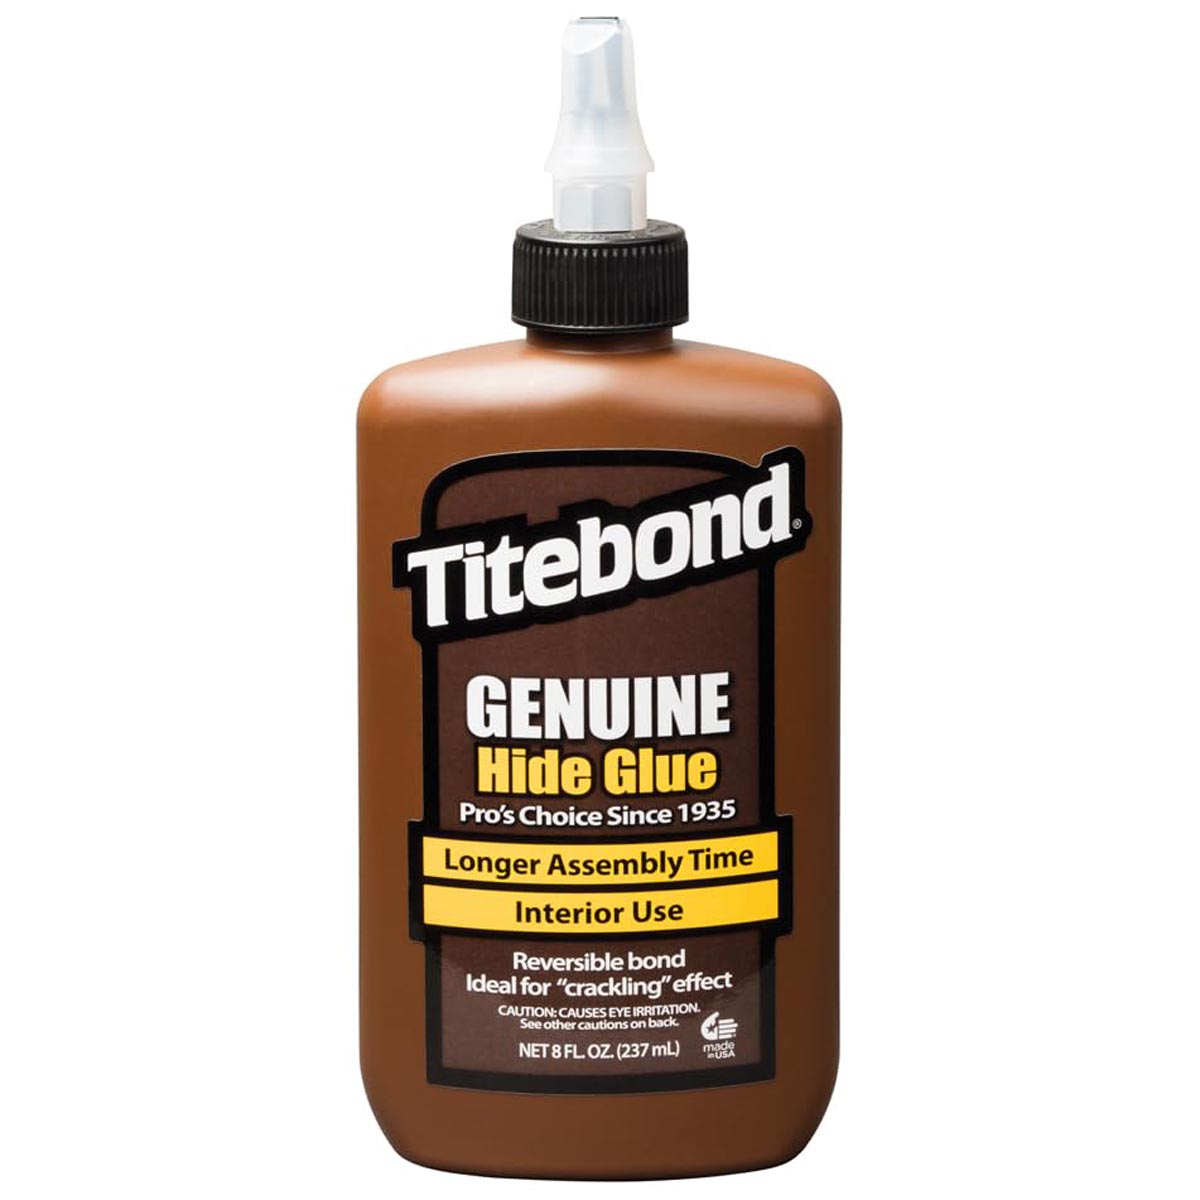
Titebond Liquid Hide Glue
Traditional Glue for Dowel Repairs and Restoration
Liquid hide glue is for the woodworker who wants reversibility and a long assembly window. It’s handy for antique dowel joints, chairs, and instrument-style repairs where you may need future disassembly. It sands nicely and doesn’t fight most finishes, but it isn’t water resistant, so keep it indoors and dry.
$7.99 at AmazonSpecifications
- Type: Liquid hide glue
- Water resistance: Not water resistant
- Tensile strength: 3,207 PSI
- Full cure: Listed 24 days
Pros
- Long open time, precise alignment
- Can be disassembled with moisture/heat
Cons
- Slow full cure
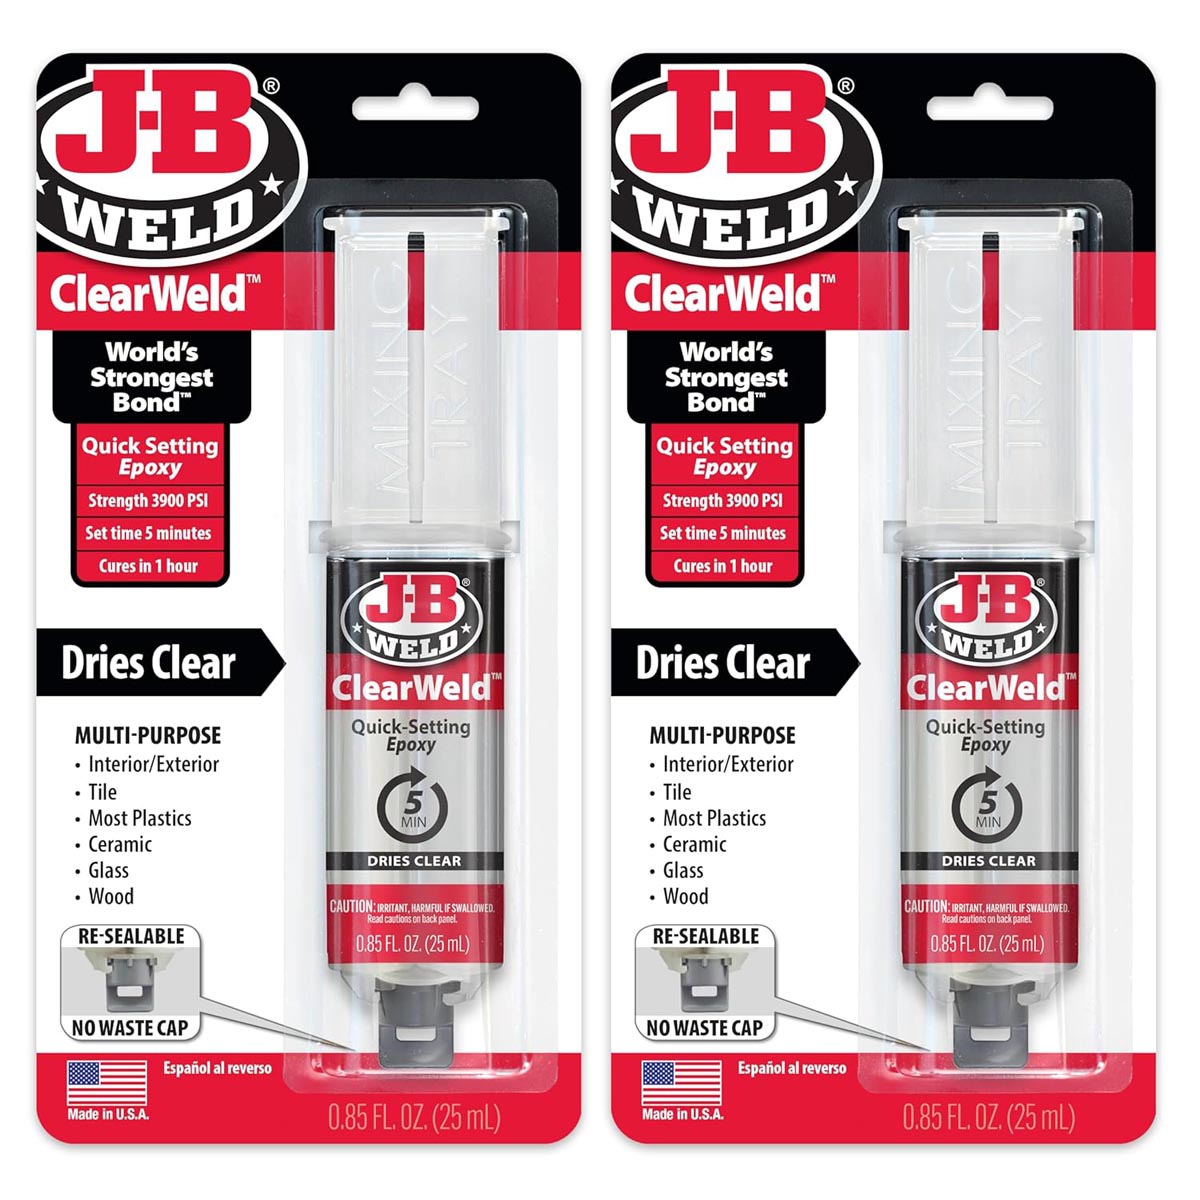
J-B Weld ClearWeld 5 Minute Epoxy
5-minute epoxy for dowels in worn or gappy holes
When dowel holes are wallowed out, epoxy is often the best fix, and ClearWeld is built for quick repairs. It mixes 1:1 from a syringe, sets fast, and cures clear, which helps when squeeze-out is hard to avoid. I’d use it for broken chair rails, loose dowels, and small parts that need strength without perfect fit.
$13.02 at AmazonSpecifications
- Type: Two-part epoxy (clear)
- Set time: ~5 minutes
- Full cure: ~1 hour
- Tensile strength: 3,900 PSI
Pros
- Gap-filling strength
- Fast cure, multi-material
Cons
- Cleanup needs care once it starts to gel
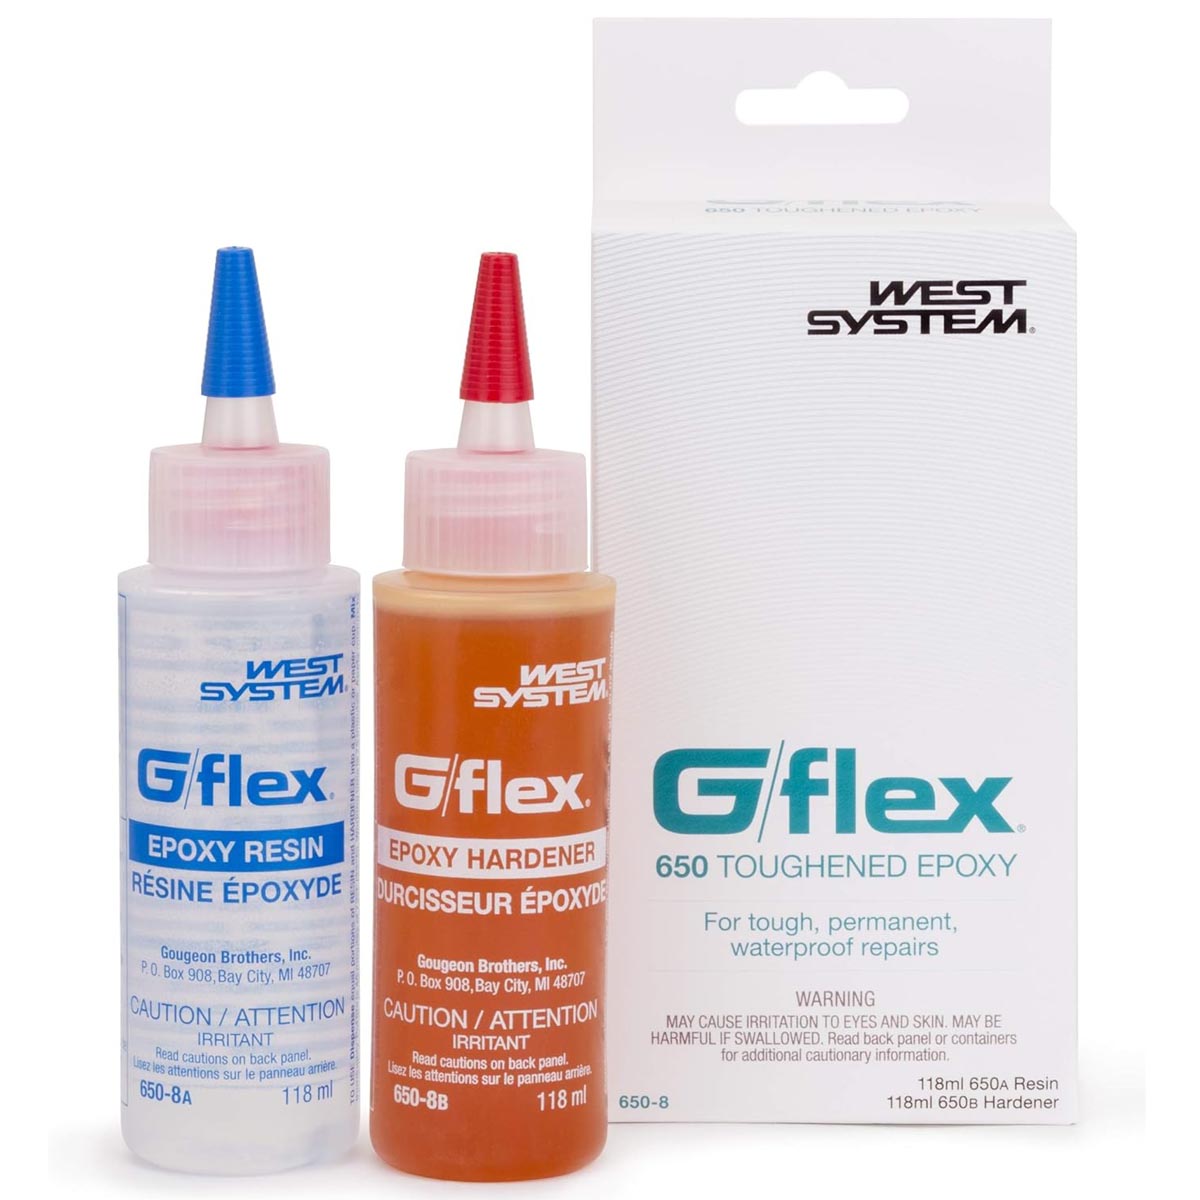
WEST SYSTEM G/flex Epoxy
Waterproof Epoxy for Stubborn Woods and Damp Conditions
G/flex is the repair epoxy I reach for when the wood is oily, damp, or just difficult to bond reliably. It’s meant for permanent, waterproof repairs and sticks well to tricky surfaces with the right prep. For dowels, it’s a strong option for exterior projects, marine-style builds, or repairs where you can’t get a crisp, tight fit.
$32.06 at AmazonSpecifications
- Type: Toughened epoxy
- Water resistance: Waterproof
- Special use: Bonds damp/difficult woods
- Full cure: ~2 days
Pros
- Excellent for hard-to-glue species
- Handles wet environments better than PVA
Cons
- Mixing and surface prep matter
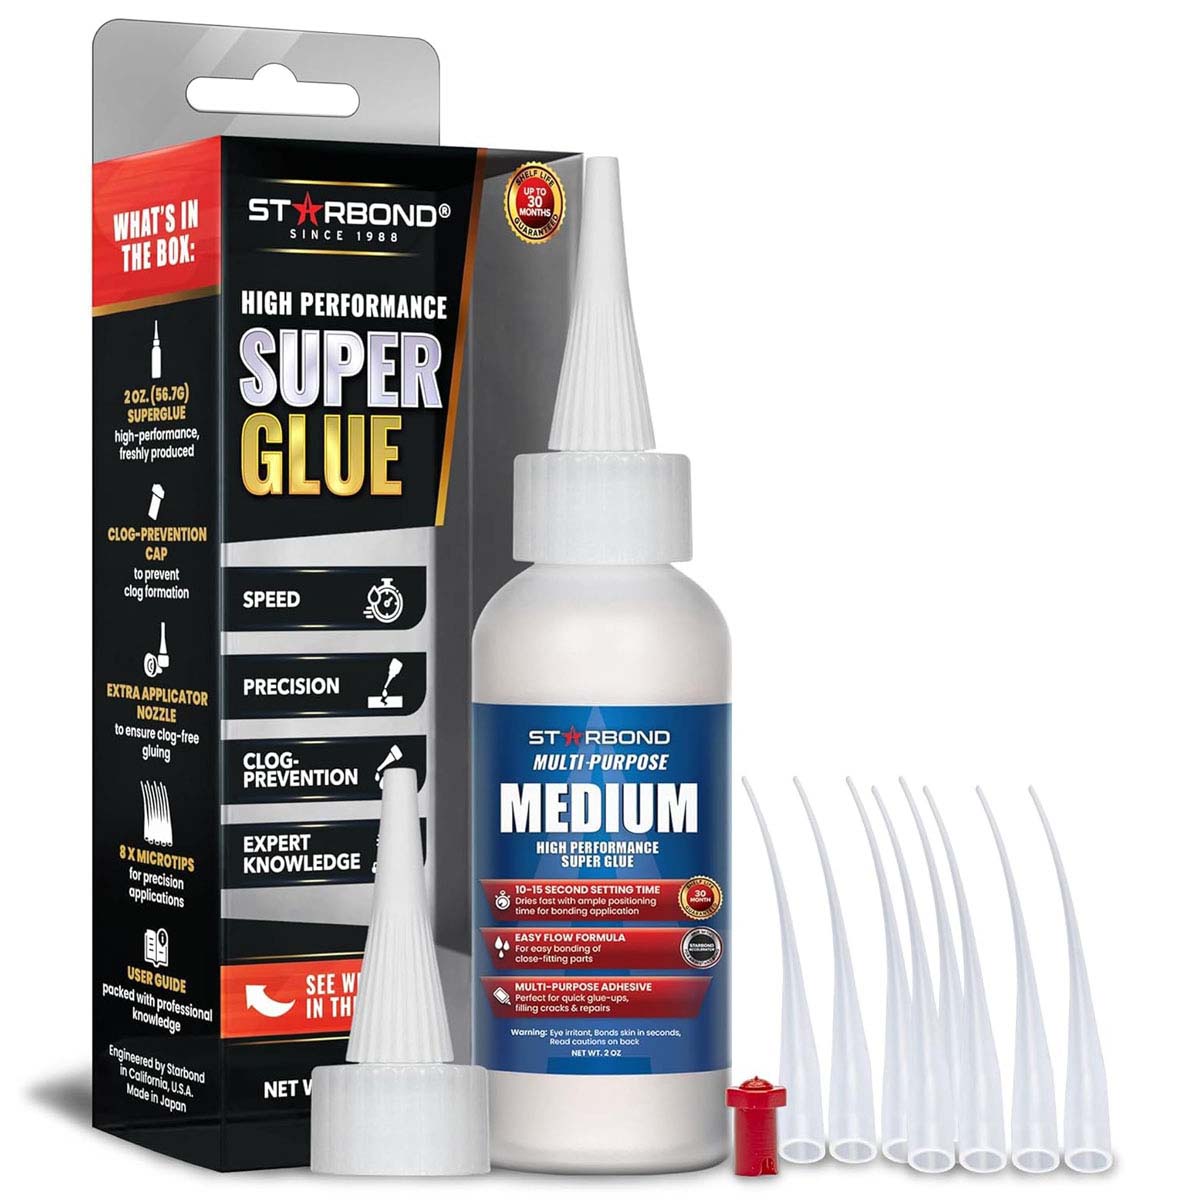
Starbond Medium Super Glue Pro Kit
Medium Super Glue for Quick Dowel Fixes and Small Parts
CA glue isn’t my first choice for primary dowel joinery, but it’s useful for fast repairs, jigs, and small assemblies where clamping is awkward. Medium viscosity helps it bridge tiny gaps, and the kit’s microtips make it easier to place glue right where you need it. Treat it as a “quick bond” option, not your go-to for stressed chair joints.
$14.79 at AmazonSpecifications
- Type: Cyanoacrylate (medium)
- Viscosity: 150 cps
- Set time: ~10–15 seconds
- Water resistance: Waterproof
Pros
- Very fast set
- Precise application accessories
Cons
- Limited repositioning time
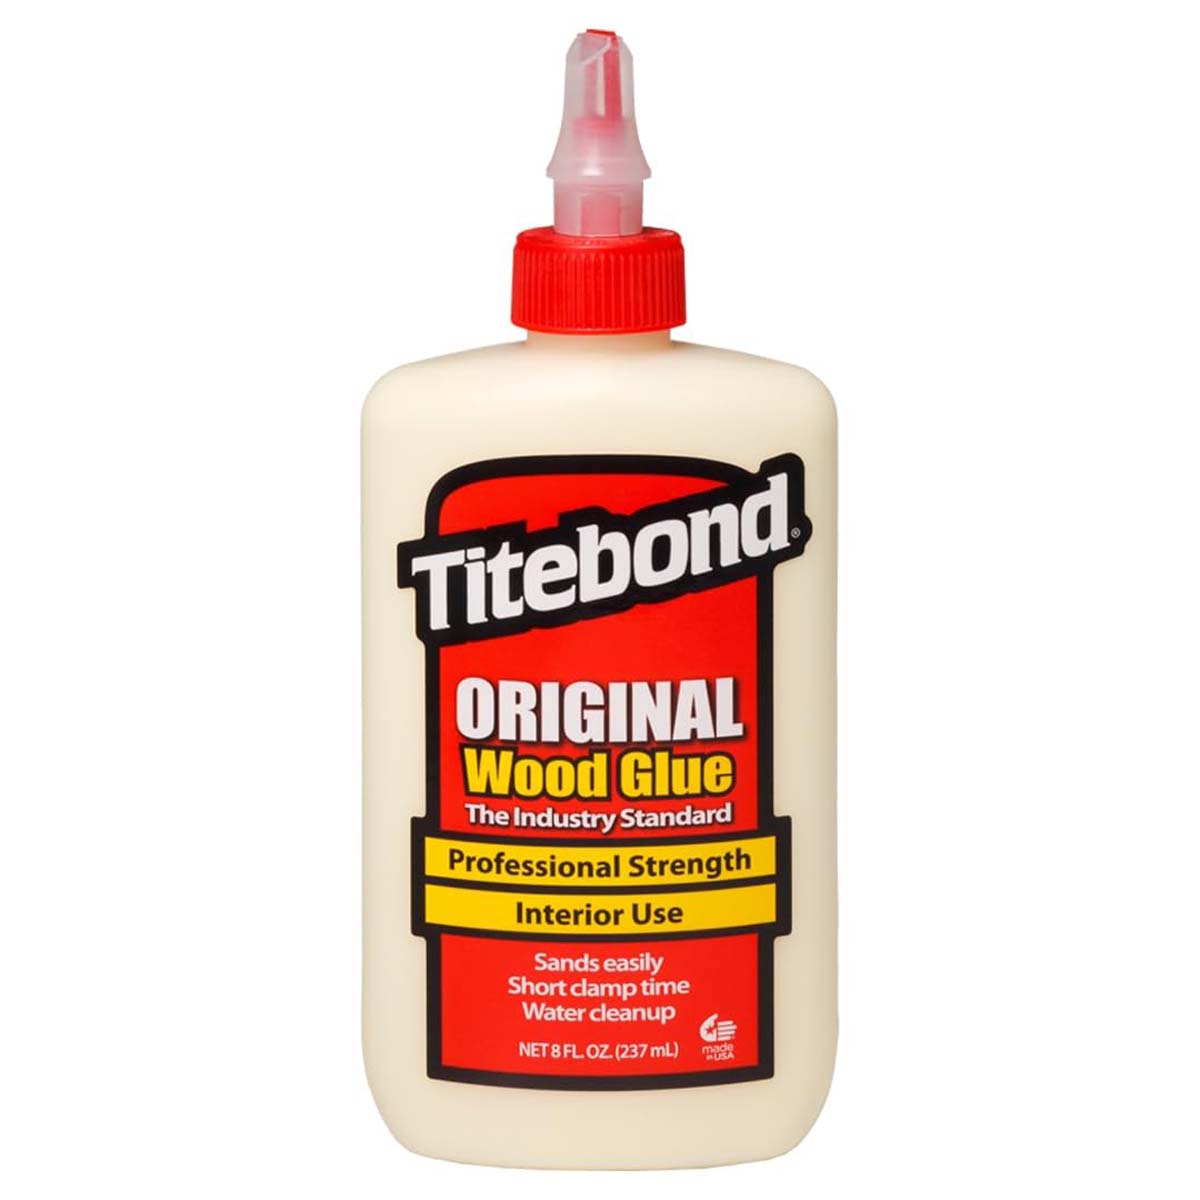
Titebond Original Wood Glue 5063
Classic Interior Glue for Tight Dowel Joinery
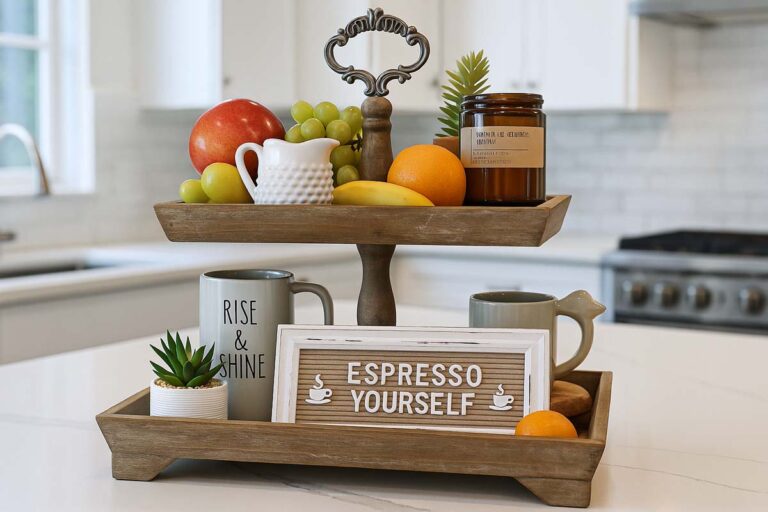
For indoor dowel joints with good fit, Titebond Original is still a workhorse. It sets fast, sands well, and doesn’t cause finishing surprises when you clean squeeze-out properly. I like it for trays, stands, cabinets, and general furniture where the joint stays dry. If the project will live outdoors or in a damp room, step up to a Type II or Type I glue instead.
$3.68 at AmazonSpecifications
- Type: PVA (liquid)
- Water resistance: Not water resistant
- Viscosity: 3,200 cps
- Features: Fast set, short clamp time
Pros
- Strong, predictable bond
- Easy sanding and water cleanup (wet)
Cons
- Needs good fit (not gap-filling)
Best glue choices based on how the dowel joint will be used
There isn’t one “best” adhesive for every dowel job. What works for an indoor tray stand isn’t always the best choice for a humid kitchen, an outdoor piece, or a repair with sloppy holes. Think about exposure, fit, and how much working time you want.
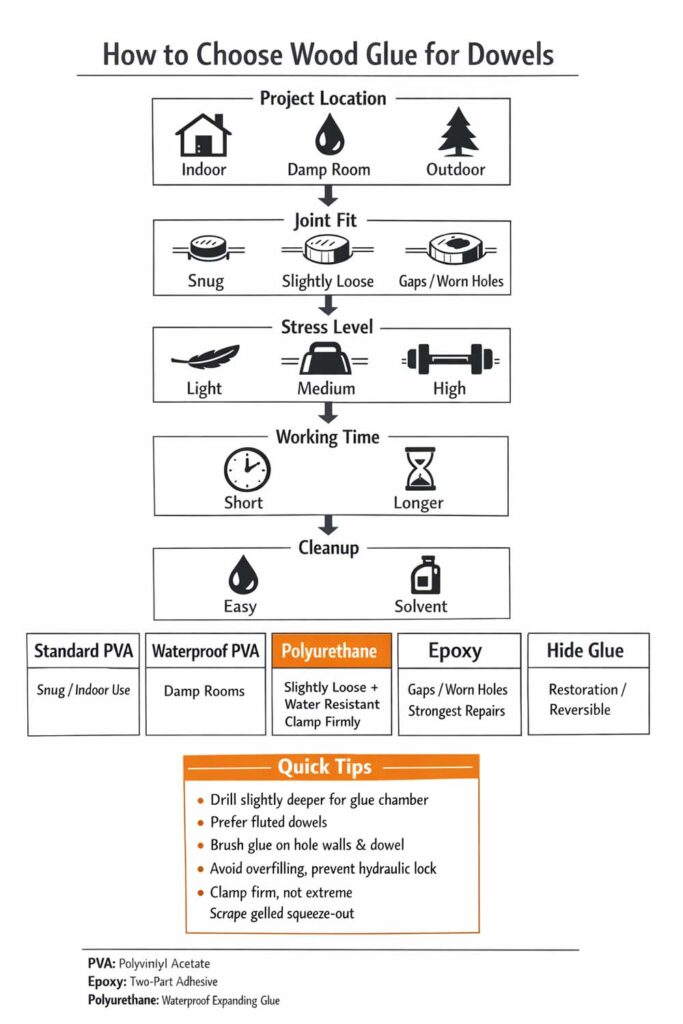
PVA wood glue for tight, indoor dowel joints
For most furniture-grade dowel joinery, a standard yellow PVA wood glue is the default for good reasons. It bonds strongly when wood-to-wood contact is close, it cleans up with water, and it gives you enough open time to assemble without panic.
Use it when:
- The dowel fit is snug but not forced
- The piece stays indoors
- You want easy cleanup and predictable clamp timing
If you’re unsure how much adhesive is actually needed, read this before your next glue-up: how much glue to apply without making a mess.
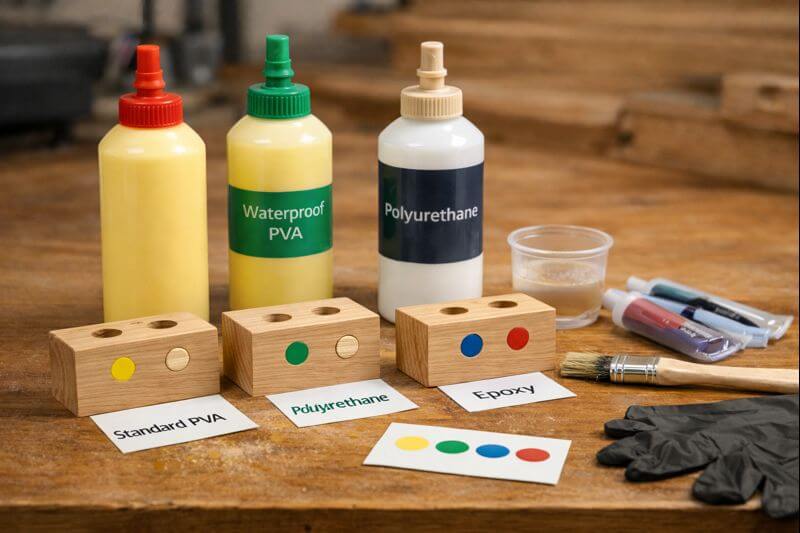
Water-resistant or waterproof PVA for damp rooms and frequent wiping
For projects that see humidity, condensation, or routine wiping, step up to a water-resistant or waterproof-rated PVA. The joint still depends on good fit and full seating, but the glue line holds up better when life gets wet.
Use it when:
- The piece lives in a kitchen, bath, or laundry area
- You need more water resistance than basic PVA offers
- You still want easy squeeze-out cleanup
Polyurethane glue for slightly loose fits and tricky woods
Polyurethane glue can help when the fit is a hair loose or the wood is oily and stubborn. It expands as it cures, which sounds helpful, but expansion can also push parts apart if you don’t clamp properly. It’s also messy and harder to clean.
Use it when:
- The hole is slightly oversized
- You need water resistance and a different bond style
- You’re willing to clamp firmly and manage foam squeeze-out
Practical tip: wear gloves, and protect the workpiece with tape around the joint line.
Epoxy for gap filling, worn holes, and high-stress repairs
Epoxy is the problem-solver when the joint fit isn’t ideal. It fills voids, bonds well in less-than-perfect conditions, and gives you longer working time. The tradeoff is mixing, cleanup, and usually longer cure time.
Use it when:
- A repaired joint has wallowed-out dowel holes
- You can’t get a clean, snug fit anymore
- The joint sees high stress or repeated loading
If your repair situation feels like a “hole that won’t hold,” this guide for fast wood fixes translates well to dowel repairs: repairing a stripped hole so it grips again.
Hide glue and CA glue
Hide glue is mainly for restoration work where reversibility matters. CA glue has its place for tiny, quick fixes, but it’s not my first choice for structural dowel joints in furniture. If you need strength and long-term reliability, stay with PVA, waterproof PVA, polyurethane, or epoxy.
Dowel and hole prep that makes any glue work better
Most dowel “failures” aren’t glue failures. They’re fit and escape failures.
Choose fluted or spiral-grooved dowels when you can
Fluted dowels give glue and air a path out. That reduces hydraulic lock and helps the glue spread evenly. If all you have is smooth dowel stock, you can still fix the problem.
Quick shop fix for smooth dowels:
- Cut two or three shallow lengthwise relief grooves with a saw kerf
- Or sand a couple flat spots lightly along the length
You’re not weakening the dowel much, but you’re giving pressure a way out.
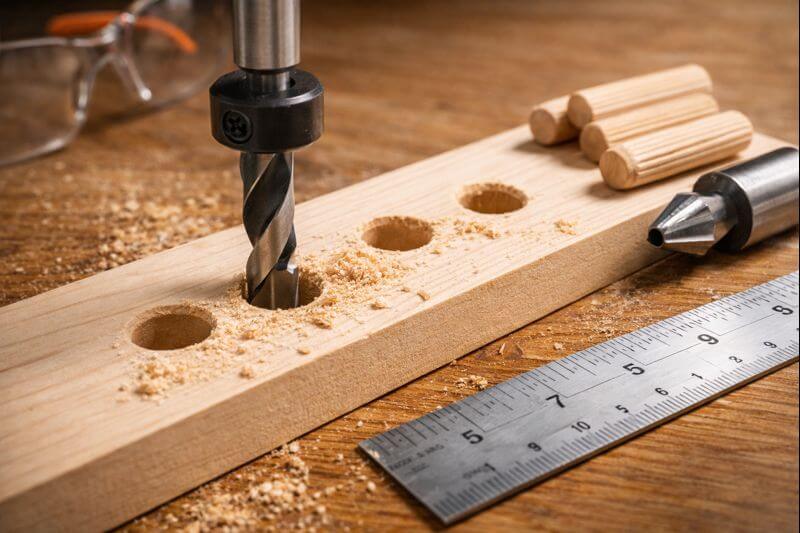
Drill depth, glue chamber space, and a tiny countersink
A common mistake is drilling holes exactly to dowel length. You want a little extra depth so glue and air can move. A practical rule is to drill slightly deeper than the dowel insertion length on each side.
Two small moves help a lot:
- Drill a touch deeper to leave space at the hole bottom
- Break the hole edge with a tiny countersink so fibers don’t mushroom
That countersink also reduces surface tear-out and makes the joint line cleaner.
Dry fit and surface prep before glue touches wood
Do a full dry fit once. Not twice. Once is enough to confirm everything seats fully and aligns.
Check these before glue:
- Dowels insert smoothly with hand pressure and light tapping
- Joint closes tight with no visible gap
- Parts register square and don’t rock
- Dust is cleared from holes and mating faces
A blast of compressed air or a quick twist with a clean drill bit helps clear drilling dust. Dust inside a hole can act like tiny ball bearings and reduce bond quality.
If the joint involves end grain surfaces around the dowel location, a clean surface helps finishing later. This sanding guide is handy when you’re chasing smooth edges before assembly: how to sand end grain without leaving it fuzzy.
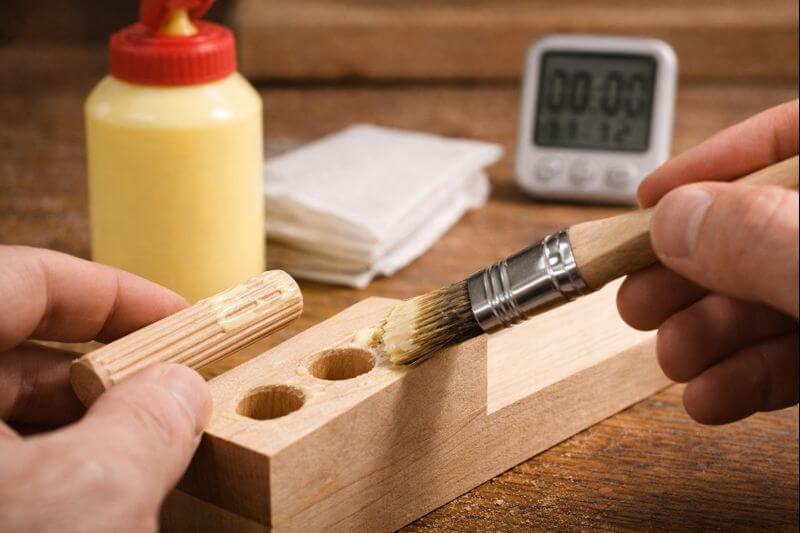
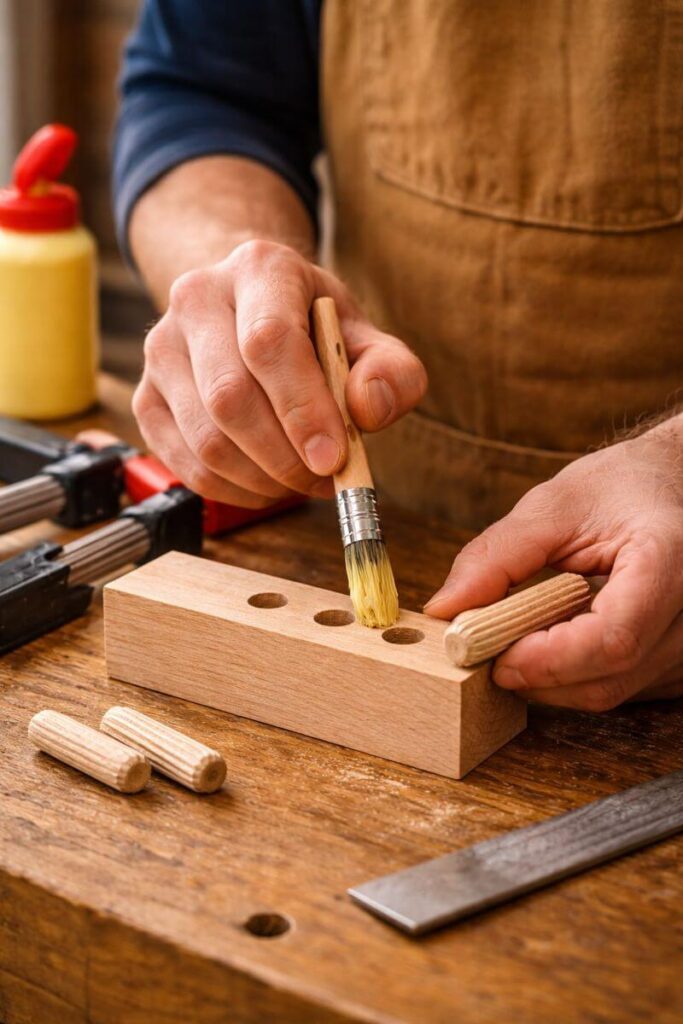
How to apply glue in dowel holes without overdoing it
The goal is simple: coat the hole walls and the dowel evenly, then assemble before the glue skins over.
Tools that make glue application clean and consistent
You don’t need specialty tools, but these help:
- Small acid brush or chip brush
- Cotton swab or pipe cleaner for narrow holes
- Fine-tip glue bottle nozzle
- A scrap dowel with shallow grooves, used as a “glue spreader”
A reliable glue-up method for dowels
- Put a thin coat of glue inside the hole walls.
- Roll a light coat on the dowel itself.
- Insert the dowel and twist as you seat it.
- Assemble the joint and clamp with steady pressure.
- Clean squeeze-out at the right moment.
If you’re not sure what “right moment” means, it usually depends on glue type and temperature. This timing overview helps avoid early smearing or late scraping nightmares: how long wood glue takes to set up.
How much glue is enough without causing hydraulic lock
More glue does not mean more strength. Too much glue can keep the joint from closing or leave a thick glue line that cures brittle.
Aim for:
- A thin, even film inside the hole
- A light coat on the dowel
- Modest squeeze-out at the joint line, not a waterfall
If the joint resists closing, stop and check. Pull it apart, remove excess glue, and confirm the hole depth is giving you a cushion. For general glue sizing that stays clean, this is worth keeping bookmarked: using the right amount of glue for strong joints.
Clamping pressure, clamp time, and full cure
Clamping a dowel joint is about keeping alignment and closing the joint line. It’s not about crushing the wood.
Clamp pressure that doesn’t starve the joint
Use firm pressure until the joint closes. If you crank hard enough to flex the assembly, you’re doing too much. You can squeeze out too much glue and reduce the bond.
Helpful habits:
- Use cauls to spread pressure if parts are thin
- Check for twist before walking away
- Confirm dowels didn’t push the joint out of alignment
For practical clamp timing and what it really means, these two pages pair well:
When it’s safe to stress the joint
Many wood glues feel “set” quickly, but strength continues building as the adhesive cures. If you’re building something that will be lifted, carried, or loaded, waiting for full cure prevents early joint creep.
If you’re trying to plan your sanding schedule after glue-up, this is a good reference: how long to wait before sanding glued wood.
Cleanup that won’t wreck stain or finish later
Glue squeeze-out is normal. What matters is how you handle it.
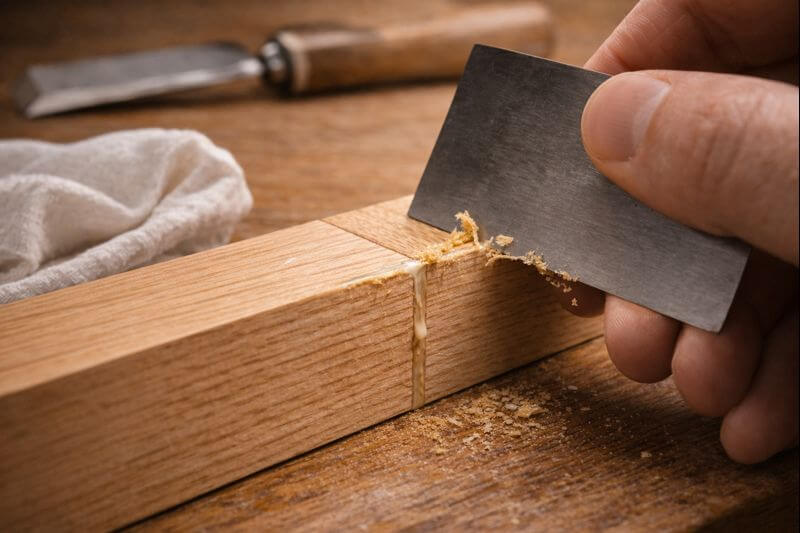
The two cleanup windows that work
- Right away: wipe lightly with a damp cloth, but don’t flood water into the joint.
- After it gels: scrape off rubbery glue with a chisel or card scraper.
If you wipe aggressively while the glue is still thin, you can smear it into pores. That’s how you get light blotches after staining.
For finishing-related projects, sealing and topcoat steps matter too. If your project is something like a serving tray or display piece, this finishing walkthrough is a solid companion read: sealing wood so it stays easy to clean.
Troubleshooting dowel glue-ups
Here’s what goes wrong most often, and how to fix it without guessing.
The joint won’t close all the way
Likely causes:
- Hole depth is too shallow
- Too much glue trapped in the bottom
- Dowel fit is overly tight or swelling
Fix:
- Drill slightly deeper next time
- Use fluted dowels or add relief grooves
- Reduce glue volume and coat walls instead of puddling
The joint closes but feels weak later
Likely causes:
- Glue-starved joint from over-clamping
- Dust inside the hole
- Poor coverage on hole walls
Fix:
- Brush glue onto the hole walls consistently
- Clear dust with air or a clean bit
- Clamp firmly, not brutally
If you’re wondering what wood glue can actually hold when it’s done right, this breaks down strength in plain terms: how strong a proper glue bond can be.
Dowels drift out of alignment during assembly
Likely causes:
- Too much open time pressure during assembly
- Parts sliding on wet glue
- Clamps pulling unevenly
Fix:
- Use light clamp pressure first, then tighten gradually
- Add registration blocks or cauls
- Dry fit and rehearse clamp placement
Foam squeeze-out with polyurethane glue
Likely causes:
- That’s just polyurethane doing polyurethane things
Fix:
- Tape off around the joint line
- Clamp firmly so expansion can’t open gaps
- Remove foam after it cures, then clean the surface
Glue specs and shop conditions that affect results
Glue isn’t magic. It’s chemistry, and chemistry cares about temperature and time.
Pay attention to:
- Shop temperature: cold slows cure and reduces flow
- Open time: warm rooms shorten working time
- Viscosity: thicker glue can leave dry spots inside holes
- Storage: old glue can get stringy or weak
If you’re trying to plan a build day and you care about timing, this drying reference is practical: how long it takes wood glue to dry.
FAQs on Wood Glue for Dowels
What is the best wood glue for dowels in furniture?
For most indoor furniture, a quality PVA wood glue is the best choice because it bonds strongly in tight-fitting holes, stays predictable under clamp pressure, and cleans up easily with water.
Should I put glue in the dowel hole, on the dowel, or both?
Do both. Brush a thin coat on the hole walls and a light coat on the dowel, then twist as you insert it. That gives full coverage without flooding the hole.
How do I stop a dowel joint from “hydraulic locking” and not closing?
Don’t overfill the hole, and drill slightly deeper than the dowel’s insertion depth to leave a small glue chamber. Fluted dowels or relief grooves also give trapped glue and air an escape path.
Are fluted dowels better than smooth dowels for glue-ups?
Yes, most of the time. Flutes help spread glue evenly and reduce trapped pressure, so joints seat more consistently. Smooth dowels can work too, but relief grooves make them far more reliable.
How deep should I drill dowel holes for proper glue space?
Drill a little deeper than the dowel will sit—enough to leave a small pocket at the bottom for glue and air. That extra space helps the joint close fully without forcing.
How long should dowel joints stay clamped?
Clamp until the glue has set enough that the joint won’t creep when you remove pressure—often 30–60 minutes for many PVAs. For strength, wait for full cure before heavy use, usually overnight.
Can I use epoxy instead of wood glue for dowels? When should I?
Yes. Epoxy is a great choice when holes are worn, slightly oversized, or the joint needs gap filling. It also helps for tough repairs where a snug, perfect fit isn’t realistic.
Is polyurethane glue good for dowels, or will it push the joint apart?
It can work, but it needs firm clamping. Polyurethane expands as it cures, so if the joint isn’t held tight, it can open the seam. Use minimal glue and expect foamy squeeze-out.
What’s the best glue for outdoor dowel joints?
A waterproof-rated adhesive is the safer pick outdoors—either a waterproof PVA or epoxy depending on fit and stress. Also protect the project with a proper exterior finish, because glue alone won’t stop weather damage.
What’s “doweling glue” and how is it different from regular wood glue?
“Doweling glue” usually means a PVA formulated to flow well into holes and give good open time for assembly. It’s still wood glue, just tuned for consistent coverage inside tight joinery.
What to Remember
Wood glue for dowels works best when you treat the hole like a hidden glue surface, not an afterthought. Pick an adhesive that matches exposure and fit, give glue and air a place to go, coat hole walls evenly, and clamp with steady pressure. Then let the joint cure before you load it.