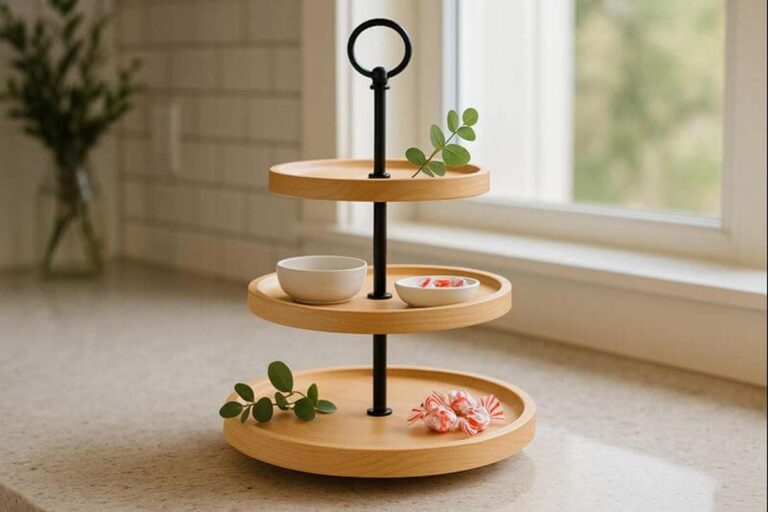
How to Stop a Tiered Tray Stand From Wobbling: 7 Quick Stability Upgrades
Stop a tiered tray stand from wobbling by hunting down the loose spot first, not by guessing. Most wobble comes from one of three places: the table, the base, or the center post.
The fixes are usually simple. However, they need to happen in the right order so the stand stays solid even after you load it with decor.
Contents Here
- 1 What “wobble” really is (and why it happens)
- 2 Tools and supplies that actually help (no clutter)
- 3 Step 1: Find exactly where the wobble starts
- 4 Step 2: Rule out the table (the easiest fix)
- 5 Step 3: Fix a rocking base (most common issue)
- 6 Step 4: Tighten and “lock” the center post hardware
- 7 Step 5: Stop tray flex and sloppy holes
- 8 Step 6: Use this quick table to match symptoms to fixes
- 9 Step 7: Balance the load so wobble doesn’t come back
- 10 When a wobble means “rebuild this part”
- 11 Prevent wobble on the next build (simple design upgrades)
- 12 FAQs
- 13 Final thoughts
What “wobble” really is (and why it happens)
A wobble is movement caused by uneven contact or flex.
That sounds obvious, but it matters because “wobble” isn’t one problem. It’s a symptom.
Most tiered tray stands wobble for one (or more) of these reasons:
- The surface under the stand isn’t flat (farmhouse tables and old countertops do this a lot).
- The base isn’t perfectly level (one foot is short, or the base is slightly warped).
- Hardware is loosening (vibration, seasonal movement, repeated lifting).
- The center post isn’t straight (or it’s not seated square to the base).
- Trays are flexing (thin wood, weak joinery, or oversized holes around the post).
- The weight is unbalanced (a heavy jar on one side will exaggerate any small looseness).
Benefit of diagnosing first: you fix it once.
Drawback of skipping diagnosis: you add shims and pads forever, and it still rocks.
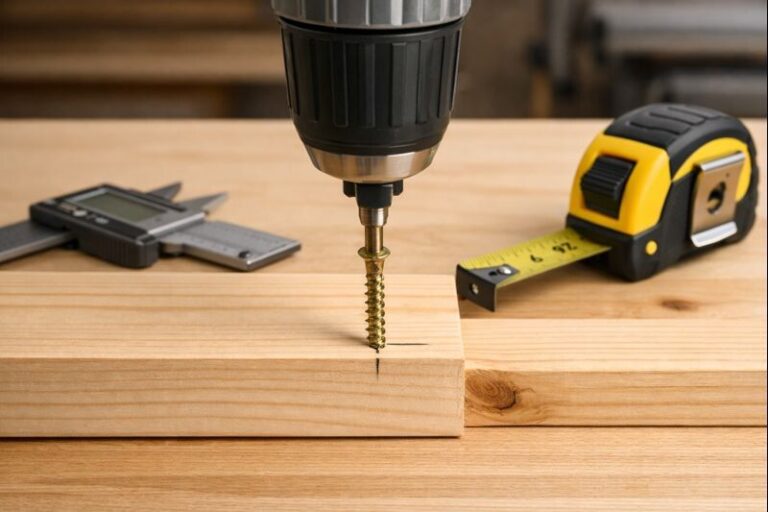
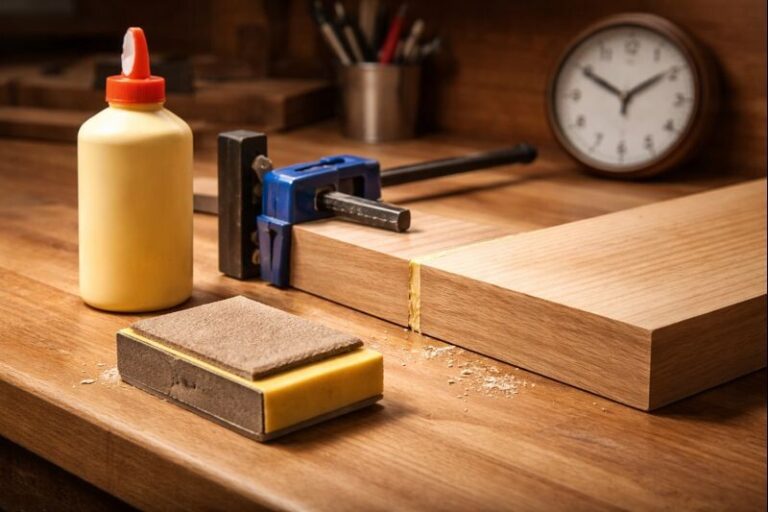
Tools and supplies that actually help (no clutter)
Grab what matches your stand style (wood stand vs. metal rod stand).
Basic kit (works for most stands):
- Small bubble level (or a phone level app)
- Hex key set or screwdriver set
- Adjustable wrench or socket set
- Pencil and masking tape (for marking the wobble point)
- Rubber/felt feet or silicone bumpers
- Thin shims (wood veneer, plastic shims, or even cardstock for testing)
For hardware that keeps loosening:
- Lock washers or star washers
- Nylon-insert lock nuts (nyloc nuts)
- Blue threadlocker (removable)
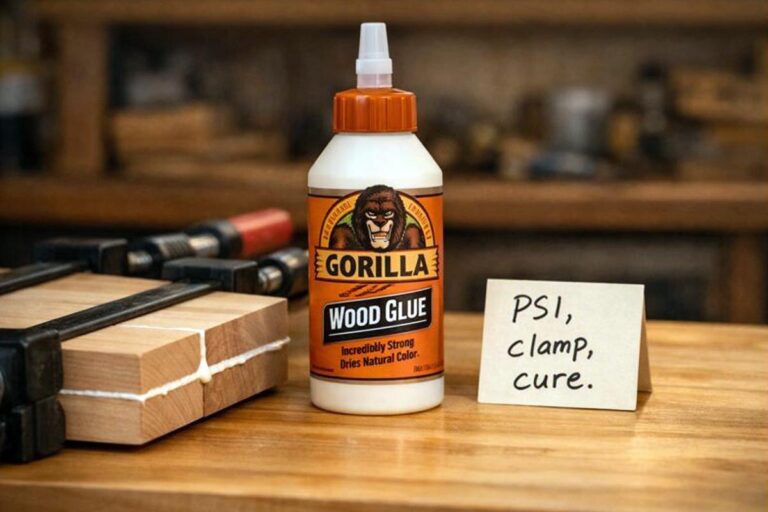
For wood stands that flex:
- Wood glue (good PVA)
- Small corner blocks or scrap strips
- Brad nails or short screws (correct length matters)
If you’re maintaining tools while you do this, the quick guide on keeping blades and bits in shape helps a lot: tool care basics for beginners.
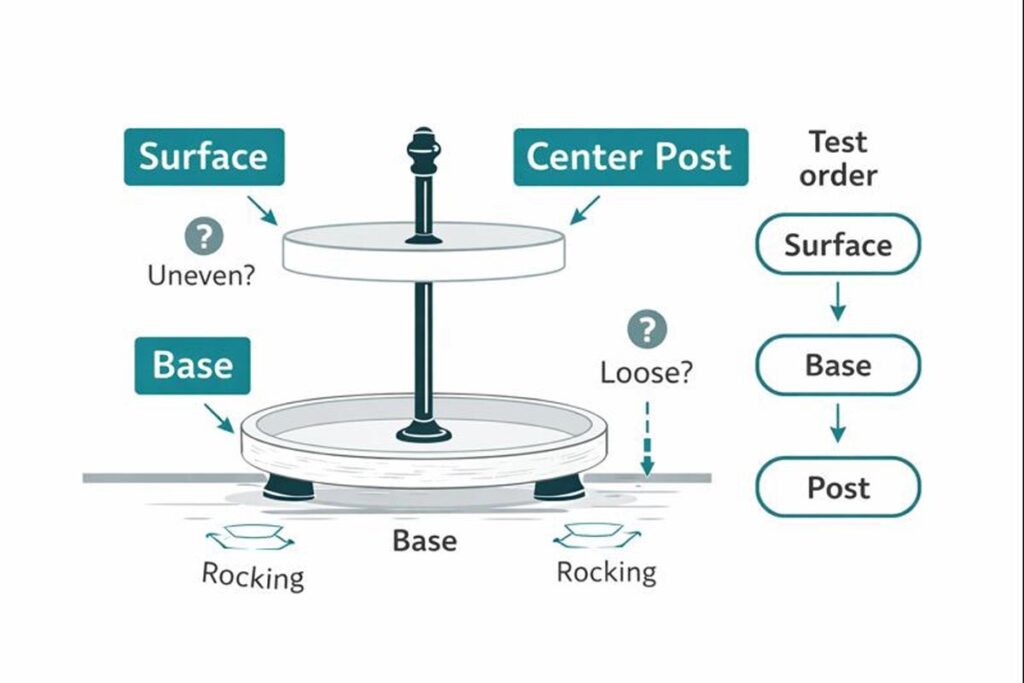
Step 1: Find exactly where the wobble starts
This is the part most people skip. Don’t.
A quick 60-second test
- Put the stand on the table where it normally lives.
- Place one hand on the top tray edge.
- Gently rock the stand front-to-back, then side-to-side.
- Watch the base and the center post while you move it.
Now label what you see:
- Base lifts off the table at one point → surface/base problem.
- Base stays planted but the post moves → post/hardware problem.
- Post stays tight but trays flex → tray/joinery problem.
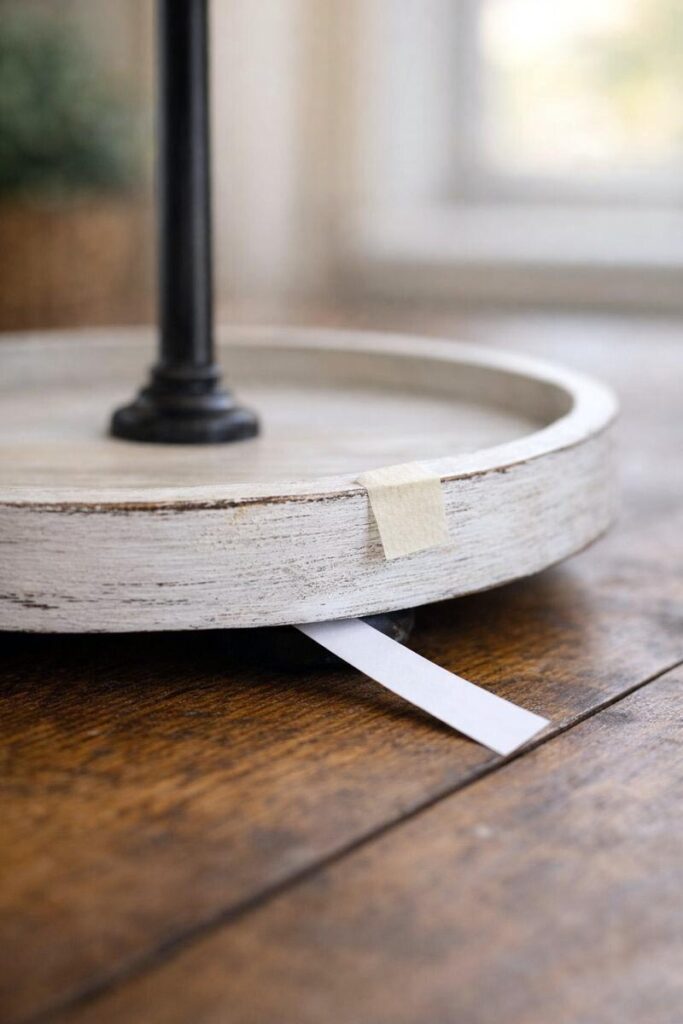
Mark the “high corner”
Next, slide a thin paper strip under the base while the stand sits still.
- If paper slides under one edge easily, that’s your “high corner.”
- Put a tiny piece of masking tape there.
Step 2: Rule out the table (the easiest fix)
Before you modify the stand, confirm the table isn’t the culprit.
- Rotate the stand 90 degrees on the same spot.
- Test wobble again.
If the wobble direction changes, the surface is uneven.
If it stays the same, the stand is uneven.
Fix options for an uneven surface
- Best quick fix: add soft rubber feet to the stand.
- Best clean fix: place the stand on a thin tray mat or flat board “platform.”
- Temporary fix: a tiny shim under the low side.
Where to shim: under the base foot or base edge that’s lifting, not the opposite side.
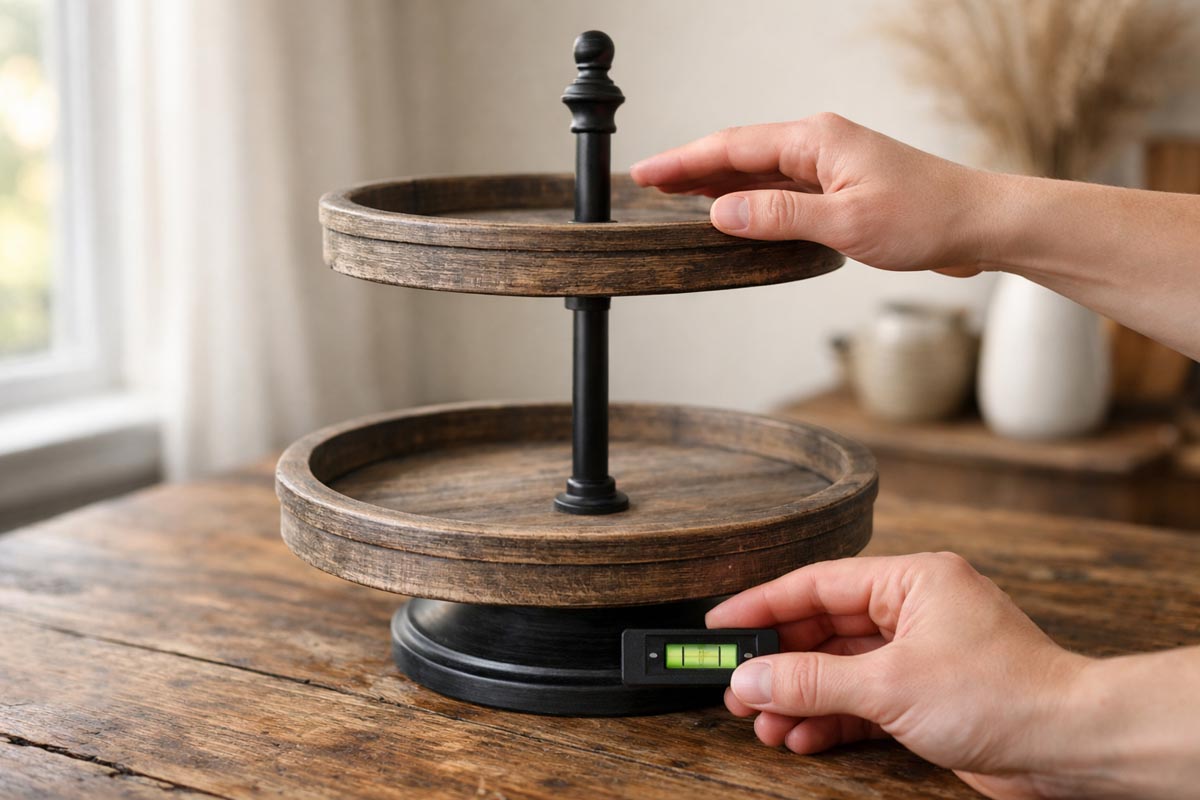
Step 3: Fix a rocking base (most common issue)
If the base rocks, the stand will never feel solid, even if everything else is perfect.
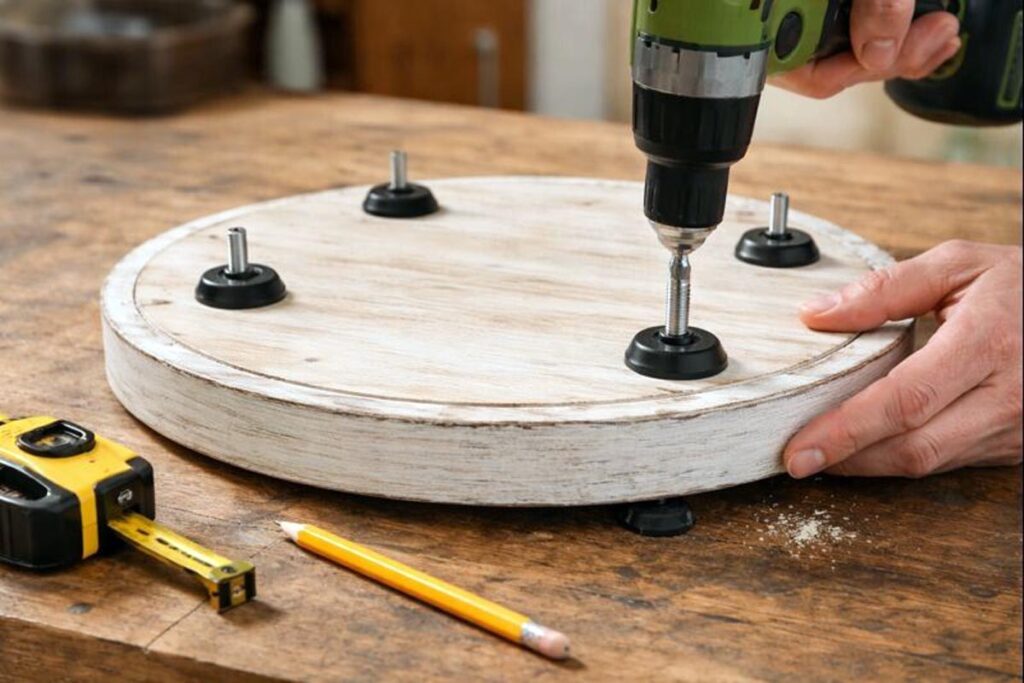
Option A: Add adjustable feet (most stable)
This is the “set it and forget it” approach.
- Flip the stand over.
- Mark three or four foot locations near the outer edge.
- Install stick-on rubber bumpers (fast) or screw-in feet (strongest).
- Level the base using a bubble level.
Benefit: handles imperfect tables well.
Drawback: screw-in feet take careful drilling so you don’t split the base.
Option B: Flatten the base (best for handmade wood stands)
Use this when the base itself is slightly warped.
- Identify the high corner using the paper test.
- Lightly sand the high area (small passes).
- Recheck level often.
Keep it controlled. Over-sanding creates a new problem.
If you’re building or rebuilding, the material choice matters too. Some woods stay flatter than others. This guide on picking stable wood for stands is worth a read: best wood types for sturdy builds.
Step 4: Tighten and “lock” the center post hardware
A tiered tray stand is basically a lever. Any tiny looseness at the post becomes a big wobble at the top tray.
For metal rod stands (common store-bought style)
Do this in order:
- Remove the top knob or finial.
- Lift trays off and inspect washers/spacers.
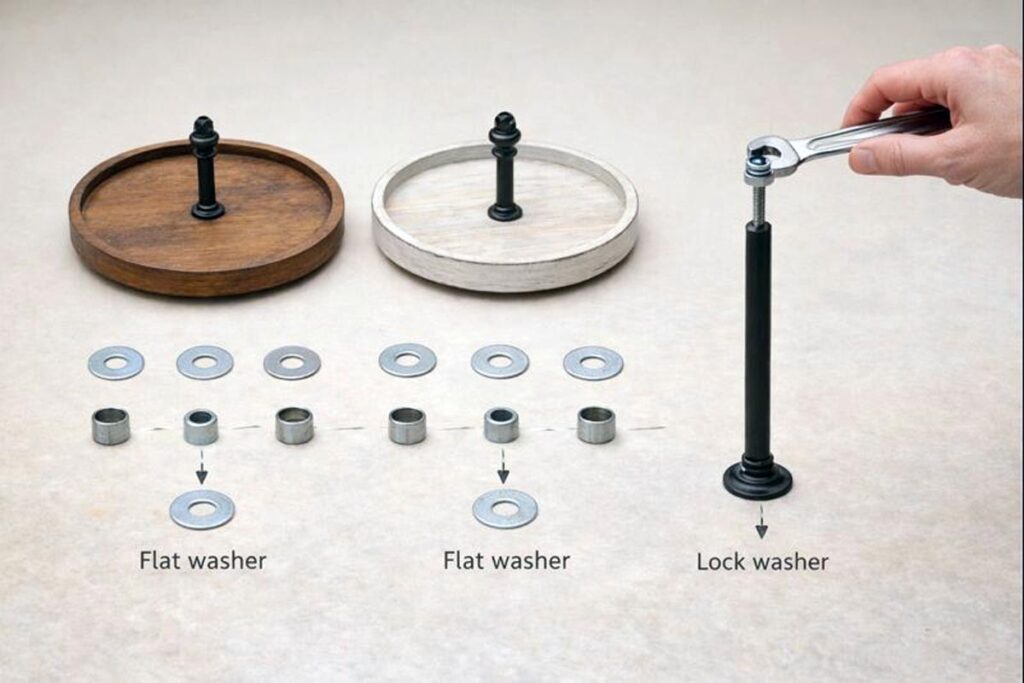
- Reassemble with this stack (bottom to top):
- Flat washer
- Tray
- Flat washer
- Spacer
- Repeat…
- Add a lock washer near the nut/knob.
- Tighten until snug, then go just a touch more.
If it loosens again: swap the standard nut for a nyloc nut or add a drop of blue threadlocker.
Avoid red threadlocker. That’s the permanent stuff.
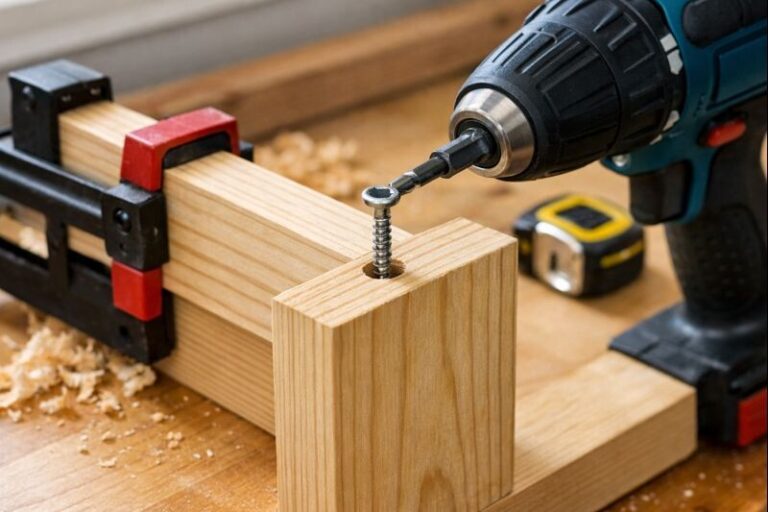
For wooden center-post stands (dowel or turned post)
Wobble often comes from a joint that isn’t seated square.
- Check that the post sits flush to the base (no gap).
- If there’s a gap, remove the post.
- Clean out old glue squeeze-out or debris.
- Re-glue and clamp square.
If your stand uses a bolt into wood, consider adding a threaded insert or T-nut so the bolt tightens cleanly without chewing up the wood fibers.
For a full build reference, this walkthrough on assembling a solid stand frame helps with joinery choices: tips for building a tray stand from scratch.
Step 5: Stop tray flex and sloppy holes
Sometimes the base and post are tight, but the tray itself flexes. That still feels like wobble.
Signs you have tray flex
- The post doesn’t move at the base.
- The tray edge dips when you press down.
- The tray hole around the post looks oversized.
Fix options
1) Add stiffeners under the tray (best for thin wood):
- Glue two thin hardwood strips underneath, running across the grain.
- Keep them away from where decor will be seen.
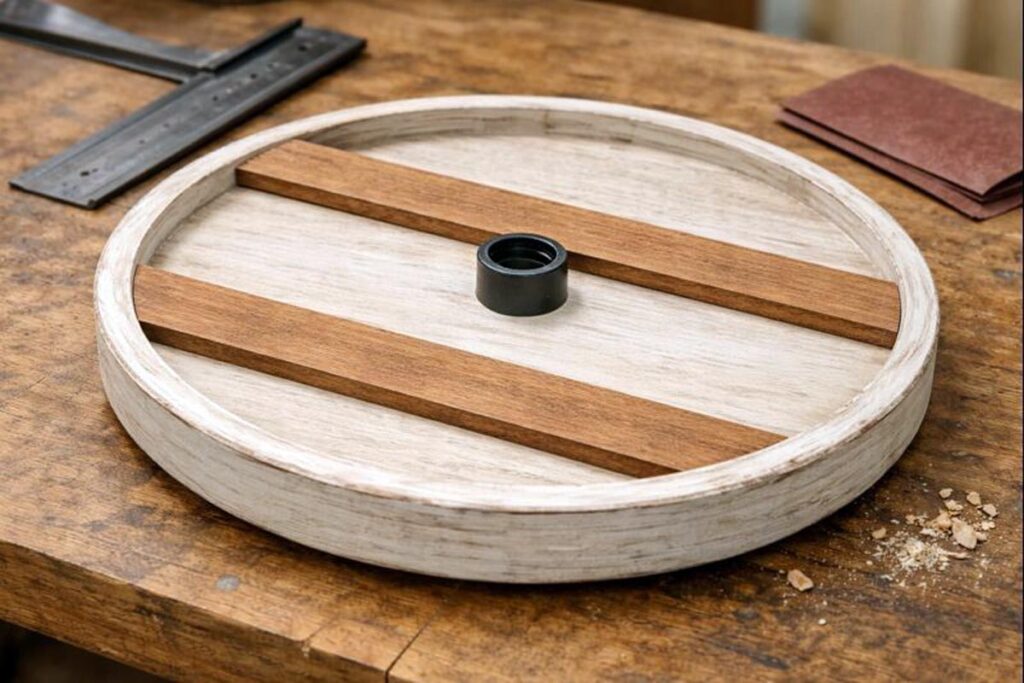
2) Tighten a sloppy center hole:
- If the hole is too big, add a snug sleeve:
- Wrap the post with a thin shim material (test fit first), or
- Use a wooden ring insert (cleanest look).
3) Reinforce tray-to-post connection:
- Add a washer and spacer system so the tray is clamped evenly.
- Uneven clamping can bow the tray and create rocking.
Step 6: Use this quick table to match symptoms to fixes
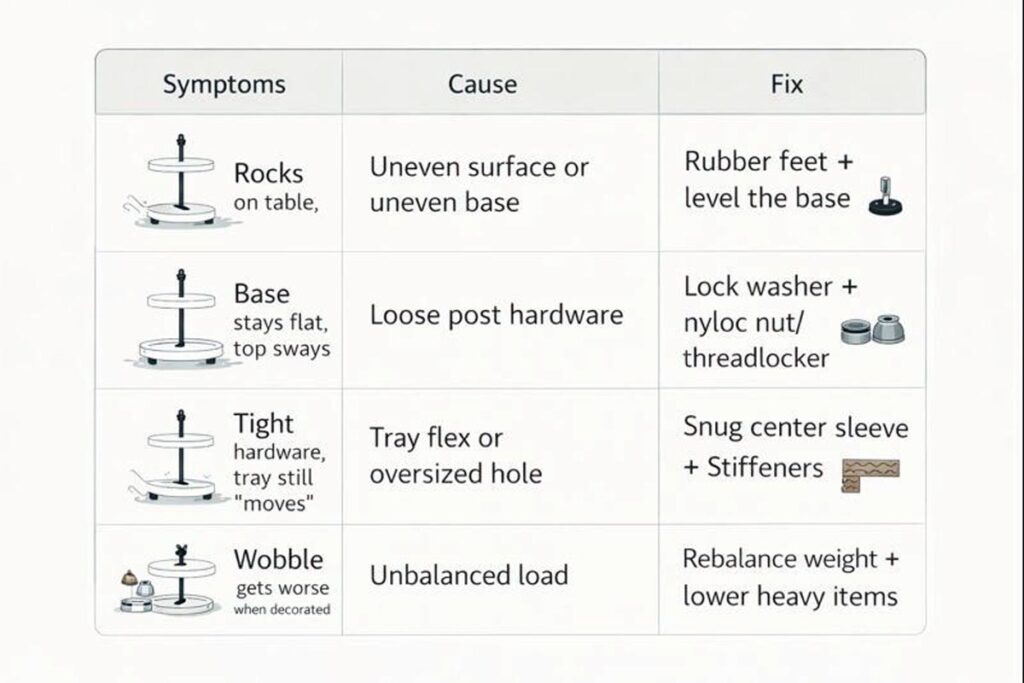
| What you notice | Likely cause | Best fix |
|---|---|---|
| Rocks on the table, base lifts | Uneven surface or uneven base | Rubber feet + level the base |
| Base stays flat, top sways | Loose post hardware | Lock washer + nyloc nut/threadlocker |
| Tight hardware, tray still “moves” | Tray flex or oversized hole | Stiffeners + snug center sleeve |
| Wobble gets worse when decorated | Unbalanced load | Rebalance weight + lower heavy items |
Step 7: Balance the load so wobble doesn’t come back
Even a sturdy stand will feel sketchy if weight sits high and off-center.
Use these placement rules:
- Put heavier items on the bottom tier.
- Keep tall items near the center, not the edge.
- Avoid clustering heavy decor on one side.
- Use non-slip dots under heavy pieces if they slide.
If you need styling help that keeps the stand stable, this article on arranging a tiered tray without overloading it is a good companion: easy tiered tray styling ideas.
Also, seasonal setups tend to get heavier than people think. The farmhouse-style inspiration posts can help keep proportions realistic: farmhouse styling and layout ideas.
When a wobble means “rebuild this part”
Some wobble is telling you the structure is underbuilt.
Consider rebuilding or replacing parts when:
- The base is cracked, split, or permanently warped.
- Screws keep spinning because the holes are blown out.
- The center post is bent (metal) or twisted (wood).
- The top tray is so thin it behaves like a spring.
A rebuild doesn’t need to be complicated. Often it’s just:
- a thicker base,
- better hardware,
- and cleaner joinery.
If you’re comparing wood choices before rebuilding, the breakdown on pine vs. oak vs. maple is handy: choosing a wood that stays stable.
And if your current stand is a two-tier style, it can help to look at common construction details here: a practical two-tier stand overview.
Prevent wobble on the next build (simple design upgrades)
If a stand is being built or modified, these choices reduce wobble from day one:
- Use a wider base than you think you need.
- Keep the center post thicker (or use a metal rod with proper washers).
- Clamp trays with washers above and below.
- Add three or four feet so leveling is easy.
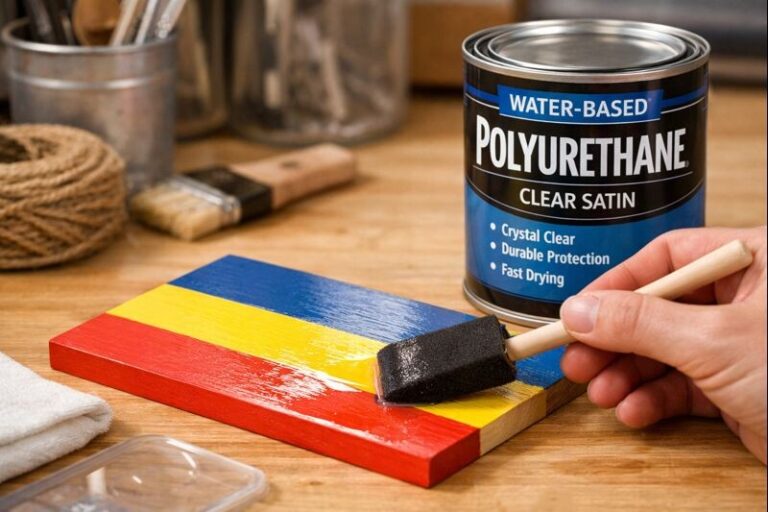
- Seal wood evenly so seasonal movement is reduced.
For finishing guidance (especially on hardwoods), this helps keep parts stable and protected: finishing tips for walnut surfaces.
FAQs
Can a wobbling tiered tray stand be fixed without tools?
Yes, in many cases. Rubber feet, adhesive bumpers, and thin shims can stabilize minor rocking quickly. However, if the center post is loose, tightening hardware is typically required for a reliable, long-term fix.
What’s the best way to stop the center post from loosening over time?
Use a locking method. A nylon-insert lock nut, a lock washer, or removable blue threadlocker can keep vibration from backing the nut off. Recheck tightness after a day of use to confirm it stays seated.
Why does the stand wobble more after adding decor?
Decor changes the center of gravity. Heavy items placed high or near an edge amplify small looseness in the base or post. Move heavy pieces to the bottom tier and keep taller items closer to the center.
Should the base be sanded flat or should feet be added instead?
Feet are usually safer and faster because they handle uneven tables. Sanding works best when the base itself is warped and you want a permanent correction. If sanding is used, remove material slowly and check flatness often.
Final thoughts
A tiered tray stand doesn’t wobble because it’s “cheap” or “bad.” It wobbles because one connection point is losing the fight against leverage. Start with the surface, then the base, then the post, and finally the tray stiffness. Do it in that order and the fix usually sticks for good.