How to Remove Dried Wood Glue: 7 Fast, Finish-Safe Fixes
Scrape off the raised glue first, soften what’s left with gentle heat, then wipe or spot-treat stubborn residue (test first) and finish with light sanding along the grain to blend the surface.
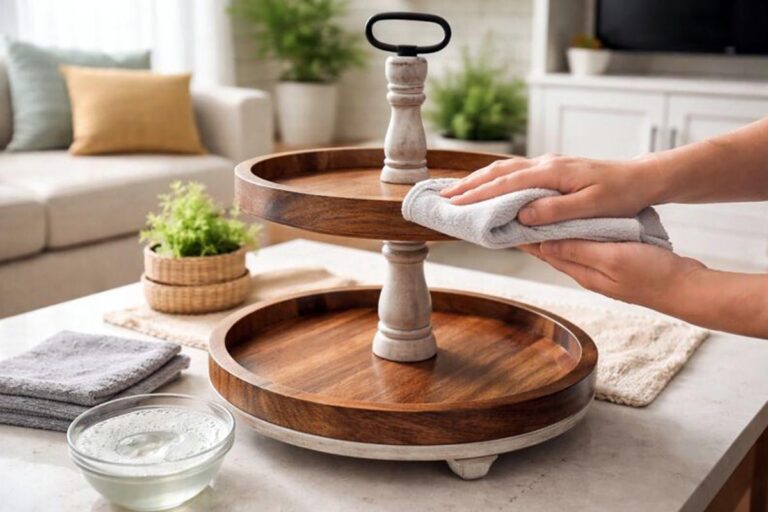
Remove dried wood glue without ruining wood by starting gentle and stepping up. Glue haze blocks stain, telegraphs under clear coats, and spoils tight joinery. You’ll scrape first, soften what remains, then blend the surface so the finish looks even.
Contents Here
- 1 Identify the glue and the wood surface first
- 2 Quick “safe method” map
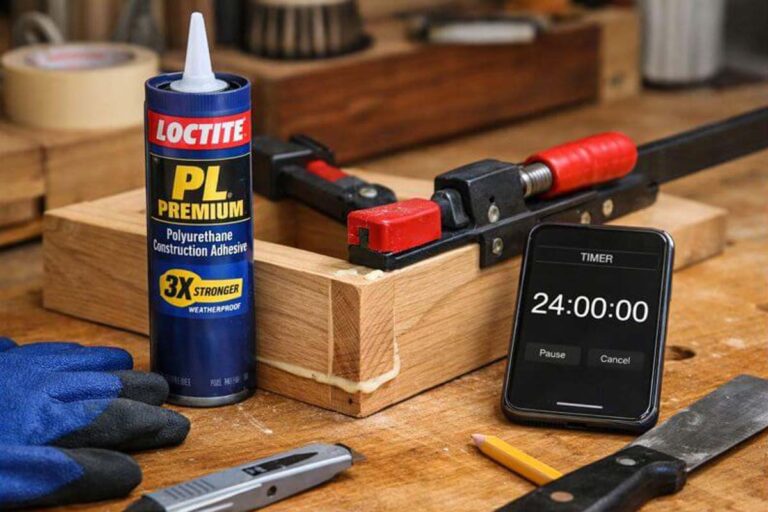
- 3 What you’ll need
- 4 Start with scraping: remove the bulk without smearing
- 5 Use gentle heat to soften stubborn glue
- 6 Solvents and softeners: least aggressive first
- 7 Sanding and surface repair
- 8 Find hidden glue before staining
- 9 Prevent glue cleanup headaches on the next build
- 10 Conclusion
Identify the glue and the wood surface first
Know the glue type before you reach for heat or solvents. Most shop glue is PVA, meaning yellow or white wood glue. It usually responds to scraping, mild heat, and careful sanding. Super glue, epoxy, and polyurethane glue need different handling.
Next, decide if the surface is bare wood or already finished. Finished can mean stain, lacquer, shellac, polyurethane, or a hardwax oil coat. On finished wood, your biggest risk is dulling or softening the coating. Spot-test any liquid in a hidden spot, even if you used it before.
Quick “safe method” map
- Bare wood + PVA film: scrape, warm, then sand lightly with the grain.
- Finished wood + smear: warm gently, then lift with plastic tools.
- Hardwood floors: treat like finished furniture and avoid soaking seams.
- Super glue specks: try alcohol first; acetone is last and very risky.
- Epoxy bumps: shave high spots, then sand and touch up finish.
Learn more: Does Wood Glue Stick to Paint? 5 Essential Fixes for Glossy Coats
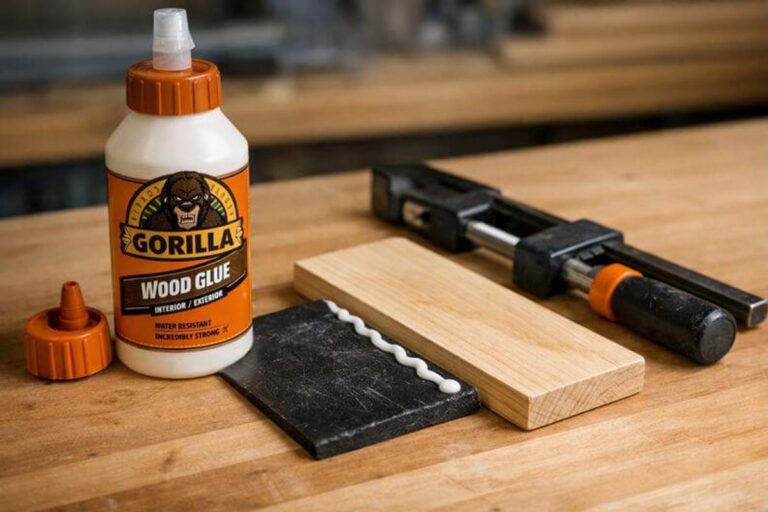
What you’ll need
Bring the least aggressive tools you can, and escalate only as needed.
- Plastic scraper or old gift card
- Cotton rags, paper towels, and cotton swabs
- Putty knife or razor scraper (optional, for thick drips)
- Sandpaper: 180, 220, 320, and 400 grit
- Hair dryer or heat gun with a low setting
- Warm water and white vinegar
- Rubbing alcohol (isopropyl)
- Mineral oil, plus mineral spirits for cleanup (optional)
- Gloves, eye protection, and decent ventilation
Sharp edges work better and slip less often, especially on stubborn glue ridges. A simple tool maintenance routine for new woodworkers helps you keep scrapers predictable.
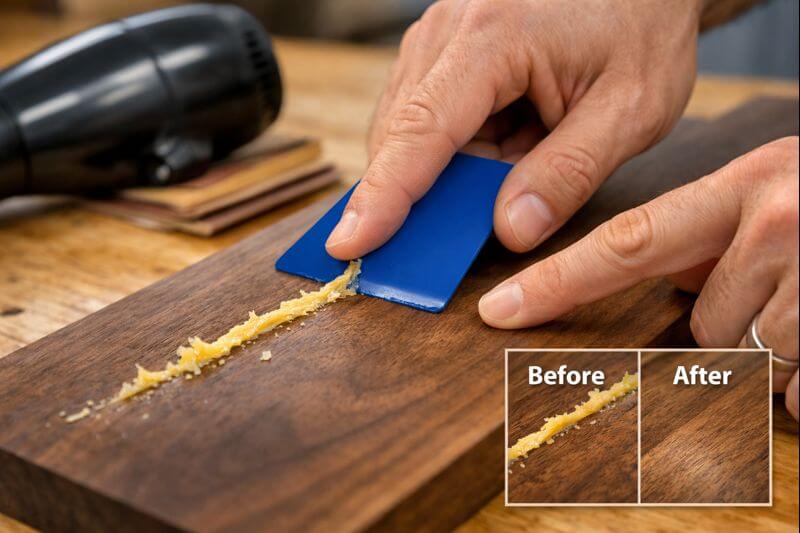
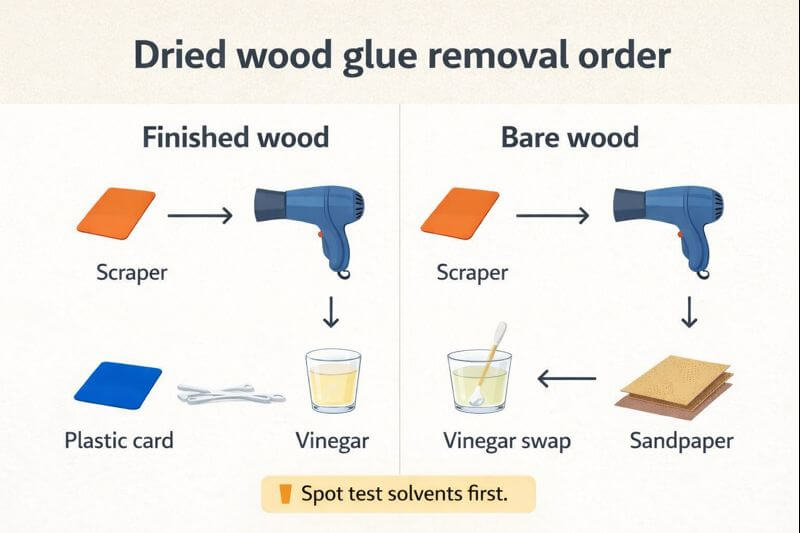
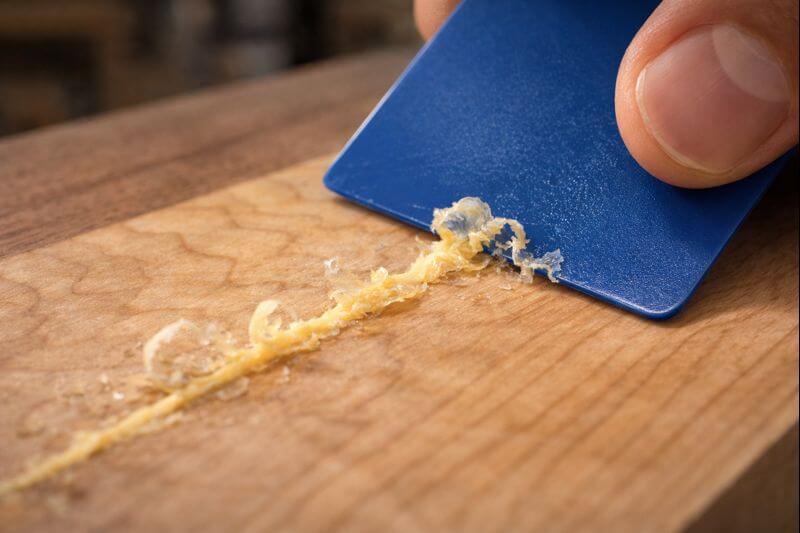
Start with scraping: remove the bulk without smearing
Scraping fixes most dried glue faster than any chemical approach. Your goal is to remove raised glue without tearing wood fibers. Start with plastic when the surface is finished or delicate.
Hold the scraper low, almost flat to the surface, so the edge won’t dig. Push with the grain, taking thin passes, and check progress every few strokes. If you hit a ridge, change the angle instead of forcing it. For thick drips, use a sharp razor scraper with light pressure.
On soft woods, steel tools can leave dents and tracks. If you’re working pine, go slower and stay shallow, since earlywood dents easily. When in doubt, use plastic and accept extra passes.
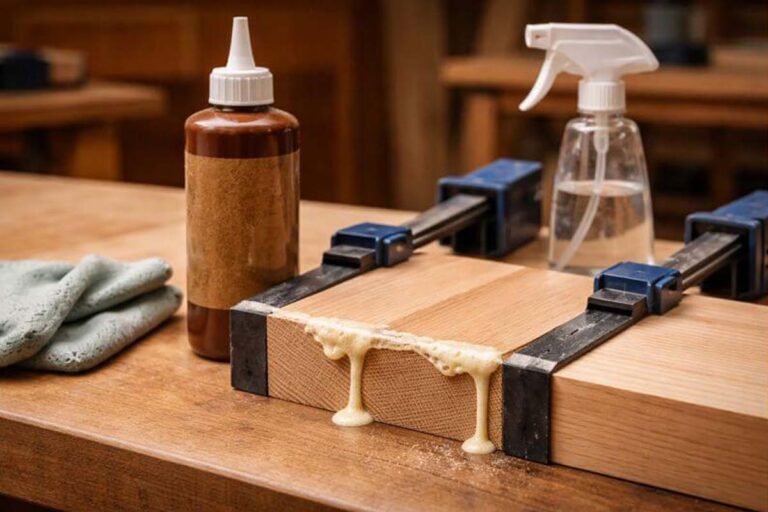
Don’t wipe wet glue into the grain
Wiping wet squeeze-out feels smart, but it backfires later. Wet glue smears into pores and sits below the surface. Sanding barely touches it, so stain turns blotchy around joints. Let squeeze-out gel for a few minutes, then lift it cleanly with a scraper.
Timing matters when you plan sanding and clamping. This breakdown on when glued joints are safe to sand keeps you from tearing fibers and chasing haze.
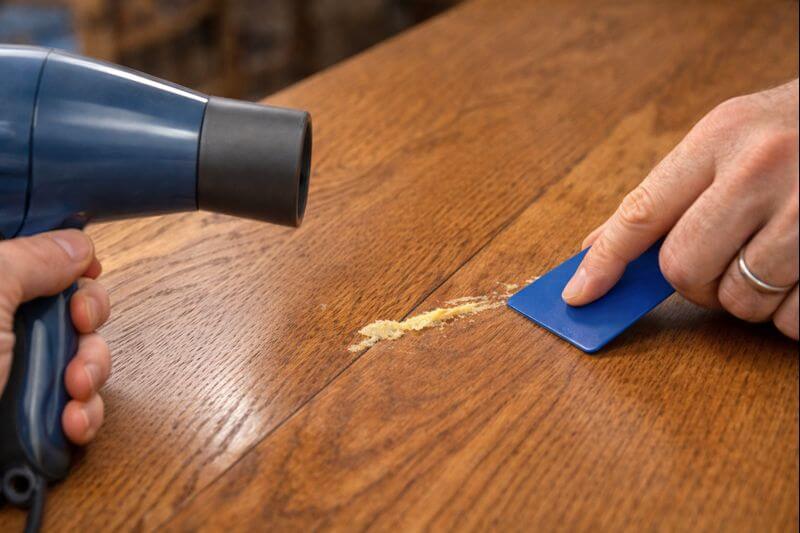
Use gentle heat to soften stubborn glue
Heat is a finish-friendly boost when glue is thin and stubborn. A hair dryer is usually safer than a heat gun for most furniture finishes. Warm the spot for 20–40 seconds, then scrape again with plastic. Keep the air moving so you don’t overheat one area.
If the finish starts to feel tacky, stop right away and let it cool down. Let the area cool fully, then reassess your method with fresh eyes. On veneer, heat can loosen the veneer bond, so go slow.
Heat method step-by-step
- Warm the glue until it looks dull and slightly soft.
- Lift an edge with a plastic scraper or fingernail.
- Reheat as needed, working in small sections.
- Wipe the area dry before sanding or using liquids.
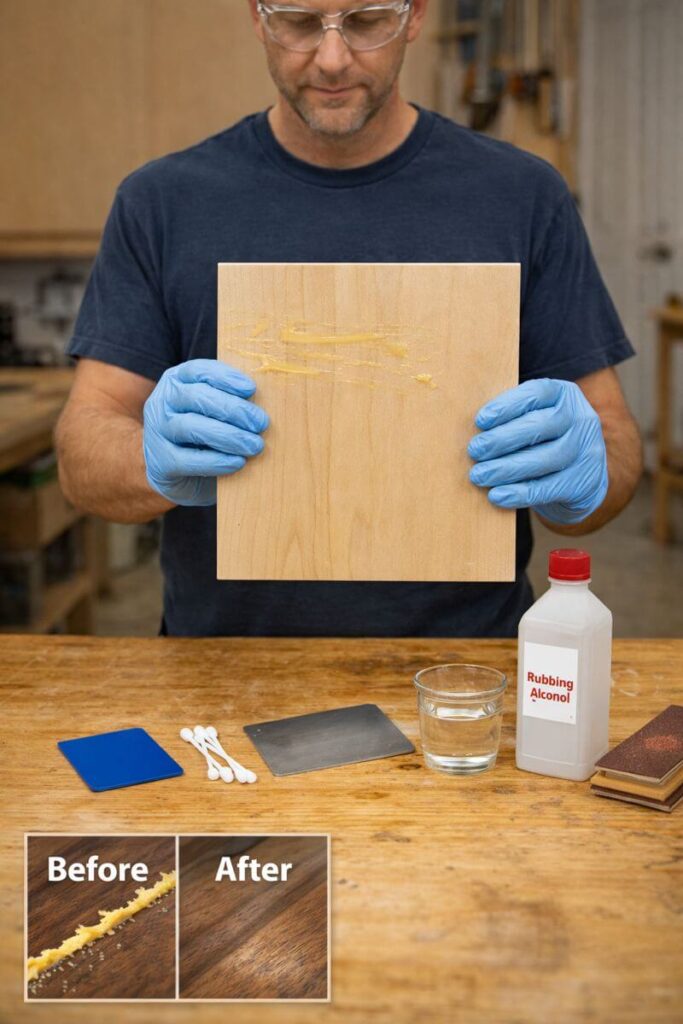
Solvents and softeners: least aggressive first
Liquids help remove the thin film that scraping can’t catch. They can also soften finishes, so steady control and patience matter a lot here. Use tiny amounts, keep contact time short, then wipe off fast with a clean rag. Always stop if the shine changes.
Vinegar and warm water for light PVA residue
A vinegar-and-water mix can loosen light PVA haze on bare wood. Dampen a swab, dab the film, and wait about a minute. Scrape lightly, then wipe with clean water and dry thoroughly.
Avoid soaking end grain with any liquid mix. End grain swells fast and raises fibers quickly, especially on soft hardwoods. If that happens, this method for sanding end grain smooth gets you back to clean.
Mineral oil or mineral spirits for gummy residue
Some residue feels rubbery, almost like tape adhesive. A tiny rub of mineral oil can add slip and help lift gummy residue. Scrape, then wipe aggressively until the surface feels dry. If you used oil, clean again before finishing.
Mineral spirits can help cut oily residue, but test first in a hidden corner. It’s also handy for the “wipe test” before finishing. Ventilate well and keep rags spread out to dry safely, away from heat and sparks.
If your project is a serving tray, cleanup affects the final seal and feel later. This walkthrough on sealing a wooden serving tray for daily use explains why a clean surface matters.
Rubbing alcohol and acetone for tough spots
Rubbing alcohol can help with super glue specks and some stubborn films. Apply with a swab, work quickly, then wipe clean. If you see any softening, stop and switch back to scraping and heat.
Acetone works fast, but it can haze lacquer and shellac almost instantly. It can also soften some polyurethane blends, especially older brush-on repair coats. If you try it, use a barely damp swab and stay on the glue only. The moment sheen changes, quit immediately, then clean with a dry rag.
Commercial adhesive removers: when you’re out of options
Commercial removers can work, but they’re unpredictable on wood finishes. Follow the label and keep the product tightly localized. Clean the area afterward, then give it plenty of time to dry fully. If the piece is already sealed, use a finish-safe wipe-down like this method to clean a sealed wood surface without dulling the sheen. Before finishing, do a light scuff sand so the surface sheen matches nearby areas.
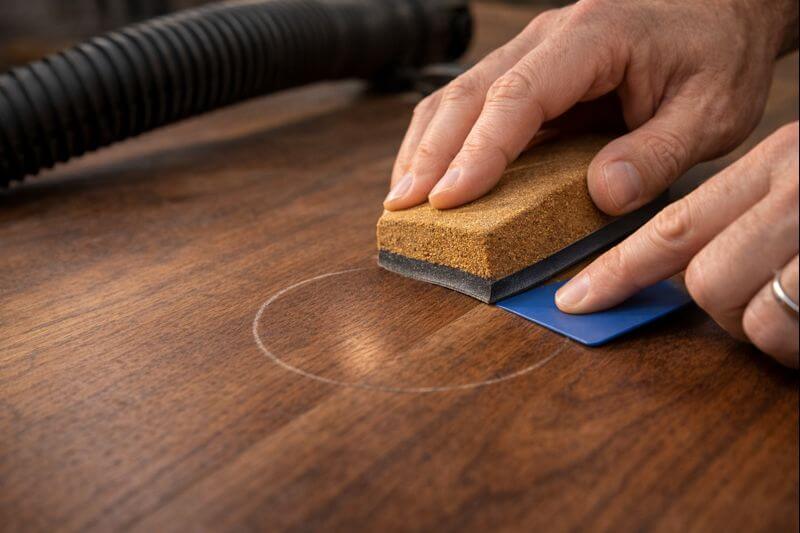
Sanding and surface repair
Sanding makes the repair disappear, but it can also create low spots. Sand only after the glue ridge is mostly gone. Start with 220 grit on most hardwoods, then step to 320 and 400 grit paper. Use a block on flat areas so pressure stays even across the grain lines.
Feather outward beyond the spot, so the blend is gradual. On shaped edges, wrap paper around a soft pad for steady, even pressure. Stop often and check with raking light from a low angle, so you don’t oversand.
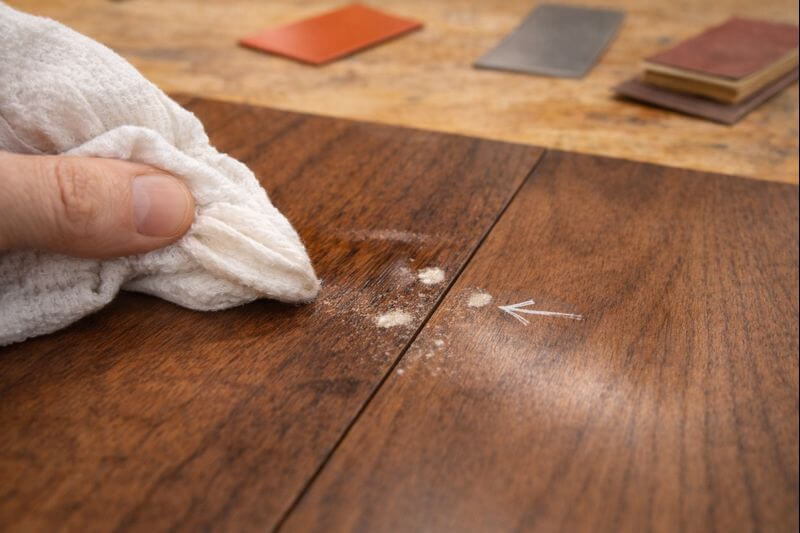
If glue shows up after staining or finishing
Sometimes you only see glue after stain hits the wood. The spot stays pale because glue blocked absorption. Scrape the spot carefully, then sand a wider area to blend. Re-stain if needed, then recoat the finish to match surrounding sheen. If you’re working walnut, this walkthrough on finishing walnut wood evenly helps you blend repairs.
On painted pieces, the fix is usually paint plus careful sheen matching. This guide to getting a smooth painted finish without brush marks helps you blend touch-ups without obvious edges.
You can catch missed glue before it becomes a finishing problem. Wipe the joint area with water or mineral spirits. Wood darkens under the wipe, but glue stays light and chalky. Mark the spots, then scrape and sand them away.
Repeat the wipe test until the joint area darkens evenly, with no pale spots. Do this right before your final sanding pass, when changes are easiest. It’s the easiest way to avoid surprise blotches during stain and finish.
Prevent glue cleanup headaches on the next build
Prevention is faster than repair, especially on open-grain woods. Use enough glue for a solid bond, but don’t flood the joint. Clamp evenly, and aim for squeeze-out as a small, even bead. Let that bead gel for a few minutes, then pop it off cleanly.
For delicate work, protect nearby surfaces before gluing. Masking tape near the joint works well, and it removes cleanly afterward. Some woodworkers also use silicone-free paste wax as a barrier, away from the glue line.

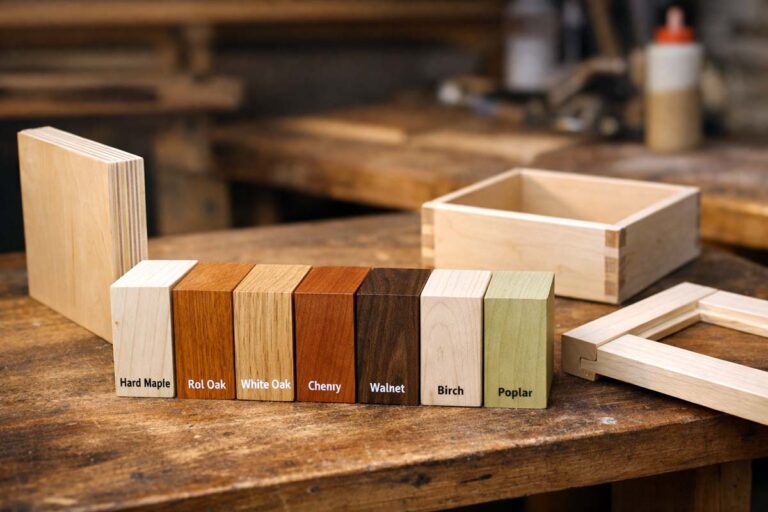
Species choice changes how obvious glue mistakes look under stain and clear coats. If you’re deciding materials, read how pine, oak, and maple behave in finishes. It’ll help you plan sanding steps and glue control up front.
Conclusion
Remove dried wood glue by scraping first, then softening what remains, and blending the surface. Heat is usually the safest helper on finished wood. Mild liquids can help on bare wood, but they still need restraint. Spot-test every solvent, and don’t sand until the glue ridge is gone. A quick wipe test before finishing prevents most headaches later on.