How Long Does It Take for Wood Glue to Dry: 8 Must Know Set vs Cure Tips
How long does it take for wood glue to dry depends on the glue type, the joint, and your shop conditions. Most glue-ups feel firm fast, but full strength takes longer. Once you understand set time, clamp time, and cure time, you’ll stop guessing and get stronger, cleaner results.
A glue line can feel firm fast, then fail later. Once you separate set time, clamp time, and full cure, your schedule gets simple.
Contents Here
- 1 The quick answer most people need
- 2 The three timing windows that prevent failed glue-ups
- 3 Clamp time depends on stress, not your patience
- 4 Drying time by glue type
- 5 What actually slows wood glue drying in real shops
- 6 Clamping best practices while glue dries
- 7 When you can sand, finish, or use the project
- 8 How to speed up drying safely
- 9 A common case: plugs and trim timing
- 10 FAQs on How Long Does It Take for Wood Glue to Dry
- 10.1 How long should I keep clamps on a glued joint?
- 10.2 What’s the difference between “set time” and “full cure”?
- 10.3 Can I sand a glued joint the same day?
- 10.4 When is it safe to stain or clear coat after gluing?
- 10.5 Does humidity change wood glue drying time?
- 10.6 Does cold weather slow wood glue drying?
- 11 Conclusion
The quick answer most people need
Most woodworkers use one safe rhythm for common yellow or white glue. You clamp until the joint won’t creep, then you wait overnight before stress. That usually means:
- Light handling can be possible within an hour, sometimes sooner.
- Strength for real use usually arrives after a full cure window.
- Cold, humidity, and thick glue lines push everything longer.
If the project matters, treat “tomorrow” as your finish line.
Drying vs curing
Drying is the glue losing moisture and becoming firm at the surface. Curing is the bond reaching its designed strength through the whole glue line. A joint can be dry enough to unclamp, yet still weak inside.
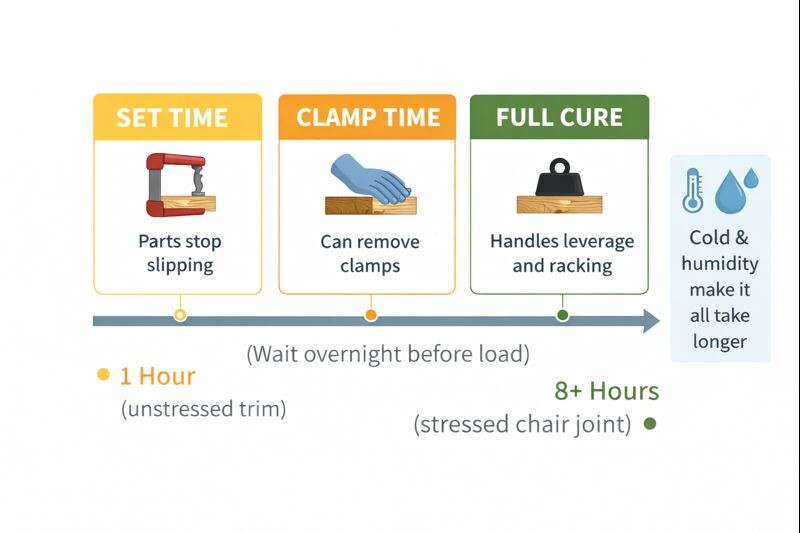
The three timing windows that prevent failed glue-ups
Think in windows, not a single number on a clock.
Open time
Open time is your assembly window after you spread glue. You need enough time to align parts and apply clamps evenly. Warm, dry air shortens open time faster than most people expect.
Clamp time
Clamp time is how long the joint needs steady pressure to stay seated. Once the parts stop drifting, you’re close for unstressed work. If the joint will be loaded or twisted, keep clamping longer.
Full cure before stress
Full cure is when the joint can handle racking, leverage, and vibration. Chairs, tray handles, and shelves punish a green glue line. Waiting overnight is cheap insurance, especially for busy households.
Clamp time depends on stress, not your patience
A picture frame corner is usually low-stress once it’s square. A stool rung or serving tray handle gets stressed every single use. If a joint will be lifted, leaned on, or twisted, treat it as stressed.
A steady rule that works in real shops:
Unclamp when stable, but don’t load it hard until tomorrow.
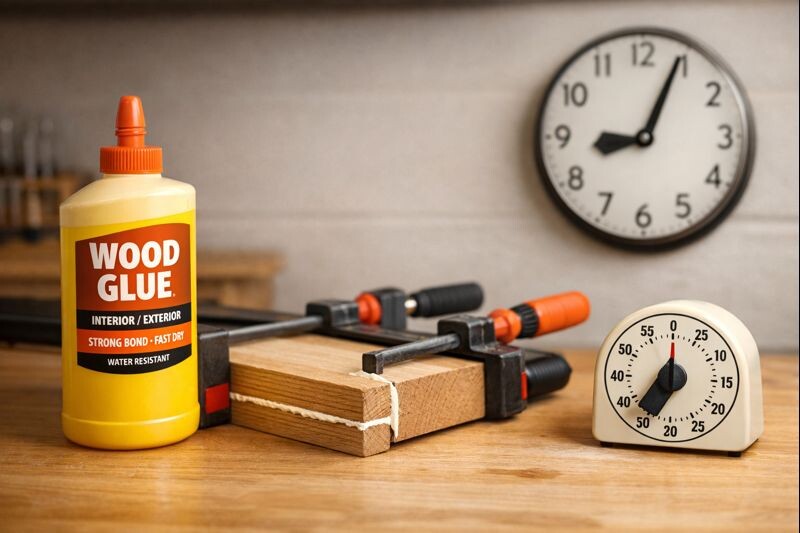
Drying time by glue type
“Wood glue” is a category, not one product. Your timeline changes with the adhesive family you chose.
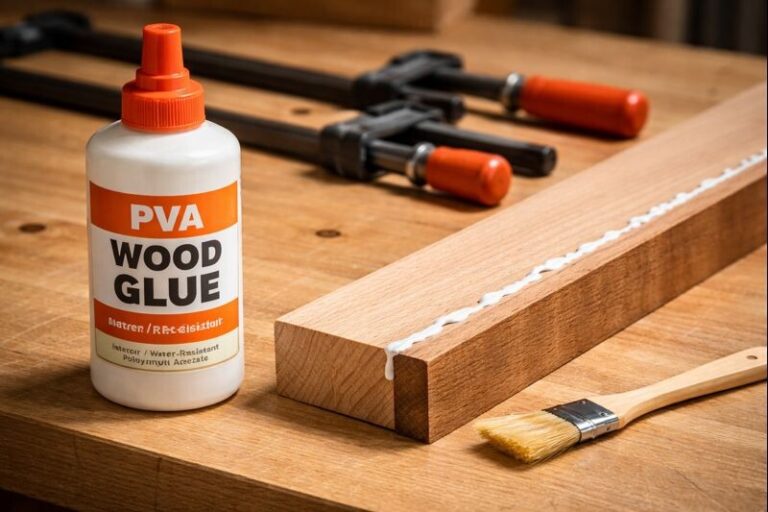
PVA glue
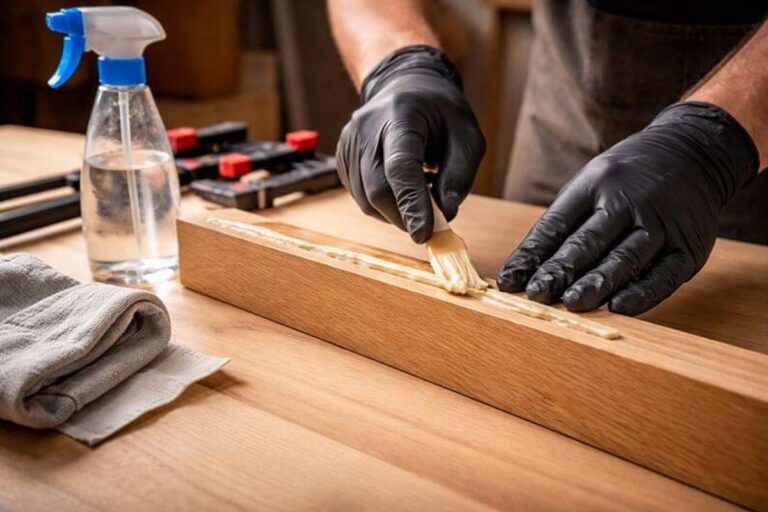
PVA is the everyday yellow or white glue for tight-fitting joints. It sets fast enough to tempt you into rushing the next step. For clean finishes, plan the glue-up so you can finish later, not immediately. When you’re building trays, follow the everyday approach to sealing a serving tray against spills: seal a serving tray for real-life messes.

Polyurethane glue
Polyurethane glue cures with moisture and can foam as it expands. It still needs solid clamping and time to cure fully. Protect your work surface because cleanup gets ugly once it hardens.
Epoxy
Epoxy is two-part and cure speed depends on the formula. It shines for gap filling, repairs, and moisture resistance. Mix accurately, apply evenly, and respect the cure time on the package.
CA glue
CA glue grabs quickly and helps with small parts or quick fixes. It’s handy for jigs and temporary holds during assembly. For structural joints under flex, choose a glue designed for wood movement.
What actually slows wood glue drying in real shops
Most “why is this still wet?” problems come from four causes.
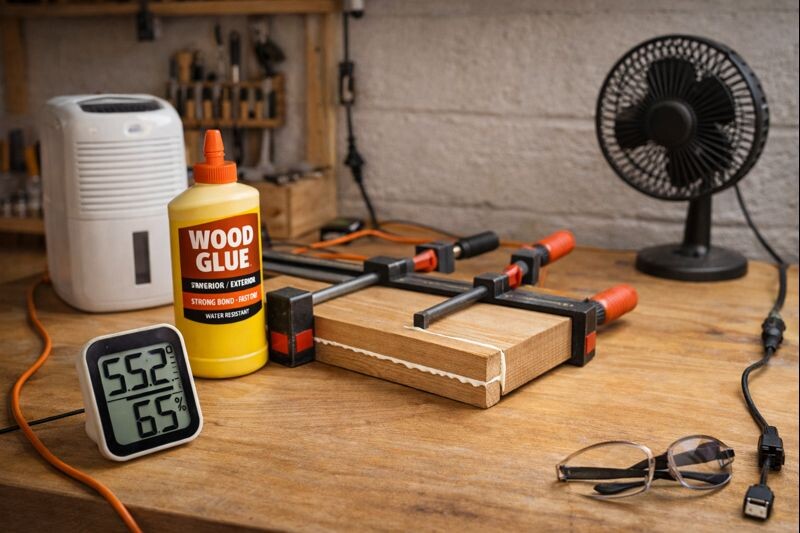
Cold and humidity
Cold air slows evaporation and slows curing for many glues. High humidity makes moisture linger inside the joint longer. Warm the room moderately and keep gentle airflow in the space.
Wood moisture and dense species
Damp lumber delays drying and can weaken bonds on some glues. Dense hardwoods can also slow moisture movement through the joint. Let cold boards acclimate indoors before you glue them.
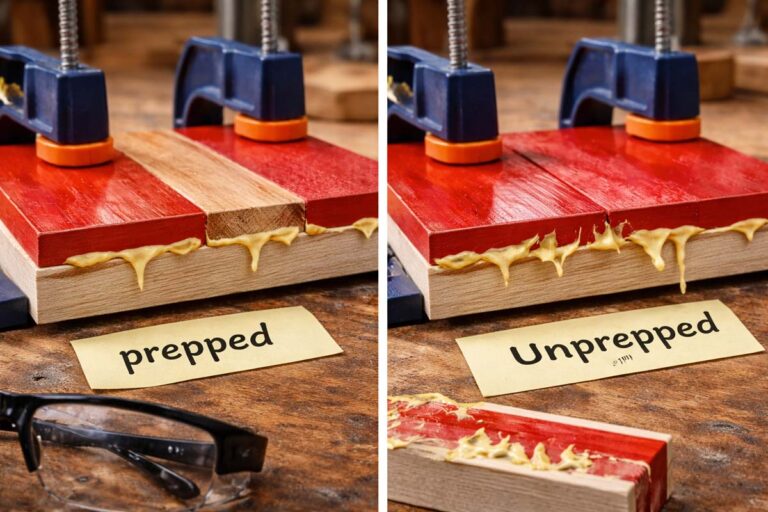
Too much glue
A thick glue line can skin over and stay wet underneath. Excess squeeze-out also causes finishing problems around the joint. If you stain pine often, learn how to keep pine from turning patchy under stain: stop pine from going blotchy.
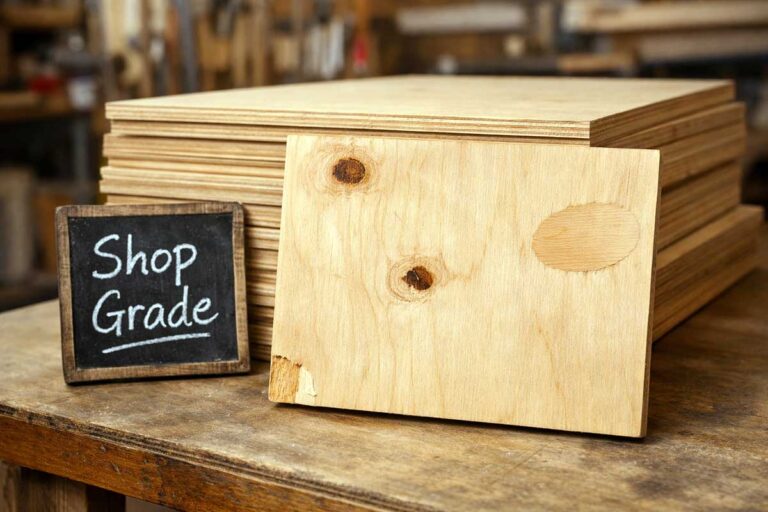
Poor joint fit
Gaps don’t just look bad, they dry differently and cure weaker. Tight joinery needs less glue and cures more predictably. Fix the fit first, then glue once with confidence.
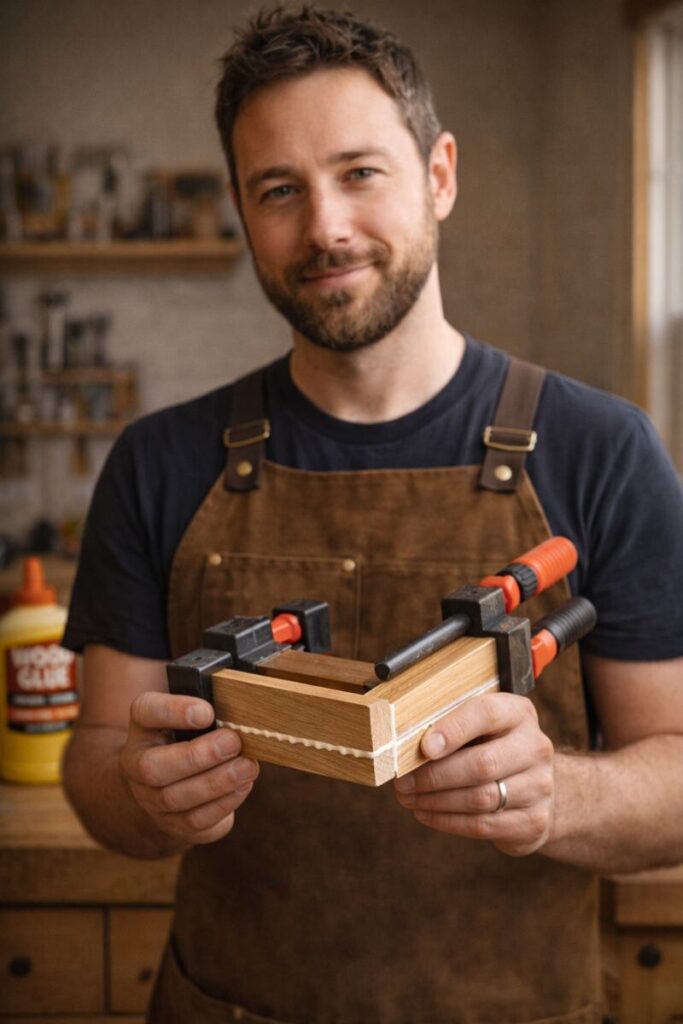
Clamping best practices while glue dries
Clamps hold alignment while glue does the real work. Even pressure beats brute force every time.
Use these cues:
- The joint closes fully without bowing or twist.
- You see a thin, consistent squeeze-out bead.
- The assembly stays square when you check diagonals.
How tight is too tight?
Over-clamping can crush fibers and squeeze out too much glue. Tighten until the joint closes, then stop. If the part bends under pressure, you’ve gone past helpful.

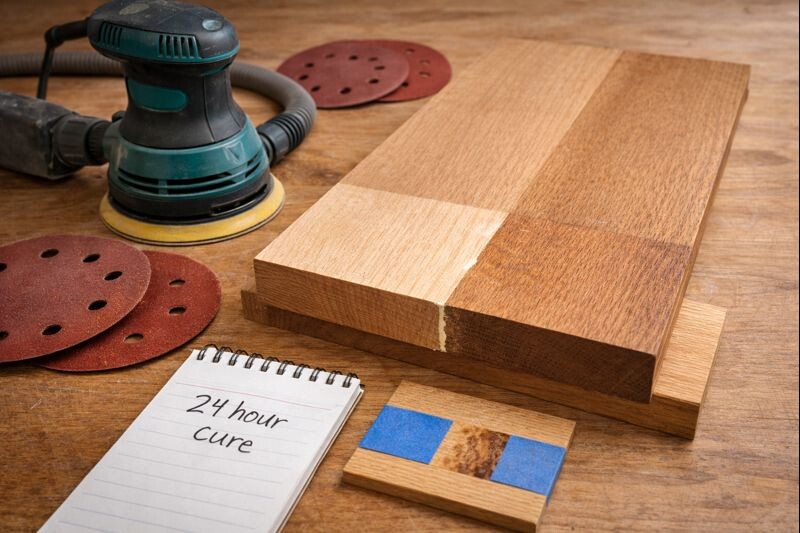
When you can sand, finish, or use the project
This is where good glue-ups turn into good-looking builds.
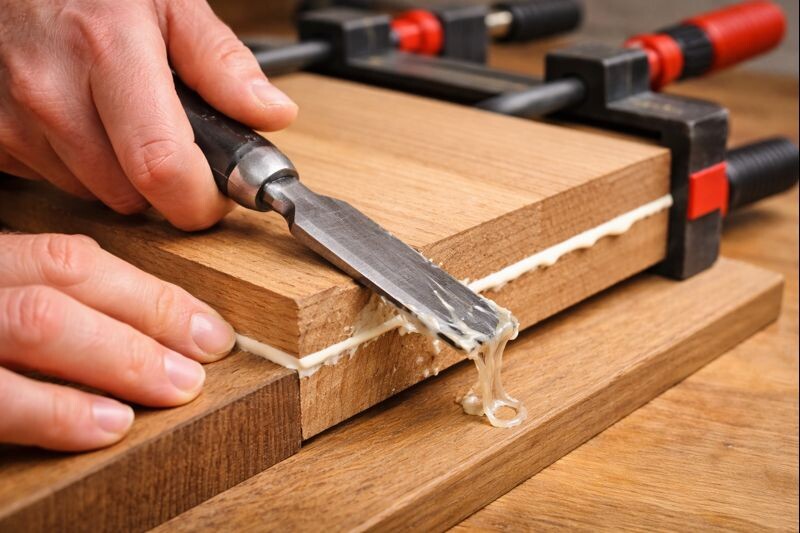
Scraping squeeze-out
Remove squeeze-out when it turns rubbery, not rock hard. A sharp chisel can peel it cleanly without smearing into grain. Smearing is what creates stain-resistant halos later.
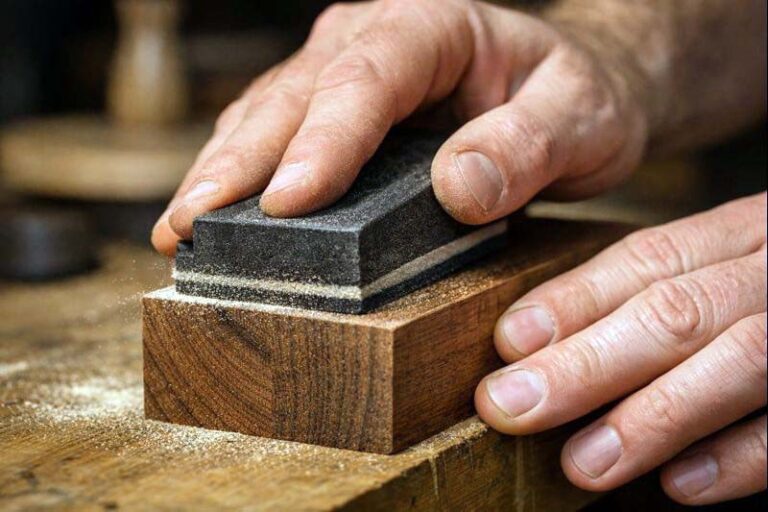
Sanding
Sanding too early warms semi-cured glue and pushes it into pores. That’s how you get shiny patches that won’t color evenly. For cleaner prep, use the method for smoothing end grain without fuzz: sand end grain cleanly.
Clear coats and haze
Finishing too soon can trap moisture and create cloudy topcoats. If you’ve already hit that problem, you’ll appreciate the quick fixes for a hazy clear coat: fix a cloudy topcoat.
Putting it into service
If the piece will carry weight, treat it like a stressed joint. Give it the full cure window before real load. Your future self will thank you when nothing creaks or cracks.
How to speed up drying safely
You can’t rush chemistry, but you can improve conditions.
- Keep glue and wood near room temperature before assembly.
- Lower humidity if the space feels damp.
- Use gentle airflow in the room, not direct blasting.
- Apply a thin, even glue film with good joint fit.
- Dry-fit first so clamping happens quickly and smoothly.
Avoid aggressive heat on the glue line. Skinning outside can trap moisture inside the joint.
A common case: plugs and trim timing
Plugging screw holes is a perfect timing lesson. You want the plug locked in place before trimming flush. You also want it cured enough to sand cleanly afterward. If you do that work, follow the clean approach for hiding screws with wood plugs: make screw holes disappear with plugs.
Know more: How to Remove a Broken Screw From Wood Without Chewing Up the Project
FAQs on How Long Does It Take for Wood Glue to Dry
How long should I keep clamps on a glued joint?
Keep clamps on until the joint won’t creep and stays aligned. For stressed joints, clamp longer and avoid load until tomorrow. Cold shops and humid air usually require extra time.
What’s the difference between “set time” and “full cure”?
Set time is when parts stop sliding and the glue feels firm. Full cure is when the bond reaches its intended strength throughout the glue line. A joint can set quickly but still be weak.
Can I sand a glued joint the same day?
Sometimes, but it’s risky if the glue isn’t fully cured. Early sanding can smear glue into pores and ruin stain absorption. Waiting longer usually saves time and frustration.
When is it safe to stain or clear coat after gluing?
Wait until the glue is cured to avoid adhesion issues and cloudy finishes. If you finish too soon, moisture can get trapped under the topcoat. Overnight curing is a reliable baseline.
Does humidity change wood glue drying time?
Yes, high humidity slows moisture loss from the joint. Drying and curing both tend to take longer in damp air. Airflow and lower humidity help more than extra clamping pressure.
Does cold weather slow wood glue drying?
Yes, cold slows evaporation and slows curing for many glues. Warm the wood, warm the glue, and give the joint more time. If you can’t heat the shop, extend your schedule.
Conclusion
Wood glue dries fast enough to fool you and cures slow enough to punish shortcuts. Plan around open time, clamp time, and full cure before stress.
If the joint will be loaded, wait overnight. Strong joints and clean finishes come from patience, not pressure.