Can Acrylic Craft Paint Be Used Outdoors? 7 Protection Tips
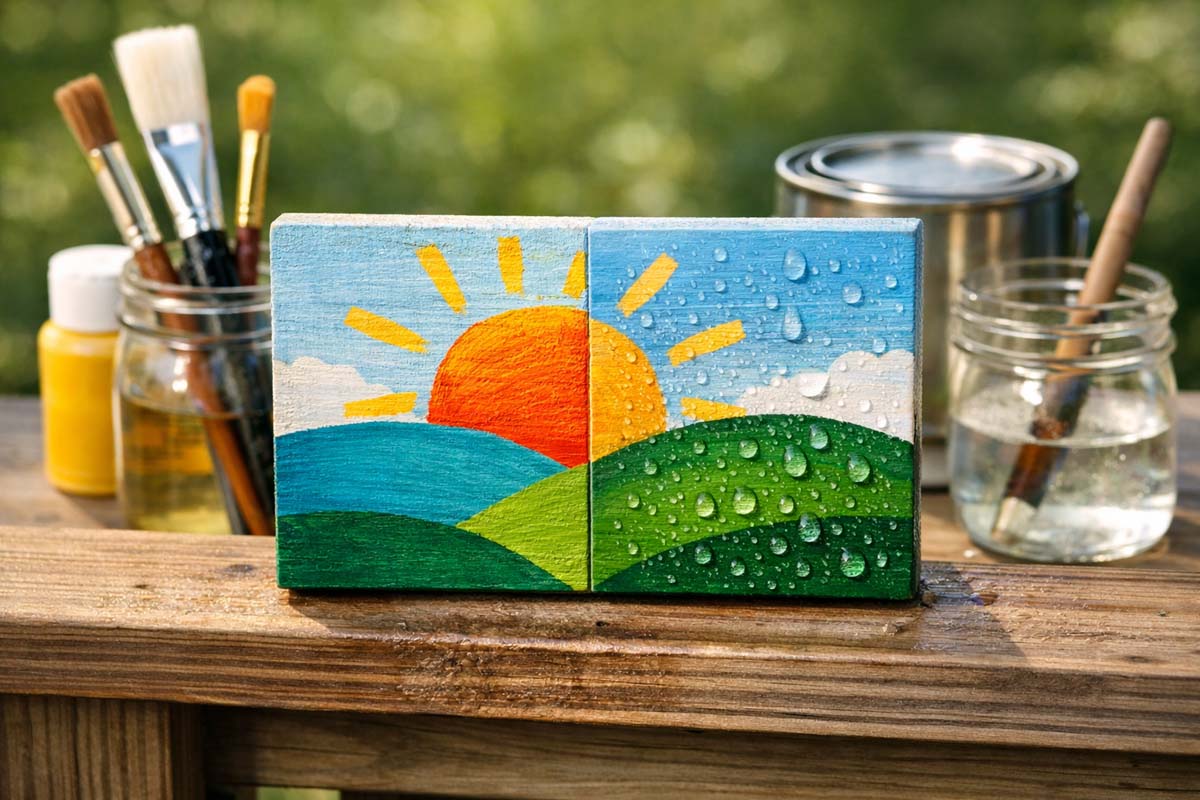
Acrylic craft paint can be used outdoors—but only when you treat it like color, not a complete exterior finish. Craft acrylics dry fast and look great on wood, but the film they leave is thin and soft compared to true exterior paint. Sun (UV), rain, and big temperature swings break that film down fast unless you prep the surface well and protect it with the right clear coat.
In the shop, I use craft paint outdoors for seasonal decor, covered-porch pieces, and signage that won’t sit in standing water. If you want a patio piece to live out in the weather 24/7, you’ll get longer life from exterior-grade paint instead.
Contents Here
- 1 What acrylic craft paint is (and what it isn’t)
- 2 Where craft acrylic works outdoors
- 3 When it fails fast outdoors
- 4 Best practice: treat it like an exterior finishing system
- 5 Step-by-step: How I finish acrylic craft paint for outdoor use
- 6 Which clear coat works best over acrylic craft paint outdoors?
- 7 How many coats do you really need?
- 8 Special note for outdoor trays and serving pieces
- 9 Troubleshooting: common outdoor failures and fixes
- 10 Safety notes I follow in the shop
- 11 FAQs about Acrylic Craft Paint on Outdoors
- 12 Bottom line
What acrylic craft paint is (and what it isn’t)
Acrylic craft paint is a water-based acrylic polymer loaded with pigment and fillers so it brushes easily and dries quickly. That formulation is great for indoor crafts, but outdoors it faces three problems.
Sunlight breaks down pigment and binder, which shows up as fading and chalkiness. Water pushes into end grain and seams, which lifts the paint film. Heat and cold expand and contract wood, which cracks rigid coatings at edges and joints.
Craft paint is not designed to be a waterproof membrane by itself. Think of it like a colored layer that needs a good “roof” over it.
Where craft acrylic works outdoors
Acrylic craft paint holds up best when exposure stays limited and predictable.
- Covered porches, screened patios, and entryway decor that avoids direct rain
- Vertical projects like signs that shed water and don’t trap moisture
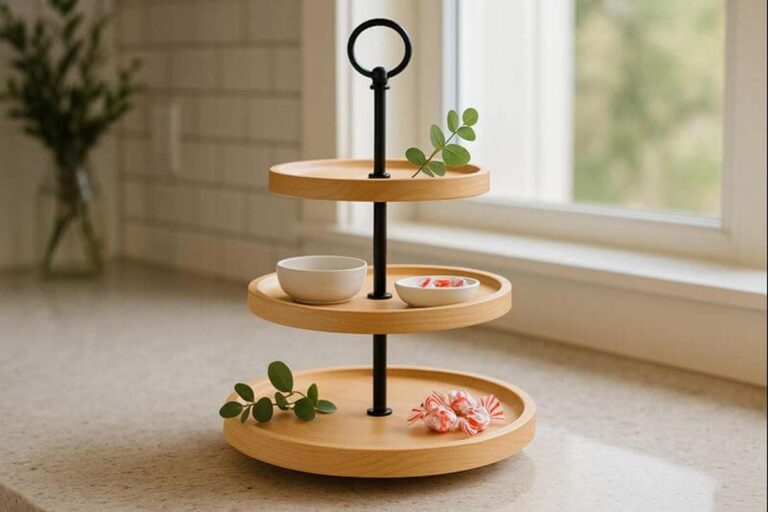
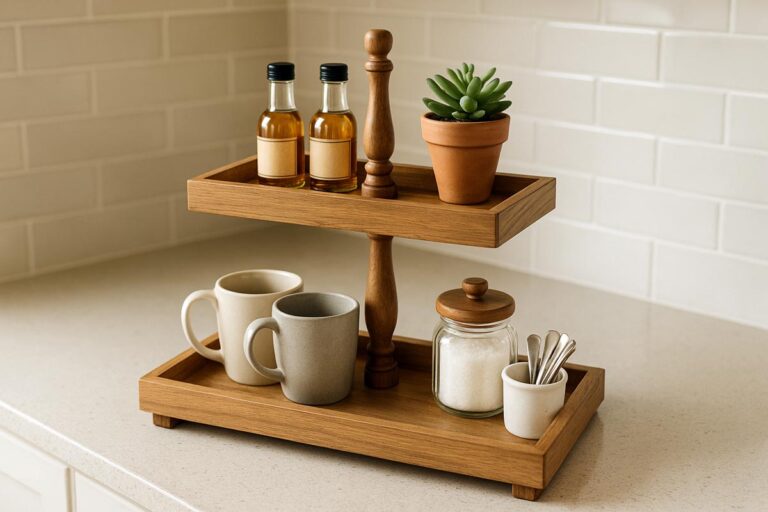
- Pieces you can bring in seasonally (holiday decor, tiered-tray minis for patios)
- Items topped with a durable exterior clear coat and maintained like outdoor furniture
If the project will sit flat (tabletops, planter shelves, tray tops) where water can pool, craft paint becomes a short-term finish unless you build a serious topcoat system.
When it fails fast outdoors
If you’ve ever watched a cute painted sign turn sad in one season, it’s usually one of these.
- Bare wood under the paint (no primer) so moisture moves freely
- Paint applied too thick, staying soft underneath
- No UV-rated topcoat, so color fades and binder powders
- Water entering from the back, bottom, or screw holes
- Flexible wood movement at joints that cracks a brittle film
If your paint is still sticky days later, fix that before you ever think about outdoor use. My deep dive on sealing acrylic so it cures hard instead of staying gummy is here: how to seal acrylic craft paint on wood so it doesn’t stay tacky.
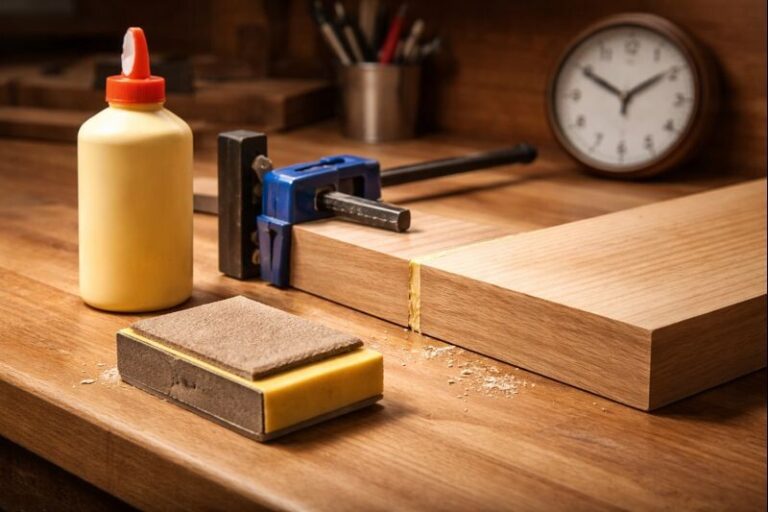
Best practice: treat it like an exterior finishing system
A durable outdoor finish is a stack: surface prep → primer → paint → clear coat → maintenance. Skip one layer and you shorten the life of the whole job.
Tools and materials that make this easier
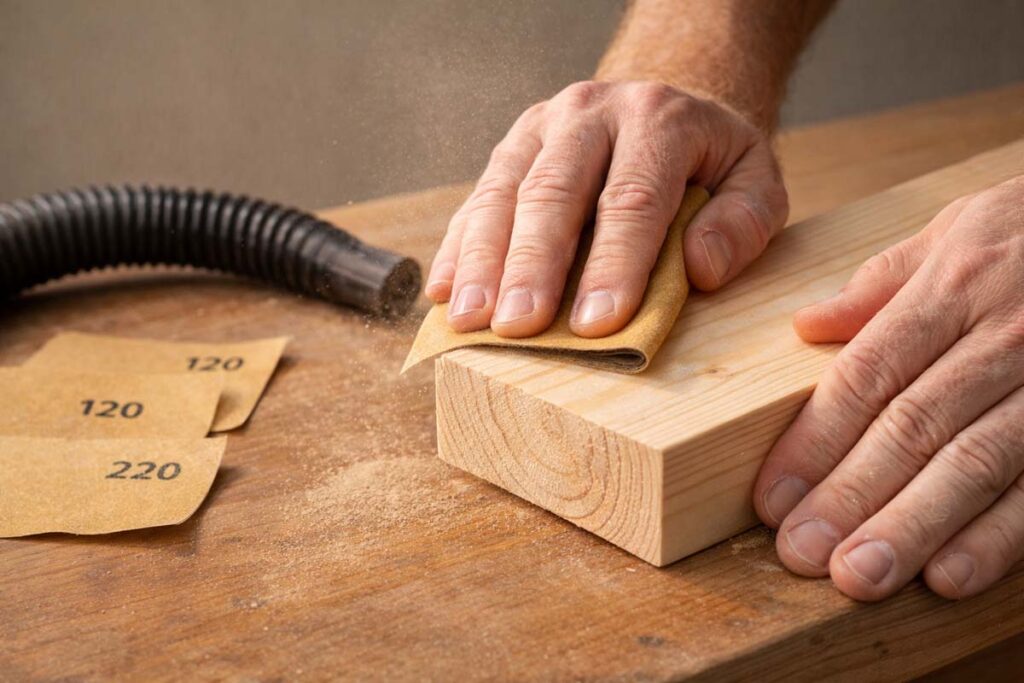
- 120–180 grit sandpaper (plus 220 for smoothing between coats)
- Vacuum and a tack cloth or damp lint-free rag
- Exterior-rated primer (bonding primer for slick surfaces)
- Acrylic craft paint (multiple thin coats)
- Exterior clear coat (details below)
- High-quality synthetic brush or small foam roller
- Painter’s tape and a sharp blade for clean lines
If brush marks bug you, this guide helps you get that “factory smooth” look: how to get a smooth painted finish without brush marks.
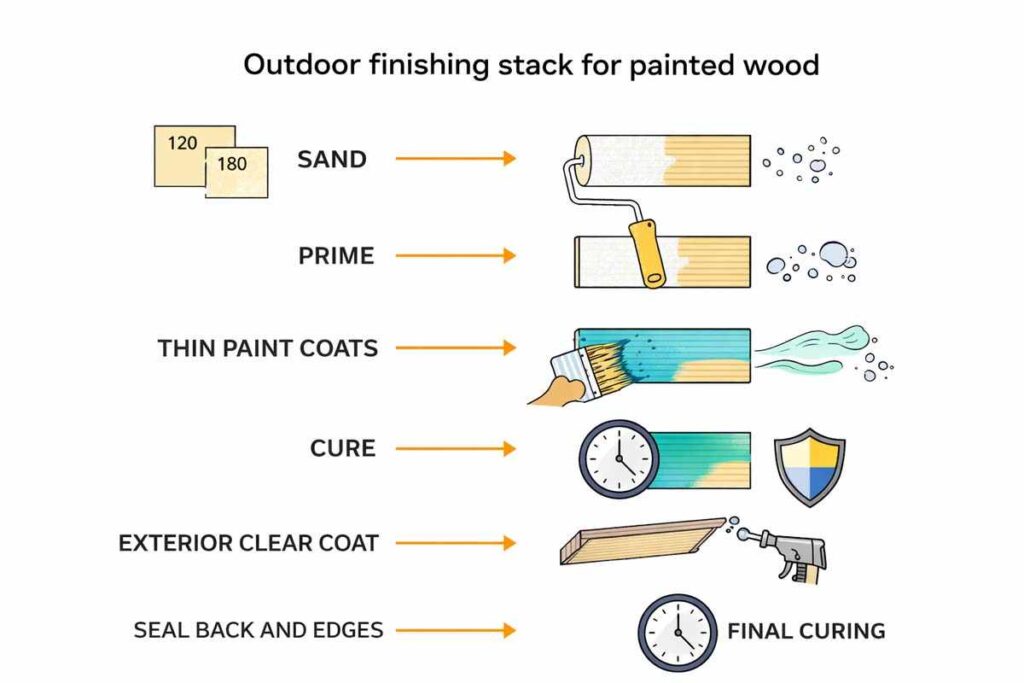
Step-by-step: How I finish acrylic craft paint for outdoor use
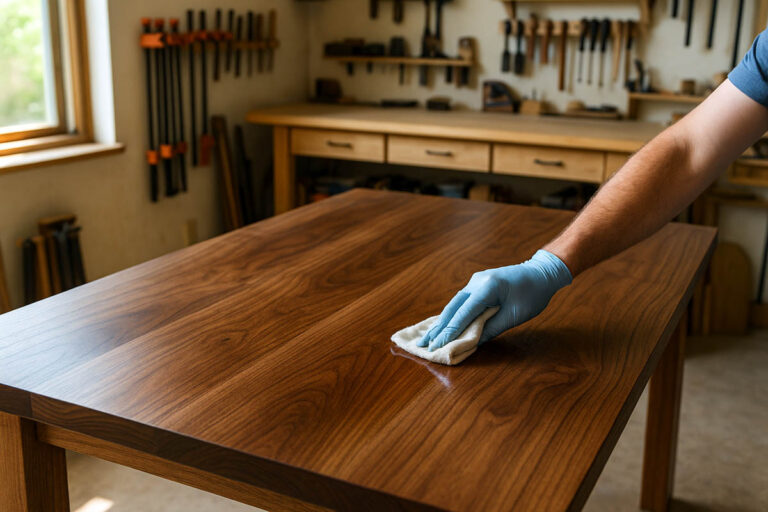
- Prep the wood like it matters. Sand to 150–180 grit. Break sharp edges with one light pass—paint and clear coats fail first on razor corners.
- Clean thoroughly. Vacuum dust, then wipe. Dust under paint becomes weak spots that peel.
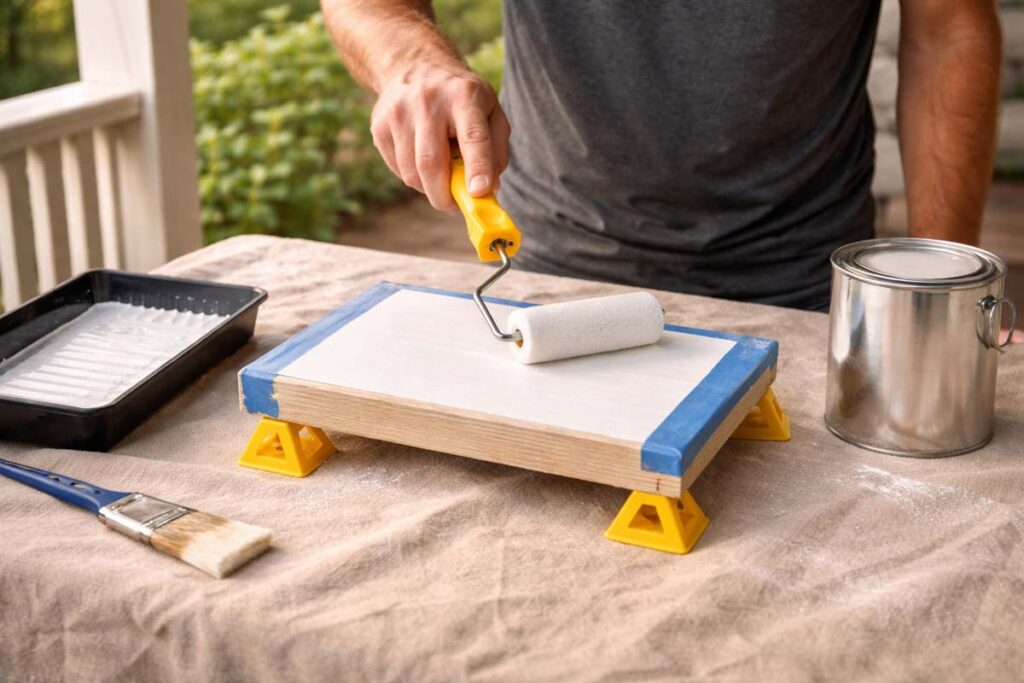
- Prime (don’t skip it). Use an exterior primer. Primer bonds to wood, blocks tannins, and gives the paint a stable base.
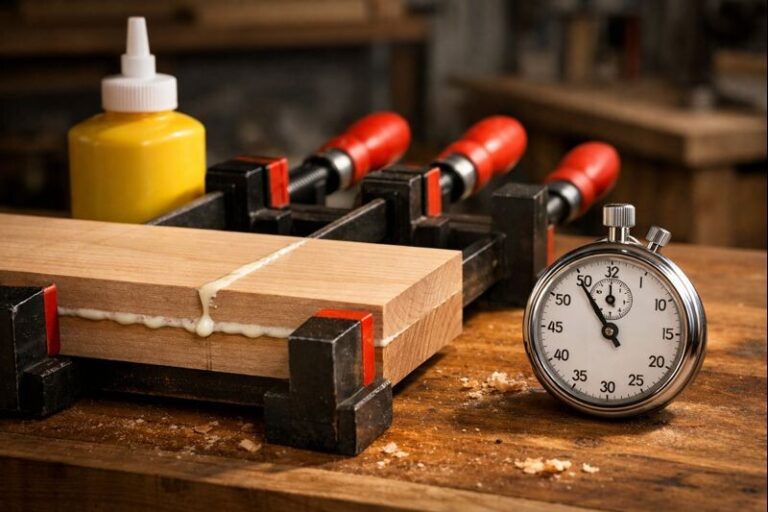
- Apply craft paint in thin coats. Two to four thin coats beat one thick coat every time. Let each coat dry fully before the next.
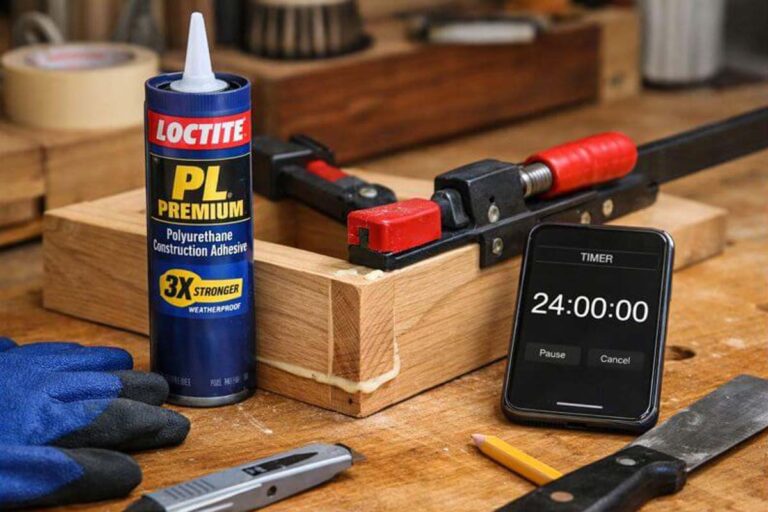
- Let the paint cure before topcoating. Dry-to-touch isn’t cured. Give it time so water in the paint leaves the film.
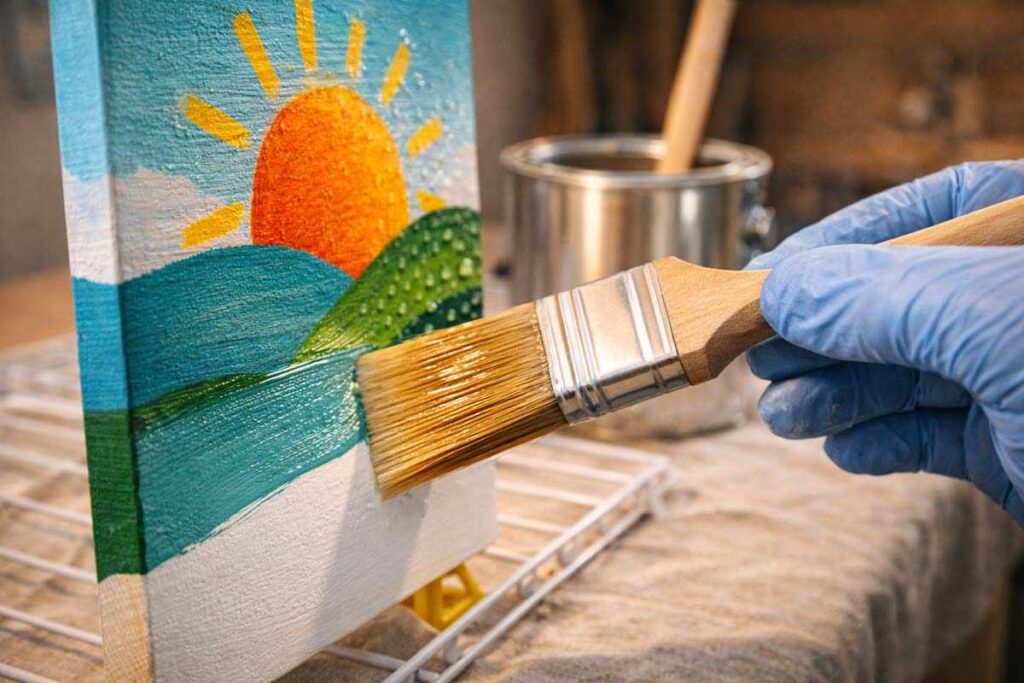
- Topcoat with an exterior-rated clear finish. Use multiple thin coats and follow recoat windows. Sand lightly between coats only if the product calls for it.
- Seal the “hidden” sides too. Back, bottom edges, and screw holes matter. Outdoor failures often start where nobody thinks to finish.
- Cure fully before exposure. Keep it out of dew and rain while the clear coat hardens.

Which clear coat works best over acrylic craft paint outdoors?
Use an exterior-rated clear coat that matches your exposure. For covered outdoor decor, a water-based exterior polyurethane often works well. For direct sun and weather, a spar urethane or marine-style varnish usually holds up better because it flexes and resists UV longer. Whatever you choose, build enough film thickness with multiple coats.
Now the practical breakdown.
Water-based exterior polyurethane
This is my go-to for covered projects. It stays clearer than oil finishes and doesn’t yellow as much. It also dries fast and cleans up easy. The downside is it usually loses the outdoor fight faster than spar products in full sun.
Spar urethane / exterior varnish
Spar products are built to flex and handle harsh conditions better. They often add a warm tone and can yellow lighter colors over time. If your painted design relies on bright whites or pastels, test first.
Spray acrylic “clear sealer” (craft aisle)
These are convenient but typically thin. They work as a light protective layer for short-term decor, not for full-time outdoor exposure. You’ll still want a stronger topcoat if the piece lives outside.
Epoxy and bar-top coatings
Epoxy can look amazing, but outdoors it’s tricky. Many epoxies yellow and can degrade under UV unless specifically formulated for sun exposure. I treat epoxy as an indoor or well-covered option unless the product is clearly rated for exterior UV.
How many coats do you really need?
Outdoor durability comes from film thickness and coverage. One clear coat is a “dust jacket,” not armor. Most clear finishes need multiple coats to build a continuous barrier, especially on porous wood and end grain.
If your clear coat turns milky or hazy, that’s usually moisture, cold application, or compatibility. This troubleshooting guide is handy: why clear coats get cloudy 9 fast and easy fixes.
Special note for outdoor trays and serving pieces
If the item is a serving tray that goes outside for gatherings, you’re dealing with sun and spills. You’ll want a finish that resists water rings and cleans easily. My process for building a protective finish on trays is here: how to seal a wooden serving tray.
(And if food contact matters, always confirm the specific finish’s food-safety guidance once fully cured. Different products make different claims.)
Troubleshooting: common outdoor failures and fixes
“The paint is peeling in sheets.”
Peeling usually means the paint didn’t bond. Sand back to sound material, prime, and repaint. Also check the back side—water entering from behind will lift the front.
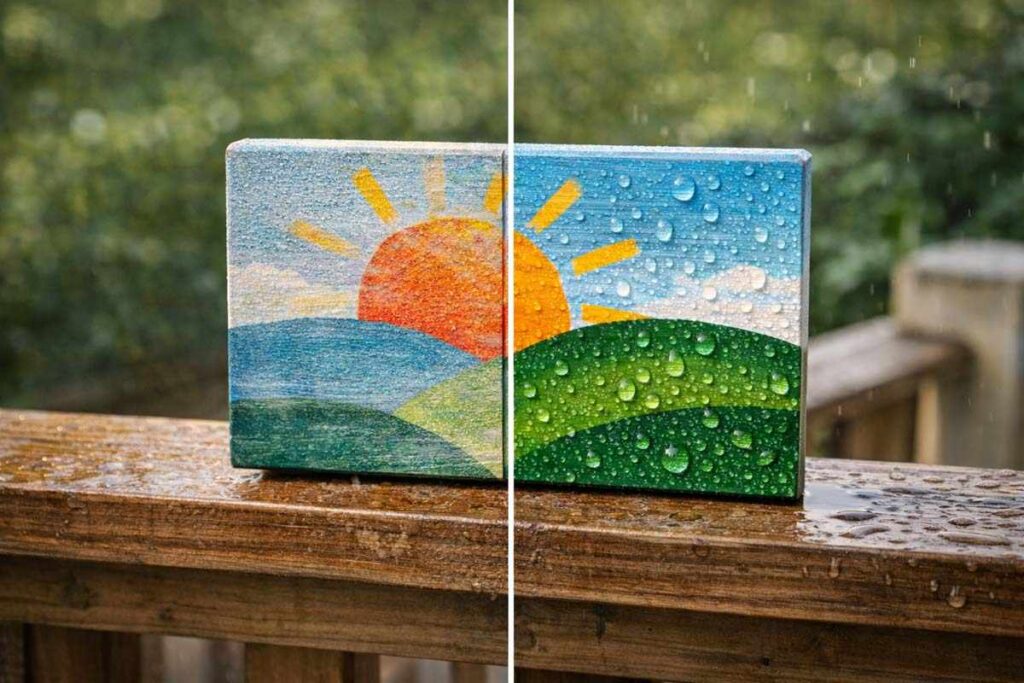
“It faded in one summer.”
That’s UV. Use a clearer UV-resistant exterior topcoat, reduce direct sun exposure, or switch to exterior paint with better lightfast pigments.
“It cracked at edges and joints.”
Wood movement cracked a rigid film. Round over edges slightly, avoid heavy paint buildup at corners, and use a flexible exterior topcoat.
“It feels tacky even after days.”
That’s trapped moisture, heavy coats, or a finish/paint compatibility problem. Start with my tacky-paint fix: how to seal acrylic craft paint on wood so it doesn’t stay tacky.
Safety notes I follow in the shop
- Spray finishes need real ventilation; a garage with the door cracked isn’t the same as airflow.
- Wear eye protection when sanding painted surfaces.
- Rags with oil-based finishes can self-heat; lay them flat to dry before disposal.
FAQs about Acrylic Craft Paint on Outdoors
Can I use acrylic craft paint on outdoor wood without sealing it?
It will stick for a while, but it degrades fast. Unsealed craft paint outdoors usually fades and chalks, and moisture lifts it at edges and end grain. A primer plus an exterior-rated clear coat extends life because it blocks water entry and slows UV damage.
Will Mod Podge make acrylic paint waterproof outdoors?
Standard Mod Podge is not a reliable outdoor waterproofing layer for weather exposure. It can soften with moisture and heat. If you want a craft-style top layer, use a product specifically labeled for exterior use—and expect maintenance.
Can I paint outdoor flower pots with acrylic craft paint?
You can, but expect wear. Clay pots breathe and stay damp, which pushes paint off. Plastic pots expand and contract with heat. For longer life, scuff-sand, use a bonding primer, paint thin coats, and use an exterior topcoat—then plan to refresh seasonally.
What’s the simplest “good enough” method for porch decor?
Prime, paint thin coats, then apply an exterior water-based poly in multiple coats. Keep the piece out of direct rain and store it during the wet season. That combination gives a solid look without overbuilding the finish.
Bottom line
Acrylic craft paint works outdoors when you control exposure and build a real protective topcoat. For covered porch decor, you can get a clean, durable finish with proper prep, primer, thin paint coats, and an exterior clear coat. For full sun and rain, craft paint becomes a maintenance finish—fine for seasonal pieces, but not the best choice for permanent outdoor furniture.