Best Wood Glue for Furniture Repair in 2026: 10 Picks for Tight Joints, Gaps & Cracks
Best wood glue for furniture repair isn’t one bottle, it’s the right adhesive for the joint you’re fixing. A loose chair rung, a split leg, a tiered tray stand, and a lifting veneer all need different strengths, cure times, and gap-filling behavior.
I’ll walk you through choosing the right glue type, applying it cleanly, and avoiding the mistakes that make repairs pop loose again.
Contents Here
- 1 Quick picks: Best Wood Glue for Furniture Repair at a Glance
- 2 Reviews of the 10 Best Wood Glue for Furniture Repair
- 2.1 Gorilla Original Waterproof Polyurethane Glue
- 2.2 Gorilla Ultimate Waterproof PVA Wood Glue
- 2.3 Gorilla 2 Part Epoxy Wood Glue for Furniture Repair
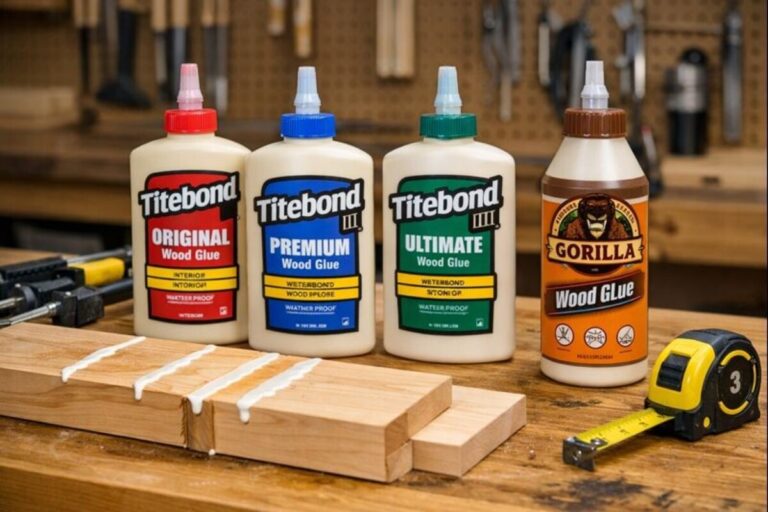
- 2.4 Titebond II Premuim Cream Wood Glue
- 2.5 Titebond III Ultimate Wood Glue for Furniture Repair
- 2.6 Titebond Liquid Hide Glue
- 2.7 LOOCTOT 60g Medium CA Glue Premium Adhesive
- 2.8 J-B Weld ClearWeld 5 Minute Epoxy
- 2.9 WEST SYSTEM G/flex Epoxy
- 2.10 Starbond Super Fast Thin CA Glue
- 3 How I’d Choose a Glue for Repair Work
- 4 How to Choose the Right Wood Glue for Furniture Repair
- 5 Wood glue types for furniture repair
- 6 Step-by-step: How to glue furniture joints so the repair lasts
- 7 Repair techniques for common furniture problems
- 8 Common mistakes and troubleshooting Guide
- 9 Safety, cleanup, and storage
- 10 FAQs on Wood Glue for Furniture Repair
- 10.1 Is wood glue the same as PVA glue?
- 10.2 What’s the strongest glue for repairing a chair?
- 10.3 Is wood glue stronger than screws for furniture repair?
- 10.4 How long should I clamp glued wood together?
- 10.5 Can I use “super glue” on furniture joints?
- 10.6 What is the best wood glue for furniture repair?
- 10.7 What is the strongest adhesive for wood?
- 10.8 What’s the best glue for antique furniture repair?
- 11 Final Thoughts
Quick picks: Best Wood Glue for Furniture Repair at a Glance
Most “best wood glue” lists skip the part that matters: what failed and how the joint fits. Use this quick guide to pick a glue type before you pick a brand.
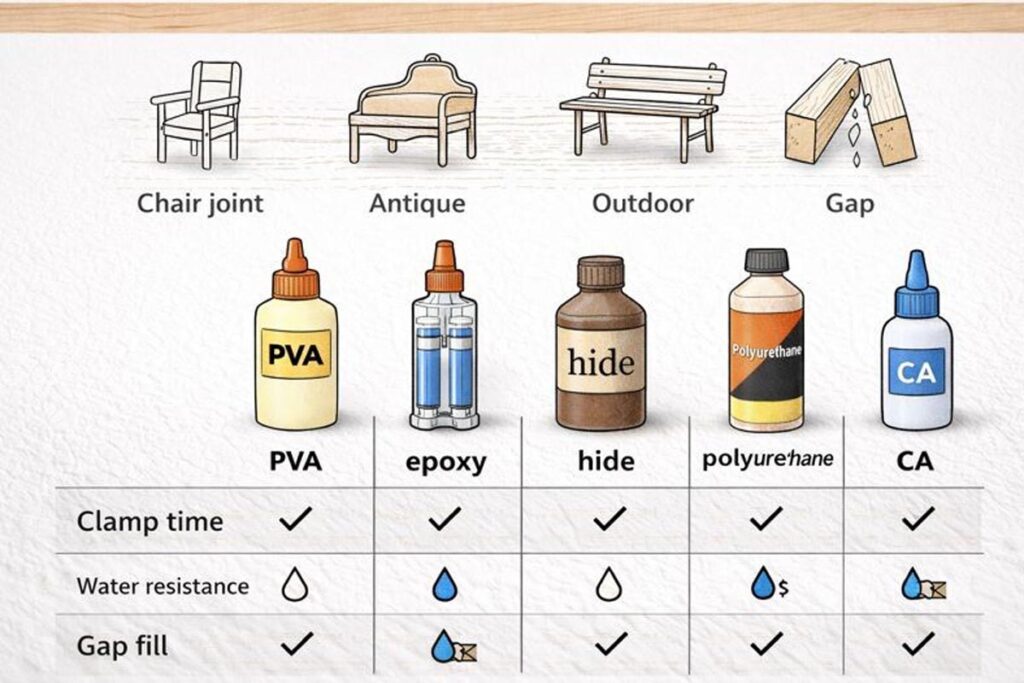
| Furniture repair situation | Best Glue types | Why it works |
|---|---|---|
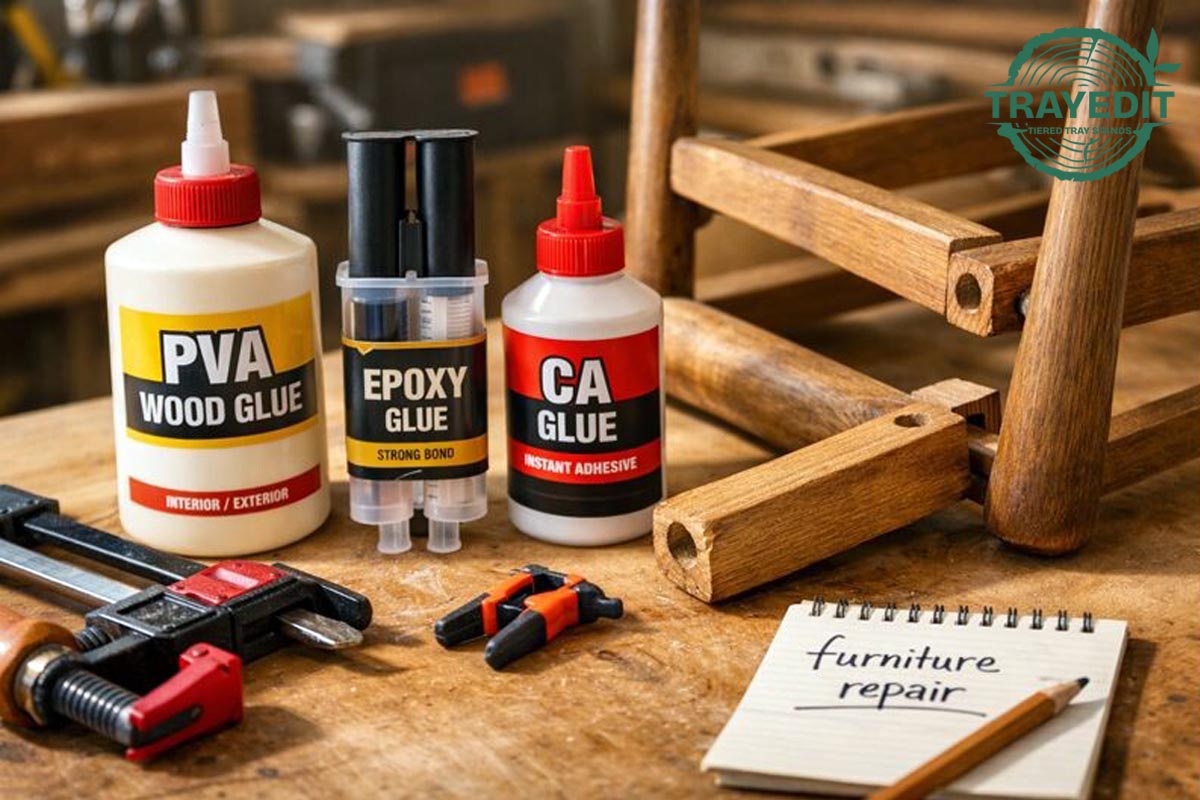
| Tight chair rungs, table aprons, edge-glued breaks | PVA carpenter’s glue | Strong wood-to-wood bond, easy cleanup |
| Dining/kitchen pieces, humid spaces, occasional outdoor exposure | Waterproof or water-resistant PVA | Better moisture resistance for seasonal movement |
| Loose, wallowed-out joints, chipped corners, missing fibers | Two-part epoxy | Gap-filling strength, bonds to imperfect surfaces |
| Mixed materials, outdoor repairs, tricky surfaces | Polyurethane glue | Bonds well in damp conditions, good versatility |
| Veneer edges, hairline splits, tiny chips | CA (cyanoacrylate) glue | Wicks into cracks, fast grab |
| Antiques and future reversibility matters | Hide glue | Traditional, reversible with heat/moisture |
Reviews of the 10 Best Wood Glue for Furniture Repair
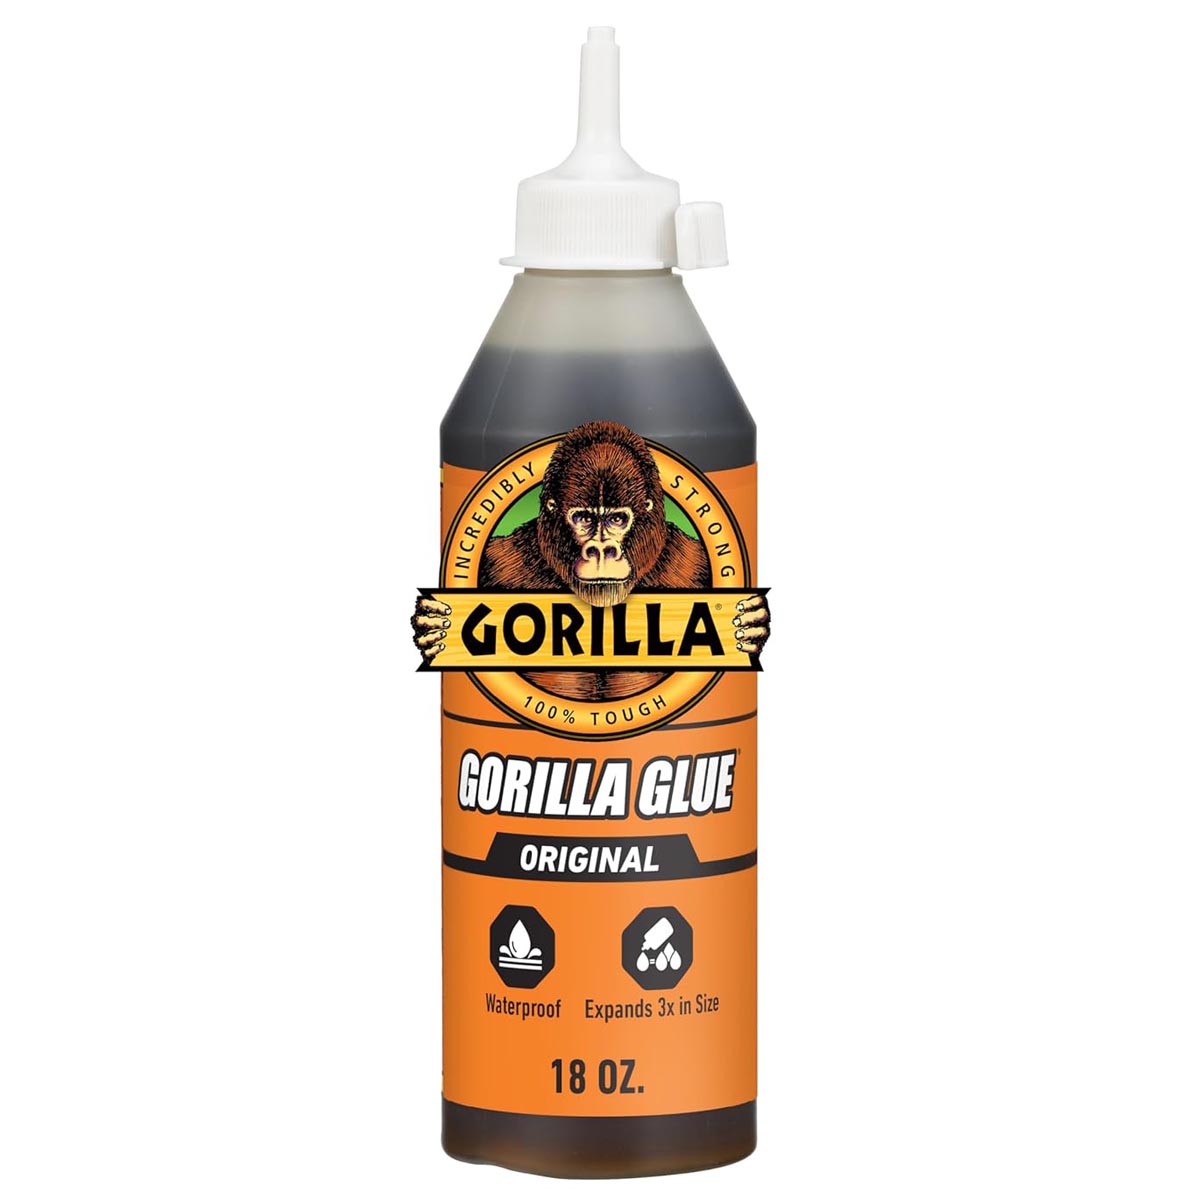
Gorilla Original Waterproof Polyurethane Glue
The strongest adhesive for wood when materials don’t match
Gorilla Original Waterproof Polyurethane Glue bonds wood to metal, ceramic, and more, making it great for tricky repairs. It cures waterproof, handles swings, and expands, so clamp and control foam.
$18.92 at AmazonA water-activated polyurethane glue made for tough, mixed repairs. It expands as it cures, locking into surfaces. It’s handy when your repair touches metal, ceramic, or concrete. You do need gloves and careful squeeze-out control.
Clamp firmly because it expands about 3×. I treat it as a “problem-solver,” not an everyday joinery glue. It’s described as 100% waterproof once cured. It’s also advertised as temperature resistant in hot and cold.
Expansion: up to 3× into materials. Cure is water-activated, so moisture matters. That expanding action helps when surfaces aren’t perfectly flat. If you’re sealing the repair later, check polyurethane cure safety notes first.
Specifications:
- Polyurethane resin, liquid
- Bonds wood/stone/metal/ceramic/foam/glass/concrete
- Waterproof, temperature resistant
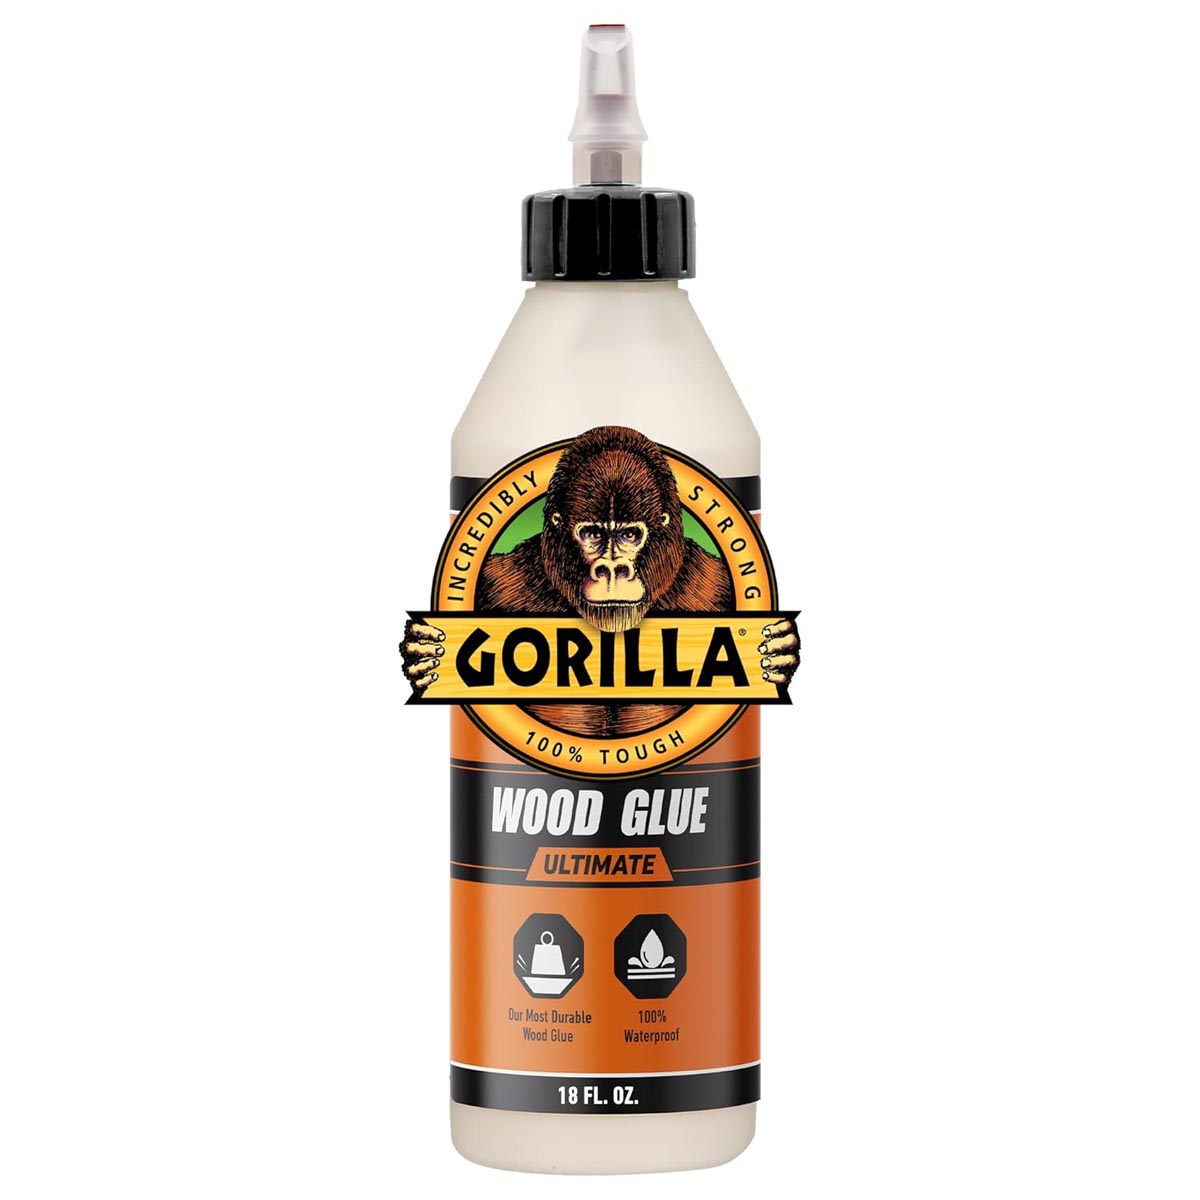
Gorilla Ultimate Waterproof PVA Wood Glue
The best woodworking glue for outdoor chair joints
Gorilla Ultimate Waterproof PVA Wood Glue is a reliable, sandable carpenter’s glue for tight furniture joints. It offers a generous working time, tack, easy cleanup, and Type I waterproof durability.
$10.97 at AmazonClean, water-based PVA that bonds neatly on furniture joinery. It sands and paints well because the bond line doesn’t foam. That 15-minute working time makes clamp-ups less stressful. Cleanup with warm soap and water is genuinely convenient.
This shines on tight-fitting joints like rails and rungs. If the joint won’t close, reach for epoxy instead. It’s listed as passing ANSI/HPVA Type I waterproofing. It also cures to a natural tan wood color.
Working time: 15 minutes. Waterproof spec: ANSI/HPVA Type I. You get Type I waterproof performance without expanding mess. Use this clamp-time checklist for furniture joints before you load the repair.
Specifications:
- PVA (water-based), liquid
- Sandable and paintable
- Indoor/outdoor use
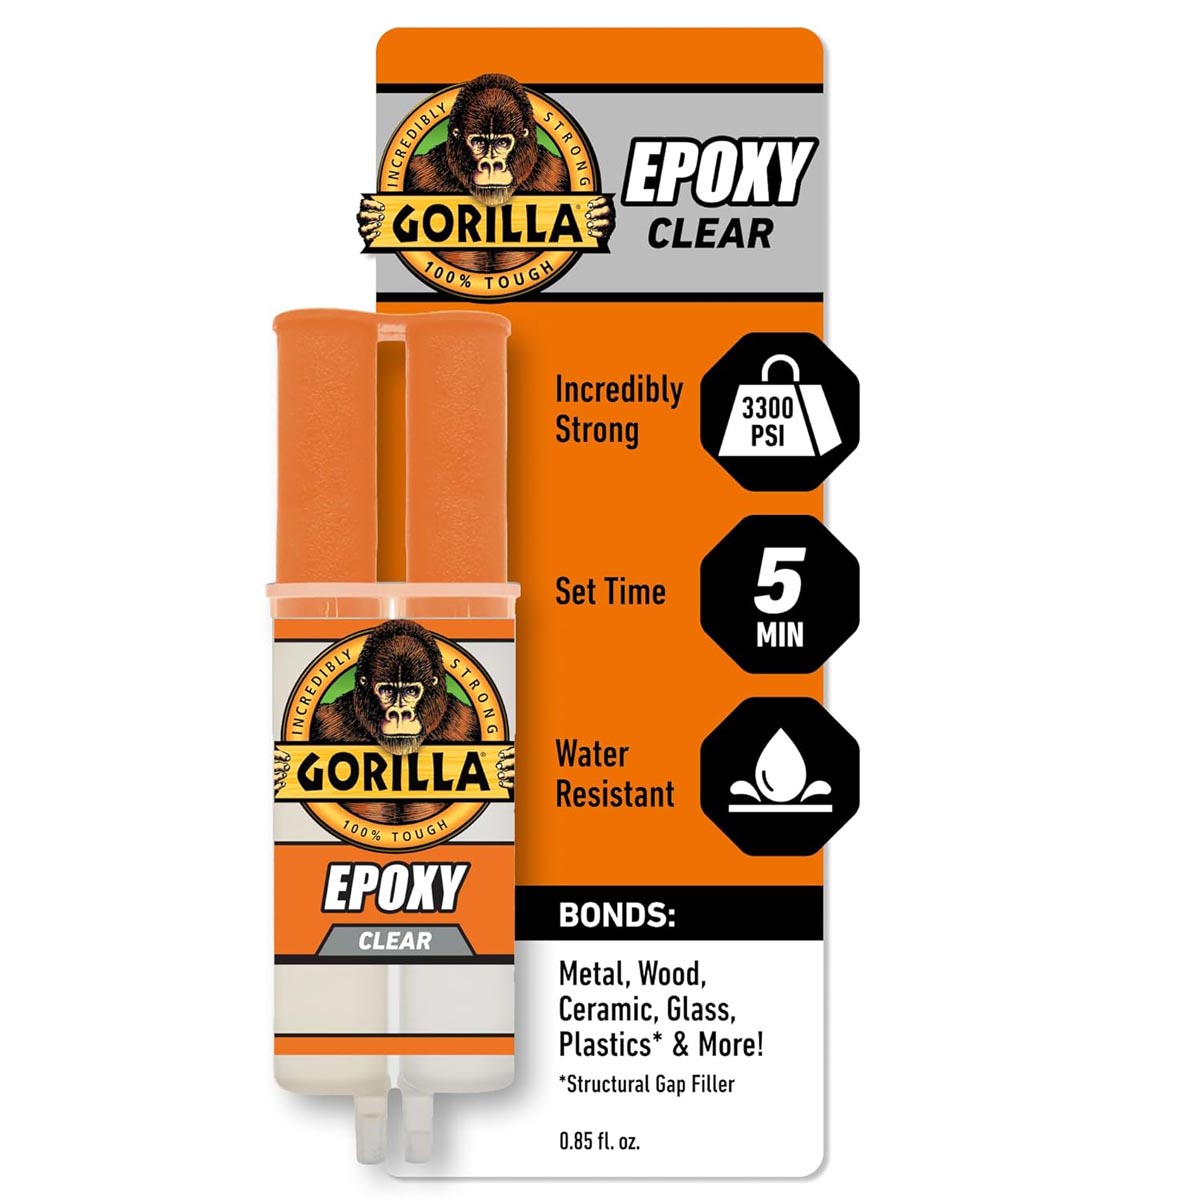
Gorilla 2 Part Epoxy Wood Glue for Furniture Repair
The best glue for wood furniture repair when gaps won’t close
Gorilla 2 Part Epoxy is a clear, gap-filling adhesive for loose joints and broken corners. The syringe dispenses evenly, sets in minutes, and cures strong when mixed and clamped properly.
$5.97 at AmazonA clear, two-part epoxy designed for tough household repairs. It fills gaps and bonds uneven surfaces with confidence. The 5-minute set time gives enough repositioning time without waiting forever. The syringe makes dispensing cleaner and repeatable.
Use this when wood fibers are crushed or missing. It’s a smart choice for loose corners and voids. It’s described as drying clear and acting as a gap filler. Separate barrels keep resin and hardener from curing early.
Set time: 5 minutes. Tensile strength: 3300 PSI. It’s one of the cleaner-looking epoxies for visible furniture repairs. After it cures, level it using smooth end-grain sanding steps.
Specifications:
- High viscosity, water resistant
- Syringe applicator with cap
- Full cure: 24 hours
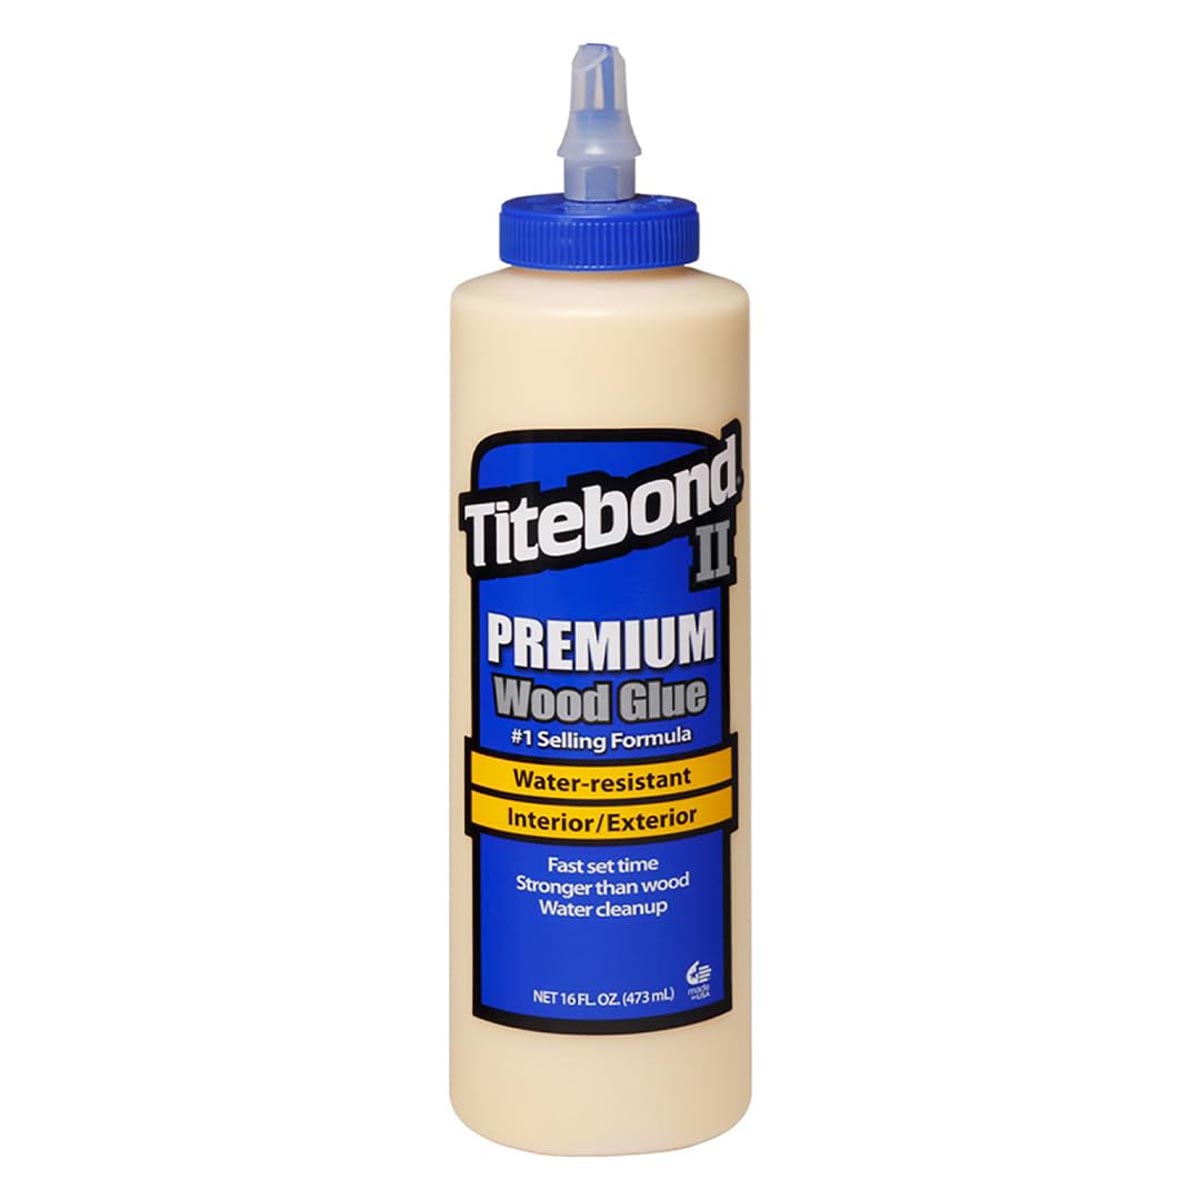
Titebond II Premuim Cream Wood Glue
The best wood glue for fast, clean exterior furniture fixes
Titebond II Premium Cream Wood Glue is a fast-grabbing PVA with Type II water resistance, ideal for everyday furniture fixes. It cleans up with water, sands smoothly, and reaches high strength after curing.
$8.06 at AmazonA one-part wood glue built for interior and exterior woodworking. It grabs fast, then sands flush for clean touch-ups. The quick initial tack reduces “hold” time during clamp-up. Water cleanup is easy when you wipe it wet.
Great for shop repairs and home furniture projects. Don’t use it for structural or load-bearing repairs. It’s listed as the first one-part glue to pass ANSI Type II water-resistance. It’s also FDA-approved for indirect food contact.
Tensile strength: 3750 PSI. Full cure time: 24 hours. It’s a practical “daily driver” glue with exterior water resistance. Use this glue dry-time timeline so you don’t unclamp early.
Specifications:
- Cream form, low viscosity
- Water resistant (Type II)
- 16 oz container
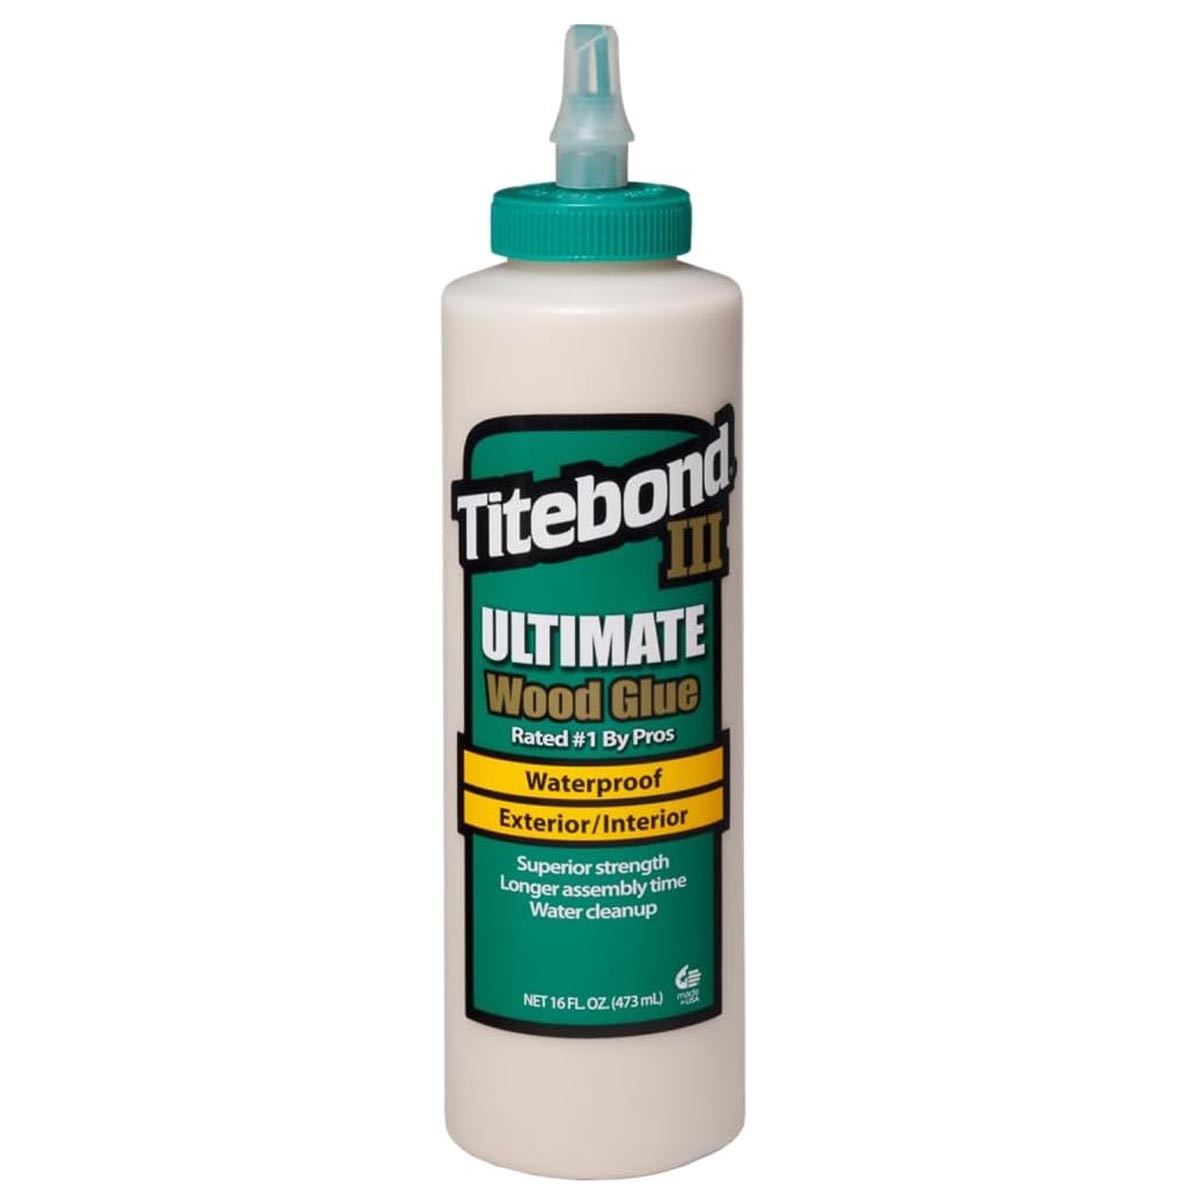
Titebond III Ultimate Wood Glue for Furniture Repair
The strongest wood glue for outdoor furniture projects
Titebond III Ultimate Wood Glue offers Type I waterproof performance with longer open time for careful clamp-ups. It’s non-toxic when cured, sands easily, and works well on outdoor furniture and kitchen projects.
$7.97 at AmazonA high-performance PVA that’s rated waterproof and sands easily. It offers strong initial tack while staying user-friendly. The longer open time helps on big glue-ups like chairs and planters. Cleanup is simple while the glue is still wet.
This is my pick for exterior woodworking and kitchen-area builds. It’s not for continuous submersion or load-bearing joints. It passes ANSI/HPVA Type I and is classified “waterproof.” It conforms to ASTM D4236 and is labeled non-toxic.
Clamp time listed: 30 minutes. Minimum application temperature: 47°F. It blends pro-grade durability with easy sanding for furniture repairs. Use this full-cure timing guide before heavy use.
Specifications:
- PVA liquid, water cleanup (wet)
- Type I waterproof rating
- Indirect food contact approved
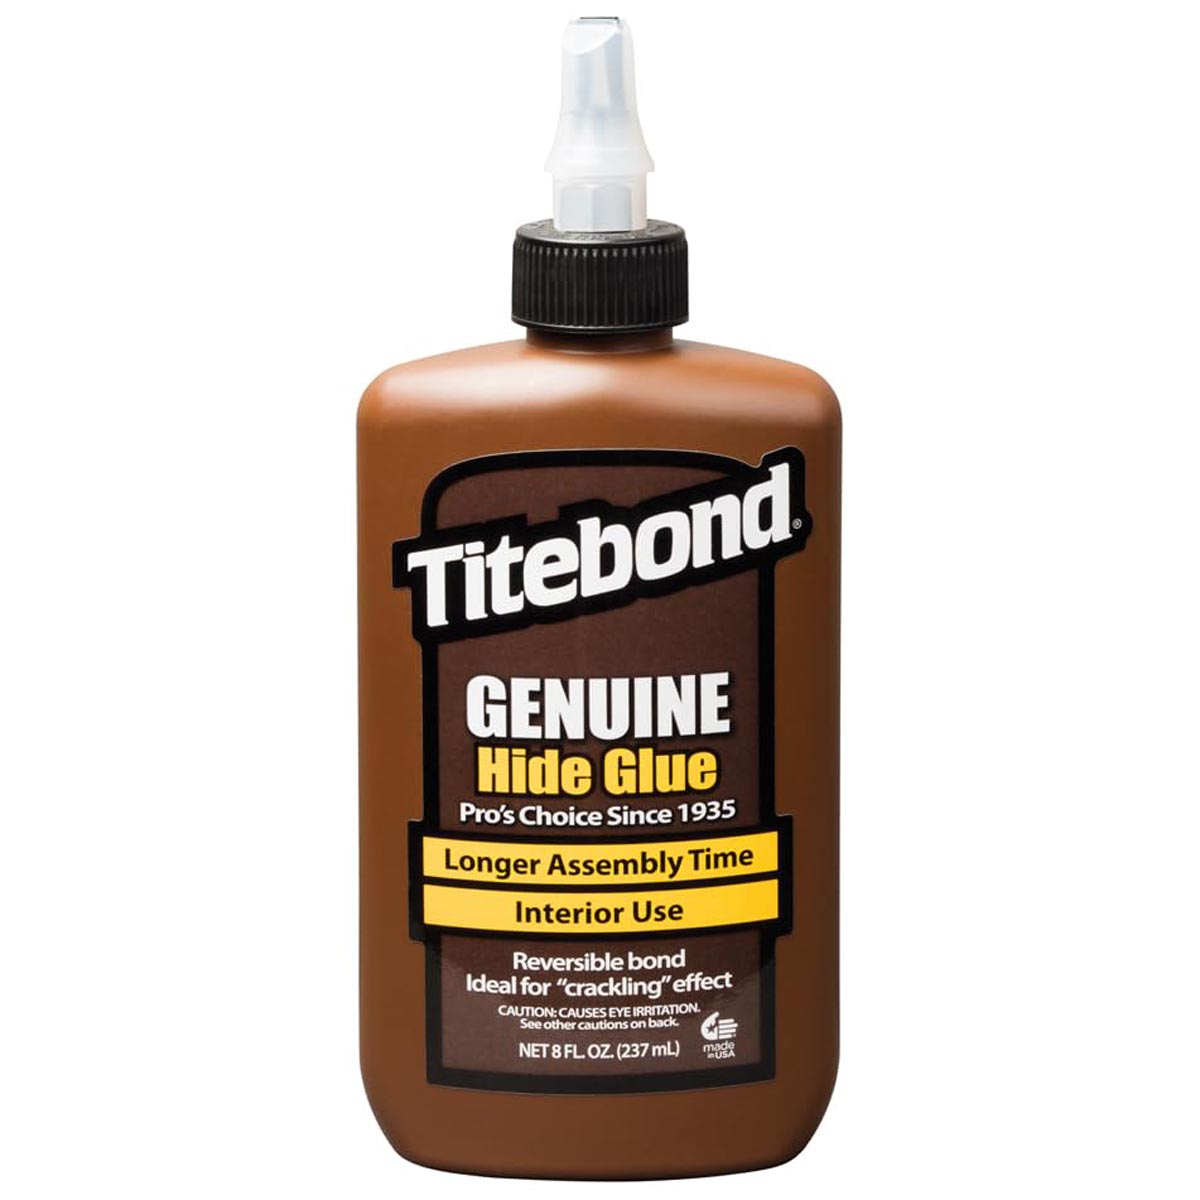
Titebond Liquid Hide Glue
The best wood glue for antique furniture repair with precise assembly
Titebond Liquid Hide Glue is a slow-set option for fine and antique repairs. It allows careful alignment, sands cleanly, and plays nicer near finished surfaces, though it isn’t water resistant.
$7.99 at AmazonA slow-set hide glue aimed at fine furniture work. It’s also known for clean sanding and controlled assembly. The longer assembly window makes alignment easier on fussy joints. Cleanup is simple when wiped wet with a damp cloth.
This is useful when you’re working near existing finishes. It’s not intended for exterior use or damp conditions. The details list open and total assembly times plus clamping pressure ranges. It’s made in the U.S.A and preferred by pros 7 to 1.
Open assembly: 10 minutes; total: 20–30 minutes. Tensile strength: 3207 PSI. It’s built for careful assembly rather than speed. Before stressing joints, follow this set-time reference for glue-ups.
Specifications:
- Full cure: 24 days
- Not water resistant
- Apply above 50°F

LOOCTOT 60g Medium CA Glue Premium Adhesive
Glue for wood that grabs fast on small repairs
LOOCTOT Medium CA Glue is a quick, clear adhesive for chips, trim, and hairline cracks. It flows predictably, resists clogging, and develops a strong bond after full cure on wood.
$9.99 at AmazonMedium CA glue with an easy-flow formula for woodworking tasks. It dries transparent, so small fixes don’t shout. Instant adhesion in 10–15 seconds is a time-saver. The anti-clog cap helps avoid wasted glue.
I like medium CA for chips, trim, and quick stabilizing work. Wear gloves and avoid flexing joints. Viscosity and tensile strength are specified on the product details. It’s also listed as waterproof after full adhesion.
It’s fast but still controllable compared to ultra-thin CA. If you need speed, follow tips to dry adhesive repairs faster. Viscosity: 150 cps. Tensile strength: 3500 PSI.
Specifications:
- Full cure: 24 hours
- Waterproof after 24 hours
- Bottle container
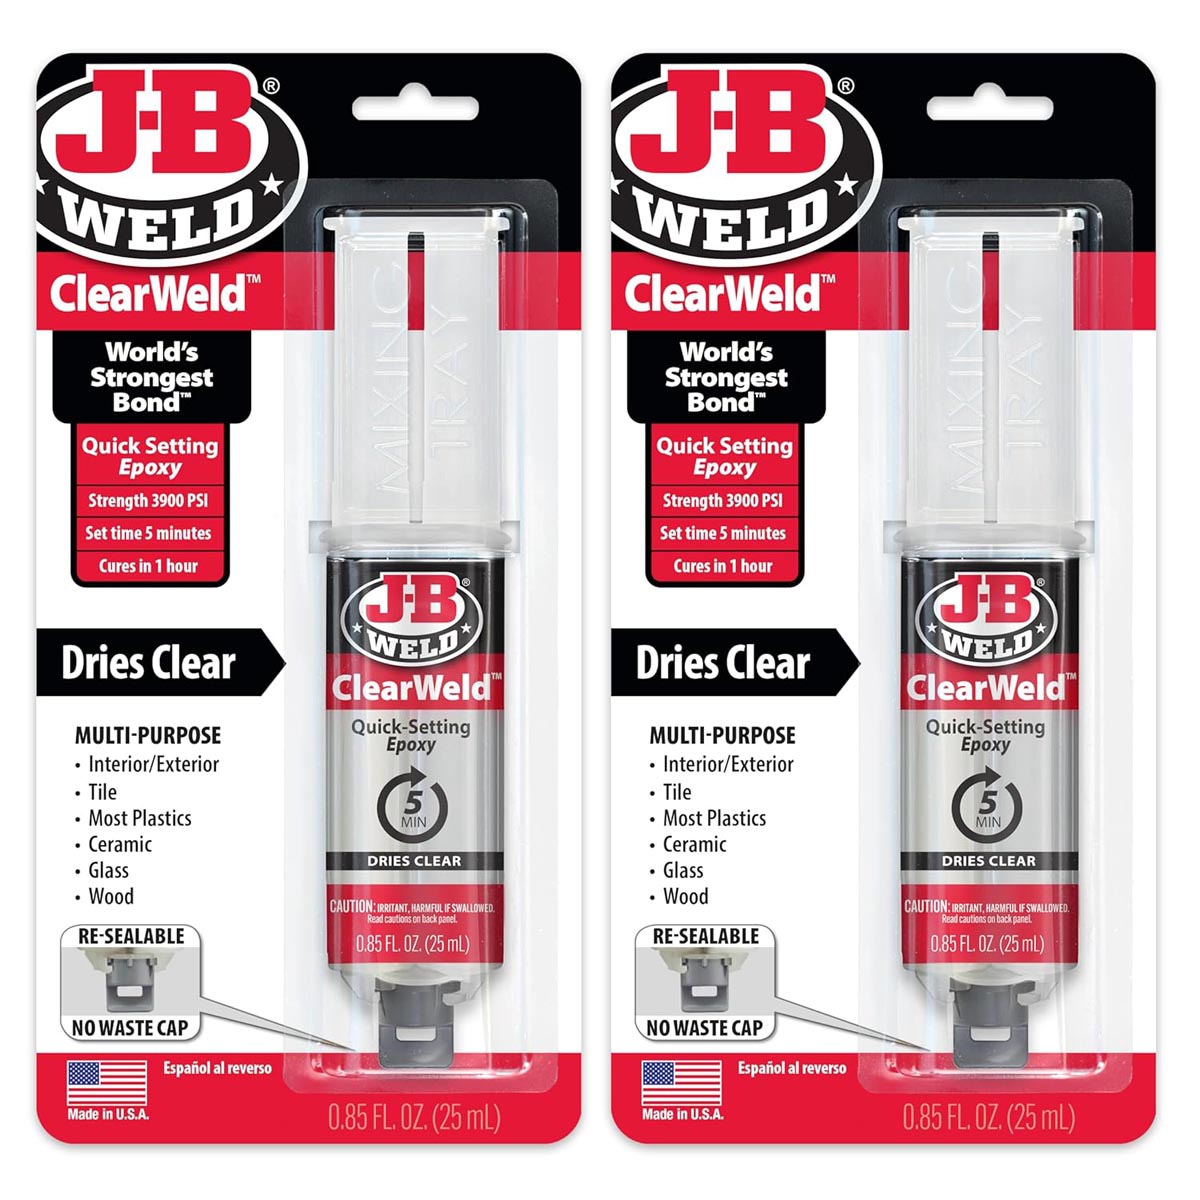
J-B Weld ClearWeld 5 Minute Epoxy
The strongest wood to wood glue for clear, quick fixes
J-B Weld ClearWeld 5 Minute Epoxy is a 1:1 syringe epoxy that sets fast and dries clear. It bonds wood and many plastics, cures in about an hour, and handles small repairs well.
$12.49 at AmazonA clear, quick-setting two-part epoxy in a syringe. It bonds a wide range of surfaces, including wood and PVC. The 1:1 mix syringe keeps dosing simple. The re-sealable cap helps you use it more than once.
Low viscosity helps it wet surfaces well on small furniture repairs. Prep matters—clean, scuff, and clamp if you can. The kit includes a mixing tray and stir stick. Cure and set times plus tensile strength are specified. Set time: 5 minutes. Tensile strength: 3900 PSI.
It delivers high strength without a cloudy glue line. Use the full-cure timeline for safer handling before heavy use.
Specifications:
- Cure time: 1 hour
- Water resistant
- Low viscosity
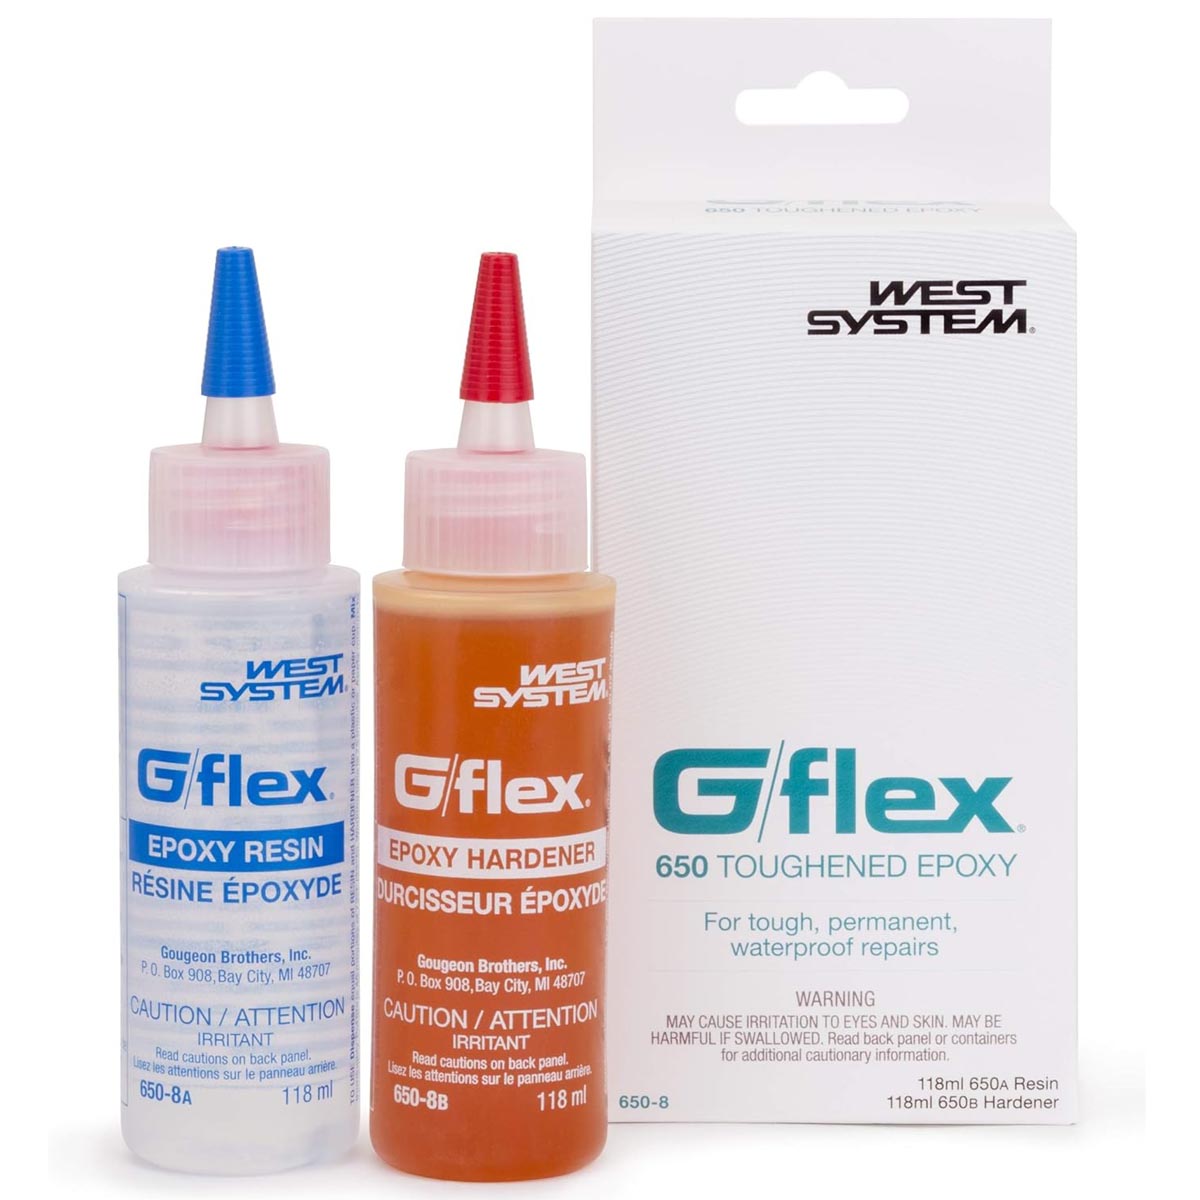
WEST SYSTEM G/flex Epoxy
Waterproof epoxy for damp hardwood and tricky bonding jobs
WEST SYSTEM G/flex Epoxy is a toughened, waterproof epoxy made for difficult bonds, including damp wood and some plastics. It cures slower, but delivers serious durability for outdoor repairs and boats.
$31.92 at AmazonA toughened epoxy made for permanent waterproof bonding. It’s designed to stick to damp woods and difficult hardwoods. This is the kind of glue you reach for when normal wood glue fails. It’s also useful for odd repairs involving plastics.
The ability to bond wet surfaces is a big deal in real-world furniture fixes. Follow the intended techniques if you’re bonding underwater. The details state compatibility with damp woods and wet-surface bonding. It’s listed as made in the United States.
It’s purpose-built for “impossible” bonds like damp wood and some plastics. Don’t rush it—use this two-day cure reminder before loading the repair. Tensile strength listed: 150000 PSI. Full cure time: 2 days.
Specifications:
- Waterproof
- Moderate-to-high viscosity
- Bottle container
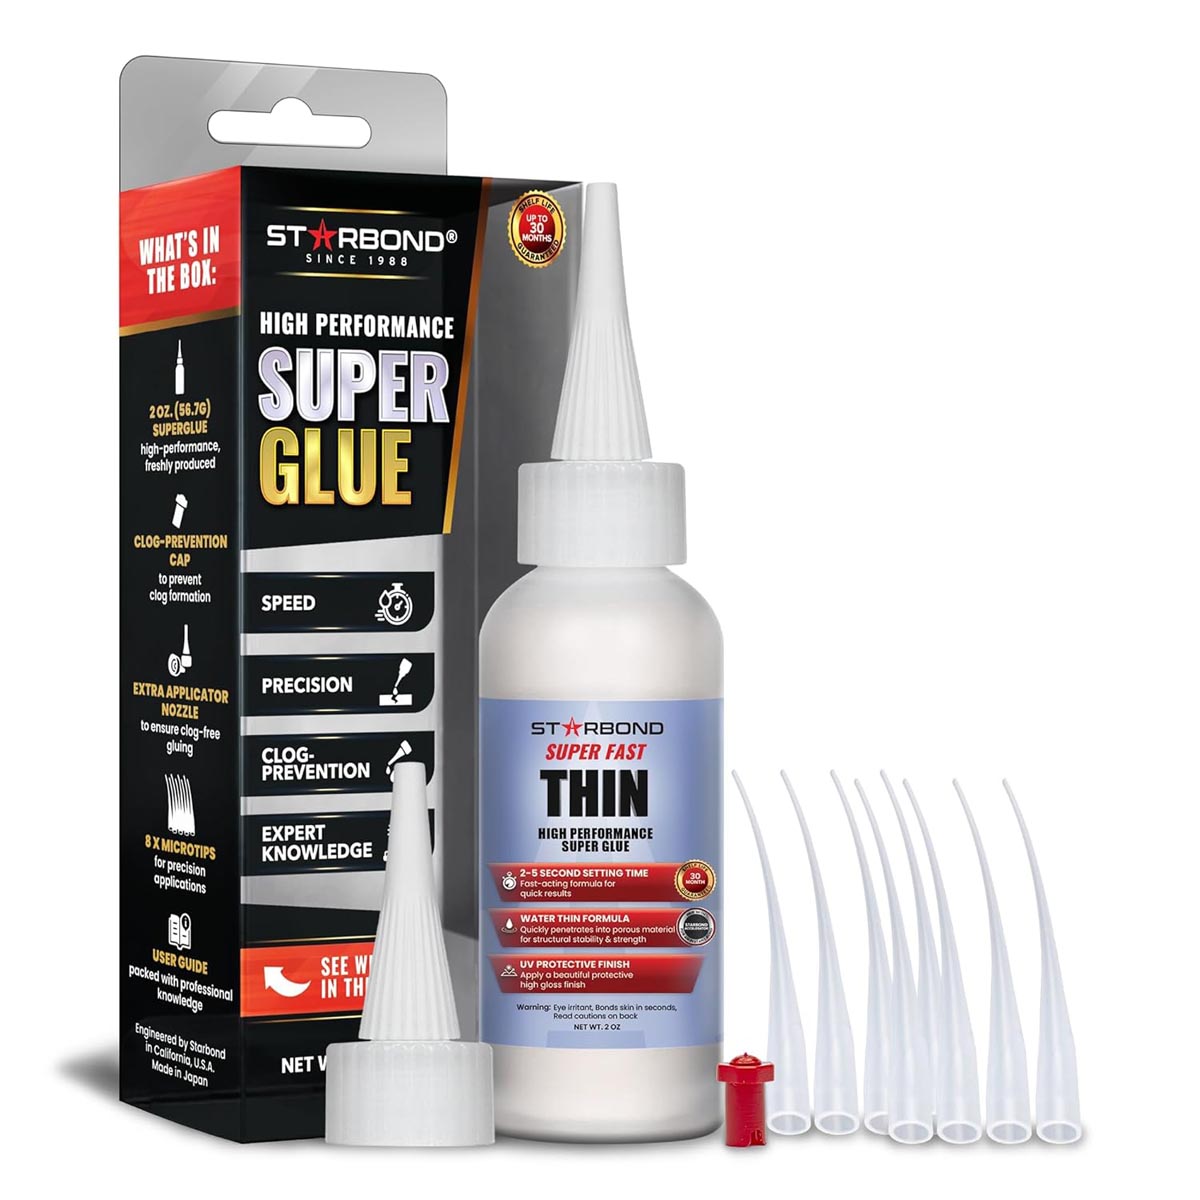
Starbond Super Fast Thin CA Glue
Ultra-thin CA for wicking into tight cracks and micro-fractures
Starbond Super Fast Thin CA Glue wicks into tight cracks and inlays for instant bonding. The microtip kit boosts control, but the set time is extremely short, so plan carefully.
$14.79 at AmazonThin CA engineered for ultra-fast drying and deep wicking. It’s meant for tight spaces, inlays, and micro-fractures. The included microtips help you apply it without mess. The pin cap also helps with clog prevention.
Thin CA is best when you need penetration, not gap filling. Protect nearby finishes because it can mark glossy surfaces. It’s produced in smaller batches for freshness and reliability. It also lists a 30-month shelf life warranty under 40°F storage.
The accessory kit makes thin CA far easier to control than most bottles. When it’s cured, level the repair with clean sanding steps for end grain. Set time: 2–3 seconds. Viscosity: 3 cP.
Specifications:
- Full cure: 5 seconds (listed)
- Waterproof
- Broad material compatibility
How I’d Choose a Glue for Repair Work
Furniture repairs aren’t like crafts. They deal with racking forces, seasonal movement, and people leaning back on two chair legs. Here’s what I prioritize when I’m choosing an adhesive for a repair that needs to hold.
- Joint fit: tight and clean, or loose and gap-filled
- Open time: enough working time to assemble and clamp calmly
- Clamp time vs full cure: when it’s safe to handle versus safe to use
- Creep resistance: important for chairs and stressed joints
- Moisture resistance: kitchens, entryways, and outdoor pieces
- Finish friendliness: easy cleanup and minimal staining issues
- Practicality: storage life, nozzle clogs, and application control
If you want a quick refresher on timing, my wood glue full-cure timeline is the best place to start before you load-test a repair.
How to Choose the Right Wood Glue for Furniture Repair
Furniture repairs aren’t like fresh joinery. You’re usually dealing with old glue, finish contamination, and joints that don’t fit perfectly anymore. Choose based on these factors, in this order.
Strength, joint fit, and gap-filling
A jewelry box lid and a dining chair rung live different lives. Chairs, table bases, bed rails, and stools take racking force, impact, and constant movement, so pick a glue that holds under stress—then focus on prep and clamping.
Next, judge the fit after cleanup. If you can dry-fit the joint with firm hand pressure and it seats fully, PVA is usually the workhorse. If it rocks, rattles, or won’t close tight, epoxy often saves the repair because it can bridge small gaps and reinforce damaged fibers.
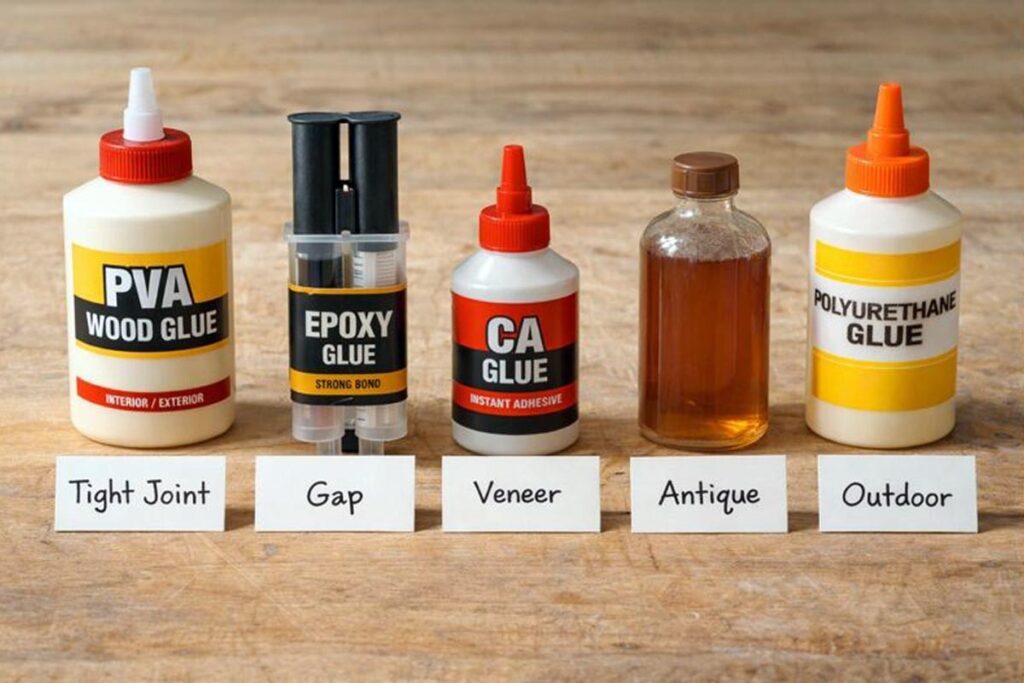
Use this quick match-up:
- Tight joint: PVA is ideal.
- Small gaps or missing fibers: epoxy wins.
- Hairline crack or tiny chip: thin CA can wick in fast.
If a joint won’t close, don’t “clamp it into submission.” Forcing it can twist parts or split wood, especially on finished furniture. Control the glue instead—a syringe tip, small brush, or thin scrap as a spreader helps you place adhesive without trashing the finish.
Open time, clamp time, and full cure
These three time windows decide whether your repair holds.
- Open time is how long you can position parts before the glue starts grabbing.
- Clamp time is how long it needs pressure to set the joint in place.
- Full cure is when it reaches real strength.
A joint can feel “dry” and still be weak inside. Don’t load a chair or sit on it until full cure, especially on high-stress repairs. If you’re unsure how long to keep clamps on, bookmark this guide on how long wood glue takes to set in clamps. It’ll keep you from putting a chair back into service too early.
Water resistance and environment
Indoor furniture usually does fine with standard interior PVA—unless it’s a kitchen stool, bathroom cabinet, or entryway bench that sees moisture. Outdoor pieces need better moisture performance, and the wood movement outdoors is tougher on glue lines.
If the repair will live outside, pick a glue rated for outdoor exposure and pair it with a finish that seals well.
Finish compatibility and glue squeeze-out
Glue doesn’t stain like wood, and squeeze-out can leave pale “finish halos.” Plan your cleanup before you apply glue. On most repairs, it’s easier to prevent squeeze-out than to sand it away later—especially on shaped parts and carved edges.
If you’re restoring color afterward, keep this in mind: “clean-looking” glue residue can still block stain. If your repair leads to touch-up work, it helps to know how your sanding behaves. My guide on sanding end grain smoothly without scratches pairs well with glue repairs that need blending.
Shelf life and storage
Old glue can turn a solid repair into a weak one. If a bottle has been frozen, cooked in a garage, or sitting open for years, the chemistry can change. Store glue where you’d store paint—moderate temps, cap tight, no sunlight.
If you don’t use wood glue often, buy smaller bottles more frequently. If you’re trying to finish a repair on a deadline, you’ll like these practical tips for speeding up glue dry time the safe way without ruining the bond.
Wood glue types for furniture repair
Here’s how I think about glue types in a real repair shop—what they’re good at, and what they’ll punish you for.
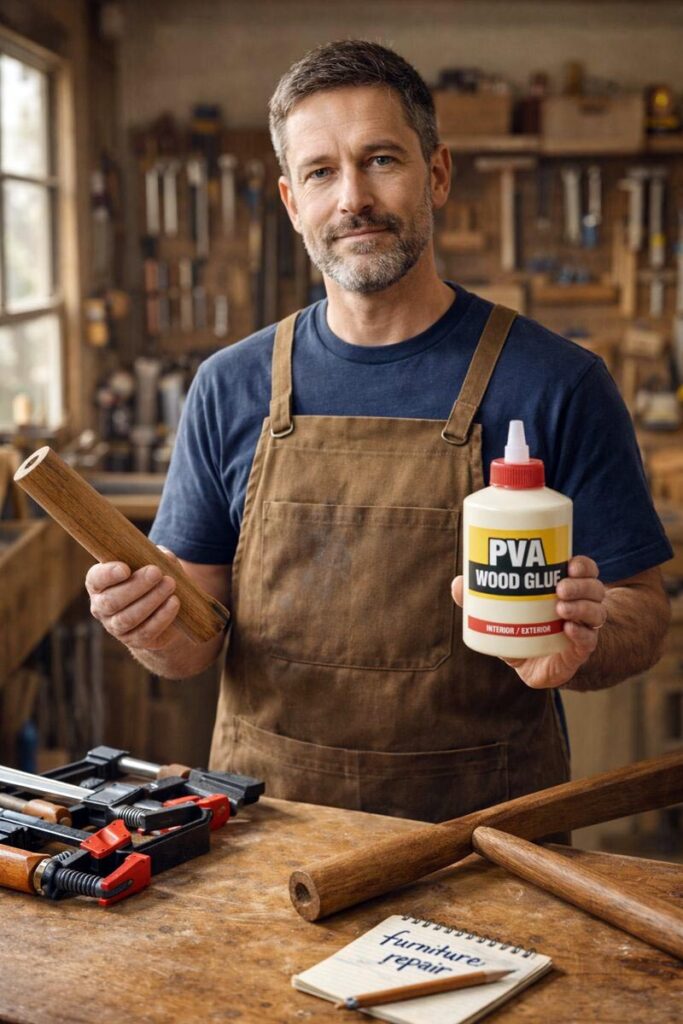
PVA / carpenter’s glue
This is the classic yellow or white wood glue most folks keep around. It’s strong on clean wood-to-wood joints that fit well, and it’s easy to use. For most chair joints, table aprons, and cabinet repairs, PVA is usually the first choice.
Where it struggles: gaps, oily woods, dirty joints, and repairs where you can’t clamp properly.
Hide glue
Hide glue is the old-school favorite for antique furniture because it can be reversed later with heat and moisture. That matters when a repair should be serviceable for the next person, not permanent at all costs.
It’s a smart pick for heritage pieces and traditional joinery when you’re doing careful restoration work.
Epoxy
Two-part epoxy is a problem-solver when the joint won’t close tight or the wood fibers are damaged. It fills gaps, bonds well in imperfect conditions, and can reinforce cracks when used correctly.
The tradeoff is mess and precision. You’ve got mixing, working time, and cleanup to manage, and you don’t want it smeared over visible surfaces.
Polyurethane glue
Polyurethane glue is moisture-activated and can bond to more than just wood. It’s helpful for some outdoor or mixed-material repairs, but it expands as it cures. That expansion can push joints out of alignment if you don’t clamp firmly.
If you use it, use less than you think you need and clamp like you mean it.
CA glue (super glue)
CA is perfect for small chips, loose veneer edges, and quick tacks where clamps are awkward. It’s not my first pick for a wobbly chair joint, but it can be a handy helper in combination work—like holding a tiny part while a slower glue cures elsewhere.
Use it carefully. It bonds skin fast and can fog finishes.
If you’re dealing with stripped fasteners too, see wooden plugs for hiding screw holes cleanly.
Step-by-step: How to glue furniture joints so the repair lasts
A lasting repair is mostly prep, not product. When somebody tells me “glue doesn’t work,” I usually find old glue and a joint that never got clamped square.
- Take the joint apart as cleanly as possible: If it’s a chair rung, wiggle and work it out gently. Don’t pry hard and tear fibers you need.
- Remove old glue completely: Scrape, chisel, or sand back to clean wood. New glue doesn’t bond well to old glue.
- Dry-fit and check alignment: Make sure the parts seat fully without glue. Confirm the chair sits flat and square.
- Apply the right amount of glue: You want full coverage, not puddles. For tight joints, a thin, even coat is enough.
- Clamp with even pressure and protect the surface: Use cauls (scrap wood pads) so clamps don’t dent legs and rails.
- Clean squeeze-out at the right time: For many PVAs, a damp wipe immediately works, but don’t flood the wood. If you’re staining later, be extra careful.
- Respect clamp time and full cure: Keep it clamped as recommended, then leave it alone before stressing the joint.
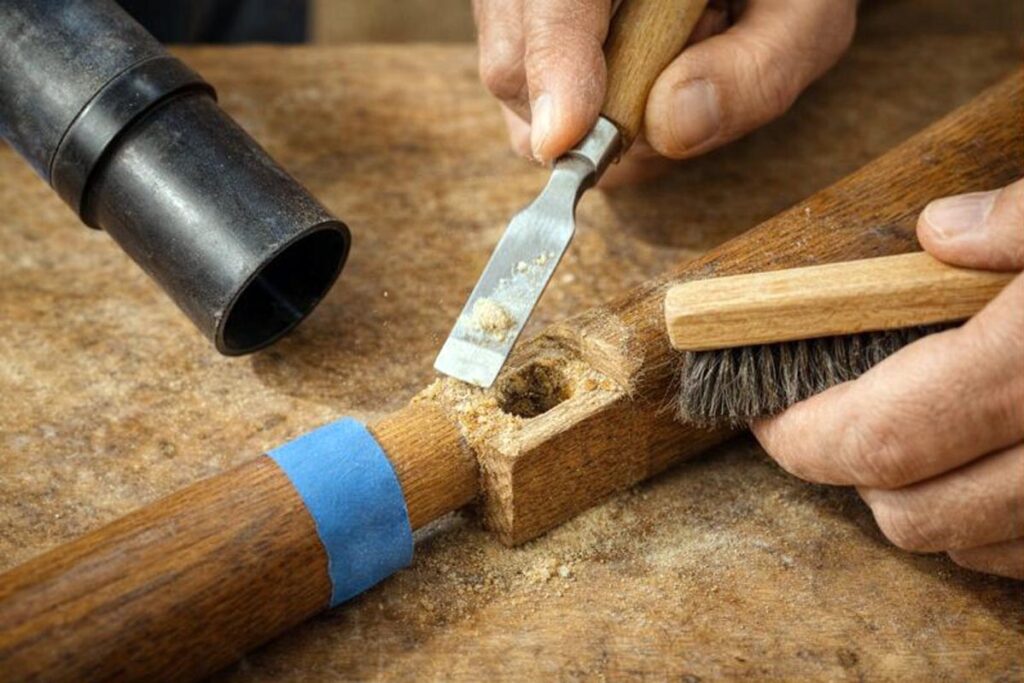
Surface preparation: where repairs usually fail
Old finish, wax, oil polish, and dust will sabotage the bond. If the joint area looks shiny or slick, treat that like contamination. Scrape down to fresh wood where the glue must grab.
If you’re restoring a thrift-store piece with heavy polish buildup, cleaning before you even disassemble can save you hours. That’s where a dedicated deep-clean routine helps: removing decades of wax and grime from old furniture.
Clamping and alignment: pressure beats “extra glue”
Glue is not a gap filler unless it’s designed to be one. You’re clamping to bring wood surfaces into contact, not to squeeze out everything. Tight joint, firm pressure, square alignment—that’s the recipe.
No clamps? Use a strong strap clamp for chairs, painter’s tape for small trim, or weights when the geometry allows.
Repair techniques for common furniture problems
These are the repairs I see most often, and what actually holds up.
Lifting veneer or edge banding
Scrape or sand away loose, crusty old glue so the veneer can sit flat again. For wood-to-wood veneer repairs, a small amount of PVA works well; for a tiny lifted edge, thin or medium CA can be useful when you need fast grab. Work the glue in, then press the veneer flat with a caul (a flat scrap wrapped in wax paper works) and clamp or tape it evenly. Wipe squeeze-out immediately, and keep pressure on until the glue sets. Don’t rush trimming or sanding until the bond has cured enough to resist peel-up.
Clarify one epoxy point that prevents failures
Right now epoxy is presented well, but one common failure is people grabbing 5-minute epoxy for stressed joints. A single sentence inside the epoxy section would help:
- For structural furniture joints, a slower-set epoxy usually gives better working time and a tougher bond than 5-minute formulas.
Wobbly chair joints
Chairs fail because they rack side-to-side every day. Disassemble the loose joints, remove old glue, then re-glue and clamp the chair square. If multiple joints are loose, fix them as a system, not one at a time.
Loose dowels
Dowels rely on full contact around the cylinder. Clean the hole, test-fit, then glue and clamp. If the hole is oversized or damaged, epoxy can be the better choice, or you may need to sleeve or plug the hole before re-doweling.
Mortise-and-tenon joints
These can loosen from shrinkage or broken glue lines. If the tenon is still solid and fits, PVA works well. If the shoulders don’t close, don’t force it—figure out what’s blocking the joint and clean it.
Dovetails and drawer boxes
Dovetails usually don’t “pull tight” once swollen or damaged. Clean carefully and clamp in a way that keeps the drawer square. Too much clamp pressure can rack the box out of alignment.
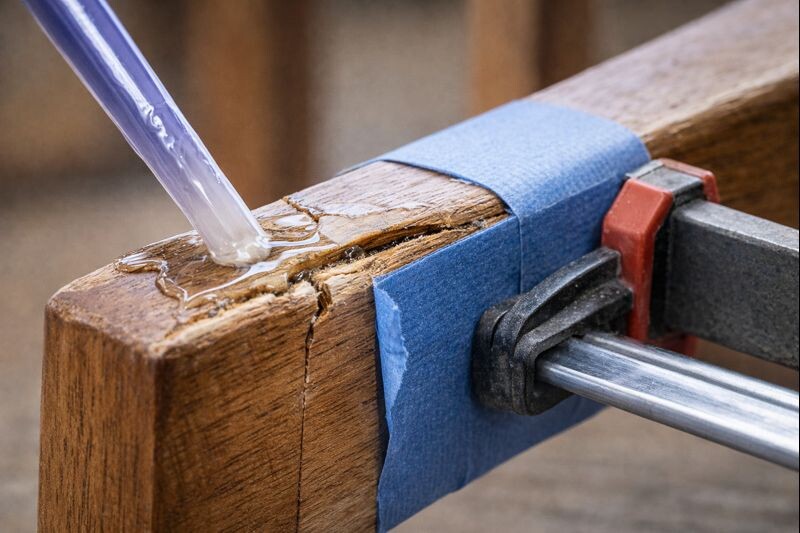
Cracks in legs, rails, or panels
Hairline cracks sometimes accept thin CA, but structural cracks usually want glue worked deep into the split and clamped in the correct direction. For cracks with missing fibers or voids, epoxy is often the cleaner fix.
Common mistakes and troubleshooting Guide
You can do everything “mostly right” and still get a weak repair if you hit one of these.
- Gluing over old glue: new glue bonds to glue poorly. Clean to wood.
- Clamping crooked: the joint sets misaligned, then fails early.
- Using PVA in a gappy joint: it starves and shrinks, leaving voids.
- Moving the piece too soon: it feels set, but it’s not cured.
- Letting squeeze-out smear into grain: stain won’t take evenly later.

If a repair fails, don’t just re-glue on top of the mess. Pull it apart, clean it properly, and start fresh.
Safety, cleanup, and storage
Most wood glues are low drama, but repairs still deserve shop habits.
- Protect your eyes and skin. CA and epoxy can be especially nasty.
- Ventilate when using epoxies or solvents.
- Clean up smart: water for many PVAs, but don’t soak bare wood.
- Store glue at moderate temps with the cap clean and sealed.
If you get glue on a finished surface, don’t panic-scrub. Let it gel, then lift it carefully so you don’t drive it into pores.
FAQs on Wood Glue for Furniture Repair
Is wood glue the same as PVA glue?
Most “wood glue” sold for furniture is PVA-based, so people often use the terms interchangeably. That said, wood glue can also mean polyurethane, epoxy, hide glue, or CA, depending on the job and moisture needs.
What’s the strongest glue for repairing a chair?
For tight-fitting chair joints, a quality PVA wood glue is usually strongest because it bonds wood fibers well. If the joint is damaged and won’t close tightly, epoxy often wins because it fills gaps and supports missing material.
Is wood glue stronger than screws for furniture repair?
On a well-fit wood-to-wood joint, cured wood glue can be extremely strong—often stronger than the surrounding wood. Screws add mechanical holding power, but they can loosen over time, especially in wobbly chairs and racking joints.
How long should I clamp glued wood together?
Clamp time depends on the glue and room conditions, but most wood glues need firm pressure until the joint can’t shift. As a rule, keep clamps on at least 30–60 minutes, then avoid heavy use until fully cured.
Can I use “super glue” on furniture joints?
CA glue works for tiny chips and hairline cracks, but it’s often too brittle for high-stress chair joints. For structural joints, use PVA on tight fits or epoxy when gaps are present.
What is the best wood glue for furniture repair?
The best choice depends on the failure: use PVA for clean, tight joints like chair rungs and table aprons, epoxy for loose or worn joints with gaps, CA for tiny chips or cracks, and hide glue for antiques you may need to reverse later.
What is the strongest adhesive for wood?
For repairs, epoxy is usually the strongest choice when the joint is damaged or has gaps because it bonds and fills at the same time. For tight, clean joints, a high-quality PVA glue can be incredibly strong, too.
What’s the best glue for antique furniture repair?
Hide glue is often the best option for antiques because it’s traditional and reversible with heat and moisture, which helps future repairs. For valuable pieces, that reversibility matters as much as strength, especially on old joinery.
Final Thoughts
Your furniture repair is only as strong as the match between the glue and the joint. Reach for quality carpenter’s glue when parts fit tight and clean, switch to epoxy when a joint is worn or slightly gapped, and use hide glue when you may need to reverse the repair later.
Keep CA glue for small cracks, chips, and quick tack-ups—not structural joints. Dry-fit first, spread glue evenly, clamp straight without crushing the wood, and let the bond fully cure before putting the piece back into service.
Good luck and enjoy!