How to Prevent Pine From Blotching: 5 Fast Washcoat Moves
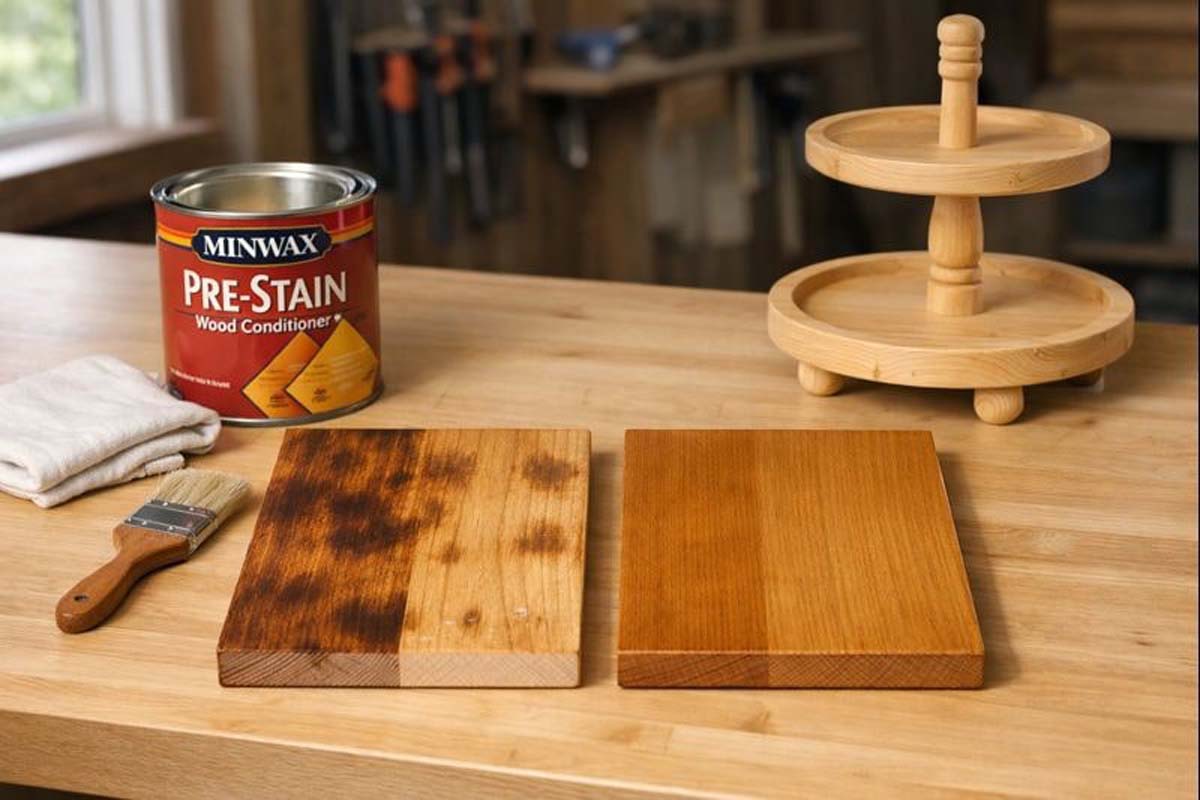
To prevent pine from blotching, you first need to understand why this softwood reacts unevenly to stain. Pine absorbs finish at different rates, especially around knots and grain variations. If you’ve ever wiped stain on pine and seen dark patches appear instantly, that’s blotching. It’s frustrating, but totally avoidable with the right prep and technique.
This guide walks you through simple prep steps, the best washcoat/conditioner options, and a repeatable finishing schedule that keeps the color even.
What blotching is, and why pine does it
Blotching is uneven stain color. Some areas go way darker than the rest, even when the stain was wiped “evenly.”
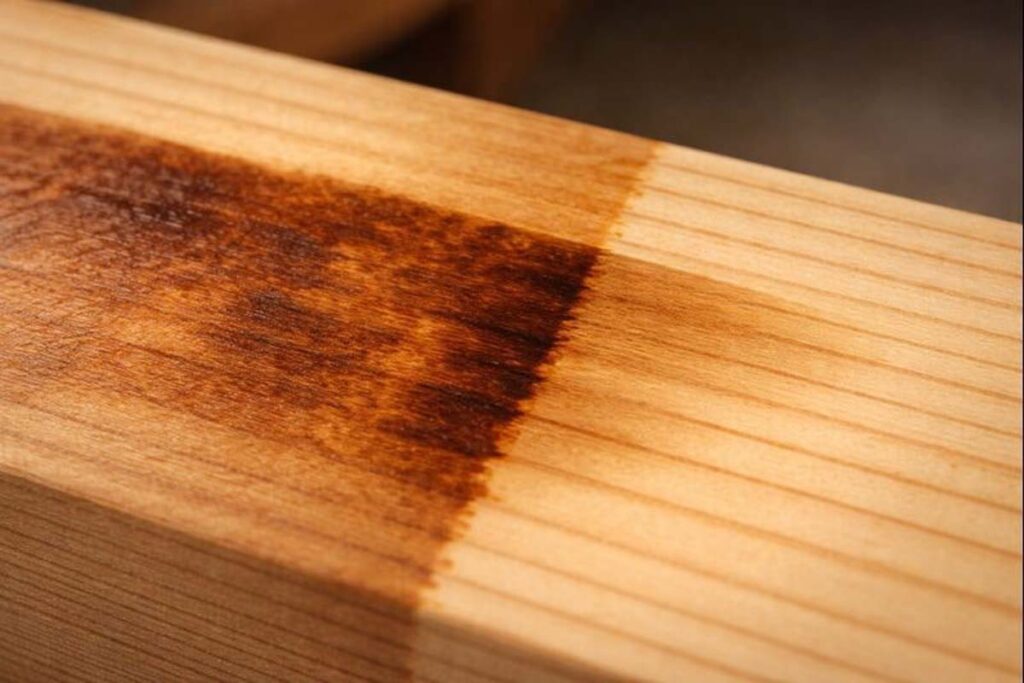
Pine is notorious for this because its growth rings aren’t consistent. The softer earlywood drinks finish fast, while the denser latewood resists it. So the “thirsty” parts turn dark first, and the hard bands stay lighter.
Where this shows up on a tray stand
- Flat tray surfaces (most visible under overhead light)
- Legs and posts where grain direction changes
- End grain on tray rims and cut edges (end grain can go almost black if it’s not handled)
The real causes (so the fix makes sense)
Blotching is mostly about absorption, but a few shop habits make it worse:
- Over-sanding or burnishing: Sanding too fine can polish dense bands and change how stain penetrates. A lot of finishers stop around 180 on face grain for better control.
- Uneven sanding pressure: Random-orbit swirls and soft spots soak differently, so the color “maps” your sanding mistakes.
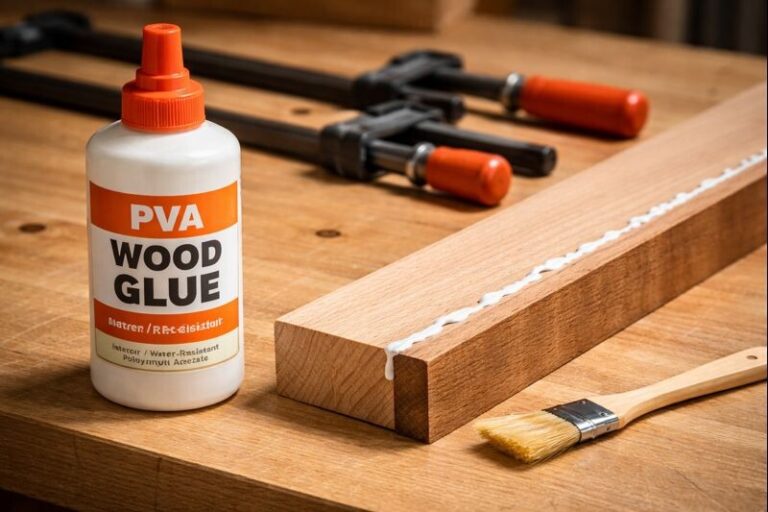
- Glue squeeze-out: Dried glue blocks stain completely. It doesn’t always show until stain hits it, which is why it’s such a headache on tray rims and braces.
- End grain acting like a bundle of straws: It absorbs more than face grain, so it goes darker unless it’s prepped differently.
- Knots and pitch pockets: Knots can absorb unpredictably, and pitch can interfere with finishes (or bleed later under clear coats).
If you’re picking lumber for a tiered tray project, my guide on choosing pine vs oak vs maple for builds helps avoid boards that fight you from the start.
Prep that actually prevents blotches (not just “sand it more”)
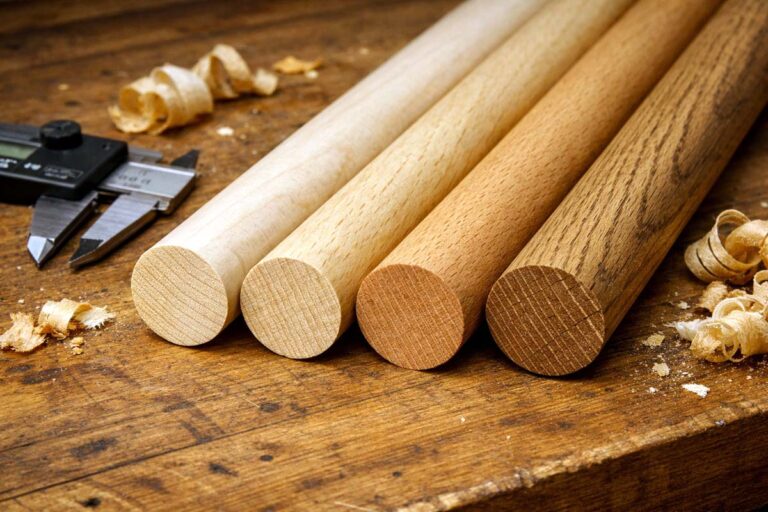
1) Choose calmer pine boards
For tray stands, stable boards finish more evenly and look cleaner.
Look for:
- Tight, even growth rings
- Fewer knots on tray faces
- Similar color across the board (mixed heartwood/sapwood can stain unevenly)
Skip:
- Big loose knots right on the tray surface
- Boards with heavy pitch streaks where you plan to stain dark
If you’re still deciding wood species, this roundup on sturdy wood options for tiered tray stands is a good quick compare.
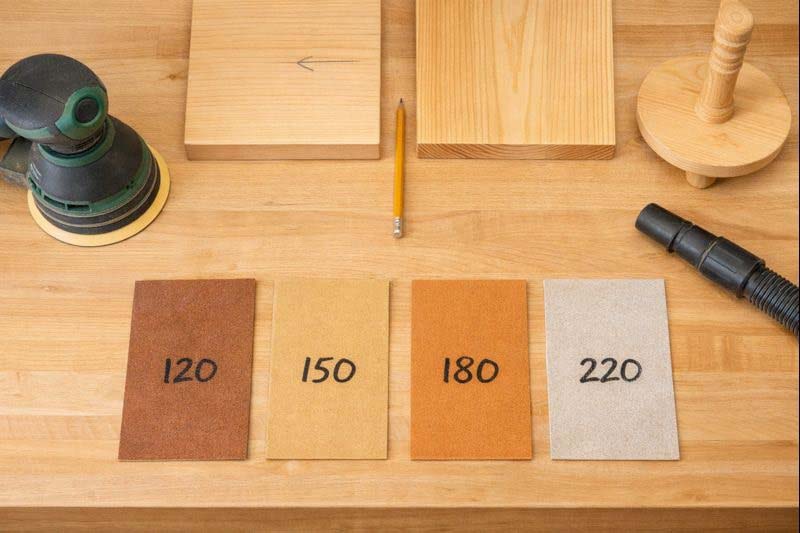
2) Sand to a controlled grit, and be consistent
A solid baseline that works for most pine tray builds:
- 120 grit: remove milling marks
- 150 grit: even the scratch pattern
- 180 grit (finish grit on face grain): good balance for stain control
- 220 grit on end grain only (light pressure): helps reduce end-grain darkening
After power sanding, do a fast hand-sand with the grain at the final grit. That step alone prevents a lot of “mystery streaks.”
3) Do a glue check before any conditioner
On tray stands, glue hides along rim joints and under tray bottoms.
Quick glue check:
- Wipe the surface with mineral spirits.
- Let it flash off.
- Look from a low angle under strong light.
Glue shows up as shiny patches. Scrape it, then re-sand that area. (This is also a good moment to review basic tool care and sanding habits if abrasives have been burning the wood instead of cutting clean.)
4) Always test on scrap (or the underside)
Pine varies board to board. The same can of stain can look totally different depending on the tree.
Test exactly like the real project:
- Same sanding grit
- Same conditioner/washcoat
- Same stain and wipe time
- Same topcoat
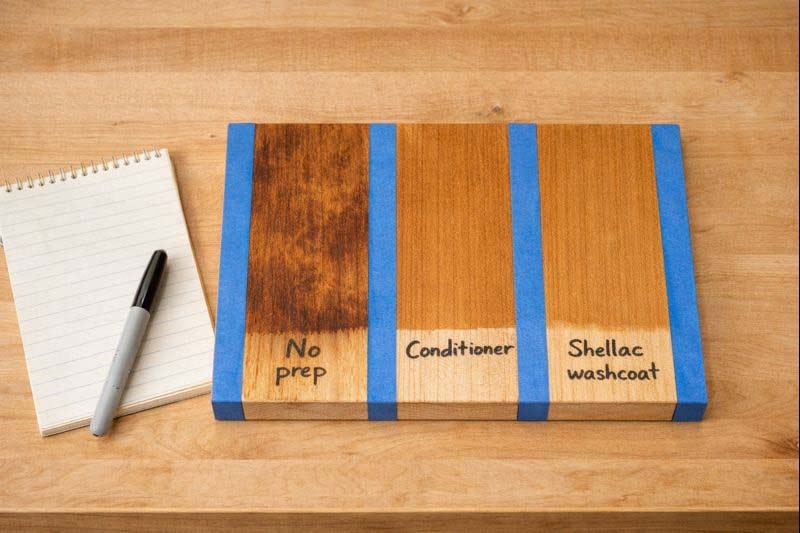
Pick the right anti-blotch strategy
There isn’t one “best” method. The best choice depends on the look you want, the stain type, and how much control you need.
Here’s a comparison that stays practical.
| Method | Best for | Why it helps | Tradeoffs |
|---|---|---|---|
| Pre-stain wood conditioner | Oil-based penetrating stains | Partially seals thirsty fibers so stain absorbs more evenly | Can lighten the final color (more coats may be needed) |
| Dewaxed shellac washcoat | Maximum control + consistent results | Creates an even “gate” so stain can’t dive into soft areas | Too heavy a coat can reduce color depth |
| Gel stain | Wipe-on color with less soak-in | Sits more on the surface, so it often reduces blotching | Can still show strong growth-ring contrast |
| Dye (then seal) | Even color without muddy grain | Dye colors wood fibers more uniformly than pigment stains | Requires testing and careful application to avoid lap marks |
| Paint or opaque finish | Farmhouse/modern tray stands | No blotching because you’re not relying on stain absorption | You lose the stained-wood look |
For a classic stained pine tray stand, the two most reliable routes are:
- Conditioner + penetrating stain, or
- Dewaxed shellac washcoat + stain (more control, more predictable)
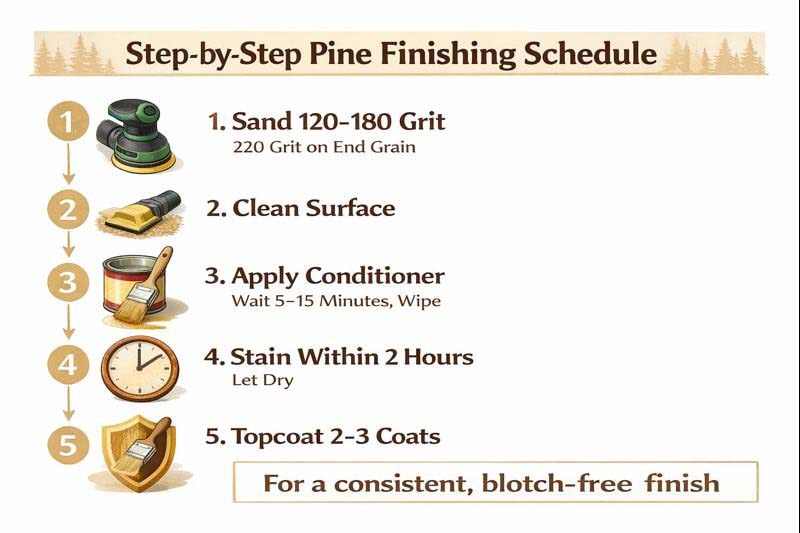
Step-by-step: the “repeatable” finish schedule for pine tray stands
This is the exact order that keeps mistakes from stacking.
Step 1: Sand and clean (don’t skip the cleaning)
- Sand to 180 on face grain and 220 on end grain.
- Vacuum thoroughly (edges and corners hold dust).
- Wipe with a clean cloth. If using oil-based products, a light mineral-spirits wipe is fine (let it dry fully).
Step 2: Decide between conditioner or shellac washcoat
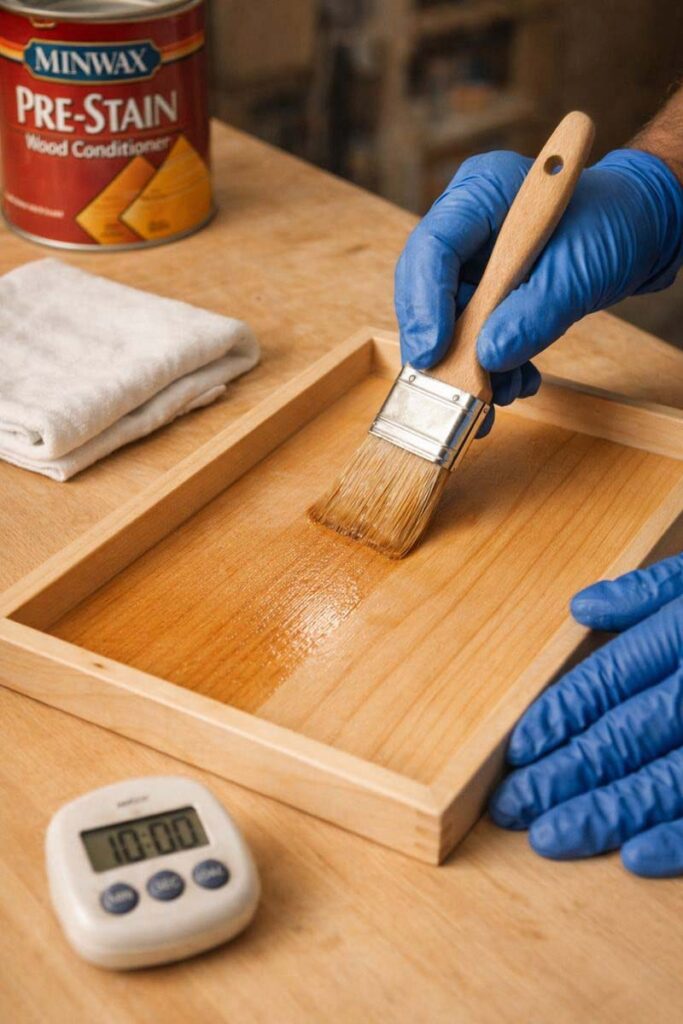
Option A: Pre-stain conditioner (fast and beginner-friendly)
This is the simplest route when using oil-based penetrating stain.
- Apply conditioner with a brush or cloth.
- Let it soak 5–15 minutes.
- Wipe off the excess.
- Apply stain within 2 hours (that timing matters).
If the conditioner dries too long, stain won’t take evenly and the color can turn weak.
Option B: Dewaxed shellac washcoat (best control)
This is the route when you want more predictable results on blotch-prone boards.
Use dewaxed shellac if a different topcoat is planned later, because dewaxed shellac avoids compatibility issues under other finishes.
Basic approach:
- Brush or pad on a thin coat (you want “barely there,” not glossy build).
- Let it dry.
- Light scuff sand (very light) to knock down fuzz.
- Then stain.
This works because a washcoat is meant to partially block the pores—enough to stop the worst absorption, but not enough to stop color entirely.
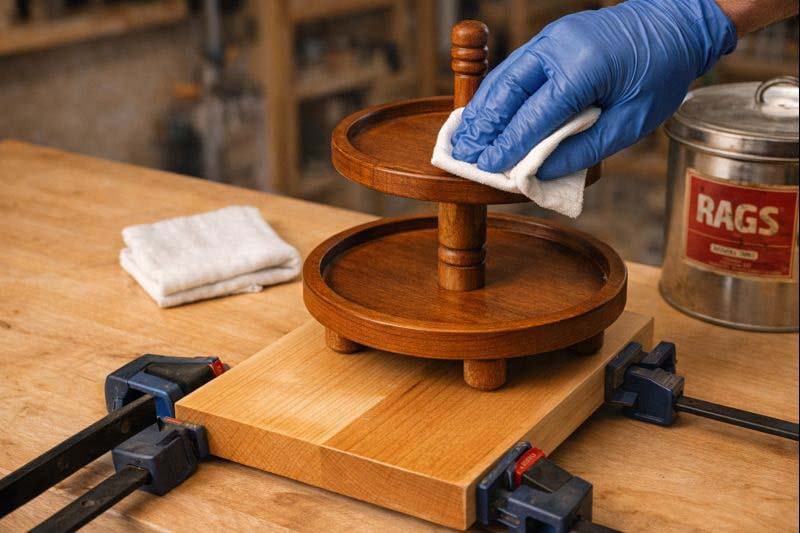
Step 3: Apply stain with a controlled wipe time
Whether it’s a penetrating stain or gel stain, consistency wins.
- Stir well (pigments settle).
- Flood the surface evenly.
- Let it sit a set time (example: 2–5 minutes to start).
- Wipe off with clean rags, following the grain.
If he wants a darker tone, extend the wait time slightly or do a second light coat after drying. Don’t “overwork” the first coat trying to force darkness. That’s when pine turns splotchy.
Gel stains can help, but don’t assume they’re magic. Some formulas still show strong contrast in pine.
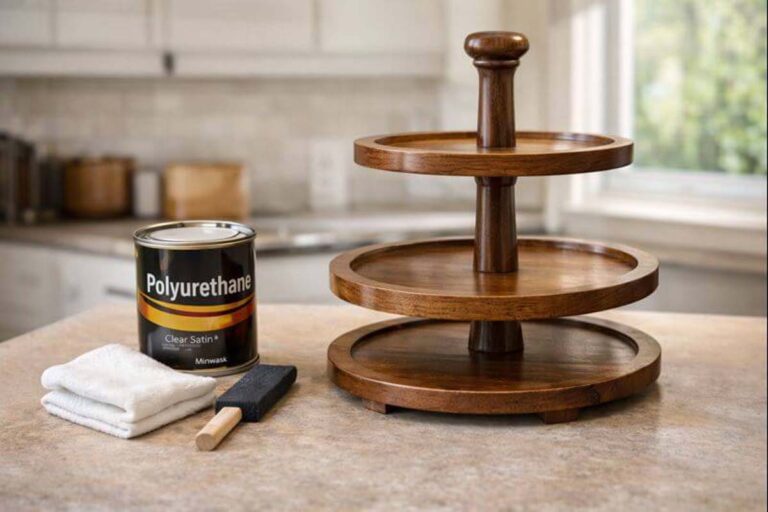
Step 4: Lock it in with the right topcoat for tray stands
Tray stands get handled. They need a protective coat, not just stain.
Good options:
- Water-based polycrylic/polyurethane for a clear look
- Oil-based polyurethane for a warmer tone (can amber pine)
- Hardwax oils for a matte, hand-rubbed look (requires careful maintenance)
Apply thin coats. Sand lightly between coats if the surface feels rough.
If your build includes lots of tight corners and vertical posts, it’s worth reviewing safety gear and ventilation basics before finishing. Solvents and rags aren’t forgiving.
Common tray-stand spots that blotch first (and how to handle them)
Tray rims and end grain edges
End grain drinks stain fast.
Fix:
- Sand end grain to 220 (light).
- Use conditioner or washcoat.
- Consider gel stain for the edges if the face grain is already perfect.
Turned legs, posts, and routed profiles
Profiles expose changing grain directions.
Fix:
- Keep sanding pressure light on curves.
- Don’t jump grits.
- Use a washcoat if the post looks “stripey” after a mineral spirits wipe.
If you’re building from scratch, this walkthrough on building your own tiered tray stand pairs well with the finishing steps here.
If the pine is already blotchy, don’t panic
There are a few realistic save options:
- Re-wet and redistribute (early, same day): Some oil stains can be softened with the right solvent and re-wiped. This only works if the stain hasn’t cured.
- Glaze to even color: After sealing, a glaze can be used to tone lighter areas and reduce contrast. (More advanced, but it’s a legit fix.)
- Tone with a tinted topcoat: A light toner coat can “blend” the look without stripping everything.
- Strip and restart: If the blotching is heavy and the project matters, stripping is often faster than endless patching.
Quick checklist: blotch-free pine, start to finish
- Sand evenly to 180 face grain / 220 end grain
- Hand-sand with the grain after random-orbit sanding
- Remove glue squeeze-out (mineral spirits check helps)
- Test finish steps on scrap/underside
- Use conditioner or dewaxed shellac washcoat
- If using conditioner, stain within 2 hours
- Topcoat for handling durability
Once the finish is clean, styling is the fun part. This guide on easy tray styling and seasonal swaps can help make the finished stand look “done,” not just built.
FAQs
Can pine be stained evenly without conditioner?
Yes, but it’s harder. Pine’s uneven density makes liquid stains soak differently, so blotching is common. A washcoat or pre-stain conditioner evens absorption and improves consistency, especially on large tray surfaces and rim edges.
Should sanding stop at 180 or 220 grit on pine?
For many stain jobs, 180 grit on face grain is a reliable stopping point, while end grain can go to 220. The key is consistency and light pressure. Always test your exact stain system on scrap before committing.
Does gel stain completely prevent blotching on pine?
Not completely. Gel stain often reduces blotching because it sits more on the surface, but pine can still show strong growth-ring contrast depending on the formula and prep. Testing first is the safest approach.
What’s the best sealer under stain to prevent blotching?
A thin washcoat is one of the most predictable solutions. Dewaxed shellac is a common choice because it plays well under many topcoats and helps regulate stain absorption without fully blocking color.
How long after applying conditioner should stain be applied?
Follow the product label. For Minwax Pre-Stain Wood Conditioner, stain should be applied within 2 hours, after letting the conditioner penetrate and wiping off the excess. Waiting too long can reduce stain uptake and weaken color.
Final thoughts
Pine blotching isn’t a “skill issue.” It’s a wood behavior issue. The win comes from treating pine like it’s absorbent and inconsistent, because it is. Control sanding, remove glue, and use a conditioner or a thin washcoat before stain. Do that, and a pine tray stand can finish clean, warm, and professional-looking without the speckled surprise.