2 Tier Farmhouse Tray: 7 Smart Coffee Bar and Kitchen Ideas
Farmhouse style trays show up in almost every room now, and the two tier version is one of the most useful pieces you can add. A 2 tier farmhouse tray keeps counters organized, shows off decor, and still feels relaxed and homey. Used right, it works for serving snacks, holding coffee bar essentials, or anchoring a seasonal display without taking much space. This guide walks through what makes a good one, what to watch out for, and how to choose, style, or build a tray that actually fits your kitchen, dining room, or entryway instead of just looking cute online.
Contents Here
- 1 What is a 2 tier farmhouse tray?
- 2 Why bother with a 2 tier farmhouse tray?
- 3 Key decisions before you buy or build
- 4 Buying a 2 tier farmhouse tray: what to look for
- 5 Building your own 2 tier farmhouse tray (step by step)
- 6 Styling ideas for a 2 tier farmhouse tray
- 7 Care and maintenance
- 8 Common mistakes to avoid
- 9 Final thoughts
What is a 2 tier farmhouse tray?

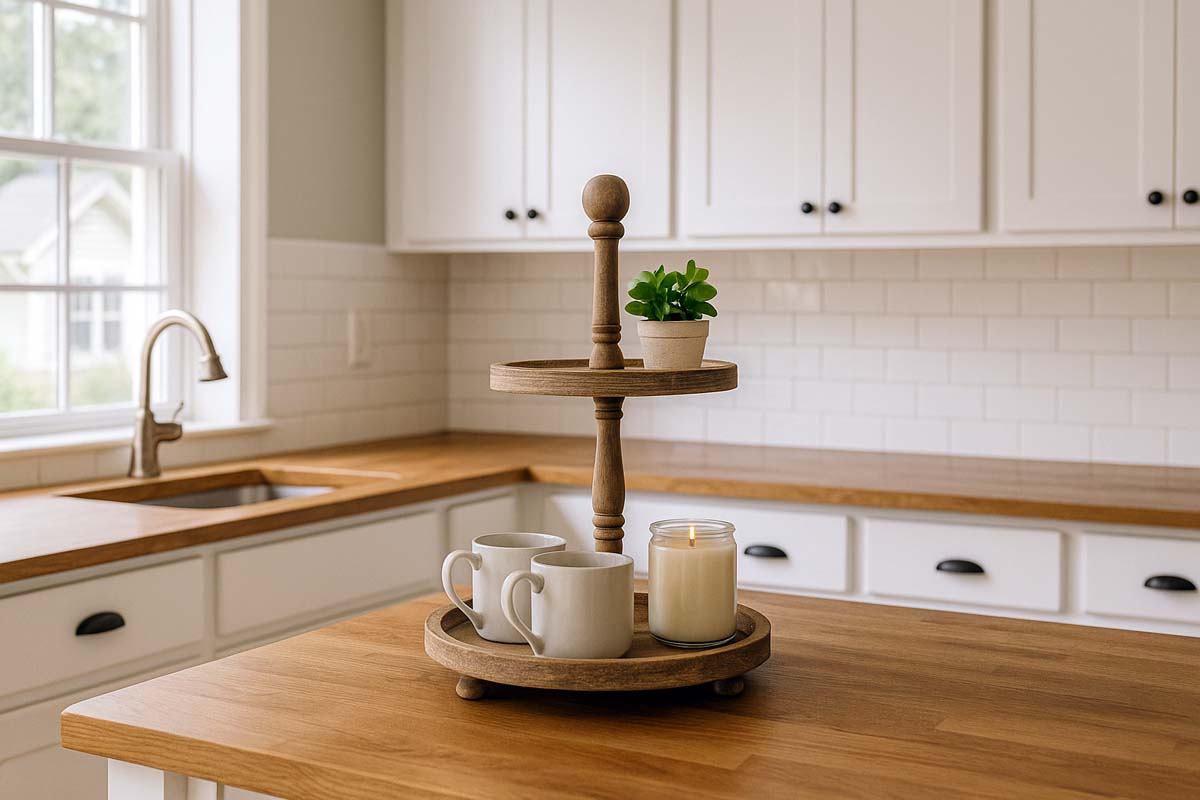
A 2 tier farmhouse tray is a two-level stand with a center post and a base. It usually has:
- Two round or rectangular trays
- A single vertical rod or turned post
- A handle or knob on top
- A rustic, “imperfect” farmhouse finish
You’ll see them on:
- Kitchen counters for mugs, jars, and spices
- Coffee bars for syrups, creamers, and small snacks
- Dining tables as a centerpiece
- Bathroom vanities for soaps and jars
- Entry tables for keys, mail, and small decor
The farmhouse part comes from the finish and details: distressed paint, warm stain, visible wood grain, and simple hardware. Nothing should feel shiny or overly modern.
Why bother with a 2 tier farmhouse tray?
Before spending money or shop time, it helps to be clear on the “why.”
Main benefits:
- Vertical space: You get two levels of storage in the footprint of one plate. Great for tight counters.
- Built-in focal point: It instantly looks styled, even with simple items.
- Easy to change: Swap out decor by season without redoing the whole room.
- Flexible use: Works for decor, light serving, or everyday organization.
- Portable: Grab the top handle and move the whole setup in one hand.
Possible drawbacks:
- Limited height under cabinets: Some trays won’t fit under low uppers.
- Can look cluttered fast: Too many small items and it just feels busy.
- Not for heavy loads: Most are for decor and light serving, not cast-iron skillets.
- Awkward to store: If you don’t use it daily, it takes up cabinet space.
If you’re short on counter space, the vertical storage alone usually makes it worth it. For a large, open island, it’s more about creating a visual anchor so the surface doesn’t feel empty.
Key decisions before you buy or build
1. Size and proportions
Two big questions:
- Where will it sit most of the time?
- How much clearance do you have above it?
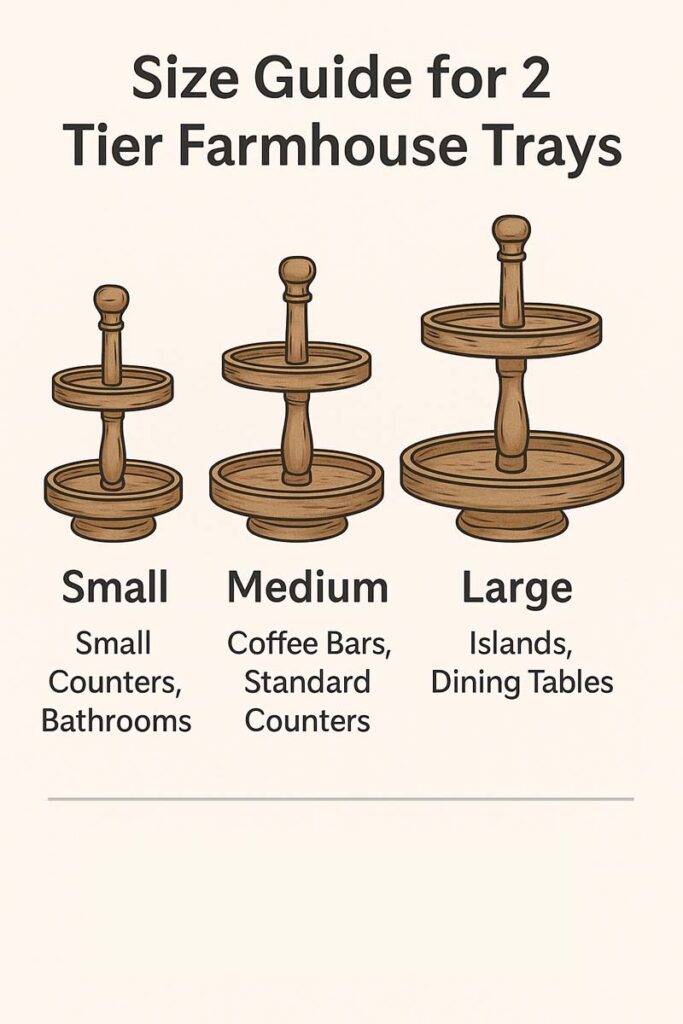
A quick size guide:
| Tray size (per tier) | Best for | Notes |
|---|---|---|
| 8″–10″ | Small counters, bathrooms | Great for tight spots, holds fewer items |
| 10″–12″ | Coffee bars, standard counters | Good balance of space and footprint |
| 12″–14″ | Islands, dining tables | Best as a centerpiece, can feel big on a small counter |
Measure from your counter to the bottom of your upper cabinets. Subtract at least 2″ so mugs or decor on the top tier don’t scrape.
2. Shape: round vs rectangle
- Round trays: Classic farmhouse look, easy to reach from any side.
- Rectangle / oval: Better for narrow counters or against a wall.
If the tray will sit in a corner or back against a backsplash, a rectangular footprint often fits better and wastes less space.
3. Material and finish
Common choices:
- Solid wood: Warm, authentic farmhouse feel, easy to refinish.
- MDF with veneer: Cheaper, but doesn’t handle moisture as well.
- Metal + wood combo: Rustic industrial look, durable frame.
For a deeper dive on wood choices, you can check out the guide to best wood types for sturdy tiered tray stands.
For farmhouse style, look for:
- Warm stains: walnut, chestnut, “weathered oak”
- Whites and creams with light distressing
- Matte or satin finishes instead of high gloss
4. Center post and base
A good 2 tier tray lives or dies on the center post and base.
Look for:
- Thick enough post: Too thin and it flexes if someone bumps it.
- Solid joinery: Screws should bite into solid material, not crumble.
- Wide base or feet: The footprint should feel stable, not tippy.
Give the assembled tray a small shake. If it wobbles or the top tier twists, that’s a problem.
Buying a 2 tier farmhouse tray: what to look for
When shopping online or in stores, run through a quick checklist.
Check the basics:
- Dimensions (especially height under cabinets)
- Tray diameters or width/length
- Material of trays and post
- Whether assembly is required
Quality signs:
- Hardware that threads smoothly, doesn’t strip when snugged down
- Center post sections that align straight when tightened
- Trays that sit level, not at a tilt
- Finish that feels smooth to the touch, no rough edges
Food vs decor use
If he plans to actually serve food on the tray (cupcakes, fruit, snacks):
- Make sure the finish is food-safe or use food-safe liners.
- Avoid strong chemical smells out of the box.
- If the listing doesn’t clearly say “food safe,” assume it’s decor-first.
For someone who wants a ready-made piece that still fits a farmhouse kitchen, it’s worth looking at curated farmhouse 2 tier tray stand options. These roundups save a lot of scrolling and second-guessing.
Building your own 2 tier farmhouse tray (step by step)
Here’s a straightforward way to build a wooden version in the shop. This is a basic structure that’s easy to customize.
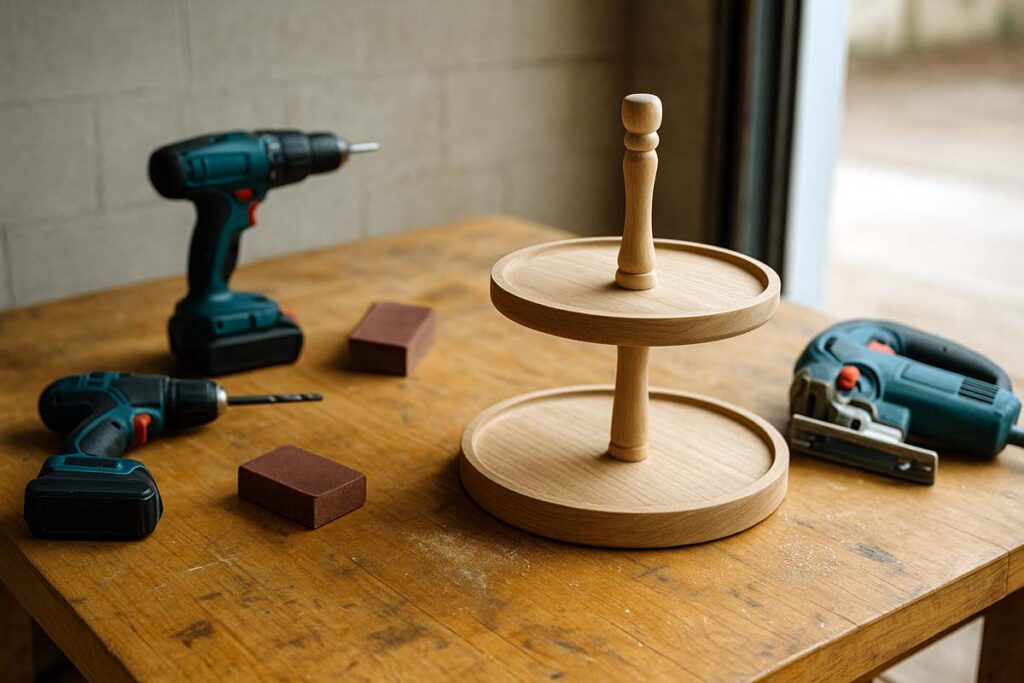
Tools and materials
- Two wooden blanks for trays (round or rectangular)
- Center post kit or turned wooden post plus screws
- Drill and bits
- Jigsaw or bandsaw (if cutting your own shapes)
- Sander and sandpaper (120–220 grit)
- Wood glue (optional, depending on design)
- Finish: stain, paint, or combo
- Clear topcoat (poly, water-based, or oil, depending on use)
Step 1: Plan your dimensions
- Decide where the tray will live.
- Measure the space and set max height.
- Choose tray sizes that match the footprint you have.
- Plan about 8″–10″ of clearance between tiers so mugs and jars fit comfortably.
Sketch it out quickly with rough measurements. This keeps the build from drifting halfway through.
Step 2: Cut or prepare the trays
If using pre-cut rounds, just inspect the edges.
If cutting your own:
- Mark circles with a compass or a simple string-and-pencil setup.
- Cut just outside the line with a jigsaw or bandsaw.
- Sand back to the line and smooth the curves.
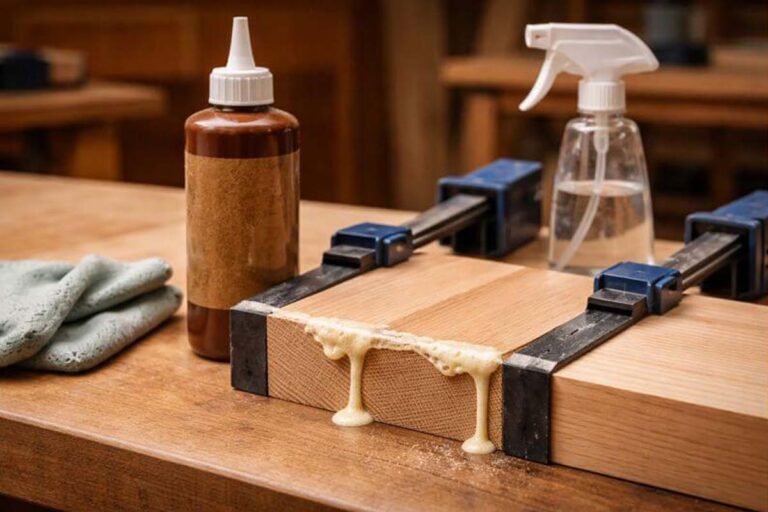
For rectangular farmhouse trays:
- Rip and crosscut boards to size.
- Glue up wider panels if needed.
- Round over corners slightly so they don’t feel sharp.
Step 3: Lay out and drill the center holes
- Find the center of each tray.
- Mark the center with a sharp pencil.
- Drill straight through with a bit sized to your center post hardware.
Going straight here matters. Tilted holes mean a crooked post, and that’s hard to hide.
Step 4: Shape and prep the center post
If using a hardware kit, dry-fit the pieces to make sure they thread together cleanly.
If using a wooden post:
- Cut to length, leaving room for the handle on top.
- Drill pilot holes for screws into the trays.
- Lightly break sharp corners so it feels nice in the hand.
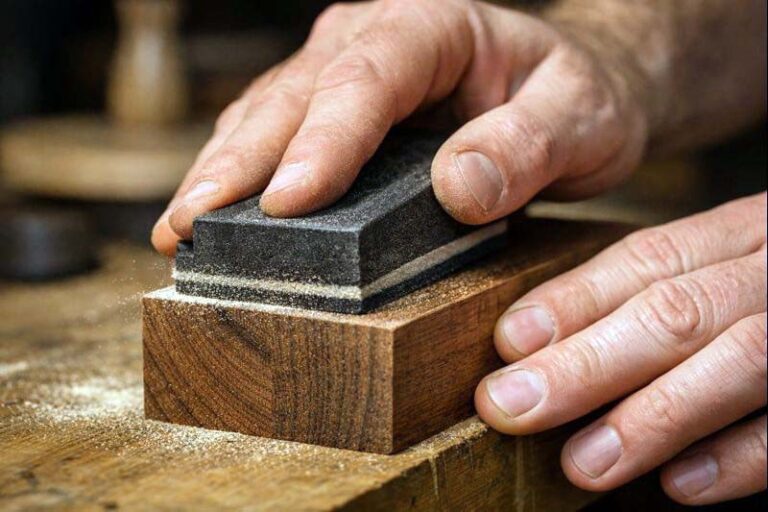
Step 5: Sand everything
- Start at 120 grit to knock down saw marks and imperfections.
- Move to 180, then 220 for a smoother surface.
- Ease all edges slightly; farmhouse trays shouldn’t feel sharp or “fresh from the mill.”
Wipe off dust between grits so it doesn’t clog the paper.
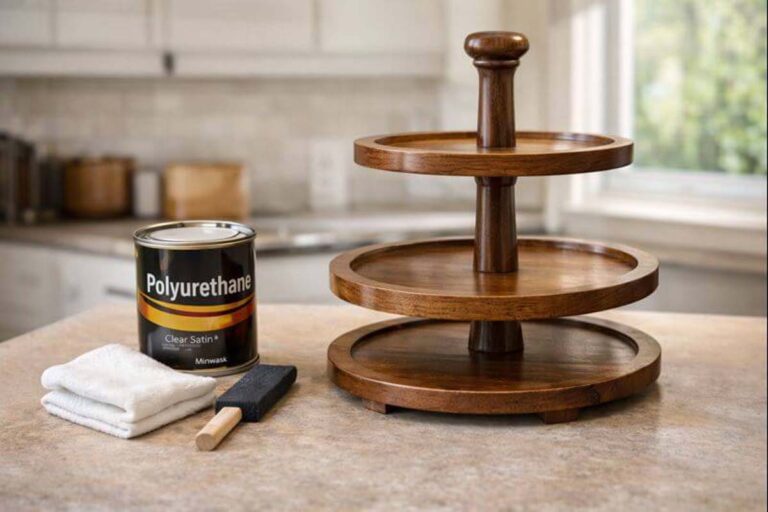
Step 6: Apply the farmhouse finish
A simple farmhouse formula that works well:
- Stain first (if you want wood showing through).
- Light paint coat over the stain once it’s dry.
- Lightly sand back edges and random spots to reveal stain for a worn look.
- Seal with a clear topcoat once you’re happy with the look.
For a food-adjacent tray (coffee bar, snacks), a water-based poly or a wiping varnish works nicely. Let it cure fully per the can before loading it up.
Step 7: Final assembly
- Install any hardware into the trays (threaded inserts, if used).
- Stack the lower tray, center post sections, and upper tray.
- Tighten hardware firmly but don’t over-torque.
- Check for level and adjust if there’s any twist.
Set it on a flat surface and press lightly on each side of the top tray. If it rocks, something’s off. Better to fix it now than after he loads it with mugs.
Styling ideas for a 2 tier farmhouse tray
Once the tray is ready, the fun part is styling. To keep it from looking cluttered, think in small “clusters” instead of single items.
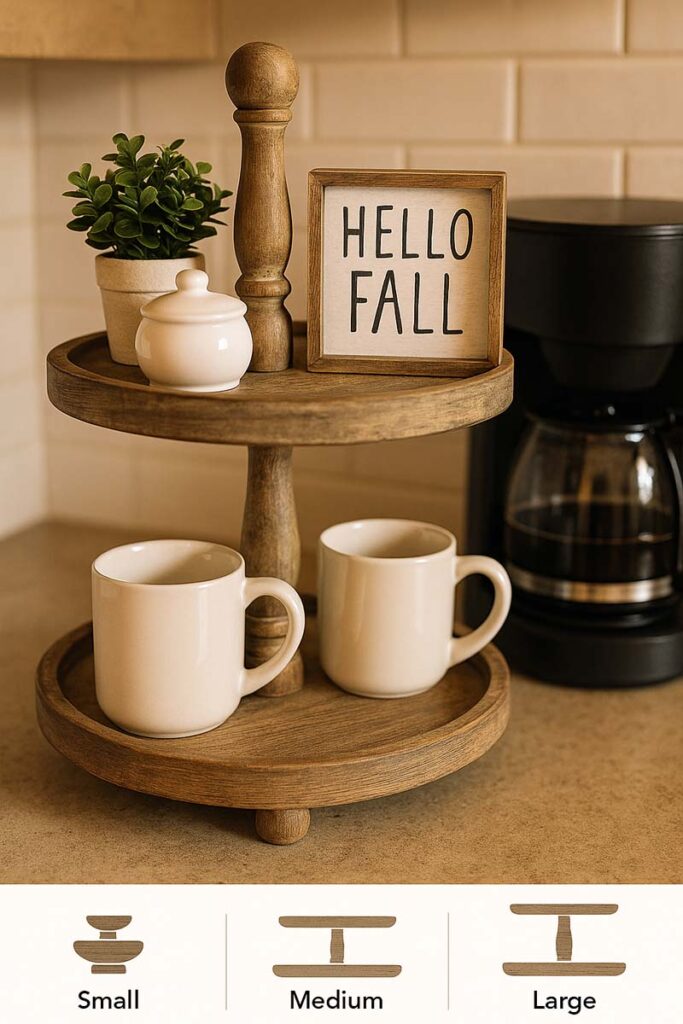
Coffee bar setup:
- Bottom tier: canister, jar of spoons, stack of mugs
- Top tier: sugar bowl, small plant, seasonal sign
Kitchen everyday setup:
- Bottom tier: oil bottle, salt cellar, pepper mill
- Top tier: small jars, folded towel, small faux greenery
Bathroom setup:
- Bottom tier: folded washcloths, jars for cotton balls and swabs
- Top tier: soap dish, small candle, tiny vase
For seasonal decorations and more farmhouse-specific styling tricks, those farmhouse tiered tray decor ideas are worth a look. They show how to rotate decor through the year without buying a cart full of new props every season.
A simple rule: mix heights, mix textures, and leave some empty space so the eye can rest.
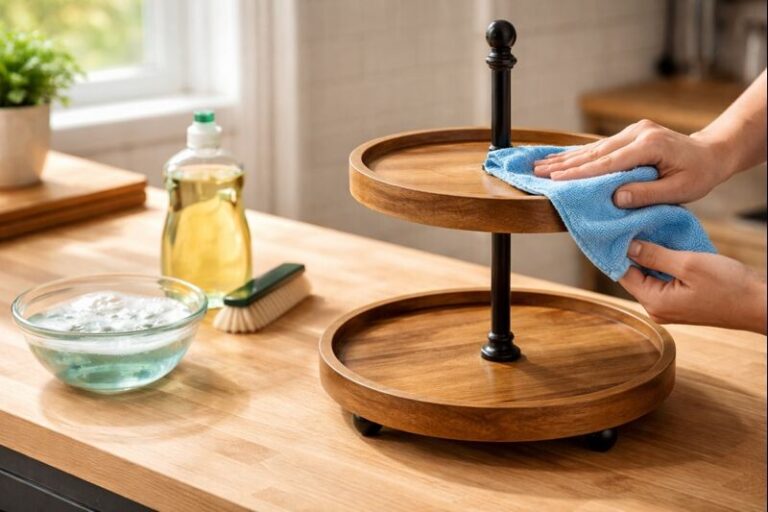
Care and maintenance
A farmhouse tray looks better with a little age, but you still want it to hold up.
- Wipe spills quickly; don’t let water sit on the wood.
- Use a barely damp cloth for cleaning, then dry right away.
- Avoid harsh cleaners; mild dish soap is enough.
- If the finish dulls over time, add a fresh coat of wax or topcoat, depending on what you used.
If he keeps it on a sunny windowsill, expect some color shift. That can add to the farmhouse look, as long as the finish doesn’t peel.
Common mistakes to avoid
A few issues show up over and over:
- Tray too tall for the space: Measure before buying or building.
- Overloaded top tier: Heavy items belong on the bottom for stability.
- Tiny items everywhere: Group small pieces on coasters or mini trays.
- Slippery surface: Use small non-slip pads or a liner if items slide.
- Loose hardware: Give screws and posts a quick check every few months.
Avoid those, and the tray stays useful instead of just becoming a dust collector.
Final thoughts
From a woodworking bench in Eugene to a rental kitchen somewhere else, a 2 tier farmhouse tray solves the same problem: how to pull clutter together and make it look intentional. Whether he buys one or builds from scratch, the key is matching the size, style, and finish to the actual room, not just the store photos.
Used with a bit of restraint, it becomes one of those pieces that quietly does its job every single day.
A 2 tier farmhouse tray gives you extra vertical storage, a flexible decor base, and a simple way to refresh a room with very little effort. Pick solid materials, check stability, and plan how you’ll use it before you click “buy” or pick up a saw.
From there, it’s just a matter of keeping the styling tight, the hardware snug, and the finish touched up once in a while. Done right, it’ll outlast most of the decor you place on it. You’ll find more builds, comparisons, and styling guides across the rest of the tray stand resources on this site.