Why clear coats get cloudy: 9 Fast and Easy Fixes
Clear coats get cloudy when moisture, trapped solvents, or surface contamination ends up stuck inside (or under) the finish instead of flashing off clean.
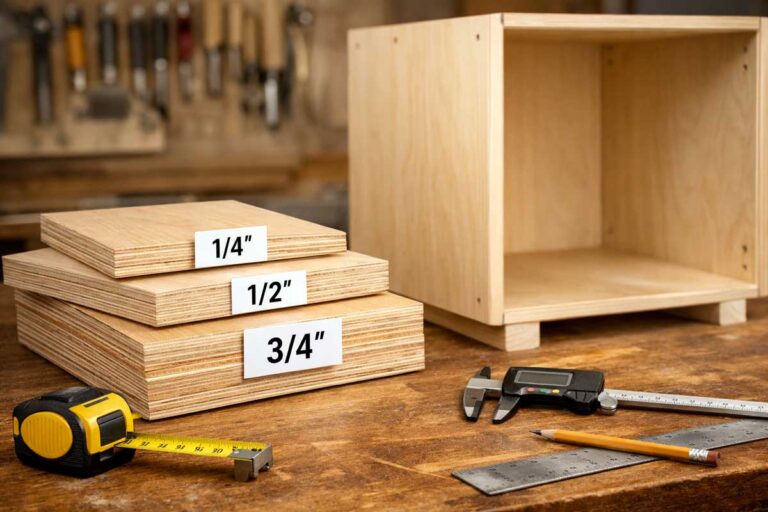
If you’re finishing a tiered tray stand, that haze can ruin the whole look fast.
The good news is most cloudiness has a specific cause, and the fix is usually straightforward.
This guide walks you through quick diagnosis, exact fixes by finish type, and the shop habits that keep a tray stand top coat crystal clear.
Contents Here
- 1 What “cloudy” clear coat actually means
- 2 The fast diagnosis checklist (2 minutes)
- 3 The most common causes (and the fix that matches)
- 4 Fixing cloudy clear coat step by step (start with the least aggressive)
- 5 Fixes by finish type (use the one that matches your top coat)
- 6 The “tray stand reality” problems that cause cloudiness
- 7 Best practices that prevent cloudy clear coats (simple, but they work)
- 8 Final thoughts
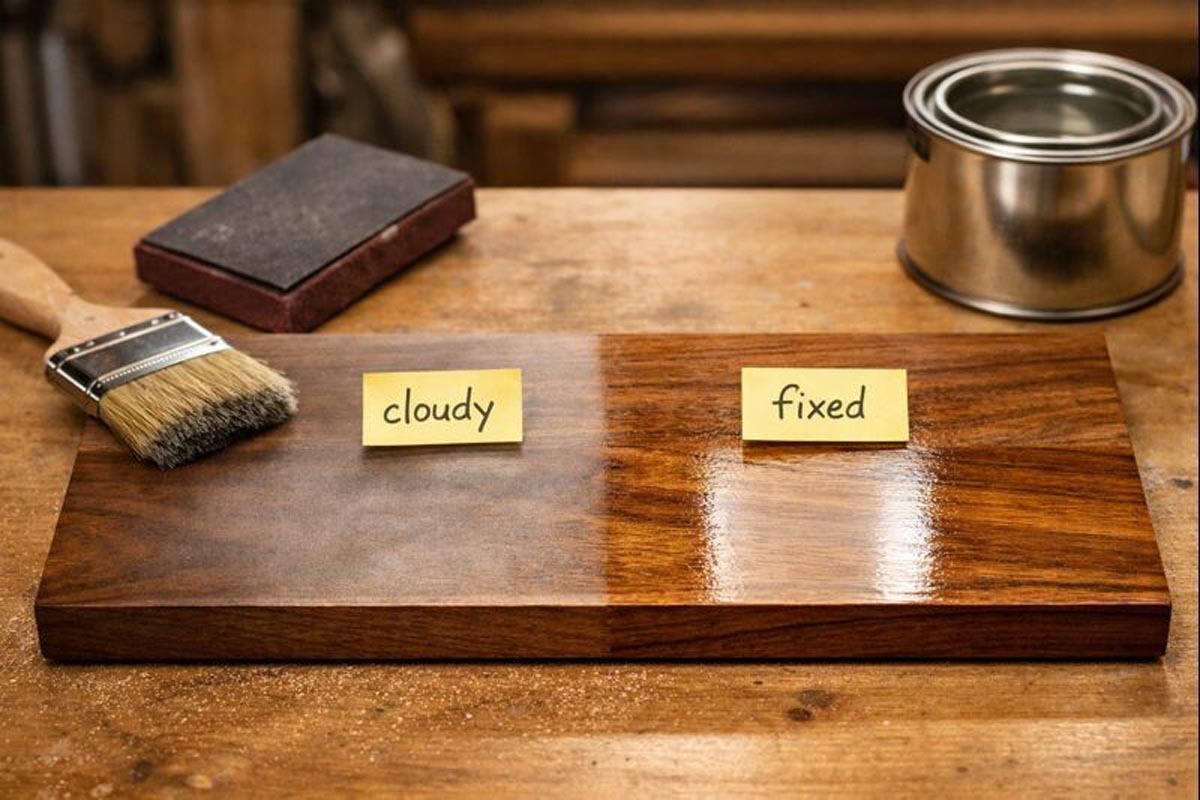
What “cloudy” clear coat actually means
Cloudiness can show up a few different ways, and each one points to a different problem.
- Milky white haze in the film: usually moisture trapped (common with water-based finishes and lacquer in humidity).
- Gray, dull fog that won’t buff out: often contamination (wax/silicone/oil) or sanding dust sealed under the coat.
- Cloudy patches or rings: commonly water exposure before full cure, or a thick coat that skinned over.
- Tiny “sparkly” specks: air bubbles, foam, or overspray texture scattering light.
The fast diagnosis checklist (2 minutes)
Before sanding anything, run this quick check.
- When did the cloudiness appear?
- Right away or within 30 minutes: humidity/moisture or solvent trap.
- Next day: coat applied too thick, trapped moisture, or undercoat not cured.
- After a week: water exposure, cleaner damage, or incompatibility between layers.
- Where is it?
- All over: environment or product issue.
- Only around handles, feet, or edges: contamination from hands, glue squeeze-out, or burn-through/over-sanding.
- What finish is it?
- Water-based polycrylic/polyurethane behaves differently than oil-based poly, lacquer, shellac, or epoxy.
If you’re new to finishing, the site’s general project troubleshooting hub can help you narrow down related issues like tacky finish or fisheyes.
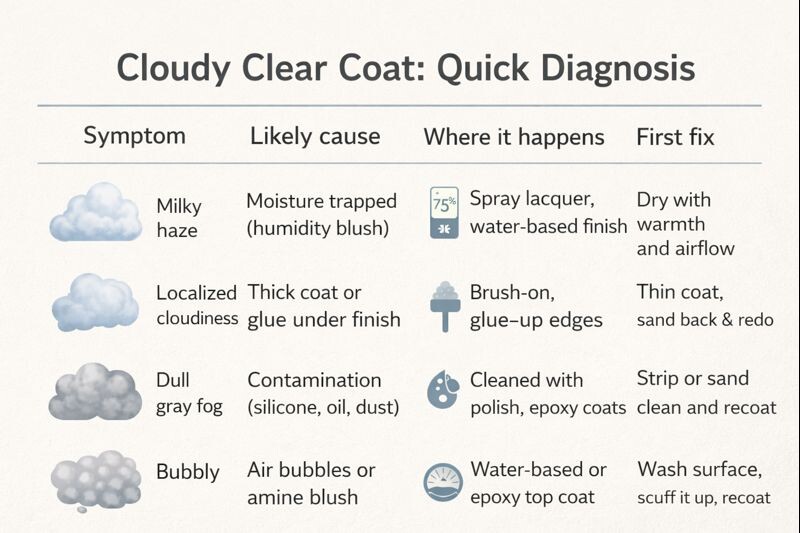
The most common causes (and the fix that matches)
Here’s the practical breakdown. Match the symptom, then follow the fix steps in the next sections.
| What you see | Most likely cause | Where it happens a lot | Best first move |
|---|---|---|---|
| Milky haze across the coat | Moisture trapped (humidity “blush”) | Spray lacquer, water-based clears | Add gentle warmth + airflow; recoat correctly |
| Cloudy only in thick areas | Coat applied too heavy; solvent trap | Brush-on poly, heavy spray passes | Let it cure longer; sand level; apply thin coats |
| Cloudy patches near glue lines | Glue squeeze-out sealed under finish | Tray rims, tier edges, joints | Sand back to clean wood; recoat |
| Dull fog that won’t buff out | Silicone/wax/oil contamination | Pieces cleaned with sprays/polish | Strip or sand back; clean properly; recoat |
| Cloudy after epoxy cures | Amine blush on surface | Epoxy bar-top coats | Wash with warm water; scuff; recoat |
| Cloudy with tiny bubbles | Shaken can, foam brush, cold finish | Water-based clears | Let finish warm; stir gently; tip-off and recoat |
Fixing cloudy clear coat step by step (start with the least aggressive)
Step 1: Stop adding more product
More clear coat on top of a cloudy layer often locks the problem in. Let the current coat settle first.
- Give it at least 24 hours (longer if the room is cool).
- Add airflow, not dust. A box fan across the room works fine.
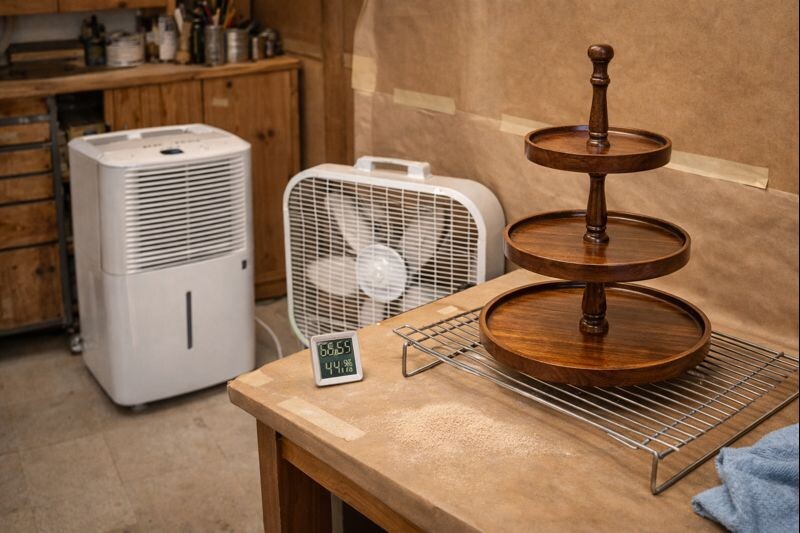
Step 2: Try warmth and dry air (especially for blush)
If the haze is moisture-related, you can sometimes reverse it without sanding.
- Warm the piece gently to about 70–80°F.
- Run a dehumidifier if the shop is damp.
- Avoid blasting with a heat gun up close. That can wrinkle the film.
On tiered tray stands, this is common when finishing in a garage during wet weather, especially on wide, flat trays that cool down fast.
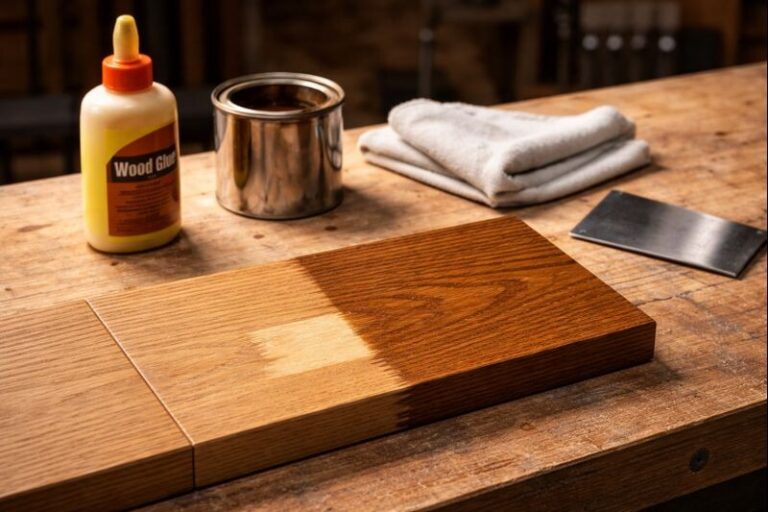
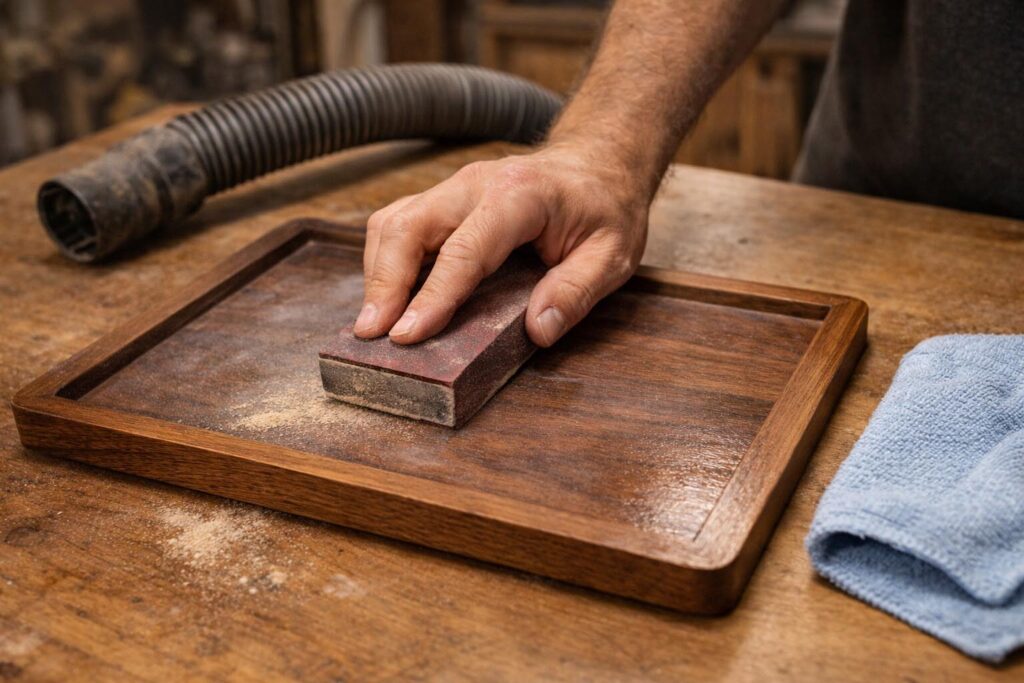
Step 3: Scuff-sand and recoat (the “most common” successful fix)
If the haze stays after drying and warmth, scuff-sand and apply a correct coat.
- Let the finish dry until it doesn’t feel rubbery.
- Scuff-sand with 320–400 grit (use a soft block on flat areas).
- Remove dust thoroughly:
- Vacuum first.
- Then wipe with a slightly damp microfiber (water-based finish) or mineral spirits (oil-based finish).
- Apply a thin coat with the right tool (details below).
- Maintain steady temperature and airflow until it sets.
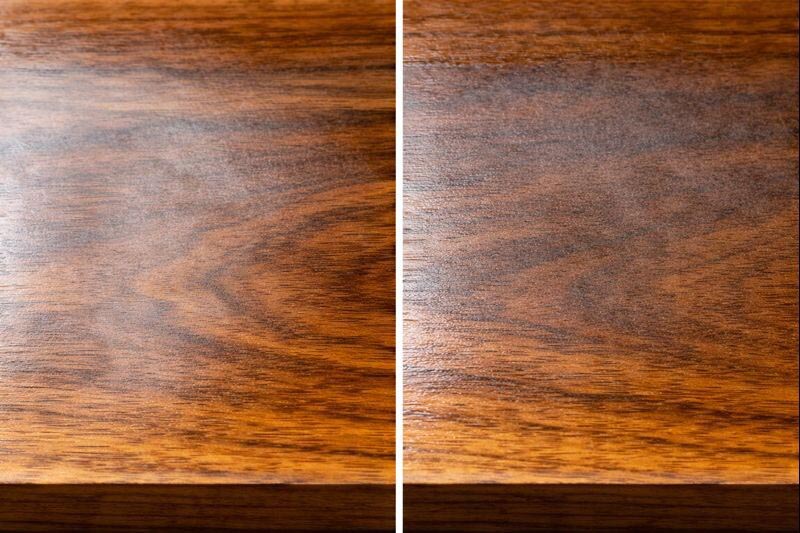
If you’re working with walnut or other dark woods, cloudiness is extra obvious. The guide on finishing walnut cleanly without dulling the grain pairs well with this.
Step 4: Sand back further (when the problem is under the surface)
If the cloudiness is in the film or coming from contamination underneath, scuff-sanding won’t cut it.
- Sand back until the haze is gone.
- If it keeps reappearing as you sand, it’s likely down to bare wood in spots.
- Rebuild the finish with thin coats.
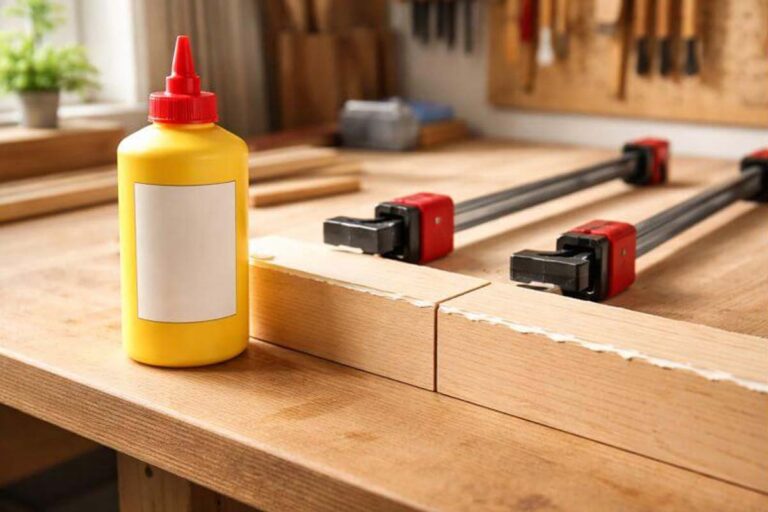
On builds with glue-ups, this is where many people discover a faint glue smear. For tray stands, it’s common along tray rims and around center posts.
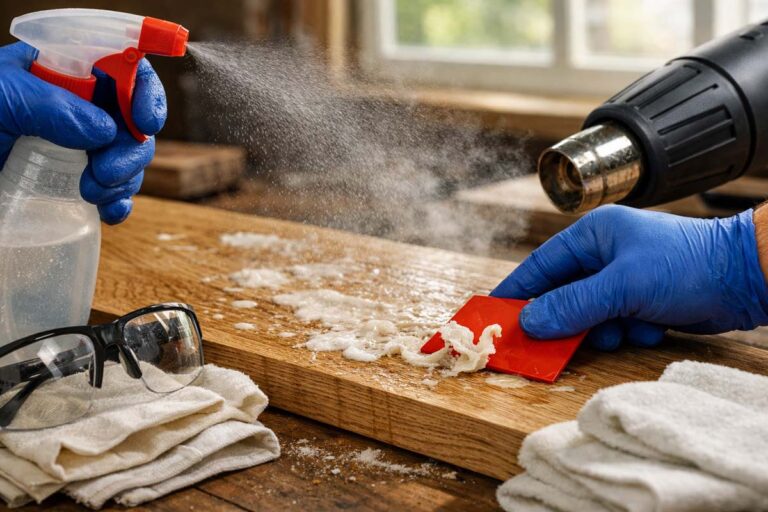
Step 5: Strip and restart (only when needed)
Stripping is worth it when:
- silicone or wax contamination keeps causing fogging/fisheyes,
- incompatible layers won’t bond,
- or the finish is wrinkling/peeling along with cloudiness.
If stripping becomes necessary, prioritize safety gear and ventilation. The checklist in essential safety gear for tray stand builds is a smart refresher.
Fixes by finish type (use the one that matches your top coat)
Water-based polyurethane / polycrylic
Water-based clears go cloudy most often from humidity, cold surfaces, or heavy coats.
Best fix path
- Bring the piece into a warmer, drier spot.
- Wait 24 hours.
- Scuff-sand 320–400.
- Recoat thin.
Key habits that prevent it
- Don’t finish on a cold surface. Let the wood acclimate.
- Don’t “scrub” the brush back and forth. Lay it on, then light tip-off.
- Avoid foam brushes if you’re getting bubbles.
If you’re using pine for a farmhouse tray stand, water-based finishes can look great, but they also telegraph haze. The wood choice matters too, and picking between pine, oak, and maple helps you predict finishing behavior.
Oil-based polyurethane
Oil poly usually clouds from thick coats, cooler temps, or moisture exposure before cure.
Best fix path
- Give it more cure time than you think (often 48–72 hours).
- Level sand 320.
- Recoat very thin.
- Keep dust down and airflow steady.
Heads-up for tray stands:
If the stand gets handled early (especially around the center rod or handle), fingerprints and moisture can mark the finish while it’s still curing. That can look like haze, even if the coat is technically “dry.”
Lacquer (spray lacquer especially)
Lacquer clouding is classic “blush” from humidity. It happens fast.
Best fix path
- If you can re-spray: apply a very light coat in better conditions.
- If you have products on hand: a lacquer retarder / blush eraser can reflow the surface and release moisture.
- Add warmth and reduce humidity.
Prevention
- Spray when humidity is lower.
- Use lighter passes.
- Don’t trap solvent by hammering on heavy coats.
Shellac (as a sealer or topcoat)
Shellac can look cloudy if it’s applied too heavy, if there’s moisture present, or if waxed shellac is used under a finish that doesn’t like it.
Best fix path
- Let it dry fully.
- Lightly scuff 400.
- Apply a thinner coat (or switch to dewaxed shellac if using it as a sealer).
Shellac is a solid move as a barrier coat when you suspect contamination. It’s not magic, but it often helps stabilize tricky substrates before a clear top coat.
Epoxy clear coats
Epoxy can look cloudy from:
- poor mixing ratio,
- mixing too aggressively (microbubbles),
- cold temperatures,
- or amine blush on the surface after cure.
Best fix path (amine blush)
- Wash the surface with warm water and a Scotch-Brite pad.
- Dry fully.
- Scuff-sand.
- Recoat.
Do not rely on solvents to remove amine blush. Water is usually the right first step.
The “tray stand reality” problems that cause cloudiness
Tray stands have a few finishing traps that don’t show up as much on flat furniture.
Tight corners and underside edges
Finish pools under tray lips and around spindles. That’s where solvent trap happens.
- Brush lighter in corners.
- Watch for drips under the tray after 5–10 minutes.
- Level them while the coat is still wet, or let them cure and sand flat.
If you’re building from scratch, the construction method affects finishing too. The step-by-step build guide for making a tiered tray stand that finishes clean is worth referencing before the last coat goes on.
Center posts, hardware, and handle areas
Oils from hands can transfer right before finishing.
- Wipe with a proper cleaner for your finish type.
- Avoid “furniture polish” sprays anywhere near finishing day.
If you’re maintaining tools during finishing season, clean cuts and less sanding dust help a lot. The tips in tool maintenance for woodworking newbies keep debris down, which helps coats lay clearer.
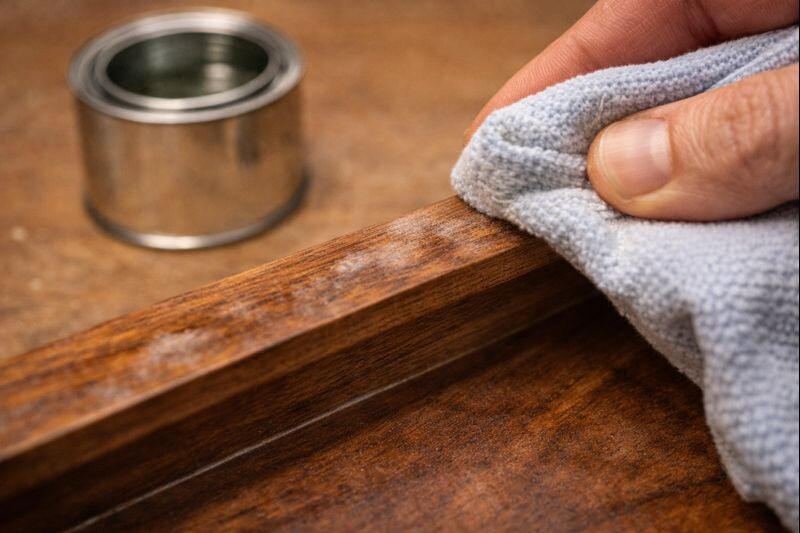
Glue squeeze-out on tray rims
Even a thin glue smear can seal the wood and create cloudy patches.
Quick test before finishing:
- Wipe the wood with mineral spirits.
- Glue smears show up as dull streaks.
Best practices that prevent cloudy clear coats (simple, but they work)
Control the finish environment
- Keep the space 65–75°F when possible.
- Keep humidity reasonable.
- Avoid finishing late at night if temps drop fast.
Apply thinner coats than feels necessary
Thick coats look shiny while wet, but they’re the most common reason for cloudiness later.
- Two thin coats beat one heavy coat every time.
- Follow the label for recoat windows. If you miss it, scuff-sand.
Prep like it matters (because it does)
- Sand to a sensible grit. For most tray stands, 180–220 is enough before clear coat.
- Remove dust completely.
- Use the right wipe-down method for the finish.
Use the right wood for the job
Some woods are more forgiving. Others show every mistake.
If you’re choosing a species for a long-lasting build, the roundup on wood types that hold up for sturdy tiered tray stands helps you avoid soft woods that dent and stress a finish film.
Final thoughts
Cloudy clear coat is annoying, but it’s rarely mysterious. Most of the time, it comes down to moisture, heavy coats, or something on the surface that didn’t belong there. Work from the least aggressive fix to the most aggressive one. Let the finish cure, level it properly, then recoat thin in the right conditions. Your tray stand will end up looking clean, smooth, and the sheen will read like it’s supposed to.