What to Put on a Tiered Tray: 17 Genius Items That Always Work
Items to put on a tiered tray need to look good, fit the space, and make daily life easier. The best setups mix one “anchor” piece, a few medium fillers, and several small accents. Plus, every item should earn its spot by adding height, texture, color, or function. This guide walks through exactly what to place, where to place it, and how to keep it tidy without redoing it every week.
Contents Here
- 1 Start with the job your tray needs to do
- 2 The core categories that always work on a tiered tray
- 3 What to put on a tiered tray by location
- 4 A simple step-by-step method that keeps trays from looking cluttered
- 5 Quick placement cheat sheet
- 6 Seasonal ideas that don’t feel overdone
- 7 Benefits and drawbacks of tiered tray styling
- 8 FAQs
- 9 Final thoughts
Start with the job your tray needs to do
Before tossing cute stuff on the tray, decide what the tray is for. A tiered tray can be purely decorative, but it’s usually better when it’s “pretty and useful.”
Pick one main purpose:
- Seasonal display (holiday, spring, fall, birthday)
- Everyday functional station (coffee bar, entryway catch-all, bathroom sink)
- Entertaining (snack bar, condiments, dessert table)
- Gift tray (housewarming, baby shower, hostess gift)
Next, set one “rule” that keeps it from looking cluttered.
A simple rule: no more than 3 colors and no more than 2 repeating patterns.
If you want a clean baseline method, follow this step-by-step tiered tray styling guide for spacing and balance.
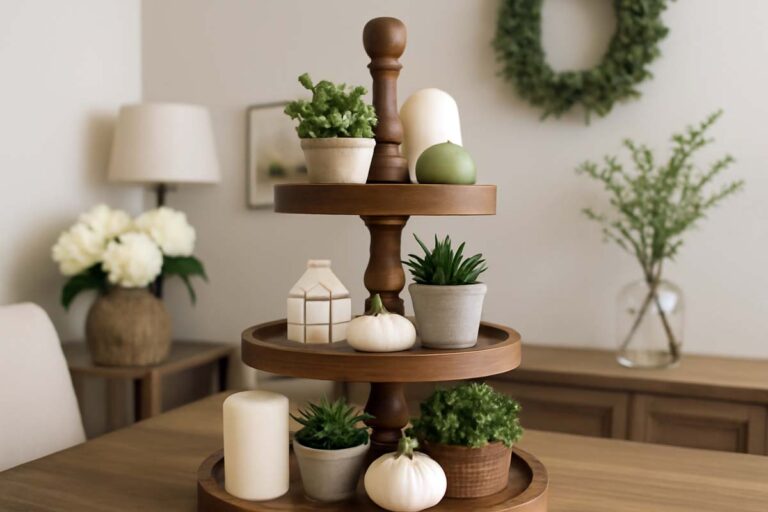
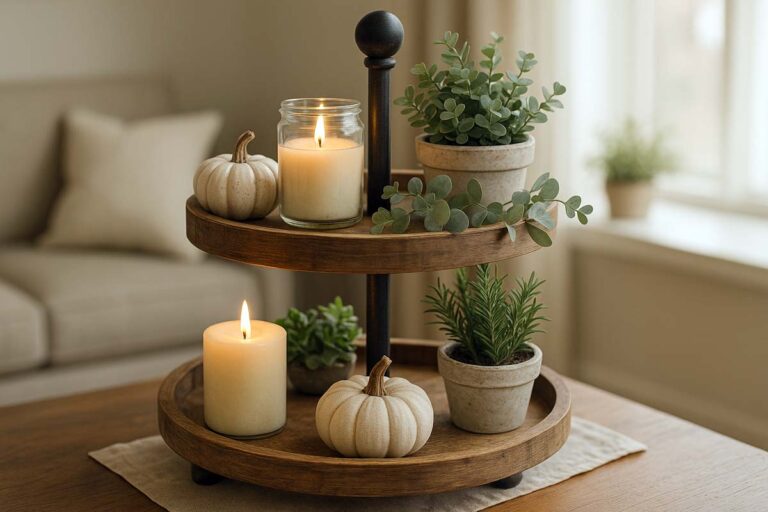
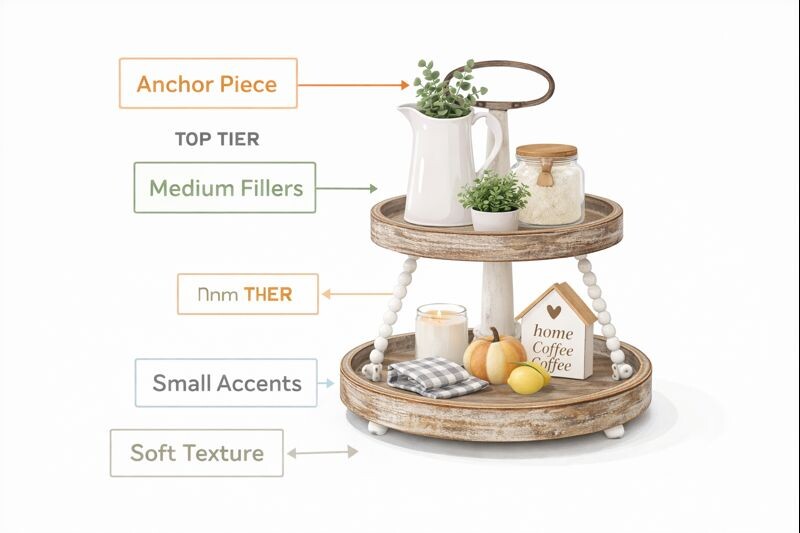
The core categories that always work on a tiered tray
A tray looks “done” when it has these four elements working together.
1) An anchor piece (the tallest item)
This is the first thing the eye lands on. It sets the theme and the height.
Good anchors:
- Small pitcher or creamer
- Candle stick or chunky candle
- Mini vase with stems
- Medium figurine (house, pumpkin, bunny, Santa, etc.)
- Small framed sign (back row)
Placement tip: set the anchor on the back of the top tier or the back corner of the bottom tier. That keeps sightlines open.
2) Medium fillers (shape and bulk)
These pieces support the anchor and keep it from looking lonely.
Good medium fillers:
- Small bowl with wrapped candy
- Stack of mini plates or coasters
- Folded cloth napkin
- Short jar (sugar, tea bags, bath salts)
- Small plant pot or faux greenery
A quick reality check: medium fillers should be easy to pick up and put back. If they’re annoying to move, the tray won’t stay maintained.
3) Small accents (the detail work)
This is where personality comes in. Small accents tie the theme together.
Good accents:
- Mini ornaments
- Tiny books or recipe cards
- Beads, small garland, ribbon loops
- Small faux fruit (lemons, apples)
- Mini scoops, stir sticks, tiny utensils
However, small accents are the fastest path to “junk-drawer energy.” Limit them.
A clean number: 5–9 small accents total across the whole tray.
4) One texture that isn’t wood
Too much wood-on-wood can feel flat, especially if the tray itself is wood.
Easy texture upgrades:
- Ceramic piece
- Glass jar
- Woven rattan coaster
- Metal scoop or small tin
- Linen or cotton cloth
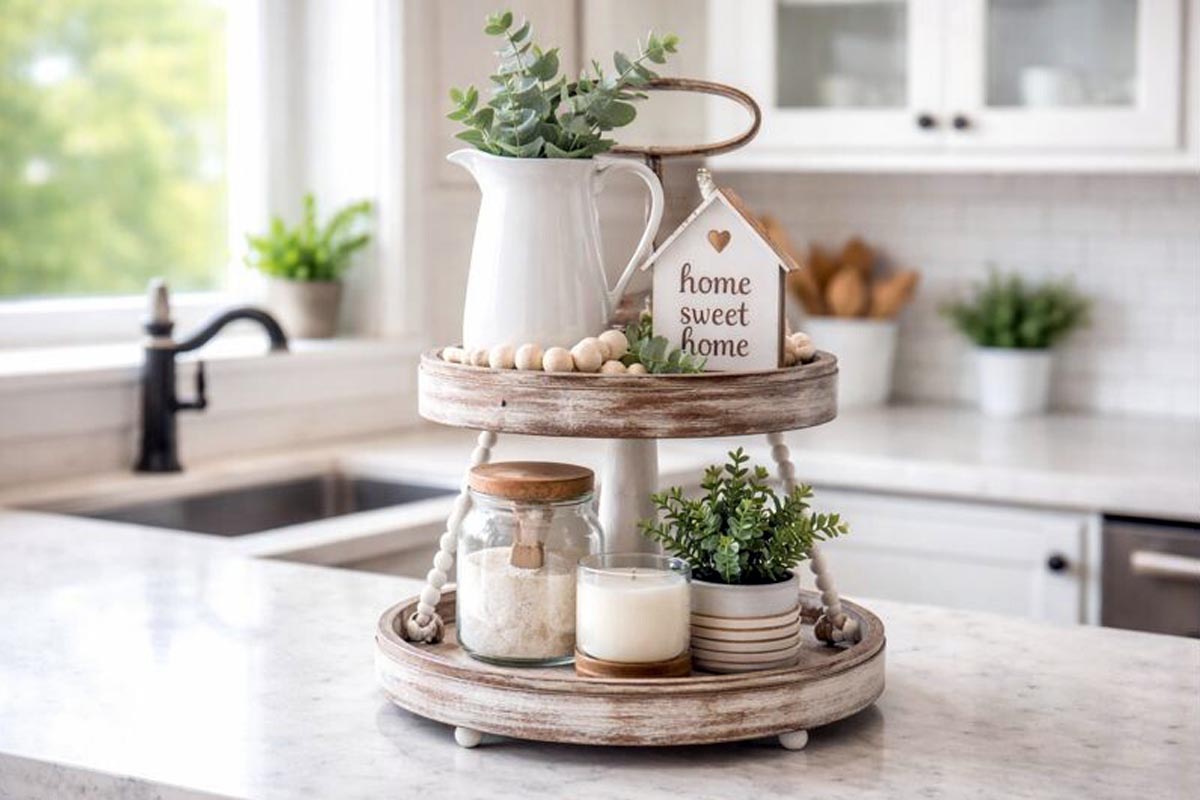
If you’re still choosing a base, these posts help match decor style to the right stand: farmhouse-inspired tiered tray looks and a simple two-tier tray stand breakdown.
What to put on a tiered tray by location
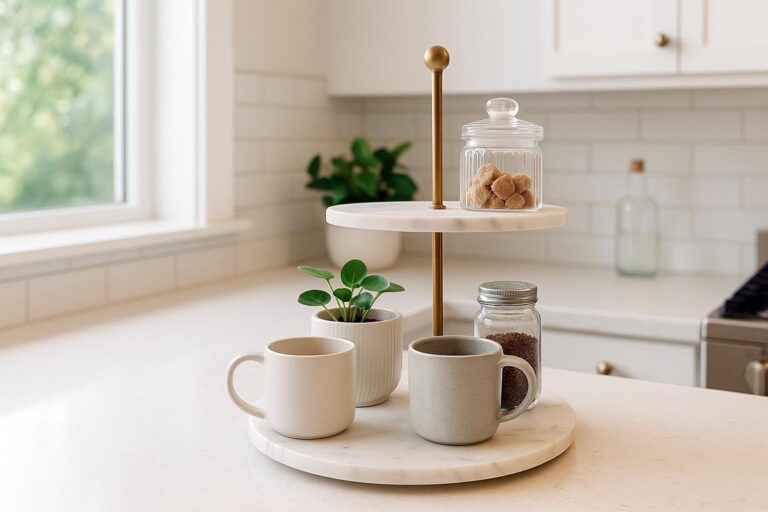
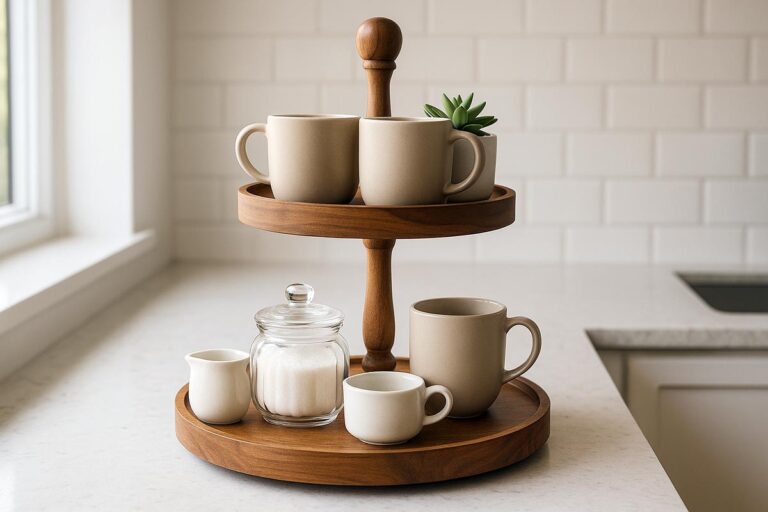
Coffee bar tiered tray items
A coffee station tray should save steps, not create them.
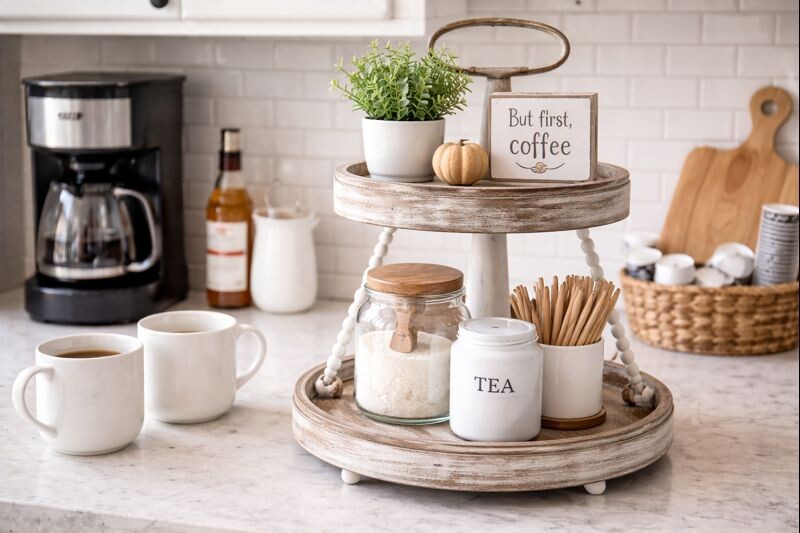
Top picks:
- Sugar packets or a small sugar jar
- Tea bags in a little canister
- Stir sticks or mini spoons
- Mug hooks only if they don’t block items
- One syrup bottle (one, not five)
Add one decor item so it looks intentional:
- A mini sign
- A small plant
- Seasonal mini figure
Keep the grab zone on the bottom tier for daily items. Keep the top tier for lighter, less-used items.
For a full setup, this coffee bar tray styling walkthrough pairs well with the layout above.
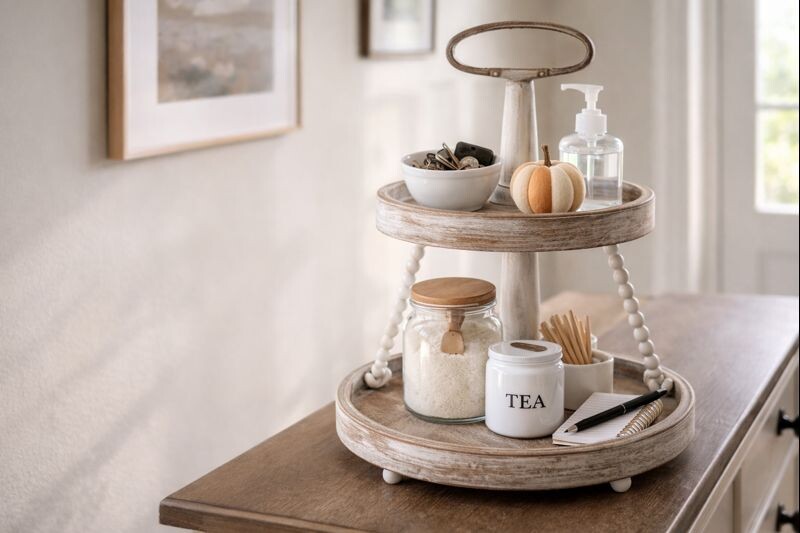
Kitchen counter tiered tray items
The kitchen is where trays get messy fast.
What actually works:
- Salt cellar or small salt jar
- Pepper grinder (shorter one)
- Toothpick holder
- Small olive oil bottle (only if stable)
- Napkins (rolled, not flopped)
Avoid:
- Open flour/sugar bowls (grease and dust happen)
- Anything tall and tippy near the stove
- Food items that go stale fast
Bathroom tiered tray items
A bathroom tray should feel clean, not busy.
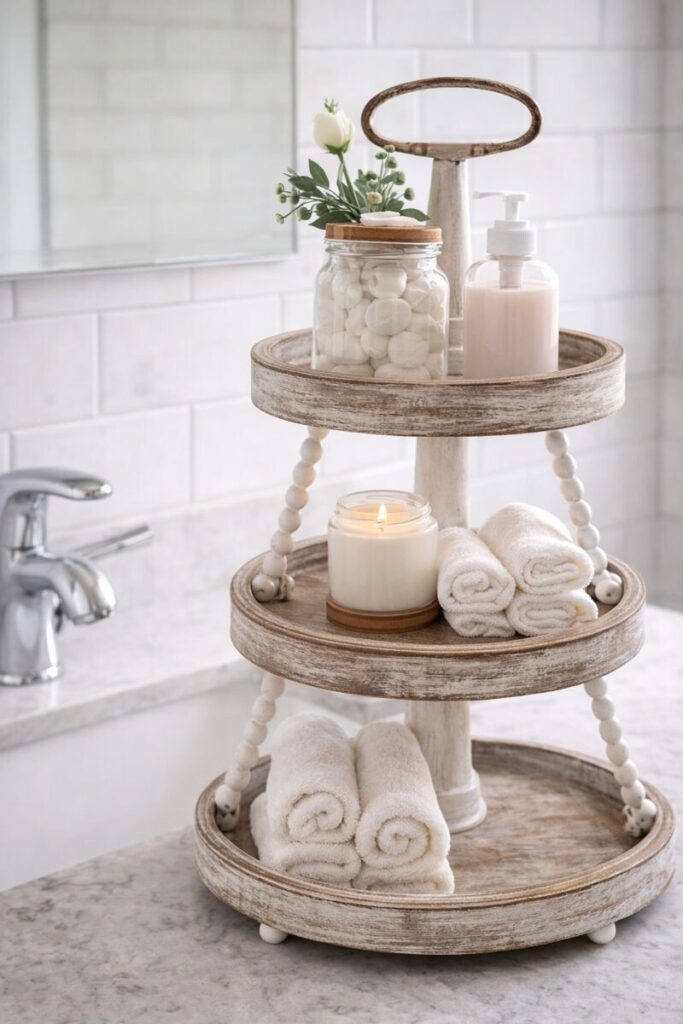
Good items:
- Cotton rounds in a jar
- Hand lotion
- Small candle (unused, or used neatly)
- Tiny bud vase
- Rolled washcloths
Skip anything that hates humidity, like paper signs without sealing.
Entryway tiered tray items
This one should reduce “drop zone” clutter.
Good items:
- Key bowl
- Small catch-all tray
- Mini notepad + pen
- Hand sanitizer
- One small decor piece (seasonal)
If the tray stand wobbles in a high-traffic spot, fix that first using these quick wobble fixes for tiered tray stands.
A simple step-by-step method that keeps trays from looking cluttered
This order is repeatable, and it works.
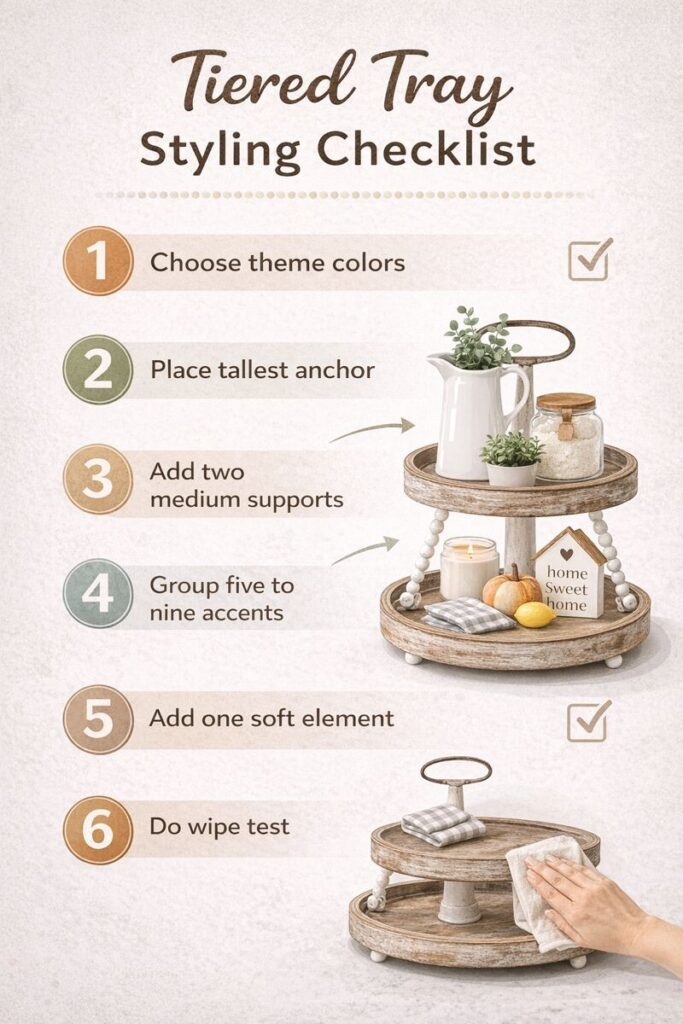
Step 1: Choose a theme and a tight color set
Pick one theme: “spring garden,” “neutral farmhouse,” “Christmas baking,” “coastal,” and so on.
Then choose:
- 1 main color
- 1 supporting neutral
- 1 accent color (optional)
Next, remove anything that doesn’t match those colors. This step alone makes a tray look designed.
Step 2: Place the tallest item first
Put your anchor in place.
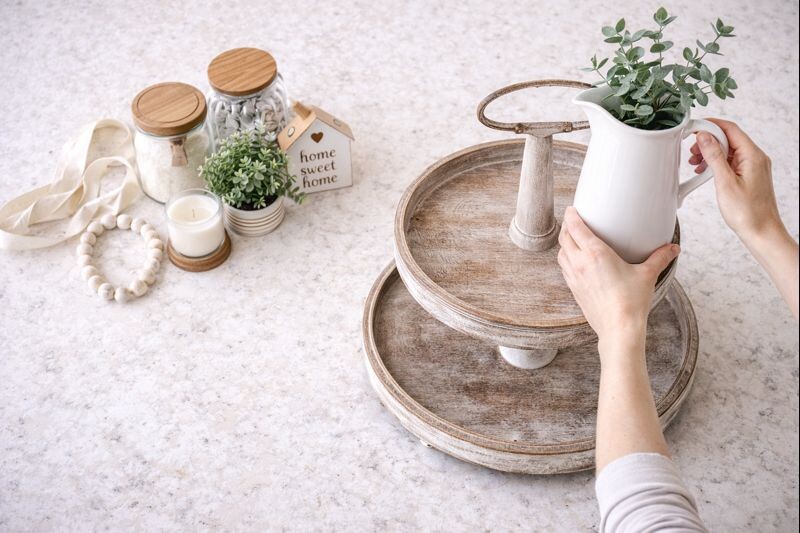
Rules that help:
- Anchor goes back (top tier or bottom tier)
- Keep at least 1 inch of air around it
- If it’s a sign, angle it slightly so it’s readable
If you like signs, making them keeps sizing consistent. Use this mini wooden sign tutorial for tiered trays so your pieces don’t look random.
Step 3: Add 2–3 medium items to build structure
These are the “support beams.” Put them near the anchor to create a triangle shape.
Triangle shape means:
- One tall item
- One medium item
- One smaller item
Place them so the eye moves naturally instead of bouncing around.
Step 4: Fill gaps with small accents
Drop in the small accents last.
Keep them grouped:
- Odd numbers look natural (3 beads, 5 minis)
- Avoid sprinkling one tiny item in five different places
Sprinkling reads as clutter.
Step 5: Add one soft element
Add a cloth napkin, ribbon tail, small greenery, or beads.
This soft element covers awkward empty zones and stops the tray from feeling stiff.
Step 6: Do the “wipe test”
If the tray is on a counter, pretend it needs a quick wipe-down.
If moving items feels annoying, remove something. A tray that’s hard to reset won’t stay cute.
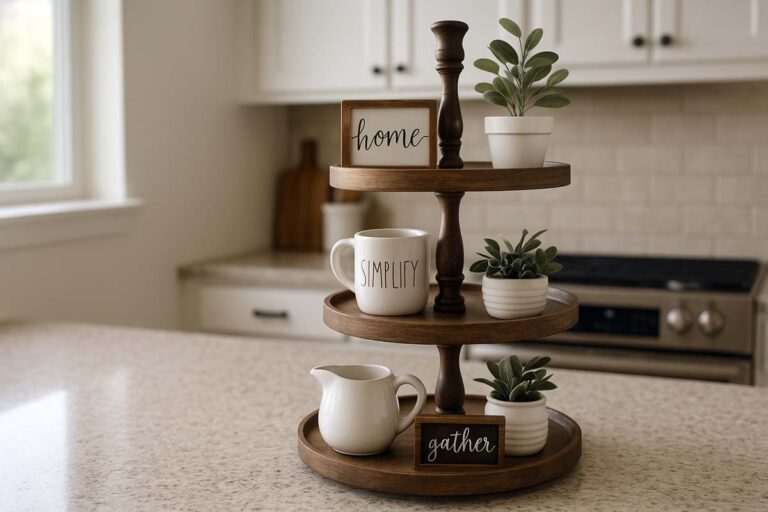
Quick placement cheat sheet
| Tier | Best items | Why it works | What to avoid |
|---|---|---|---|
| Top tier | Anchor piece, mini sign, short vase, small candle | Creates height and sets theme | Heavy jars, tall unstable pieces |
| Bottom tier | Functional items, bowls, small stacks | Easy access and visual weight | Too many tiny loose accents |
| Middle tier (3-tier) | Fillers, medium jars, greenery | Connects top to bottom | Competing “anchor” items |
If you’re working with three levels, check these three-tier tray decorating ideas for tier-by-tier balance.
Seasonal ideas that don’t feel overdone
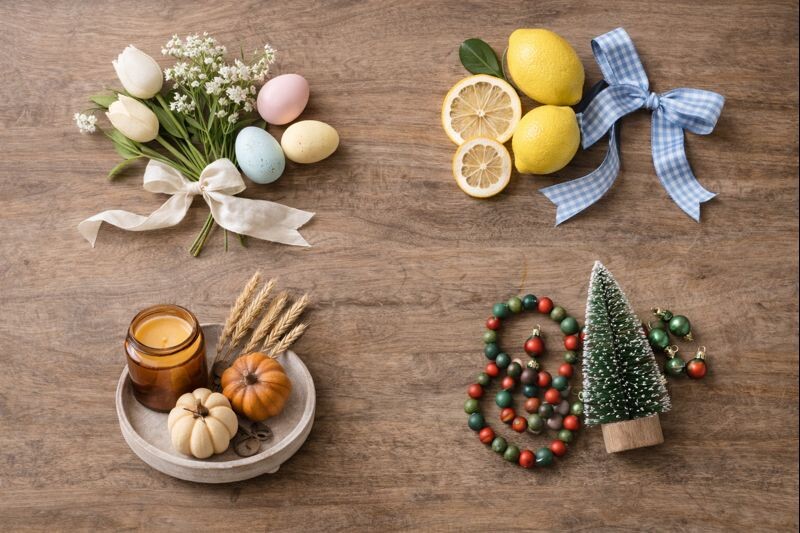
Spring
- Faux tulips or baby’s breath in a mini vase
- Small bunny or bird figure
- Pastel eggs (a few, not a pile)
- Light linen ribbon
Summer
- Lemons or citrus slices (faux, or sealed)
- Blue/white accents
- Tiny watering can
- Mini “fresh” style sign
Fall
- Small pumpkins in two sizes
- Warm wood beads
- Amber jar candle
- Wheat stems or eucalyptus
For a full fall swap plan, use this two-tier tray fall styling guide.
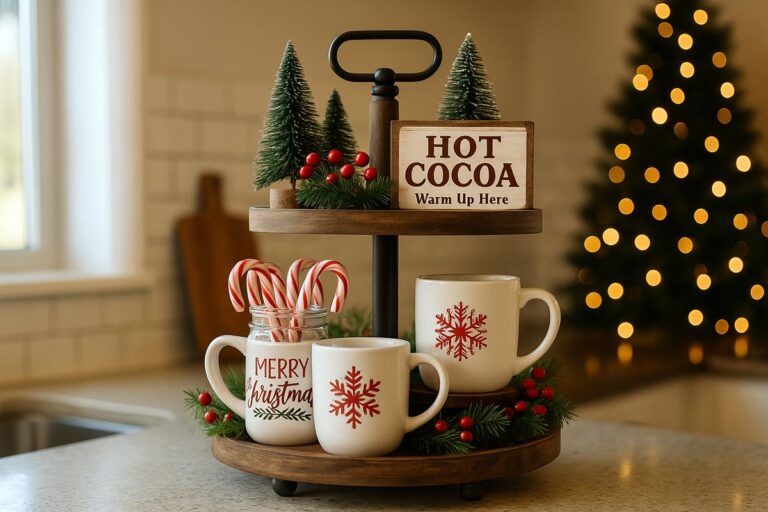
Christmas
- Mini bottle brush tree
- Small house or snowman
- Red/green ribbon loops
- Tiny ornaments (keep them grouped)
For holiday layouts, pull from these two-tier Christmas tray ideas and these three-tier Christmas tray arrangements.
Benefits and drawbacks of tiered tray styling
Benefits
- Keeps small items organized in one footprint
- Adds vertical interest without wall clutter
- Makes seasonal updates quick (swap 3–5 pieces)
- Works as a “reset point” for counters that collect stuff
Drawbacks
- Too many tiny items become dust collectors
- Cheap stands can wobble, especially with heavy top tiers
- Over-styling makes it hard to clean around
However, those drawbacks disappear when the tray is treated like a simple system, not a storage shelf.
FAQs
What size items work best for a tiered tray?
Items between 3 and 8 inches tall work best for most trays. Use one taller anchor, then keep the rest shorter. This prevents top-heavy wobble and keeps the arrangement easy to see from across the room.
How do you keep a tiered tray from looking crowded?
Limit the tray to one anchor, a few medium fillers, and grouped accents. Leave visible open space on each tier. If everything touches, it reads as clutter. Open space is part of the design.
Should functional items go on the top or bottom tier?
Functional items belong on the bottom tier so they’re easy to grab and easy to reset. The top tier should carry lighter decor pieces that do not need frequent handling. This keeps the tray stable and practical.
What’s the easiest way to switch a tray for seasons?
Swap the anchor and two or three accents first. Keep your jars, beads, and neutral fillers the same. This approach saves money and time, and it keeps the tray from turning into a full rebuild every season.
Final thoughts
A tiered tray looks best when every item has a job. Start with one anchor, add a couple medium fillers, then finish with small accents and one soft texture. Keep the color set tight, and make sure the tray stays easy to wipe around. When it’s simple to maintain, it stays styled, and it stops becoming another spot for clutter.