Time-Lapse Build of a Rustic Tray Stand: Easy Guide for Beginners
If you’re a fan of woodcraft and enjoy creating beautiful, handcrafted decor, you’re in for a treat. Today, I’m going to walk you through the process of build a rustic tiered tray stand.
We’ll also take a closer look at how a time-lapse build works and how it can help speed up your project while still delivering amazing results. This project is perfect if you’re looking for something simple yet elegant that will add charm to your space—whether it’s for a kitchen, living room, or even as a gift.
So, let’s roll up our sleeves and dive into this step-by-step tutorial on how to craft your own rustic tiered tray stand. It’s simpler than you might think, and the result is sure to impress. Ofcourse, stay connect with TrayEdit for more information about woodcraft.
Contents Here
- 1 Materials and Tools You’ll Need
- 2 Step 1: Planning and Cutting Your Pieces
- 3 Step 2: Sanding and Preparing the Wood
- 4 Step 3: Assembling the Tiers
- 5 Step 4: Staining and Finishing
- 6 Step 5: Adding Final Touches
- 7 Time-Lapse Build: Capturing the Craftsmanship
- 8 Step 6: Final Assembly
- 9 FAQs about Build of a Rustic Tray Stand
- 10 Conclusion: A Rustic Tray Stand to Be Proud Of
Materials and Tools You’ll Need
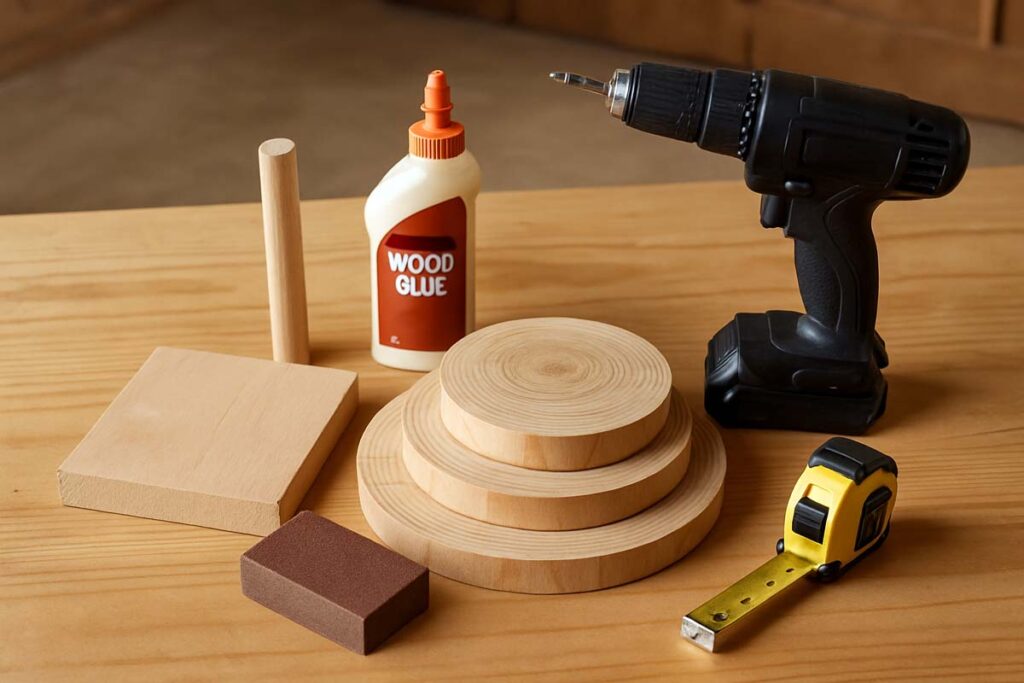
Before we get started, let’s gather all the materials and tools you’ll need to build your rustic tiered tray stand. It’s important to have everything ready before diving in, so you don’t run into any interruptions.
Materials:
- Wooden Planks (1×12, 1×8, and 1×4 sizes) – These will form the base and tiers of your stand.
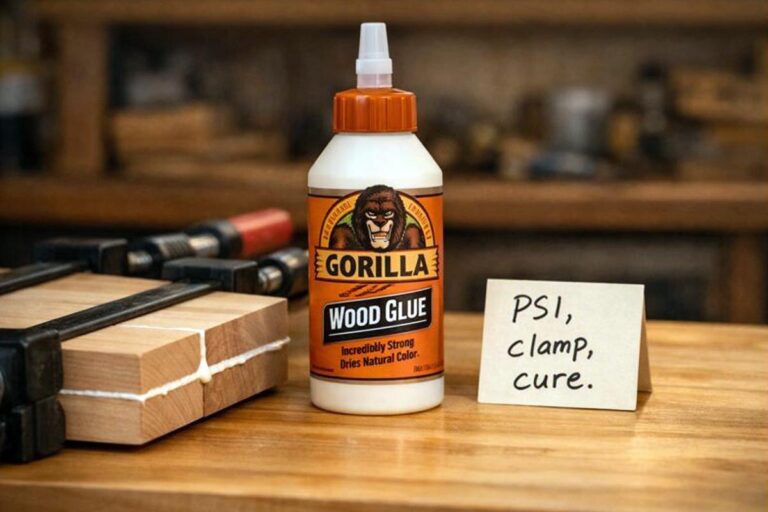
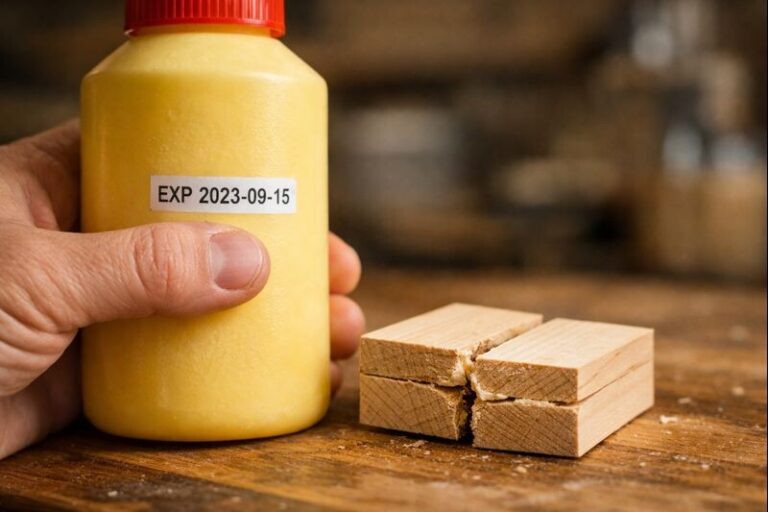
- Wood Glue – To keep everything secure.
- Wood Screws – For extra stability.
- Stain or Paint – A rustic finish adds that aged look.
- Clear Wood Sealant – To protect your tray stand from wear and tear.
- Turntable Mechanism (Optional) – If you’d like your stand to rotate, you can incorporate this.
Tools:
- Circular Saw – For cutting the wood planks to size.
- Power Drill – For drilling holes for screws.
- Measuring Tape & Ruler – Accuracy is key!
- Miter Saw (optional) – For precise cuts at angles.
- Sanding Block – To smooth the edges and finish.
- Paintbrush or Cloth – For applying stain and clear coat.
- Clamps – To hold your pieces in place while the glue sets.
Step 1: Planning and Cutting Your Pieces
The first thing you’ll want to do is plan the dimensions for your rustic tray stand. You can make this as tall or wide as you like, depending on your needs. However, I recommend sticking to something like a 3-tier design to give you that classic rustic look while also maintaining balance.
- Base Piece: Start with a solid base. For a rustic feel, I prefer using a 1×12 wooden plank. Cut it to about 12 inches in length. This will serve as the bottom tray.
- Middle Tray: Next, cut a 1×8 plank to around 10 inches in length. This tray will sit above the base piece.
- Top Tray: For the top tray, use a 1×8 plank again, cutting it to a length of around 8 inches. This one will complete your tiered effect.
- Supports and Pillars: Cut 4 pieces of 1×4 wood (about 5 inches each) for the posts between the tiers. These posts will provide the height and structure to your stand.
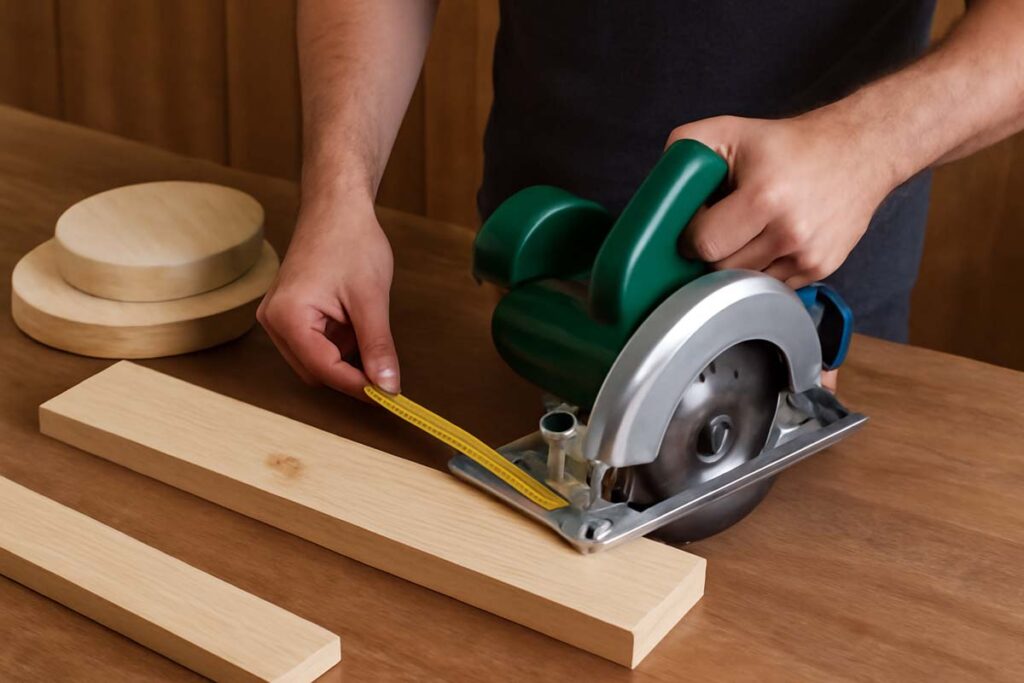
You can also cut some extra decorative wood pieces to enhance the look of the trays, like adding side edges for extra rustic appeal.
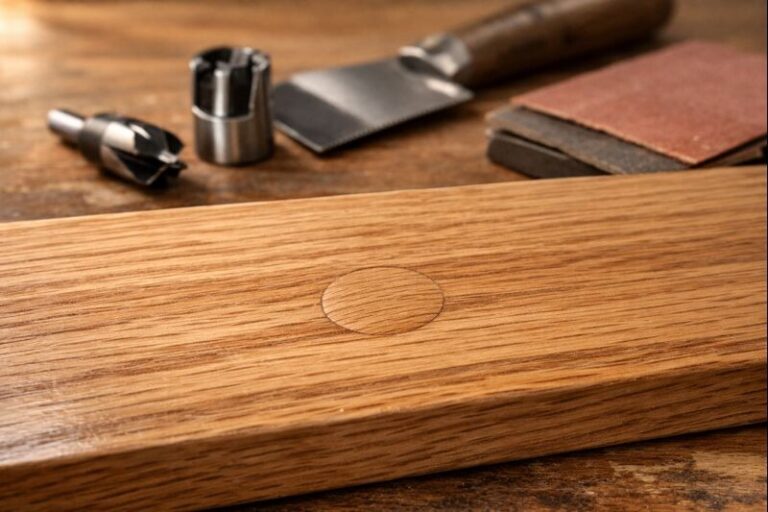
Step 2: Sanding and Preparing the Wood
Once you’ve got everything cut and ready, you’ll want to sand your wood to smooth out rough edges. This step is crucial because it ensures that your tray stand looks professional and feels smooth to the touch. For a rustic look, you don’t have to overdo the sanding—keep some of the natural grain visible.
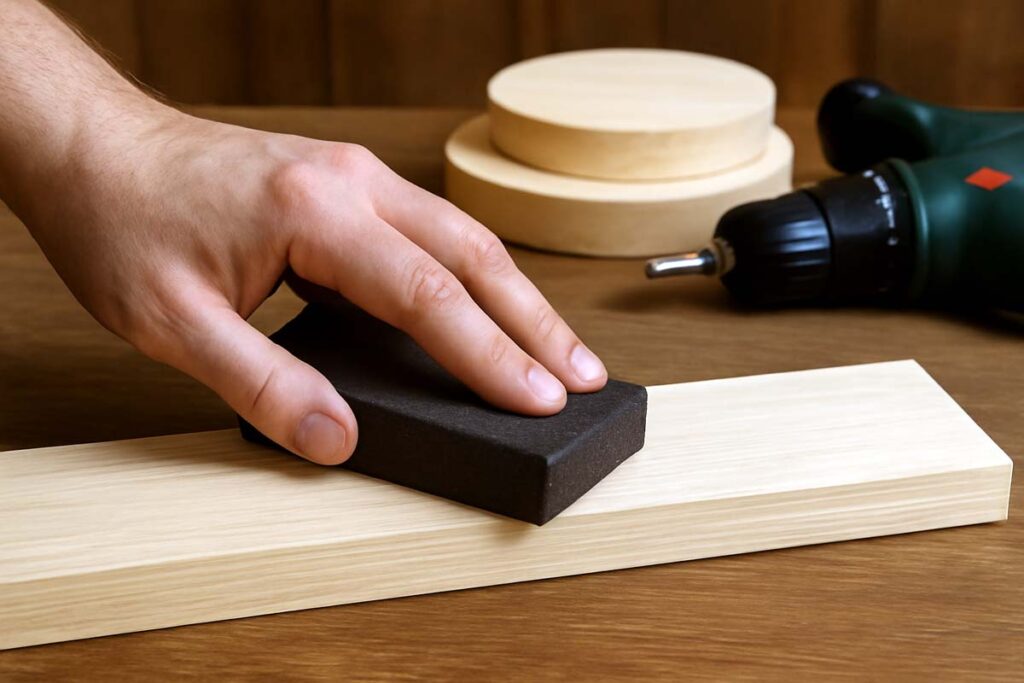
Use a fine-grit sanding block or an orbital sander, if you have one. Pay extra attention to the edges of the trays and any visible cuts.
Step 3: Assembling the Tiers
Now, it’s time to start putting everything together. This part is where the fun begins.
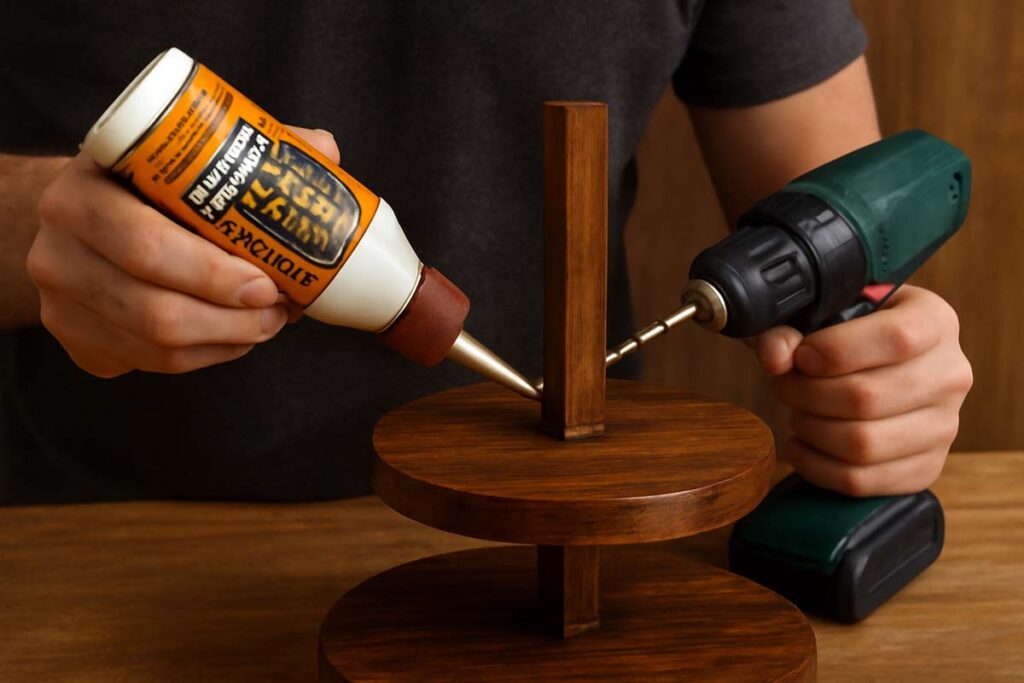
- Glue the Base Tray: Start by gluing the bottom of your base tray. Apply a good amount of wood glue along the edge of the bottom tray, and then press down lightly to secure the first post (pillar). This will act as one of your supports.
- Attach the Middle Tray: Once the glue has dried (give it at least 30 minutes), apply glue to the top of the base tray and attach the middle tray. Make sure the middle tray is centered and level with the base.
- Securing the Posts: Next, attach the four posts in each corner. You can secure them using wood screws for extra strength. Drill pilot holes first to avoid splitting the wood.
- Attach the Top Tray: Once all the posts are secured, apply glue to the top posts and position the final top tray. Let everything dry overnight to make sure it’s all firmly set.
Step 4: Staining and Finishing
Now comes the fun part—adding that rustic charm!
- Stain the Wood: I love using a dark walnut or a natural wood stain for a rustic feel. Apply the stain generously, and then wipe off any excess with a clean cloth.
- Seal the Stand: After the stain has dried, apply a clear wood sealant to protect your project from moisture and dirt. This will also give your rustic tiered tray stand a nice shine.
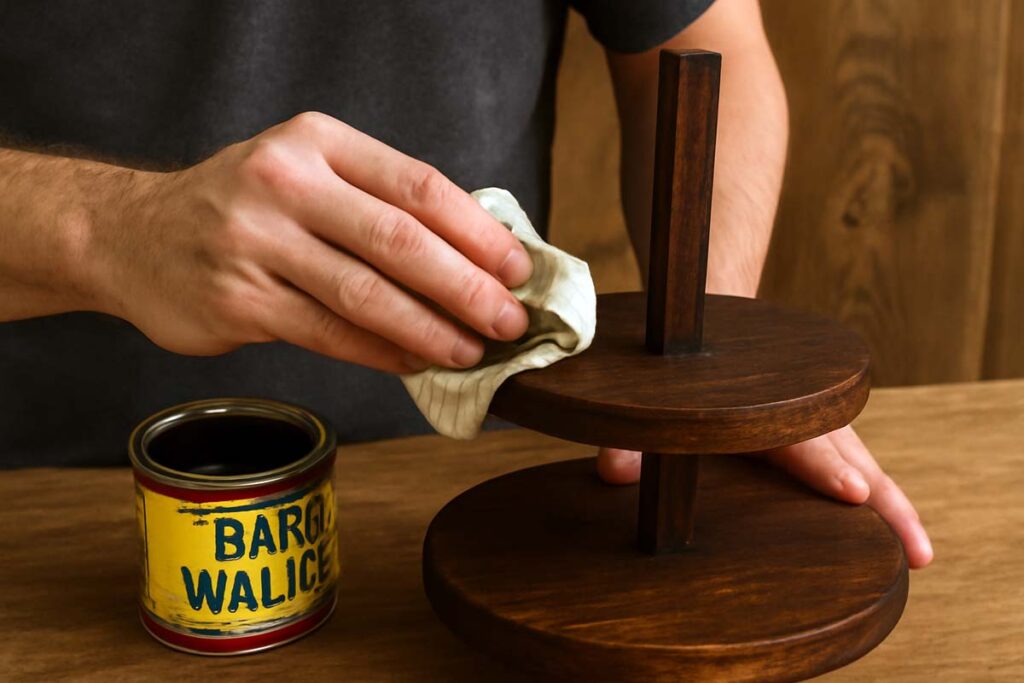
If you want to add more character, you can lightly distress the wood with sandpaper after staining for that authentic, worn look.
Step 5: Adding Final Touches
This is the part where you can get creative. Here’s where you can add your unique spin to the design:
- Handles: Add some metal handles to the sides of the trays for an added rustic touch.
- Turntable Mechanism: If you want to make your tiered tray stand rotate, now’s the time to incorporate a turntable mechanism. This can be attached between the top tray and posts.
- Decorative Details: You could add little wood carvings, or even attach a small chalkboard label to the middle tray for extra flair.
Also learn: Turned Leg 3 Tier Stand
Time-Lapse Build: Capturing the Craftsmanship
I love documenting my builds using time-lapse photography. Not only does it show the progression of the project, but it also allows me to reflect on the craftsmanship involved. A time-lapse gives you the chance to see each step in the process without having to watch a long video.
Here’s how to do it:
- Set Up Your Camera: Position your camera or phone on a tripod, ensuring it captures your entire workspace.
- Frame the Shot: Ensure that all your work areas are in view, from measuring and cutting to the final touches.
- Start Recording: Begin recording before you start your project, and keep the camera running until you’ve finished.
- Speed It Up: In post-production, speed up the footage to condense hours of work into just a few minutes. This time-lapse video will highlight the transformation of raw wood into a beautiful rustic tiered tray stand.
Step 6: Final Assembly
Once your tiers are glued and secured, and the finish is applied, it’s time for the final assembly:
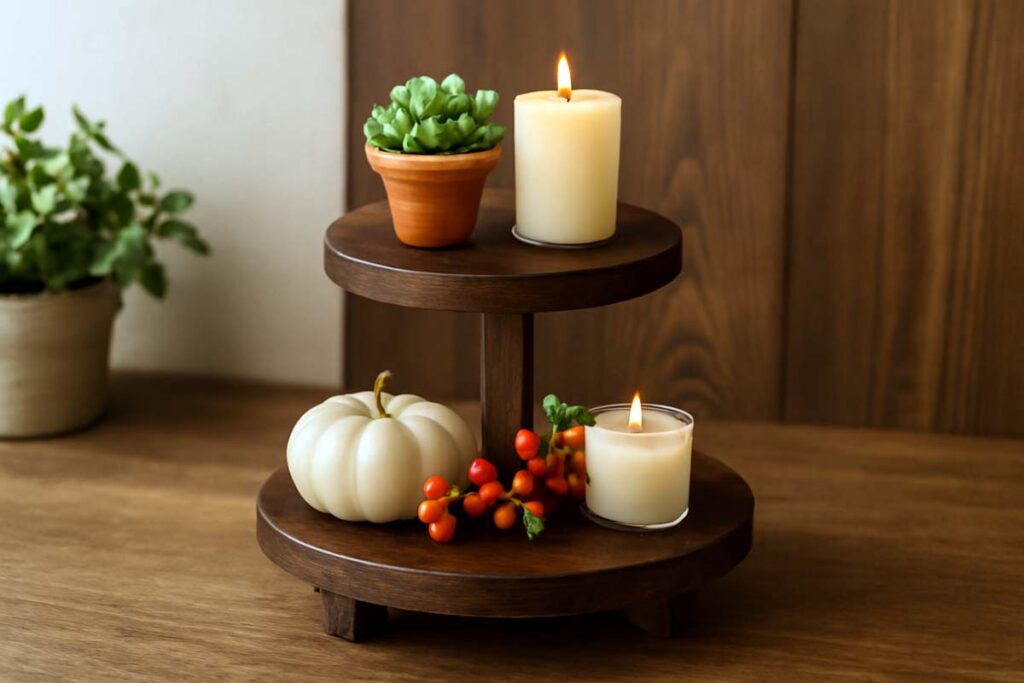
- Check for Stability: Make sure everything is secure. Give it a gentle shake to ensure that the tiers won’t wobble.
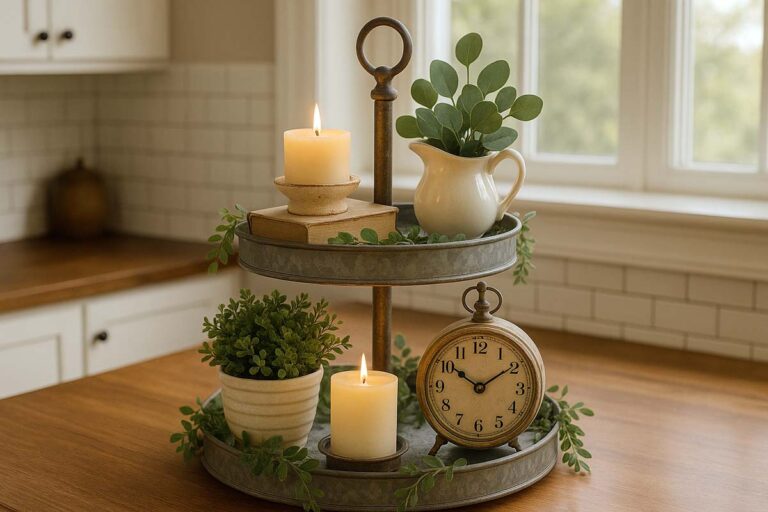
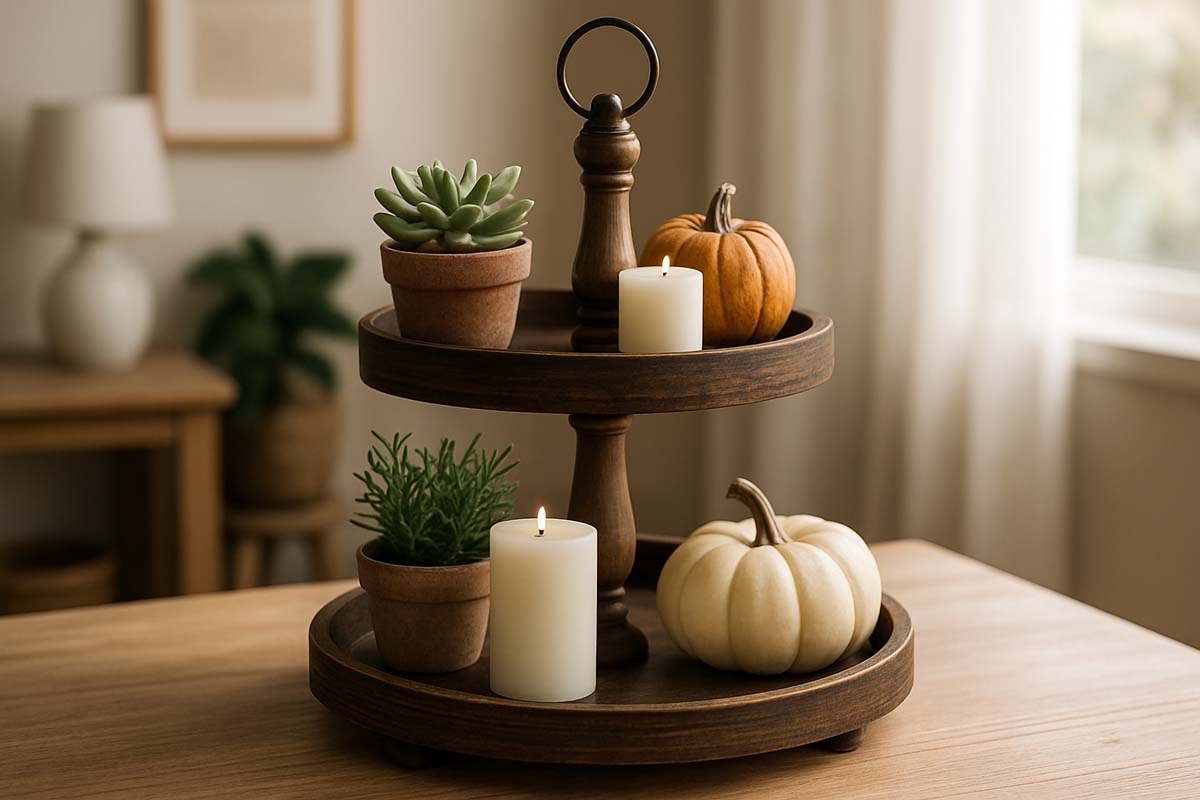
- Add Decorative Touches: Arrange your stand with small plants, candles, or seasonal decor to show it off. A rustic tray stand can make a beautiful addition to any home.
FAQs about Build of a Rustic Tray Stand
For a rustic look, I recommend using pine or cedar. These woods have a natural, weathered appearance and are easy to work with. They also stain well, giving you that classic rustic finish. Plus, they are affordable and readily available for woodworking projects.
To keep your tiered tray stand stable, make sure to secure the posts with screws, not just glue. Using wood screws helps reinforce the structure and adds durability. Additionally, ensure all the trays are evenly aligned and level during assembly to prevent wobbling.
Yes, you can! Adding a rotating turntable mechanism between the top tier and posts will allow your stand to rotate. This is a simple upgrade that can be added during the assembly phase and gives your tray stand a functional and unique touch.
To achieve a rustic finish, start by staining your wood with a darker color, like walnut or oak. After staining, lightly sand the edges and corners to reveal the natural wood underneath. This gives the tray stand that distressed, worn-in look typical of rustic decor.
The time it takes depends on your skill level, but generally, it takes about 3-4 hours for assembly, cutting, and sanding. Allow additional time for the glue and stain to dry, which can take up to 24 hours. This makes the project easy to complete over a weekend.
Conclusion: A Rustic Tray Stand to Be Proud Of
And there you have it! A rustic tiered tray stand that’s not only easy to make, but will also add charm and warmth to your space. Whether you’re displaying some farmhouse decor, adding plants, or just using it as a functional piece, your new stand is sure to be a conversation starter.
By following these steps and using a time-lapse to document the process, you’ll have a fun, quick, and rewarding project that showcases your woodworking skills. Trust me, there’s nothing like the satisfaction of creating something with your own hands.
If you’ve got any questions or need help with any of the steps, don’t hesitate to reach out. Happy woodworking, and I hope you enjoy your new rustic tiered tray stand!