Russian Birch Plywood: 7 Smart Ways to Spot Void Free Panels
Russian birch plywood gives you a hard, consistent panel with clean faces and a striped edge that machines well for cabinets, drawers, jigs, and shop fixtures. In most lumberyards, the name points to Baltic-birch style construction: lots of thin birch veneers, tight glue lines, and a grading system that tells you what the faces look like. The trick is buying it with your eyes open, since origin and availability have shifted since 2022. This guide breaks down construction, grades, sizes, selection, cutting, joinery, and finishing.
What “Russian birch plywood” means at the lumberyard
Russian birch plywood is birch plywood sold under a regional label, not a single guaranteed factory or spec. Many sellers use “Russian” the same way they use “Baltic birch”: an all-birch, multi-ply panel that uses a face-grading system tied to the GOST standard (you’ll see grade pairs like B/BB or BB/BB).
If you want the performance that woodworkers chase, focus on the build and the grade, not the nickname on the rack:
- All-birch veneers through the core (not mixed species)
- A tight, void-free or near-void-free core
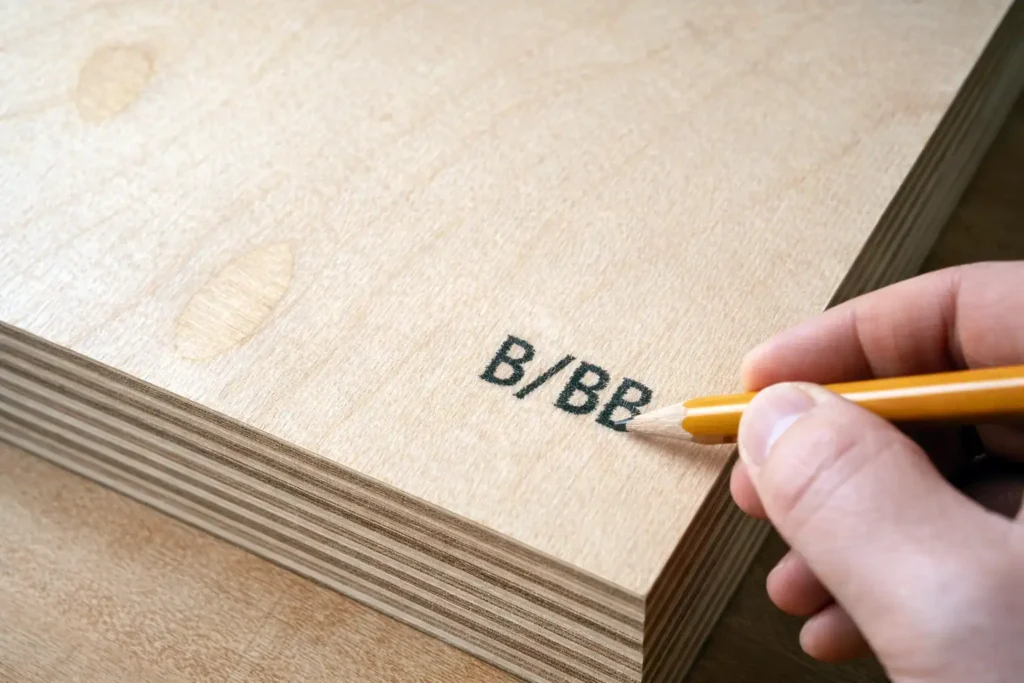
- A face/back grade stamp (B/BB, BB/BB, BB/CP, CP/C, etc.)
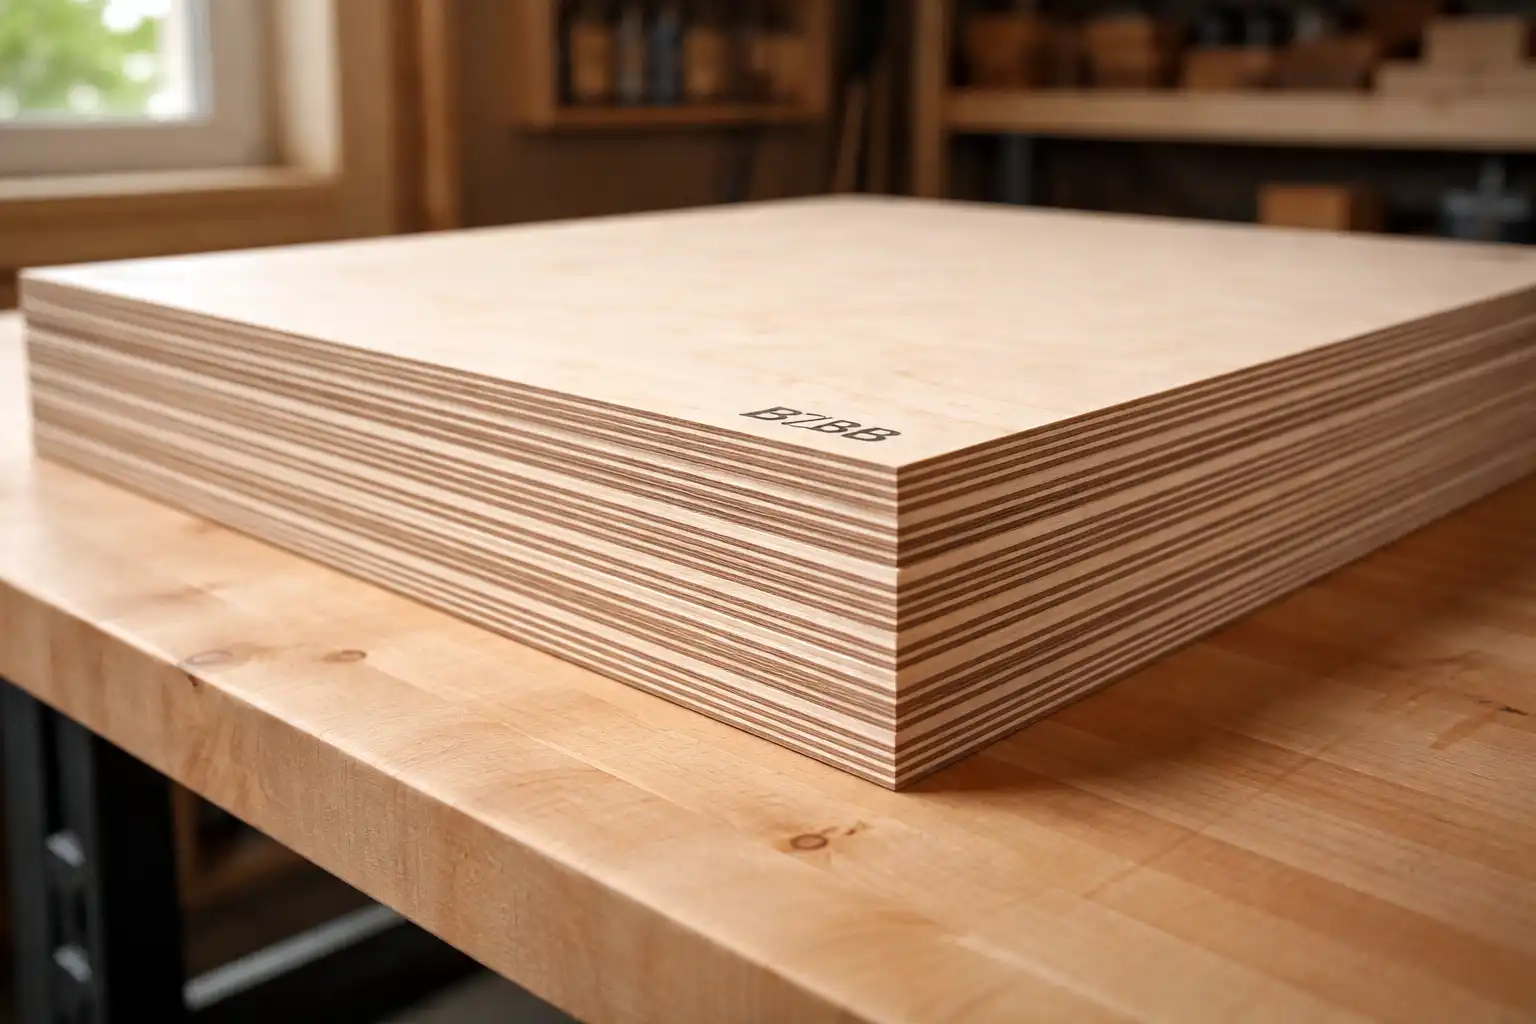
How Russian birch plywood is built
Russian birch panels use cross-laminated veneers, where each layer runs perpendicular to the next. That alternating grain direction is what gives plywood its stiffness and panel stability. Many Baltic-birch style panels also use an odd number of plies and uniform veneer layers to keep the sheet balanced.
That construction pays off in the shop:
- Edges rout clean because the core stays consistent.
- Dados and rabbets hit solid wood instead of random voids.
- Screws bite into dense birch across the thickness.
Grades and face codes you’ll see on Russian birch sheets
Russian birch plywood uses a face/back grade. The first letter is the better face. The second letter is the back face. The GOST-based grading system is widely referenced for Baltic-birch style material.
Here’s how the common shop grades behave in real projects (expect some variation by supplier):
- B/BB: Clean face for show work; the back allows neatly patched areas.
- BB/BB: Patches and color variation appear on both sides; it still finishes well after sanding.
- BB/CP: One “nice” side and one utility side; good for drawer boxes and cabinet parts that hide.
- CP/C (or lower): Shop fixtures, jigs, paint-grade panels, or parts that live behind a face frame.
If you want a deeper primer on the naming that sellers use, see my overview of Baltic birch panels and terminology.
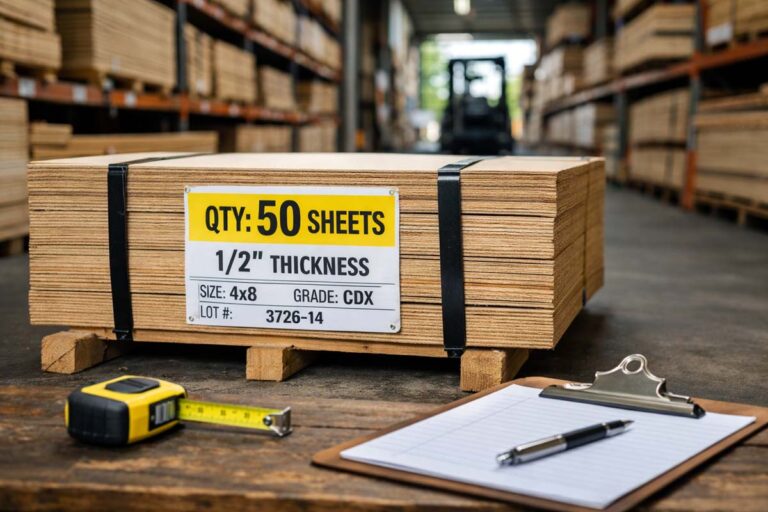
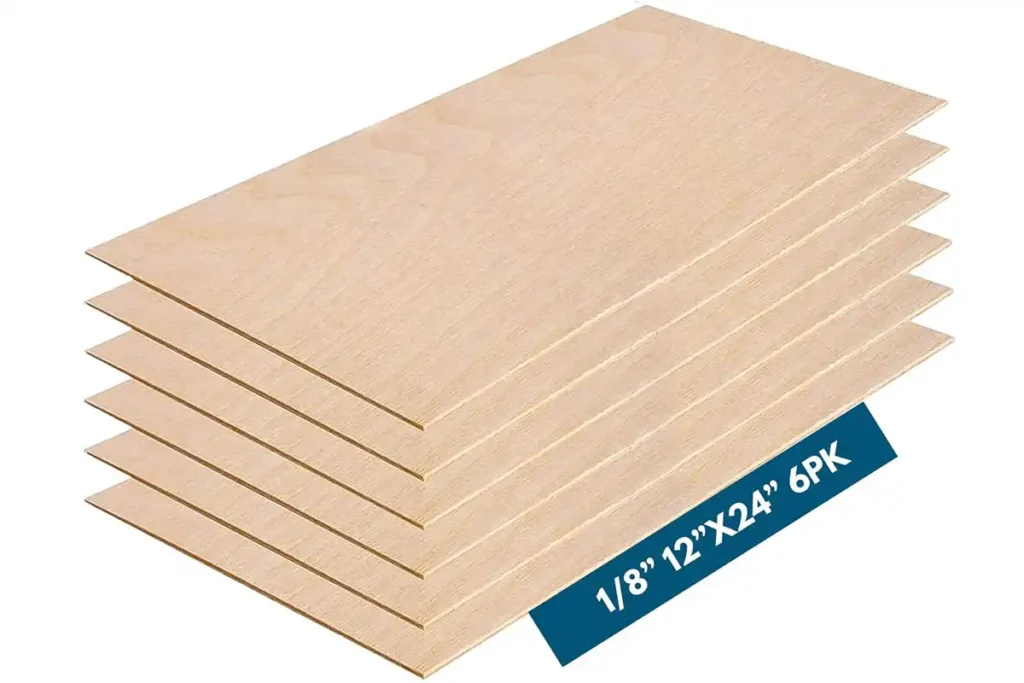
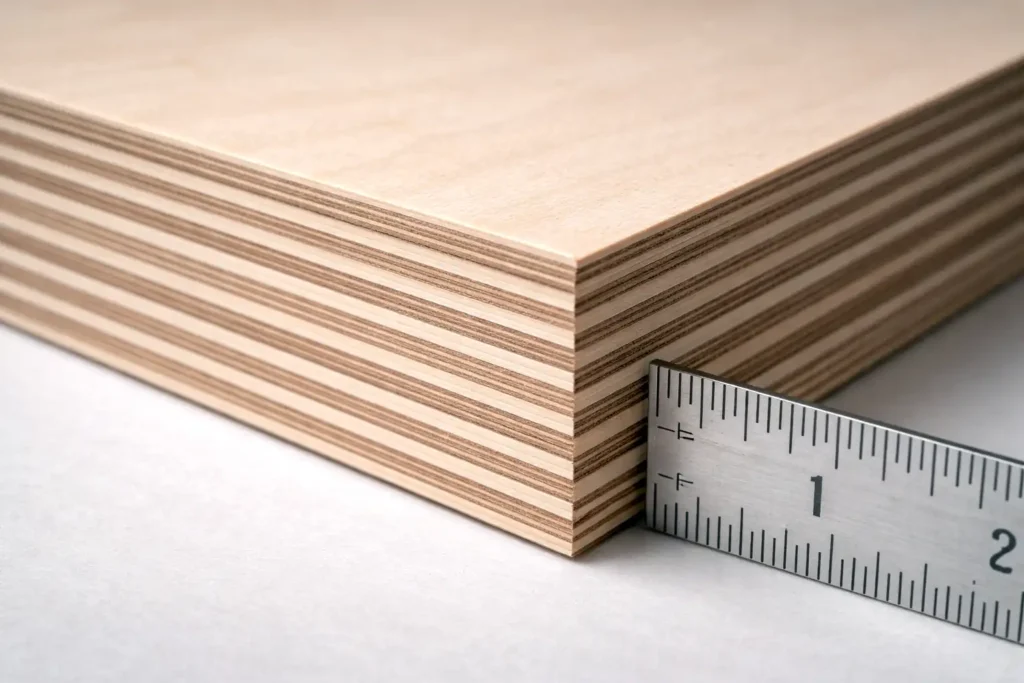
Sheet sizes and thickness: what to expect before you plan a cut list
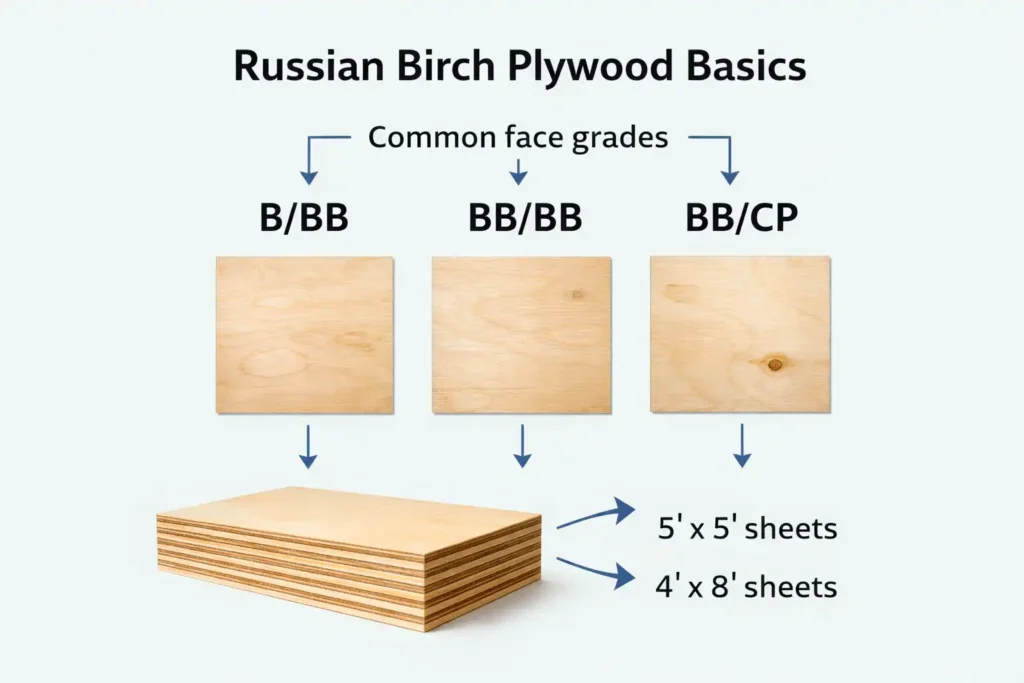
Many Russian birch panels show up in a 5 ft x 5 ft format (often listed as 1525 mm x 1525 mm). Some suppliers also carry larger formats and thicker panels, depending on the import channel and the mill.
Before you design around a “standard” size, check my plain-English reference on common plywood sheet sizes and keep a local supplier’s spec sheet in your project folder.
For thickness, suppliers commonly list birch plywood in millimeters, and availability swings by region. One engineer-focused guide lists Baltic birch panels across a broad range (for example, 3 mm up to 36 mm).
If you want a quick way to translate thickness into joinery choices, use my plywood thickness reference.
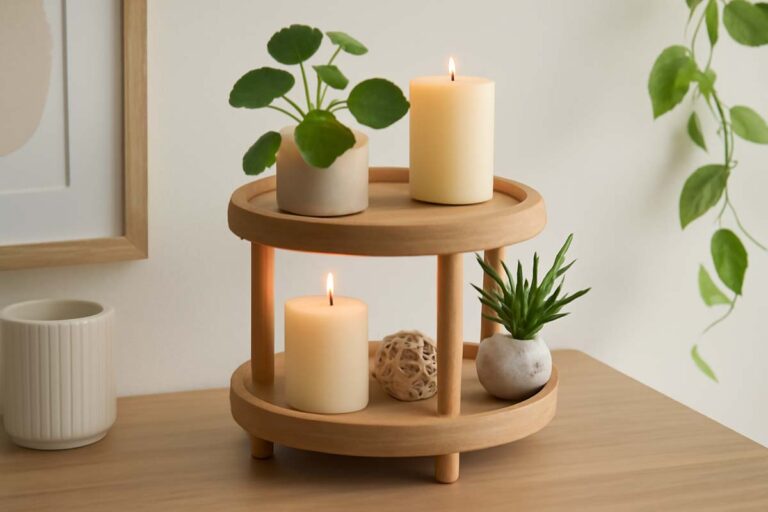
Where Russian birch plywood shines
Russian birch plywood earns its keep when you need clean machining and predictable joinery.
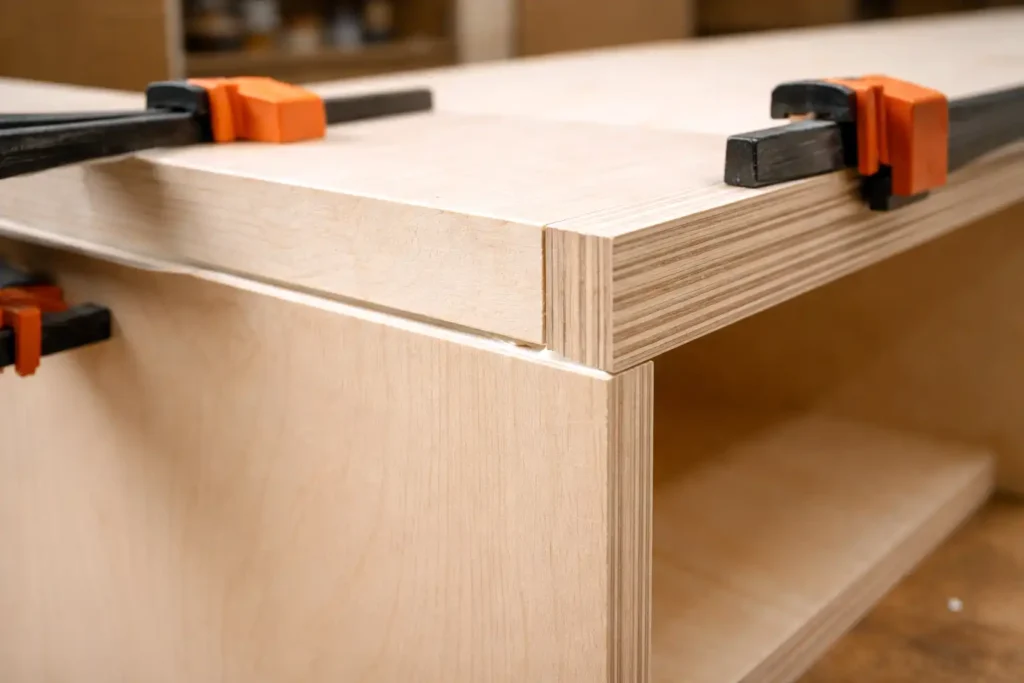
Cabinet and furniture parts: A void-free core supports crisp dados, tight rabbets, and strong screw joints. Use it for cabinet sides, drawer boxes, web frames, and adjustable shelving.
Shop fixtures and jigs: Dense birch layers stay stable, so fences, sled bases, router templates, and drill guides stay true.
Exposed-edge design: The layered edge looks finished after sanding. Many builders skip edge banding on modern pieces and treat the edge as a feature.
Buying workflow: how to choose a good sheet in 5 minutes
When you stand in front of a stack, use a consistent routine. It prevents surprises at glue-up.
- Read the stamp and the grade pair: Confirm face/back grade and any glue rating the supplier lists. Grades tell you patch count and appearance more reliably than a marketing label.
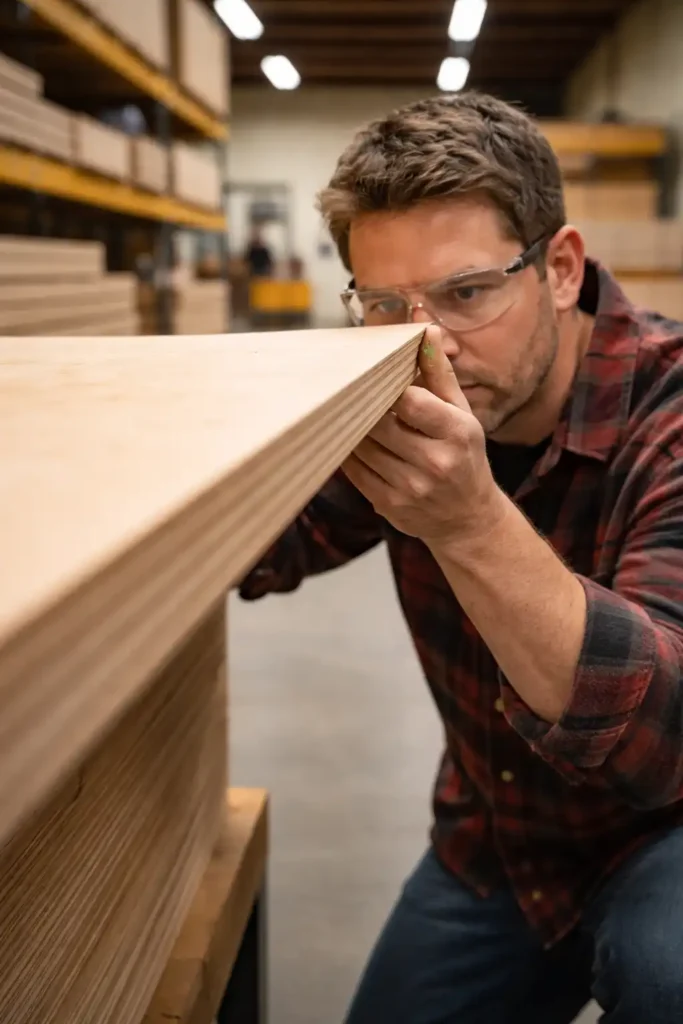
- Sight the sheet for flatness: Look down the long edge. Reject twist first, then reject a strong bow. A small bow often clamps out in a case side. Twist fights you through the whole build.
- Check both faces under raking light: Raking light shows sanding swirls, glue bleed, football patches, and repaired checks.
- Inspect the edge for core gaps: Look for dark gaps or soft spots. A consistent edge usually means consistent interior layers.
- Plan your yield before you buy: Mark your cut list on a phone photo of the sheet. Russian birch costs more than construction plywood, so layout discipline saves money.
A note on origin, sanctions, and why paperwork matters
Since 2022, supply chains for birch plywood changed. The EU has prohibited importing plywood originating in Russia or Belarus, and EU agencies have warned about circumvention risks through third countries.
Trade impacts show up in industry and government analysis of Russian hardwood plywood exports after the invasion of Ukraine.
If origin matters for your project, ask for documentation from the supplier and keep the invoice and product sheets with your job records.
Cutting and machining Russian birch plywood without tear-out
Birch face veneer chips fast when a blade exits the cut. Use a setup that supports the fibers.
- Use a sharp, high-tooth-count blade
A fine crosscut or plywood blade leaves a cleaner face. Dull teeth lift veneer. - Support the face veneer at the cut line
A zero-clearance insert on the table saw reduces chip-out. A track saw splinter guard does the same job. - Cut the good face correctly
- Table saw: put the best face up.
- Circular saw: put the best face down.
- Score first for fussy cuts
For exposed edges or show faces, make a light scoring pass, then cut to depth. - Rout edges in two passes
Take a light climb-cut pass to shear the fibers, then a normal direction pass to finish. Keep hands clear and control the router firmly.
Joinery and fastening that stays tight
Russian birch plywood likes joinery that spreads load across the plies.
Dados and rabbets: Cut them clean and keep them consistent. A snug dado supports shelves and dividers without relying on fasteners.
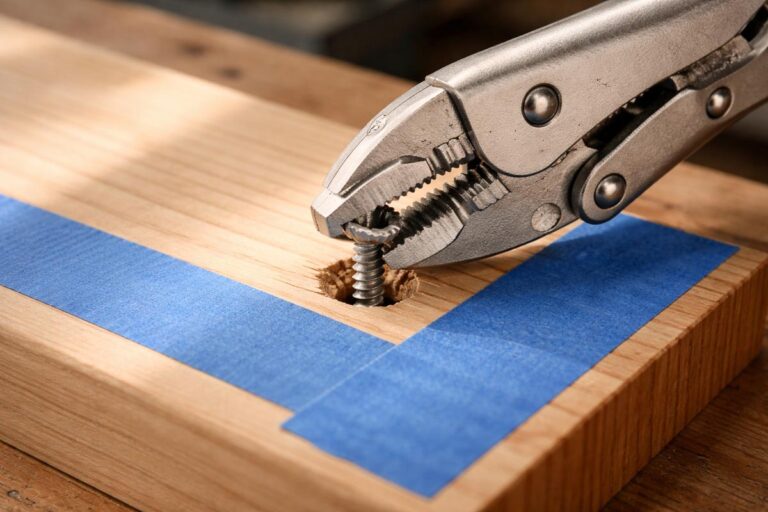
Screws: Pre-drill near edges and ends to avoid splitting the outer veneer. Confirm screw length by test-driving into a scrap offcut so the tip does not blow out the show face.
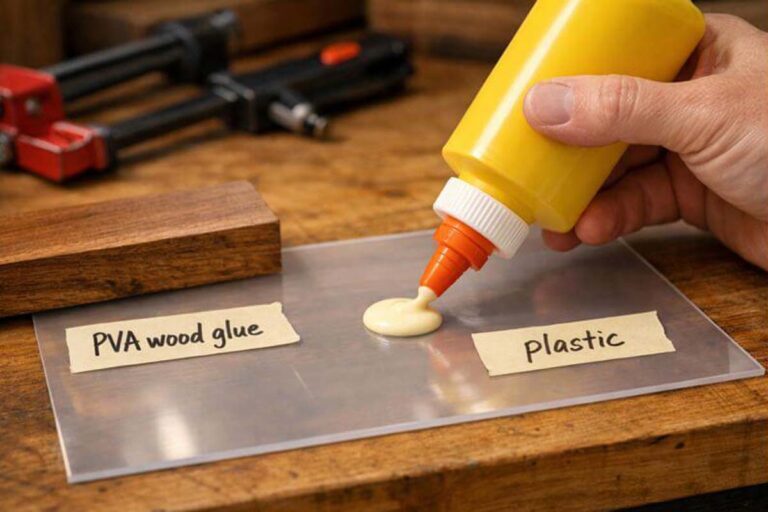
Glue: Use a glue that matches the job. Interior assemblies and drawer boxes do well with standard PVA. Outdoor exposure calls for a water-resistant adhesive and a finish system that seals edges. If you want a quick selector, see my guide on choosing wood glue for plywood assemblies.
Edge treatment: feature edge, banding, or solid lipping
Exposed edge (striped look): Sand the edge through a sensible grit progression and break the corner slightly so it resists denting.
Iron-on edge banding: Use it when you want a clean “solid wood” look on case sides and shelves. Trim with a sharp knife or edge trimmer and sand lightly.
Solid wood lipping: Glue a hardwood strip to the edge when you need impact resistance or you plan to shape a profile. This option also hides ply lines on traditional cabinetry.
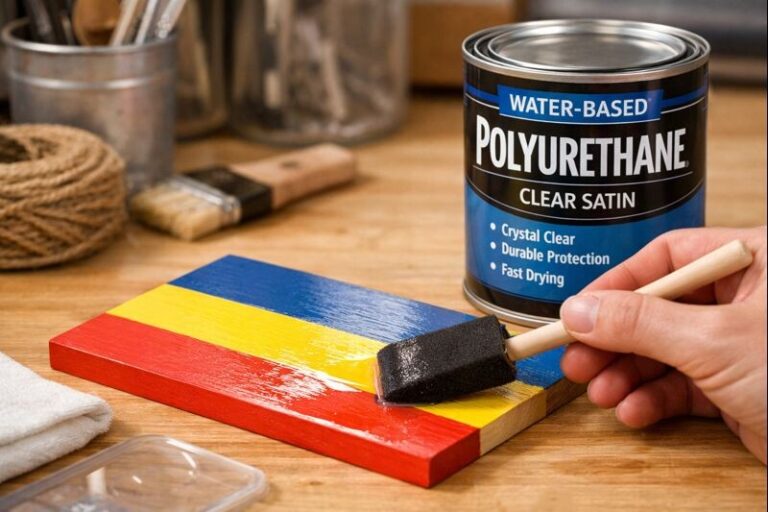
Finishing Russian birch plywood: clear, paint, and stain
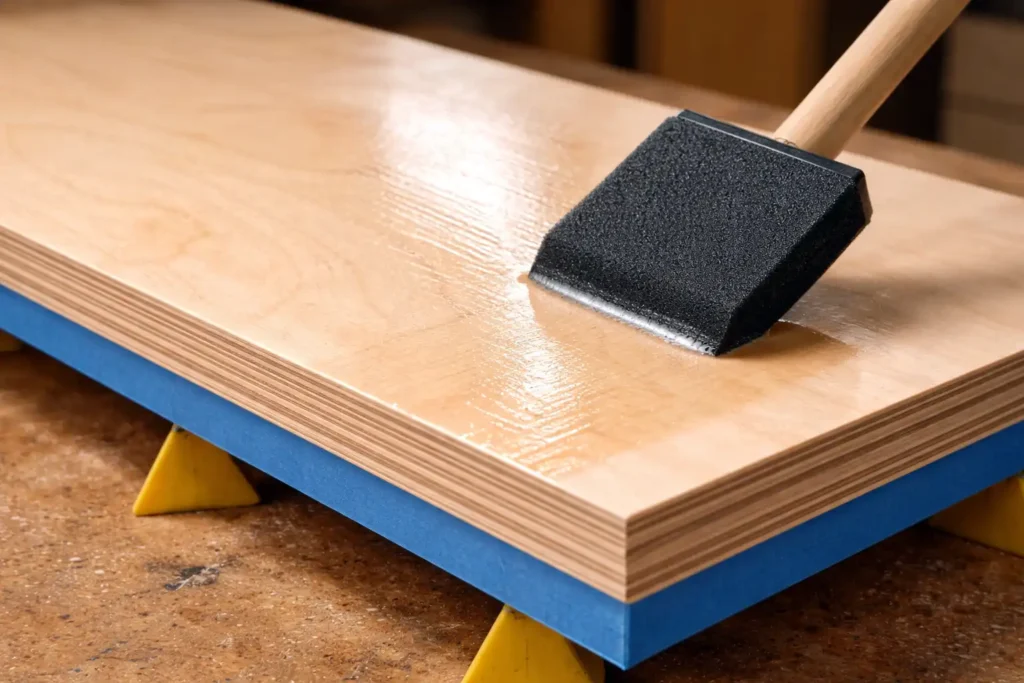
Clear finish: A waterborne polyurethane keeps birch light. An oil-based finish warms the color. Sand lightly between coats and keep your first coat thin to avoid raised grain.
Paint: Use a bonding primer that sticks to dense veneer. Fill patches and sand smooth before topcoat.
Stain: Birch veneer absorbs pigment unevenly, so blotching shows up fast without a controlled prep routine. My step-by-step process for even color lives here: how to stain birch plywood without muddy patches.
Indoor air and formaldehyde: what to look for on labels
Hardwood plywood and other composite wood products sold in the U.S. fall under formaldehyde emission standards, and products commonly carry compliance labeling tied to TSCA Title VI.
Adhesive chemistry also varies by intended use; research summaries commonly describe phenol-formaldehyde resins for exterior-grade plywood and urea-formaldehyde systems for interior applications.
Practical shop takeaways:
- Ask the supplier for emissions compliance info if the project lives indoors.
- Let fresh panels air out before installing in a tight space.
- Use dust collection and a respirator when cutting and sanding.
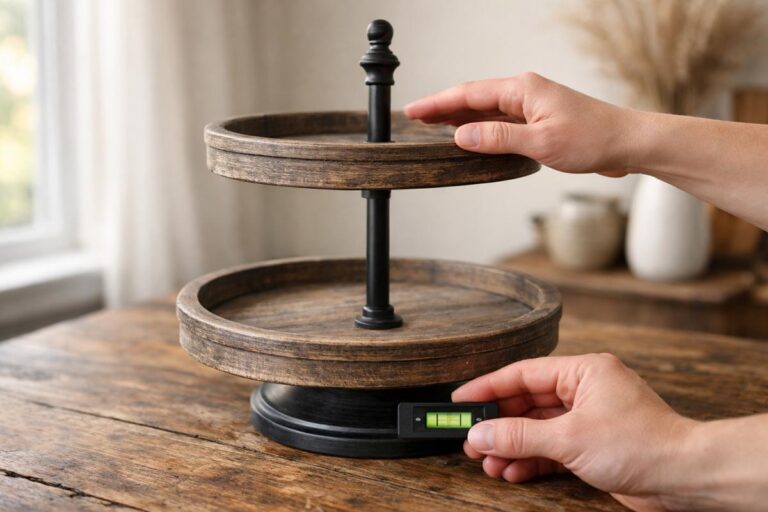
Storage and handling: keep sheets flat until assembly
Store panels flat on a level base with support across the sheet. Keep panels out of damp corners and away from direct concrete contact. If a sheet arrives with a bow, stack it with weight and stickers in a controlled space for a few days before final milling.
Common problems and fixes
Face chipping at the saw.
Fix: sharpen blade, add zero-clearance support, and slow feed rate.
Tear-out at routed edges.
Fix: take lighter passes and use a shear-cutting bit. Back up end grain edges with scrap.
Telegraphing patches under stain.
Fix: switch to dye, use a washcoat, or go paint-grade. Test on offcuts before finishing the project parts.
Wavy panels after one-side finishing.
Fix: finish both faces in the same session. Balanced coats reduce moisture imbalance.
Alternatives when “Russian birch” is hard to find
If the label disappears from your local market, you still have options:
- Look for “Baltic birch” or “all-birch multi-ply” panels with a face/back grade stamp.
- Use domestic cabinet-grade maple plywood for painted cabinets and face-frame boxes.
- Use MDF-core or veneer-core panels for dead-flat doors and painted built-ins, then protect edges with lipping or banding.
FAQs about Russian Birch Plywood
What is russian birch plywood?
Russian birch plywood is an all-birch, multi-ply panel with lots of thin birch veneers and a face/back grade like B/BB or BB/BB, sold for clean edges and stable parts.
How much does russian birch plywood cost?
Price depends on sheet size, thickness, and face grade. In the U.S., a 5×5 Baltic-style birch sheet can run roughly $40 to $100+; one dealer lists 3/4-inch B/BB at $95.
Where to buy russian birch plywood?
Start with local hardwood plywood dealers and cabinet supply shops, since they stock graded sheets more often. Online sellers also carry Baltic-birch style panels, and some big-box stores list birch plywood, so call ahead for sizes.
Is Russian birch plywood the same as Baltic birch?
Often, sellers use “Russian birch” as a Baltic-birch style label, but it’s not a guarantee. Check for all-birch plies, core quality, and a stamped face/back grade before you buy.
Does Russian birch plywood hold screws well?
Yes, the dense, layered birch core usually holds screws better than soft-core panels. Pre-drill near edges, choose the right screw length, and avoid over-driving so you don’t strip the plies or blow out a face.
Bottom line
Russian birch plywood earns its reputation when you buy the right grade, confirm a consistent core, and machine it with plywood-friendly setups. Treat the faces like thin veneer, treat the edges like a design choice, and finish both sides to keep panels stable. When the supply label gets fuzzy, fall back on what matters in the shop: all-birch layers, predictable grading, and clean, flat sheets you trust in joinery.