How to Stop Wood Splitting When Screwing: 9 Pro Tricks That Work
Stop wood splitting when screwing by treating every screw like a small wedge. Wood doesn’t “randomly” crack. It splits when the screw forces fibers apart faster than they can compress. The fixes are simple, and once they’re routine, projects like tray stands, handles, and tiered trays go together cleaner, tighter, and with fewer do-overs.
Contents Here
- 1 Why wood splits when a screw goes in
- 2 The fast “no-split” rule set
- 3 Step 1: Pick a screw that matches the job
- 4 Step 2: Mark safe screw placement before drilling
- 5 Step 3: Drill a pilot hole that’s actually the right size
- 6 Step 4: Add a clearance hole when screwing through a top board
- 7 Step 5: Countersink so the head doesn’t wedge the top fibers
- 8 Step 6: Clamp the work so fibers don’t start a crack line
- 9 Step 7: Lubricate screws in hardwood (it’s not cheating)
- 10 Step 8: Drive slower and straighter than you think
- 11 Step 9: Handle end grain like its own category
- 12 Step 10: Use the right “rescue move” when a split starts
- 13 Common “split triggers” and the simplest fix
- 14 Final thoughts
Why wood splits when a screw goes in
A screw displaces wood fibers.
If the wood can’t move out of the way, it breaks along the grain line.
Splitting usually comes from one (or a stack) of these issues:
- No pilot hole, or a pilot hole that’s too small
- Screwing too close to an edge or end
- Driving too fast (especially with an impact driver)
- Using the wrong screw type or a thick shank for the job
- Forcing a screw into dry, brittle stock or knotty grain
- No countersink, so the head wedges the top fibers apart
If you’re building tiered tray stands, this shows up a lot at tray rims, center posts, feet blocks, and handle uprights where screws land near edges. If you’re working through a full stand build, the joinery steps in a guide like this tiered tray stand build walkthrough can help you plan screw placement before holes ever get drilled: make a tiered tray stand step-by-step.
Learn more: How to Screw Into Wood
The fast “no-split” rule set
Use these three rules and you’ll prevent most splits:
- Predrill the right size pilot hole
- Keep screws far enough from ends and edges
- Drive the screw straight, slower than you think
Everything else is a booster.
Next, here’s the step-by-step process that works reliably in pine, poplar, oak, maple, and walnut.
Know more: What Do the Numbers on Screws Mean
Step 1: Pick a screw that matches the job
A lot of splitting is caused by forcing an oversized, aggressive screw into wood that’s too close to an edge.
Before drilling anything, match the screw to the wood and the purpose.
Use these quick guidelines:
- Softwood (pine, fir, cedar): coarse-thread wood screws bite well, but they also wedge harder
- Hardwood (oak, maple, walnut): choose a sharper point and consider a slightly smaller diameter screw
- Thin parts (tray rims, small cleats): smaller gauge screws (#6 or #8) are safer than #10+
- Visible areas: use trim-head or washer-head screws depending on the look and hold needed
If you want the screw basics clear, these two references are handy before shopping or sizing pilots: wood screw basics explained clearly and understanding screw sizing.
Step 2: Mark safe screw placement before drilling
Wood is strongest along long grain, weaker near ends, and most fragile in narrow strips.
As a practical baseline:
- Stay at least 3/4 inch from an edge on 3/4-inch stock
- Stay at least 1 inch from the end on 3/4-inch stock
- If the part is thinner, scale those distances down, but never crowd the end grain
Plus, if you’re fastening into end grain, expect reduced holding power and more splitting risk.
On tray stands, a common mistake is driving screws into the ends of a tray cleat or narrow post block. If you want a cleaner approach, build the joint so the screw goes into long grain whenever possible (blocks, glue surfaces, or hidden cleats).
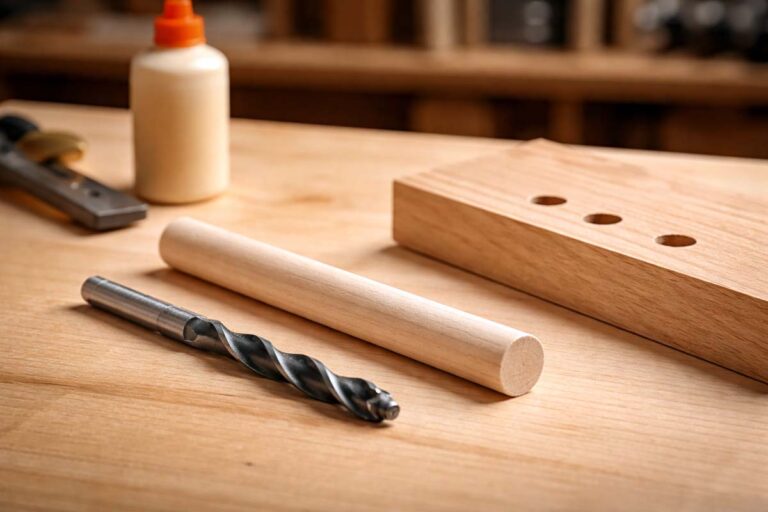
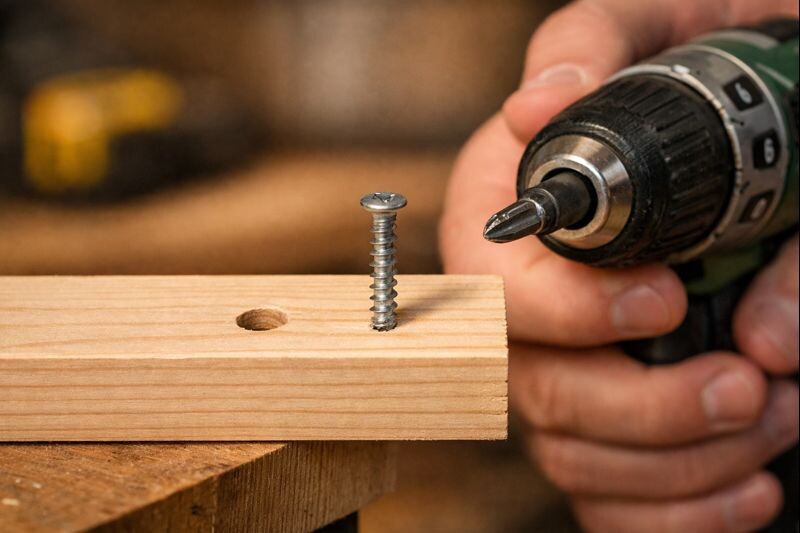
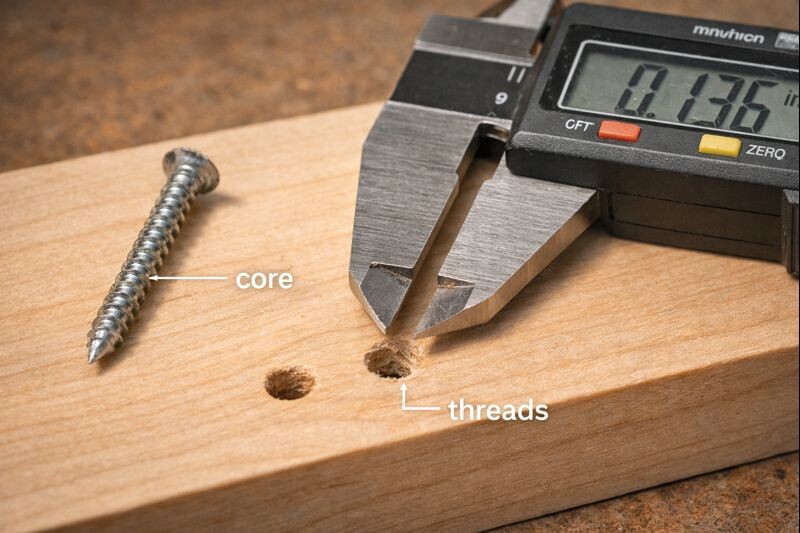
Step 3: Drill a pilot hole that’s actually the right size
Pilot holes aren’t optional if you want consistent results.
The pilot hole should match the screw’s core diameter (the shank inside the threads), not the outside thread diameter.
Here’s a practical reference table that works well as a starting point, then adjust based on wood hardness and screw brand. Test on scrap first.
| Screw size | Softwood pilot (approx.) | Hardwood pilot (approx.) |
|---|---|---|
| #6 | 3/32″ | 7/64″ |
| #8 | 7/64″ | 1/8″ |
| #10 | 1/8″ | 9/64″ |
| #12 | 9/64″ | 5/32″ |
However, if you’re using structural screws, specialty cabinet screws, or anything with a thick shank, follow the manufacturer’s pilot recommendation.
Pilot hole depth matters too
Drill the pilot hole at least as deep as the screw will travel into the wood.
In hardwood, drill the full depth.
If the screw stops halfway and the driver keeps pushing, the wood is the thing that gives.
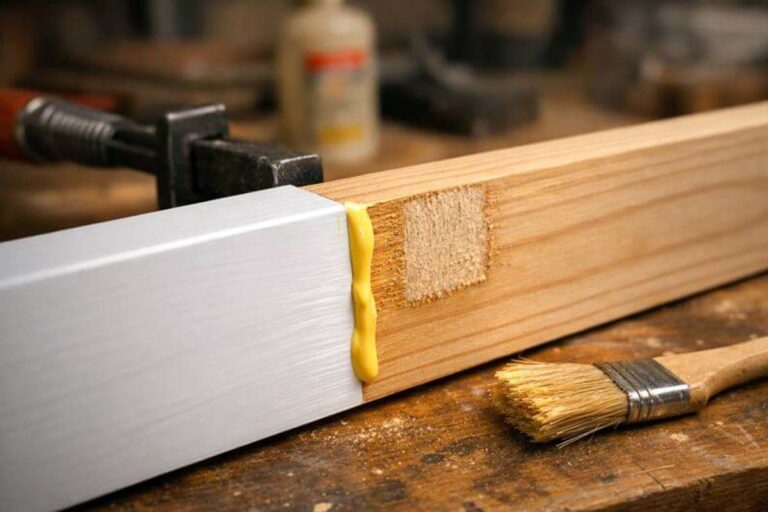
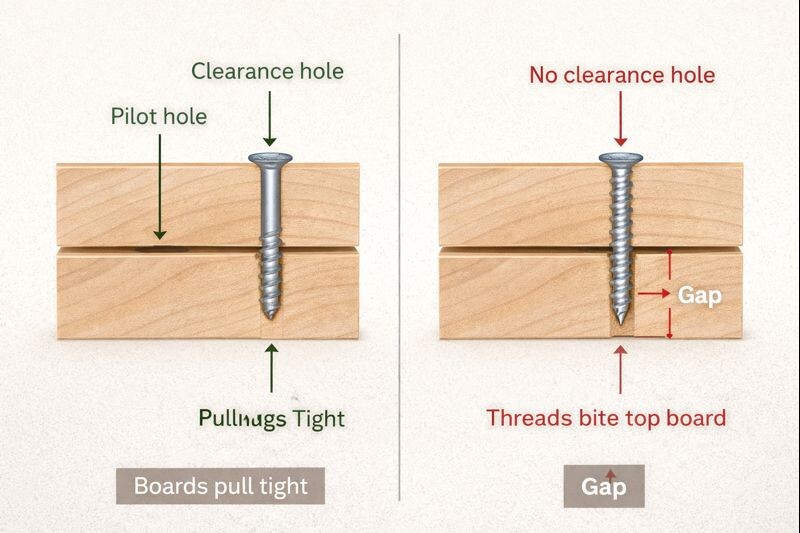
Step 4: Add a clearance hole when screwing through a top board
This step is where a lot of people level up.
If you’re joining two pieces, the top piece should usually get a clearance hole so the threads don’t bite the first board and force the boards apart.
Do this:
- Drill a clearance hole in the top piece (same size as the screw’s outside thread diameter, or slightly smaller)
- Drill a pilot hole in the bottom piece (core diameter)
This pulls parts tight with less stress and fewer splits.
For tray stands, this is huge when attaching tray bottoms to supports, or fastening brackets to posts.
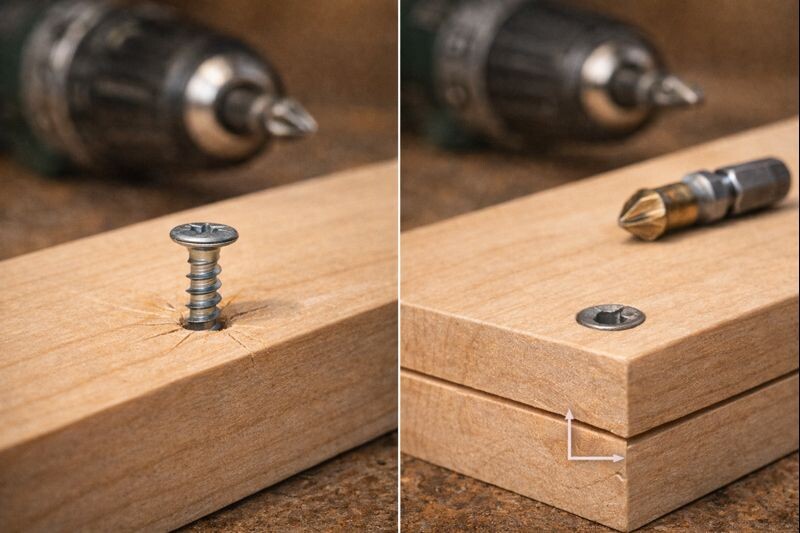
Step 5: Countersink so the head doesn’t wedge the top fibers
A screw head is a wedge too.
If it doesn’t have room, it can split the surface even when the pilot hole is perfect.
Use a countersink bit when:
- The screw head is flat or tapered
- You’re near an edge
- The surface is brittle (hard maple and oak love to crack at the surface)
If you’re aiming for clean finishes on tray parts, a smooth prep routine matters as much as the joinery. This sanding guide pairs well with screw work because torn grain around holes is often a sanding problem too: sanding end grain without fuzz.
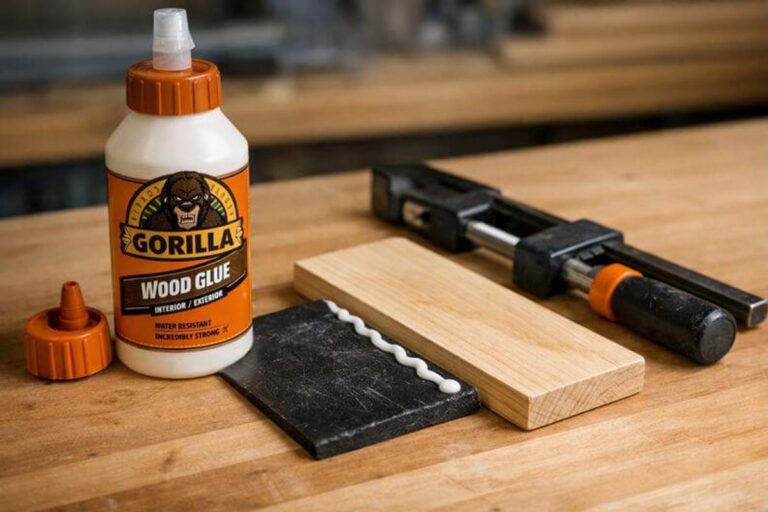
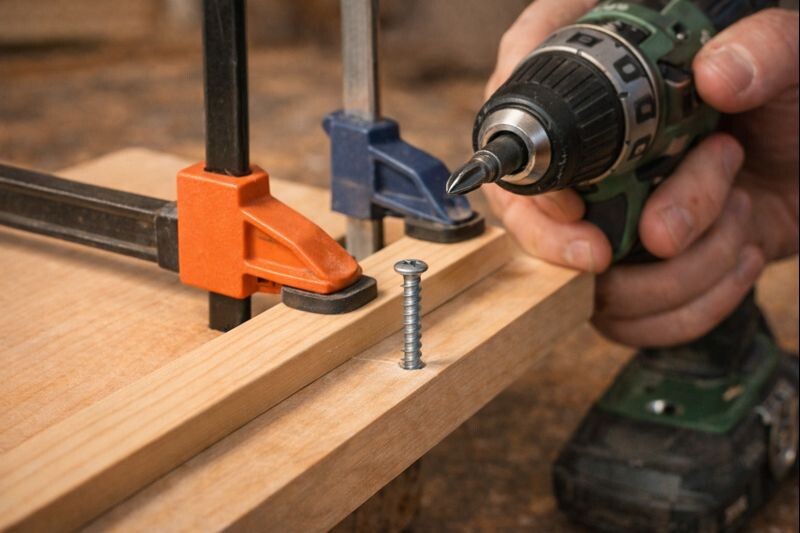
Step 6: Clamp the work so fibers don’t start a crack line
Clamping isn’t just for glue-ups.
When you drive a screw near an edge, clamping compresses the fibers and limits movement.
Use at least one clamp when:
- Screws are within an inch of an edge
- You’re fastening narrow strips (like tray rims)
- The grain is wild, knotty, or the part is thin
Next, put the clamp so it squeezes across the grain near the screw location.
That pressure can be the difference between “perfect” and “split city.”
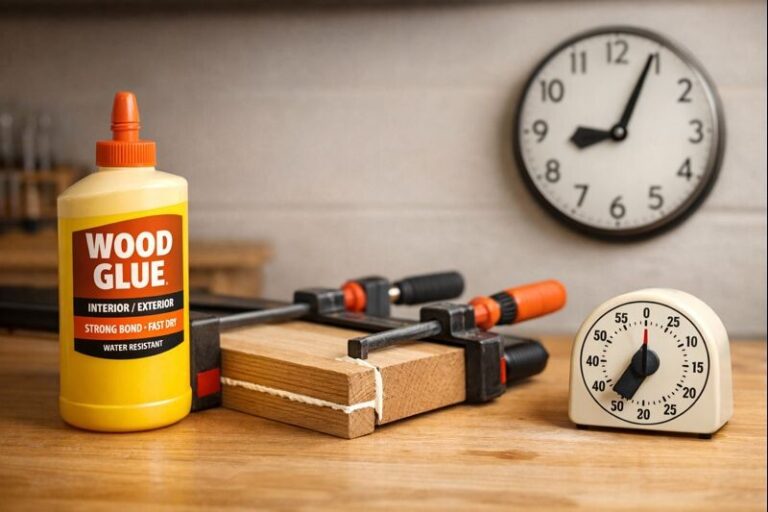
Step 7: Lubricate screws in hardwood (it’s not cheating)
If a screw binds, torque climbs fast.
High torque is what snaps screws and splits wood.
For hardwoods, lubricate threads lightly with one of these:
- Paste wax
- A swipe of paraffin (candle wax)
- A tiny touch of soap (use sparingly, and avoid on parts you’ll glue later)
This keeps the screw turning smoothly and reduces stress on the fibers.
Step 8: Drive slower and straighter than you think
Speed causes heat, binding, and sudden torque spikes.
That’s why impacts are split machines on small woodworking parts.
Use this approach:
- Start the screw with a drill/driver on a low clutch setting
- Keep the bit seated fully and straight
- Drive until the head is nearly home
- Finish the last turn or two slowly (or by hand if the part is delicate)
If you’re using an impact driver, use the lowest setting and feather the trigger.
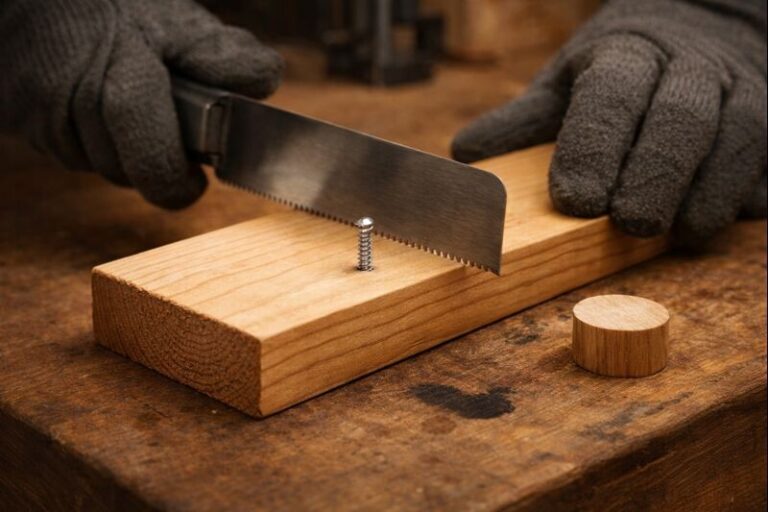
Step 9: Handle end grain like its own category
Screwing into end grain is where a lot of tray stand parts fail, especially feet blocks and post tops.
If you must screw into end grain:
- Predrill full depth
- Use a slightly larger pilot in hardwood
- Consider a longer screw to increase hold (within reason)
- Add glue and a joint design that gives more long-grain contact
Better yet, redesign so screws land into long grain using a cleat, a block, or a lap.
If your hardware layout is causing a stand to loosen over time, this troubleshooting guide helps with joint strategy: stop a tiered tray stand from wobbling.
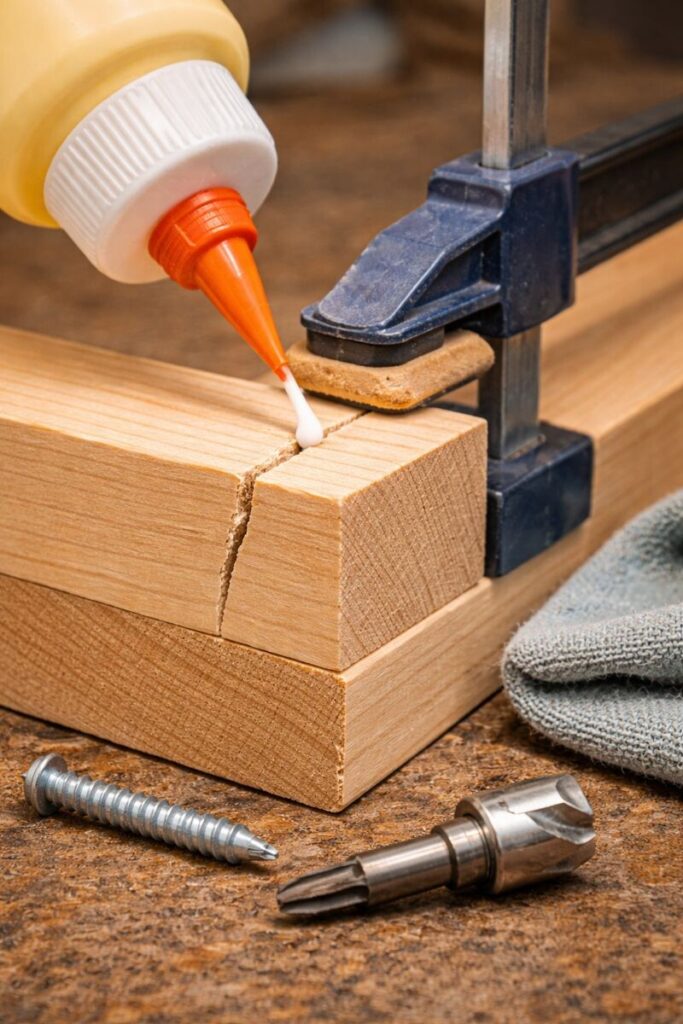
Step 10: Use the right “rescue move” when a split starts
Sometimes you’ll hear the tiny crack.
Don’t keep driving.
Do this instead:
- Back the screw out immediately
- Open the crack gently (just enough to work glue in)
- Push wood glue deep into the split
- Clamp firmly across the split
- Let it cure fully
- Redrill the pilot hole slightly larger, and move the screw if needed
If the hole is already chewed up or the screw no longer bites, these repair guides are the fastest way back to solid: fix a stripped screw hole and tighten loose screws that won’t hold.
Common “split triggers” and the simplest fix
Here’s a quick troubleshooting list that saves time at the bench:
- Split near the end of a board: move the screw farther from the end and drill a deeper pilot
- Split at the surface around the head: countersink and slow down final turns
- Split in hardwood despite a pilot: enlarge the pilot slightly and add wax to threads
- Parts won’t pull tight: add a clearance hole in the top piece
- Screw snaps or binds: lubrication plus a proper pilot (and avoid cheap brittle screws)
Also, keep bits sharp and drivers clean. Worn bits cam-out and cause you to push harder, which leads to crooked driving and surface damage. If your tools have been neglected, this maintenance guide keeps the basics in shape: tool care for woodworking beginners.
Final thoughts
Stopping splits comes down to prep, not luck.
Lay out screw locations, drill the right pilot and clearance holes, countersink when needed, and drive slowly with control. That process feels “extra” the first few times. Then it becomes automatic, and your tray stands and small builds start looking cleaner and fitting tighter every single time.