How to seal acrylic craft paint on wood so it doesn’t stay tacky
Sealing acrylic craft paint on wood so it doesn’t stay tacky comes down to two things: letting the paint fully cure, then using a compatible topcoat in thin, even layers. If either part gets rushed, the surface can feel sticky for weeks. This guide walks through the exact steps that prevent tackiness, plus fixes that work when the tacky finish already happened.
Contents Here
- 1 Why acrylic craft paint stays tacky on wood
- 2 The “no-tacky” prep checklist (don’t skip this)
- 3 Best sealers for acrylic paint on wood (and which ones cause trouble)
- 4 Step-by-step: sealing acrylic paint with water-based polyurethane
- 5 Step-by-step: sealing with spray acrylic sealer (fast and low drama)
- 6 Fixing a tacky acrylic-painted surface that’s already sealed
- 7 Extra tips that prevent tackiness on tray stand projects
- 8 Common mistakes that cause “sticky forever” finishes
- 9 Final thoughts
Why acrylic craft paint stays tacky on wood
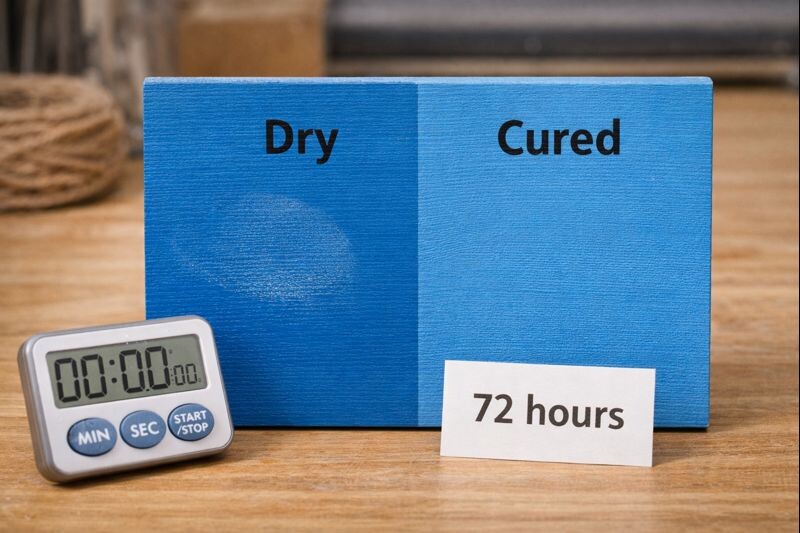
Acrylic craft paint dries fast, but “dry” isn’t always “cured.”
Dry means the water has flashed off and the surface doesn’t smear.
Cured means the acrylic binder has hardened through, so it can take a clear coat without softening.
Tackiness usually shows up for a few common reasons.
- Paint coats were too thick. A skin forms on top while the layer underneath stays soft.
- Humidity stayed high. Water-based paint cures slower in damp air, especially in garages and basements.
- The wood sucked moisture unevenly. Bare wood can pull water out of paint in blotchy ways, leaving weak spots.
- An incompatible clear coat went on too soon. Some finishes “trap” moisture or react with soft acrylic.
- Plasticizers and additives migrate. Craft paints vary a lot. Some colors (often darker or more saturated) stay softer longer.
When the project is something you touch a lot—like a tiered tray stand, tray rounds, or little signs—tackiness becomes a constant annoyance. If you’re building tray projects often, it also helps to keep the wood prep consistent. The same prep mindset used in a tiered tray stand build guide carries over to painted decor pieces.
The “no-tacky” prep checklist (don’t skip this)
Before any sealer goes on, get the base right. This is where most problems are prevented.
1) Let the paint cure, not just dry
For typical craft acrylic on raw wood:
- Minimum cure time: 24–48 hours
- Safer cure time (especially for thick paint, dark colors, or humid weather): 72 hours
If the piece still feels cool or slightly rubbery, it’s not ready.
2) Control the environment
Aim for:
- 65–75°F
- 40–55% relative humidity
- Light airflow (a small fan across the room, not blasting the project)
High humidity is a big deal in the Pacific Northwest. When the shop air is damp, cure time stretches. If you’ve ever had wood movement issues, the same logic applies here too. The habits in basic tool and shop upkeep routines help more than people expect.
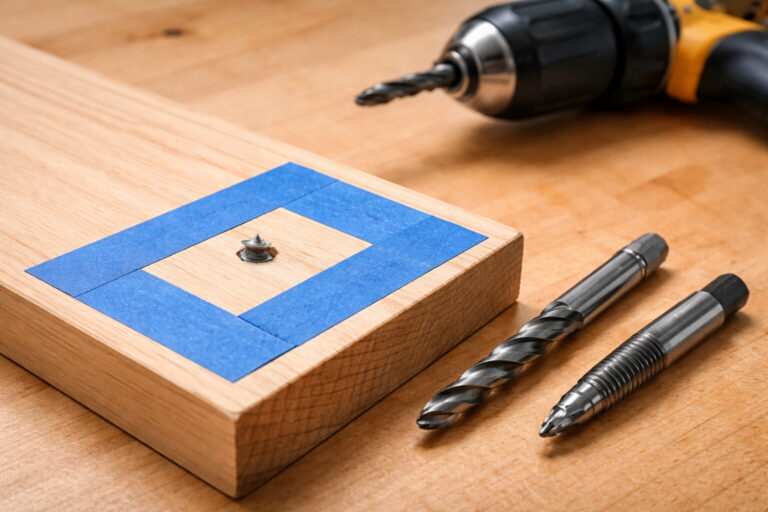
3) Seal bare wood before painting (best practice)
If the paint is going straight onto raw wood, the wood can drink the binder unevenly.
Next time, seal first with one of these:
- Dewaxed shellac (thin coat)
- A sanding sealer made for water-based finishes
- A thinned coat of water-based poly (lightly scuff sand after)
This one step makes paint cure more evenly, and it keeps topcoats from “dragging” the color.
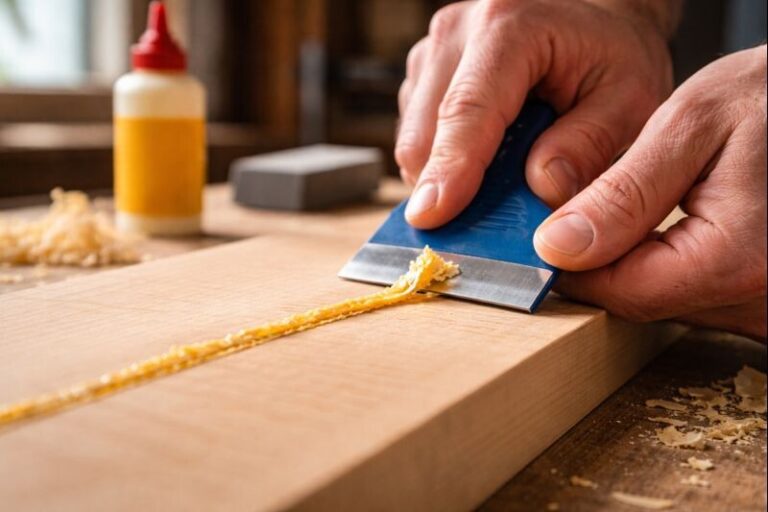
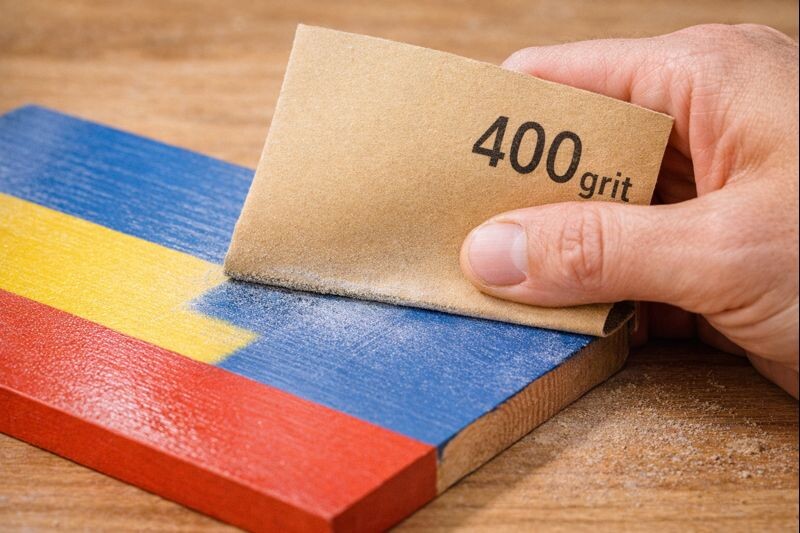
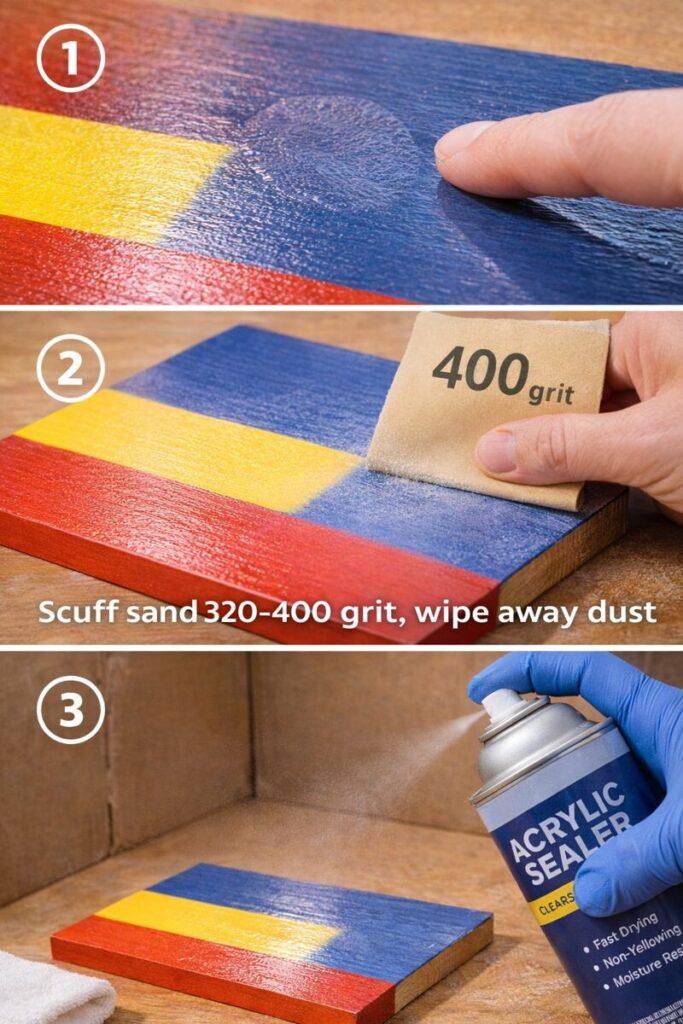
4) Scuff sand the paint gently
Once cured, scuff sanding gives the clear coat a bite.
- Use 320–400 grit
- Very light pressure
- Sand just until the shine dulls
- Wipe clean with a damp microfiber or tack cloth
If the paint rolls up into little boogers, it’s not cured yet. Stop and wait.
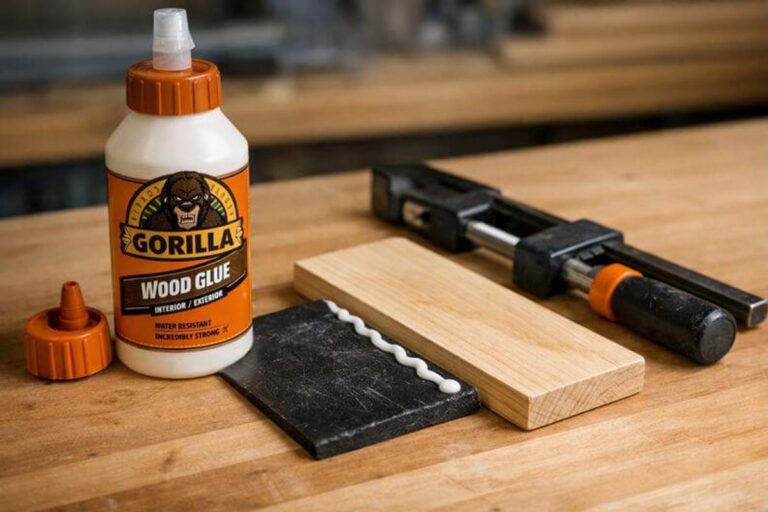
Best sealers for acrylic paint on wood (and which ones cause trouble)
Here’s the practical truth: most tacky clear coats come from either rushing, or using the wrong product for the conditions.
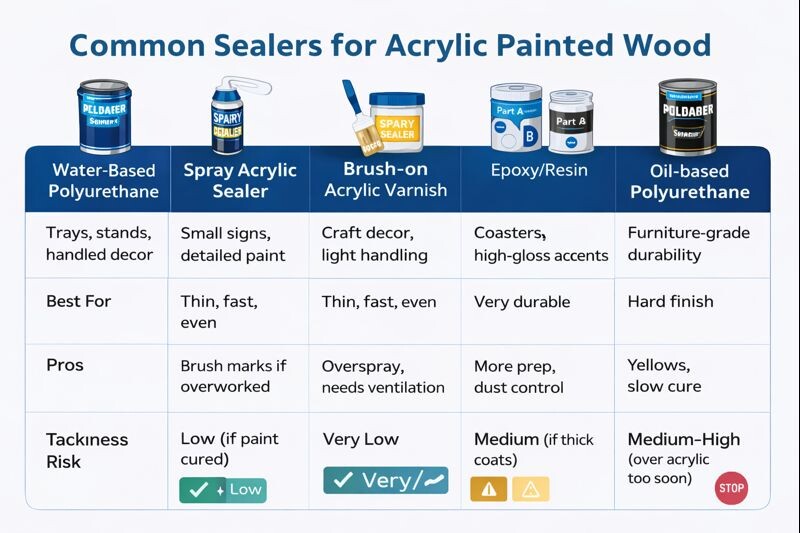
Quick comparison table
| Sealer type | Best for | Pros | Common drawback | Tackiness risk |
|---|---|---|---|---|
| Water-based polyurethane / Polycrylic-style | Trays, stands, handled decor | Tough, clear, low odor, brushable | Brush marks if overworked | Low (if paint cured) |
| Spray acrylic sealer (rattle can) | Small signs, detailed paint | Thin coats, fast, even | Overspray, needs ventilation | Very low |
| Brush-on acrylic varnish | Craft decor, light handling | Simple, flexible | Softer than poly | Medium (if thick coats) |
| Epoxy/resin topcoat | Coasters, high-gloss accents | Very durable, deep gloss | More prep, dust control | Low (if mixed right) |
| Oil-based polyurethane | Furniture-grade durability | Hard finish | Ambering, slow cure | Medium–high (over acrylic too soon) |
For most tray stand parts and painted tray decor, a water-based polyurethane is the easiest “tough but predictable” choice. If the project is a walnut or hardwood tray piece, the finishing mindset from a guide like finishing walnut the right way is still helpful, even if the surface is painted.
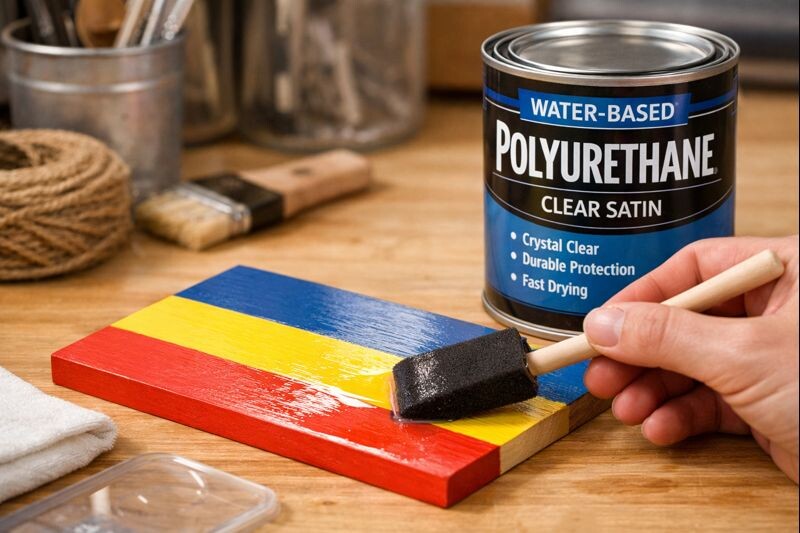
Step-by-step: sealing acrylic paint with water-based polyurethane
This is the method that holds up well for tray stands and tiered tray accessories that get handled.
Materials
- Water-based polyurethane (satin is forgiving)
- Synthetic bristle brush or foam brush
- 320–400 grit sandpaper
- Clean lint-free cloth
- Optional: a tiny amount of water for brush flow (only if product label allows)
Step 1: Confirm cure and scuff sand
Scuff sand the painted surface lightly with 320–400 grit. Wipe off dust fully.
If you want a helpful visual later, a close-up photo of the “dull scuffed” surface versus “glossy unscuffed” surface tells the story fast.
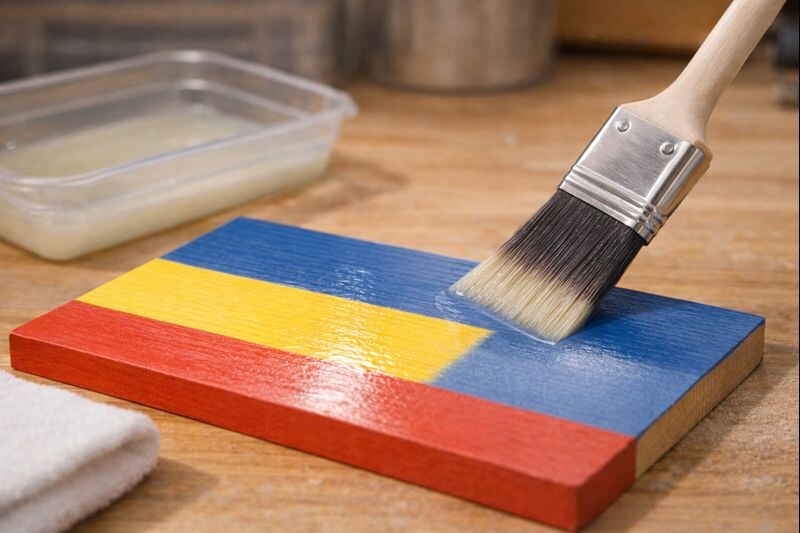
Step 2: Apply the first coat thin
Load the brush lightly.
Brush with the grain when possible, even on painted surfaces.
Keep the coat thin enough that it levels without puddles.
Avoid “going back” over areas that are already tacking up.
Step 3: Dry and scuff
Let it dry per label instructions, then add time if your shop is cool.
- Typical dry: 2–4 hours
- Safer recoat window in average conditions: 4–6 hours
Scuff sand very lightly with 400 grit. Wipe clean.
Step 4: Apply 2–3 more thin coats
- For decorative items: 2 coats often works.
- For handled tray stands and tray tops: 3–4 coats is better.
Stop when the surface looks even and feels slick, not rubbery.
Step 5: Let it cure before heavy use
Dry-to-touch happens fast.
Full cure takes longer.
- Light use: 24 hours
- Normal use: 3–7 days
- Hard use or stacking items: 7 days
If you’re making a coffee bar setup, that “normal use” cure window matters. A finished tray looks great styled up, but weight and friction too early can print into the finish. If you’re doing a full setup, pairing this with a coffee bar tiered tray styling idea helps plan the load and layout.
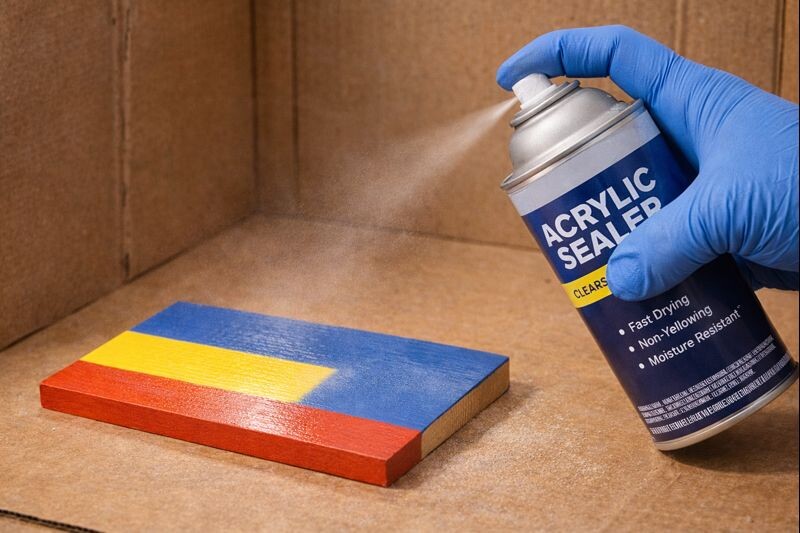
Step-by-step: sealing with spray acrylic sealer (fast and low drama)
Spray is the easiest way to avoid brush drag and heavy coats. It’s especially good for detailed lettering.
Step 1: Cure and scuff
- Same rule: wait for cure.
- A light scuff helps, but don’t sand through details.
Step 2: Spray light coats
- Hold the can 8–12 inches away.
- Start spraying off the piece, sweep across, then release after passing the edge.
- Do 3–5 very light coats instead of 1–2 heavy coats.
- Wait 10–20 minutes between coats (or per can label).
Step 3: Optional tougher topcoat
- If the piece needs more durability, let the spray sealer dry overnight, then apply water-based poly in thin coats.
- This “barrier coat first” approach reduces reactivation risk.
Fixing a tacky acrylic-painted surface that’s already sealed
If the finish is already sticky, don’t keep adding coats. That usually makes it worse.
Fix 1: Give it warm, dry time first
- Move it to a warmer, drier room.
- Add airflow.
- Wait 48–72 hours.
Sometimes the simplest fix works, especially if the issue was humidity.
Fix 2: Dusting of talc or cornstarch (temporary)
For lightly tacky surfaces:
- Dust a tiny amount
- Let it sit 30 minutes
- Buff off gently
This reduces stickiness short-term, but it’s not a real repair.
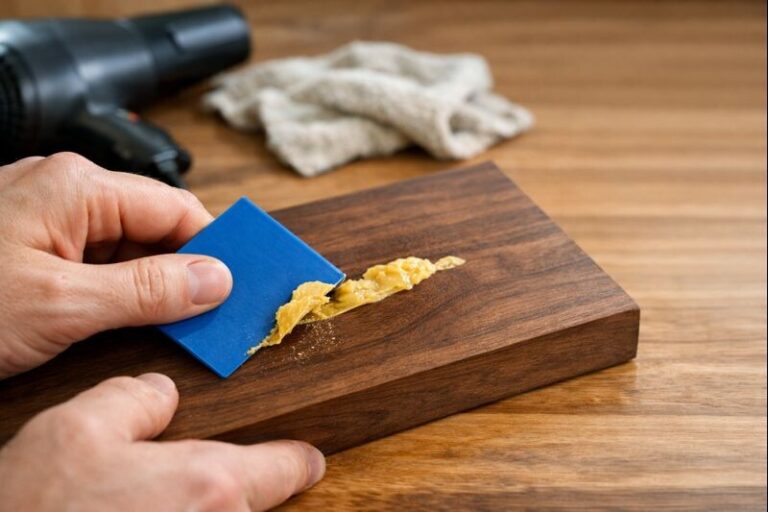
Fix 3: Scuff sand and recoat with a compatible finish
If it’s still tacky after several days:
- Scuff sand with 320–400 grit until the surface loses the gummy feel.
- Wipe clean thoroughly.
- Apply a light spray acrylic sealer as a barrier coat.
- After it dries, topcoat with water-based poly in thin coats.
Fix 4: Strip and restart (last resort)
If the clear coat is thick, soft, and printing fingerprints, stripping may be faster than fighting it.
Use a stripper that’s safe for your workspace and follow the product’s safety rules.
Then re-prep the wood, seal the wood, repaint in thinner coats, and topcoat correctly.
If you’re working on a full tray stand, the same “start clean and safe” approach from safety gear for tray builds applies here too. Strippers and aerosols deserve respect.
Extra tips that prevent tackiness on tray stand projects
Tray stands and tiered trays are handled a lot. Plus, people decorate them seasonally. That means more rubbing, more moving, and more chances for a soft finish to show up.
- Use a harder topcoat for the stand and tray surfaces. Water-based poly beats basic craft varnish for wear.
- Keep paint layers thin. Two thin coats cure better than one thick coat.
- Avoid rubber shelf liners until the finish is cured. They can imprint texture.
- Don’t stack painted pieces during cure. Stacking traps moisture and causes sticking.
- Plan wood choice around movement and prep. Softwoods can fuzz under water-based products. If you’re choosing lumber for tray work, the selection notes in a guide on wood choices for sturdy stands help avoid headaches.
Common mistakes that cause “sticky forever” finishes
These are the repeat offenders:
- Sealing the same day as painting
- Heavy, glossy brush-on coats that don’t breathe
- Using oil-based polyurethane over acrylic paint too early
- Recoating before the previous layer is dry
- Working in a cold shop
- Skipping the scuff sand, then overbrushing to “make it stick”
If you’re building and decorating tiered trays often, it helps to keep your finishing process consistent from project to project. That consistency is the same reason a farmhouse-style tiered tray look feels cohesive when the surfaces all have the same sheen.
Final thoughts
Acrylic craft paint can absolutely feel smooth and hard on wood. The trick is patience in the cure stage, then a topcoat that goes on thin and stays compatible with acrylic. When the surface is still tacky, don’t panic and pile on more finish. Dry it out, scuff it, and rebuild the clear coat in light layers. That approach saves most projects.