How to Remove Screws From Wood That Are Stuck: 9 Proven Fixes

To remove screws from wood that are stuck, you need a calm, step-up plan that starts with grip and ends with drilling—because most screw heads get ruined from rushing the first 30 seconds.
A stuck screw usually fails in one of three ways: it won’t turn at all, it starts to turn and then cam-outs (the bit slips), or the head is already rounded/stripped. The goal isn’t brute force. The goal is controlled torque while protecting the wood fibers and the surface finish. I’ll walk you through the exact ladder I use at the bench—easy methods first, more aggressive options only when you’ve earned them.
Contents Here
- 1 Why screws get stuck in wood
- 2 Tools, supplies, and safety gear you’ll actually use
- 3 Before you try to turn it
- 4 Methods to remove screws from wood that are stuck (start easy, escalate)
- 4.1 Step 1 — Maximize grip with the correct bit + downward pressure
- 4.2 Step 2 — If the head is starting to strip: add friction fast
- 4.3 Step 3 — Penetrating oil + time (and clean application)
- 4.4 Step 4 — Controlled shock: manual impact driver or impact action
- 4.5 Step 5 — Heat (use carefully around wood)
- 4.6 Step 6 — If the head is exposed: remove it with locking pliers
- 4.7 Step 7 — If the recess is ruined: cut a new slot
- 4.8 Step 8 — Screw extractor kit (the standard “pro” move)
- 4.9 Step 9 — Last resort: drill it out or remove wood around it
- 5 After the screw is out: repair the hole and prevent repeats
- 6 FAQs on removing stuck screws from wood
- 7 Last Words
Why screws get stuck in wood
Screws seize in wood because the threads are being gripped harder than your driver can overcome. Sometimes that grip is mechanical—over-tightening compresses the fibers around the threads like a clamp. Other times it’s chemical—rust bonds to the metal and swells, locking the threads. And a lot of “stuck screw” problems aren’t truly stuck at all: paint or finish has filled the recess, so your bit never seats deep enough to turn it.
Here are the usual culprits:
- Over-tightened screw compressing wood fibers around the threads
- Rust/corrosion (common in outdoor projects, garages, bathrooms)
- Paint, varnish, or glue bridging the head to the surface
- Wrong bit size rounding the recess over time
- Wood movement from humidity, which can clamp threads tighter months later
If you identify the cause early, you’ll pick the right fix faster and avoid chewing up the head.
Quick diagnosis checklist (30 seconds)
Before you touch a tool, take a close look and answer these:
- Head type: Phillips, Torx, Robertson (square), slotted, hex?
- Recess condition: crisp edges, partially stripped, completely rounded?
- Surface condition: painted over, varnished, rust staining, glue squeeze-out?
- Head position: proud (sticking up), flush, or countersunk below the surface?
- Project value: rough framing vs finished furniture face
This tells you whether you should focus on cleaning and grip, penetrating oil, impact/shock, or extractors/drilling.
Tools, supplies, and safety gear you’ll actually use
You don’t need a drawer full of specialty gadgets, but you do need the right basics. Stuck screws punish sloppy fit. If you’re using a worn bit or a driver that doesn’t match the head, you’re setting yourself up for cam-out.
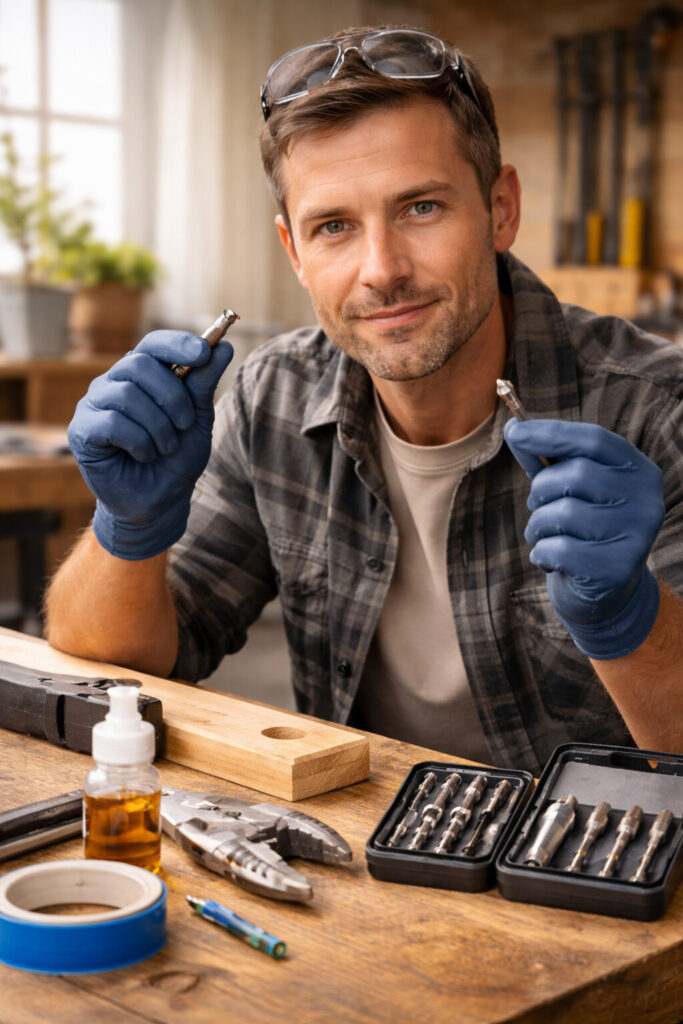
Core tools and supplies:
- Fresh driver bits in the correct size (Phillips #2/#3, Torx, square, etc.)
- Manual screwdriver with a comfortable handle (more control than a drill at first)
- Drill/driver with a clutch (for controlled reverse later)
- Locking pliers (Vise-Grips) for exposed heads
- Hammer or mallet (for seating bits and gentle shock)
- Pick/awl, small wire brush, or utility knife (to clean paint and debris)
- Penetrating oil (use it carefully around wood)
- Manual impact driver (optional, but it’s a lifesaver on stubborn screws)
- Rotary tool with a cutoff wheel or a fine hacksaw blade (to cut a slot)
- Screw extractor kit and matching drill bits
- Center punch (helps keep drilling centered)
- Painter’s tape, thin metal putty knife, or shim stock (surface protection)
- Eye protection and a dust mask when cutting or drilling
Protecting the wood surface
If you’re working on a finished tabletop, cabinet face, or trim, surface protection matters as much as screw removal. One driver slip can leave a permanent scar.
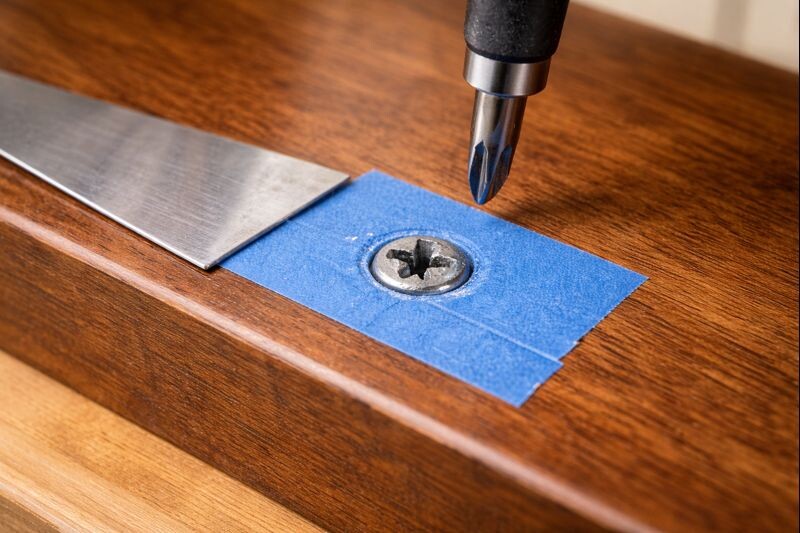
Use these habits:
- Mask around the screw with painter’s tape to prevent skid marks.
- Slide a thin metal putty knife next to the screw when using pliers or a rotary tool. It acts like armor for the wood.
- Wipe penetrating oil immediately if it touches bare wood. Oils can darken porous species or leave a halo in unfinished areas.
- Clamp the piece if it’s moving. Stability is half the battle.
Before you try to turn it
The best screw removals are the ones that start with prep. A stuck screw often becomes “impossible” only because the bit wasn’t seated fully, or because the head is glued in place by finish.
Start here:
- Clean the recess. Pick out paint, varnish, dirt, or rust. If the bit can’t bottom out, it will slip.
- Choose the best-fitting bit. “Close enough” is how heads get stripped. If it wiggles, it’s wrong.
- Align your driver perfectly. Off-axis pressure causes cam-out.
- Stabilize the work. Clamp it, brace it, or have a helper hold it firmly.
- Consider penetrating oil early if there’s visible rust or outdoor exposure.
A lot of screws back out right here, before any fancy methods are needed.
The rocking move (a gentle bond-breaker)
If the screw won’t budge, don’t immediately crank harder. Try a controlled “rock”:
- Apply firm downward pressure and attempt a tiny turn tighten (clockwise) first—just a hair.
- Then go loosen (counterclockwise) slightly.
- Repeat with tiny movements.
That back-and-forth motion can crack rust and relieve compressed fibers without tearing up the head. It’s especially useful after you’ve cleaned the recess and seated the bit.
Methods to remove screws from wood that are stuck (start easy, escalate)
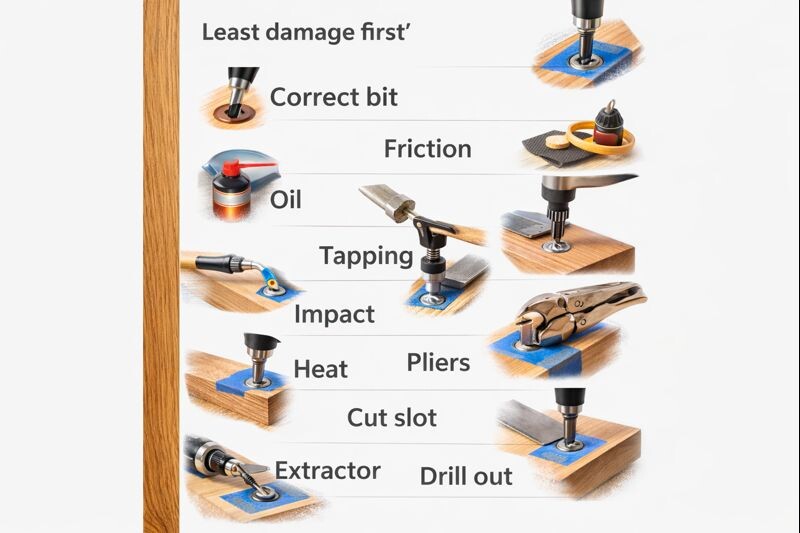
Here’s the ladder I use in the shop. Don’t skip rungs unless the screw head is already destroyed.
Step 1 — Maximize grip with the correct bit + downward pressure
This is the “don’t strip it” step, and it deserves your attention.
- Use a fresh, sharp bit that fits snugly.
- Keep the driver dead straight in line with the screw.
- Apply strong downward pressure with your body weight.
- Turn slowly and deliberately.
If the screw is recessed, you can also tap the screwdriver handle lightly with a hammer to seat the bit deeper before turning. The goal is engagement, not violence. If it starts to slip, stop and move to the next step immediately.
Step 2 — If the head is starting to strip: add friction fast
When the bit wants to spin out, you need traction. These quick tricks can buy you one good turn—sometimes that’s all you need.
Try one of these:
- Rubber band: lay it over the recess and press the bit into it.
- Steel wool: tiny tuft in the recess for bite.
- Abrasive dust: a pinch of fine sand can help fill gaps.
- Super glue (carefully): a tiny drop on the bit, let it set briefly, then attempt removal.
Use these only when the screw still has some shape left. If it’s completely rounded, friction hacks usually won’t save it.
Step 3 — Penetrating oil + time (and clean application)
If rust is part of the problem, oil can help. The mistake is flooding the area and staining the wood.
Do it neatly:
- Place a small drop at the head and where the threads meet the wood (if accessible).
- Let it sit 30–60 minutes. For heavily corroded screws, longer is better.
- Tap the head lightly a few times to encourage the oil to wick and to vibrate the bond.
- Wipe excess oil off the wood immediately.
After it soaks, go back to Step 1 with a fresh bit and strong downward pressure. Many screws give up right here.
Step 4 — Controlled shock: manual impact driver or impact action
When a screw is stubborn but the head still has decent shape, shock can break the bond without requiring a long, steady torque that strips the recess.
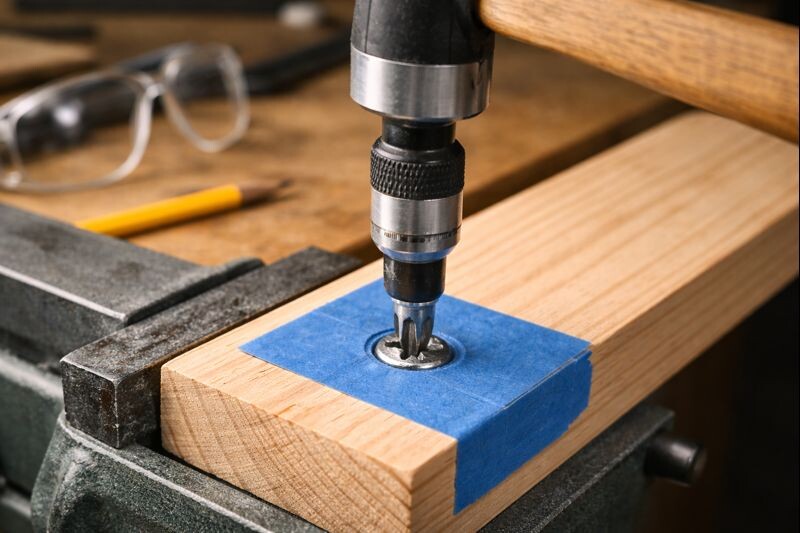
A manual impact driver is the classic solution. You set the bit, preload it in the loosening direction, and strike the tool with a hammer. The impact forces the bit into the head while twisting at the same time. It’s surprisingly effective.
If you’re using a power impact driver, keep it sensible:
- Use the correct bit.
- Start slow.
- Maintain straight alignment and pressure.
- Stop if the head begins to deform.
Step 5 — Heat (use carefully around wood)
Heat is a last-resort helper, especially around finished or delicate wood. Done right, it can expand the screw slightly and then shrink it, cracking the bond.
Safer approach:
- Use a soldering iron pressed against the screw head for controlled heat.
- Avoid open flames near wood, finishes, or penetrating oils.
- Let it warm, then cool a bit, and try removal again.
Watch for scorching, softening finishes, or smoke. If anything feels risky, skip heat and move to mechanical extraction.
Step 6 — If the head is exposed: remove it with locking pliers
If the screw head is proud enough to grab, locking pliers can outperform any bit.
- Clamp Vise-Grips as tight as you can on the head.
- Keep the jaws square.
- Turn slowly, rocking back and forth if needed.
If the head is only slightly exposed, you can sometimes create a better bite by filing a couple of tiny flats on opposite sides. Protect the wood with a thin metal shim so the pliers don’t dent the surface.
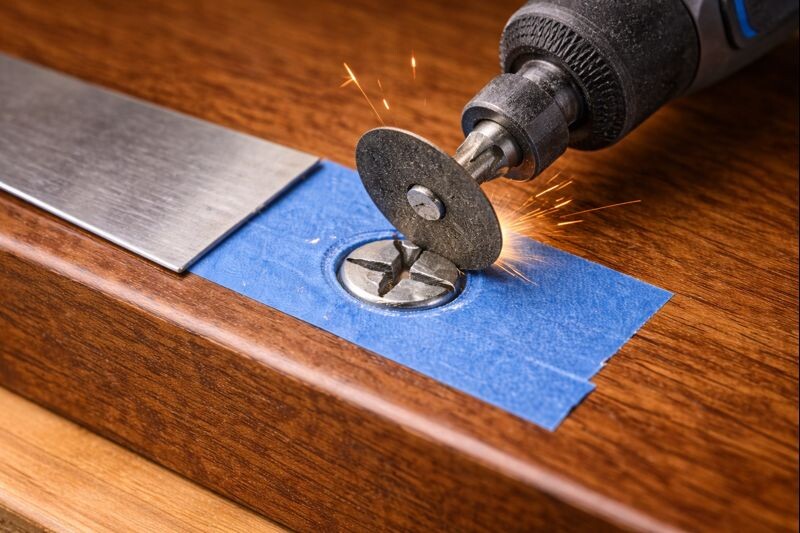
Step 7 — If the recess is ruined: cut a new slot
When the recess is rounded, make a new one.
- Use a rotary tool with a cutoff wheel (or a fine hacksaw blade) to cut a straight slot across the head.
- Press a wide flathead screwdriver into the slot and turn slowly.
- Keep your tool steady and your protection in place.
If you don’t have a rotary tool, a sharp chisel can sometimes bite the edge of the head. You set the chisel at an angle and tap it to rotate the screw a fraction at a time. It’s slower, but it saves surfaces when used carefully.
Step 8 — Screw extractor kit (the standard “pro” move)
Extractors work well, but they punish impatience. The most common failure is drilling off-center or snapping the extractor inside the screw.
Do it like this:
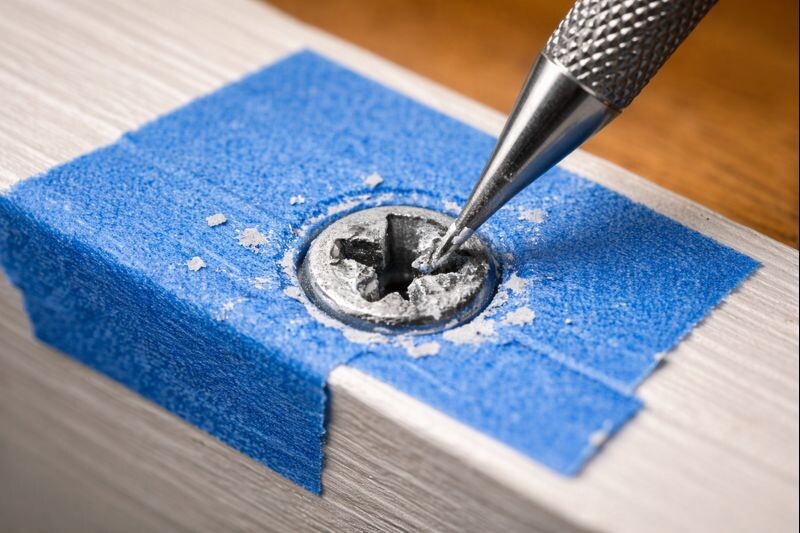
- Center punch the screw so the drill doesn’t wander.
- Drill a pilot hole straight down the center. Stay perpendicular.
- Insert the extractor and turn slowly with steady pressure.
- If it doesn’t move, stop and reassess. Forcing it can snap the extractor.
A broken extractor is hardened steel, and it’s miserable to drill. Slow and controlled wins here.
Step 9 — Last resort: drill it out or remove wood around it
If the head is gone or the screw snaps, you may need to sacrifice the screw to save the project.
Options:
- Drill out the screw: Use a bit sized to remove the shank or the head, then pull remaining pieces with pliers.
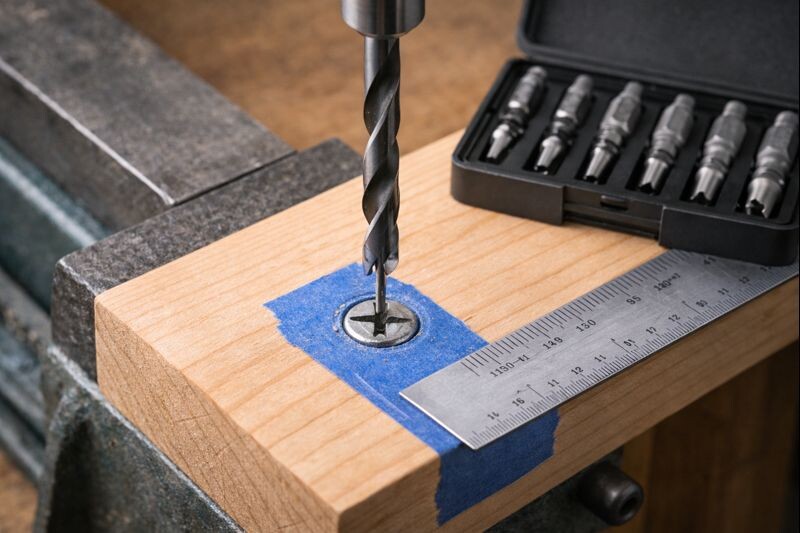
- Bore a plug around it: For fine woodworking, you can use a plug cutter or Forstner bit to remove a clean cylinder of wood around the stuck screw, extract it, then glue in a matching plug.
This is often the cleanest option for furniture, because you’re controlling the damage and planning the repair instead of letting the screw destroy the surface.
After the screw is out: repair the hole and prevent repeats
Once the screw is out, don’t just drive another one into the same wounded hole and hope for the best. A little repair now saves you from another stuck or spinning screw later.
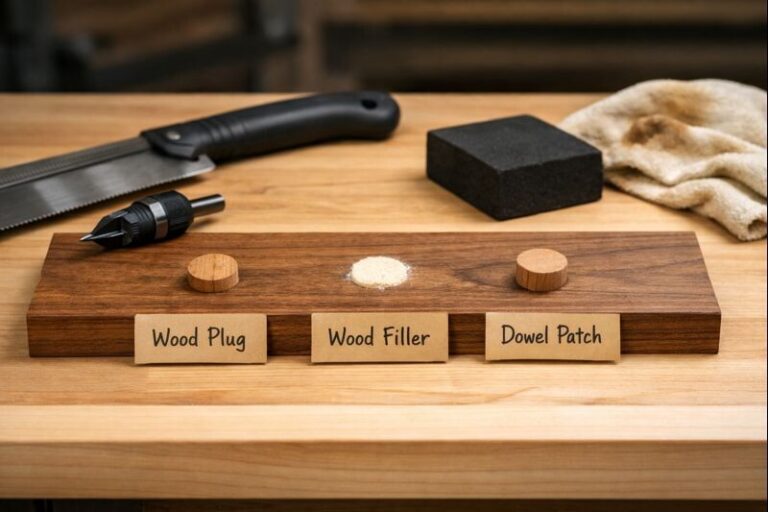
Quick hole repairs
- Toothpicks + wood glue: Great for slightly wallowed-out holes. Let it dry, then re-drill a pilot hole.
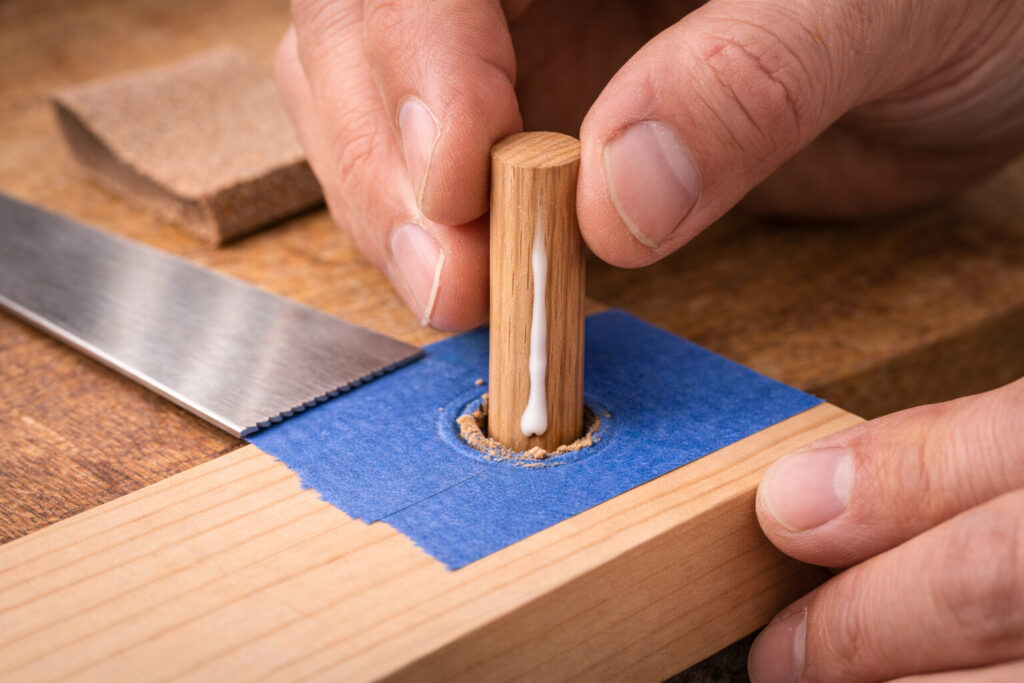
- Dowel or wood plug: Best for heavily damaged holes. Drill clean, glue in a dowel/plug, trim flush, then re-drill.
- Threaded inserts: Useful when you need repeated removal (jigs, knockdown furniture).
How to prevent screws from sticking again
- Drill the right pilot hole for the screw size and wood species.
- Use the correct bit type and size (Torx and square drive resist cam-out well).
- Avoid over-tightening—let the screw snug, not crushed.
- For outdoor or damp areas, choose corrosion-resistant screws (stainless is often worth it).
- If you’re driving long screws into dense hardwood, consider a little wax or soap on the threads.
Special note for small pieces: brace the board for leverage
Small trim pieces and loose boards are harder than big panels because they bounce, flex, and steal your downward pressure. Brace the piece against a solid surface or clamp it tight so you can keep the driver straight and seated. That one change can turn a “stuck screw” into a 10-second removal.
FAQs on removing stuck screws from wood
How do you loosen a screw that won’t budge?
Clean the recess, use a fresh bit that fits perfectly, brace the workpiece, and apply strong downward pressure while turning slowly. If rust is suspected, add a small amount of penetrating oil and wait before trying again.
What causes screws to strip in the first place?
Most stripping happens from using the wrong bit size, applying angled pressure, or using too much speed. Cam-out is especially common with worn Phillips bits or when the recess is packed with paint or debris.
What should I do if a screw keeps spinning in the hole?
That screw isn’t stuck—it’s lost its bite. Pull up gently while backing it out, or use pliers under the head if possible. Then repair the hole with toothpicks and glue or a dowel/plug before reinstalling.
How can I prevent screws from getting stuck in wood in the future?
Use proper pilot holes, avoid over-tightening, and pick drive types that resist cam-out. For damp or outdoor projects, use corrosion-resistant screws. In hardwoods, a touch of wax on the threads can make driving smoother and removal easier later.
Last Words
Removing stuck screws from wood is all about escalation: start with the right bit and pressure, add friction, give rust time with penetrating oil, then use shock, heat, or pliers only as needed.
When the head is ruined, cut a slot or use an extractor, and drill out as a final step. Pilot holes and better fasteners prevent most repeats.