How to Remove a Broken Screw From Wood Without Chewing Up the Project
To remove a broken screw from wood, you need to match the method to what’s left above the surface. If you start drilling blindly, you’ll usually wander off-center, chew up the fibers, and turn a simple fix into a patch job. The goal is twofold: get the screw out, and leave the wood in good enough shape to repair cleanly.
Contents Here
- 1 Do a 20-second diagnosis first
- 2 Gather the right tools and protect the surface
- 3 If the screw is sticking up, don’t overthink it
- 4 If the head is stripped, rebuild traction before you drill
- 5 If the screw snapped off flush, create grip or create a new drive
- 6 If the screw is below the surface, use a drill-and-extract sequence
- 7 The woodworking-clean option: core it out and plug the repair
- 8 Last resort: drill the screw out and rebuild the hole
- 9 Two “odd but real” tricks for stubborn situations
- 10 Repair the damage so it looks intentional
- 11 Prevent broken screws next time (this is where the win is)
- 12 FAQs on Remove a Broken Screw From Wood
- 12.1 How do you remove a broken screw that’s flush with the wood surface?
- 12.2 What’s the best tool to remove a headless or broken screw from wood?
- 12.3 Do left-handed drill bits really work for broken screws?
- 12.4 How do you remove a broken brass screw without damaging the wood?
- 12.5 How do you repair the hole after removing the screw so it holds again
- 13 Final Words
Do a 20-second diagnosis first
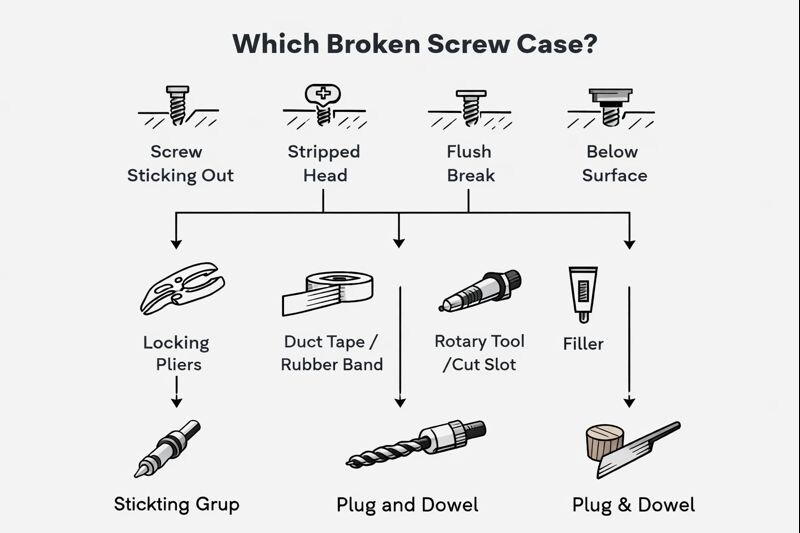
Before you touch a tool, figure out which of these you’re dealing with:
- A chunk of screw is sticking up (best case).
- The head is present but stripped (you still have something to drive).
- The screw snapped off flush (no head, no grip).
- The screw broke below the surface (most common on stubborn, over-driven screws).
Also notice the context. If the screw passes through a hinge, bracket, or hardware plate, the metal can keep the shank pinched even after it starts turning. In that situation, you’re not just “unscrewing.” You’re easing pressure while backing it out.
If the screw is not broken but simply won’t budge, start with the less-destructive stuck-fastener approach here: freeing up a screw that’s seized in wood.
Gather the right tools and protect the surface
You don’t need a fancy kit, but the right basics keep you from widening the damage.
Helpful tools (pick what fits your situation):
- Locking pliers (Vise-Grips), regular pliers
- Utility knife, awl, or center punch
- Drill with sharp bits
- Left-handed drill bits (nice, not mandatory)
- Screw extractor (spiral type)
- Rotary tool with a thin cutoff wheel (optional)
- Painter’s tape, thin cardboard, scrap wood for shielding
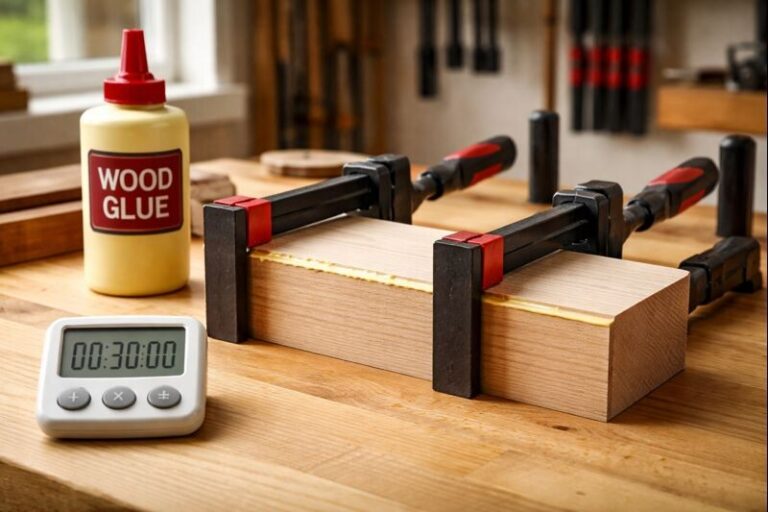
- Wood plug or dowel, wood glue, sandpaper (for the repair)
Wear eye protection. Screws snap, bits chip, cutoff wheels throw grit. If you want a simple checklist that covers glasses, hearing protection, and dust basics, this is a good baseline: safety gear that actually matters in small woodworking projects.
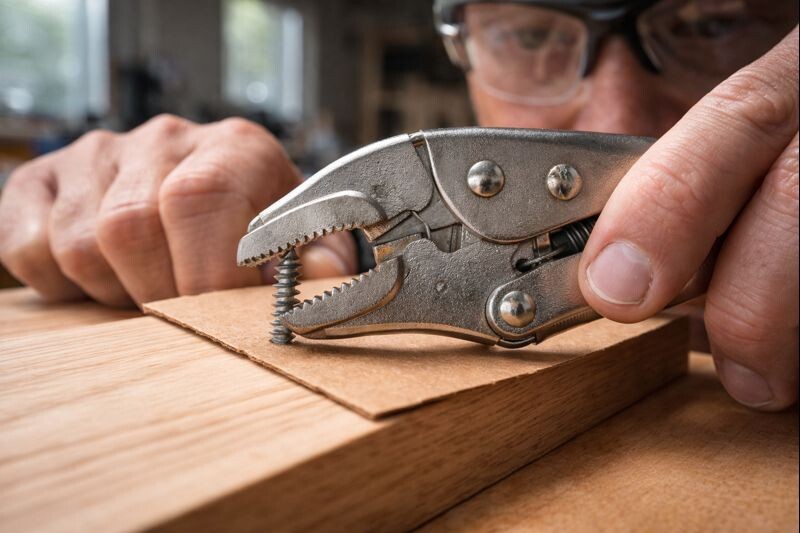
If the screw is sticking up, don’t overthink it
Locking pliers method (fastest, cleanest)
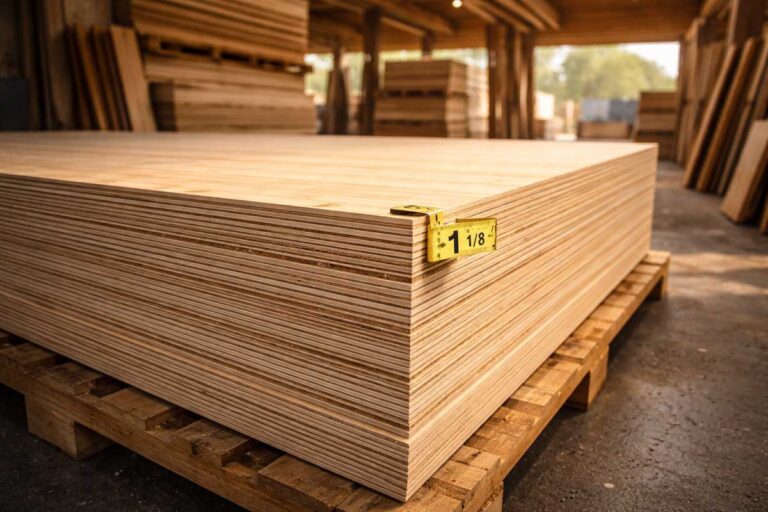
If even 1/8″ of screw is proud of the wood, start here.
- Shield the wood with painter’s tape or a thin scrap of cardboard.
- Clamp the locking pliers as tight as you can onto the shank.
- Rock it slightly left-right to break the bond, then turn counterclockwise.
- If it slips, re-clamp lower and tighter. If needed, file a flat on the shank for better bite.
Go slow. Most snapped screws break because of sudden torque spikes, not because they were doomed from the start.
Learn more from this article: How to Remove Screws From Wood That Are Stuck: 9 Proven Fixes
If the head is stripped, rebuild traction before you drill
A stripped head isn’t a broken screw yet. Treat it like a traction problem.
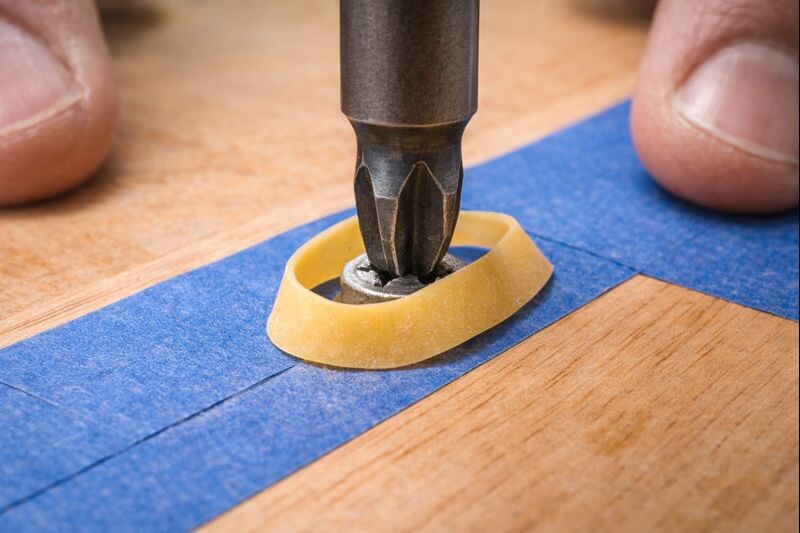
Add friction and switch to hand power
- Lay a wide rubber band or a strip of duct tape over the head.
- Press the correct bit in firmly.
- Turn by hand at first, then use a drill on low speed if it starts moving.
This works best when the recess is only partially rounded. Once the bit cams out repeatedly, stop. Every slip polishes the head smoother and makes the next method harder.
If you want a deeper, method-by-method rundown for rounded heads, this guide pairs well with today’s problem: getting a stripped screw out without wrecking the surrounding wood.
Give the bit “back-pressure” so it stays seated
If the screw head sits proud enough to catch a thin pry tool, apply gentle upward pressure under the head while you back the screw out. You’re not prying it out like a nail. You’re just keeping the bit engaged so it doesn’t pop free.
If the screw snapped off flush, create grip or create a new drive
Flush breaks are the annoying middle ground. There’s nothing to grab, but you might not want to drill yet.
Option 1: Expose a hair of the shank and grab it
This sounds crude, but it’s controlled when done carefully.
- Put painter’s tape around the area.
- Use a utility knife or sharp chisel tip to relieve a tiny ring of wood around the screw.
- Once you’ve exposed even a sliver, clamp locking pliers and back it out.
This is a “slow hands” technique. You’re trading a small, intentional relief cut for avoiding a bigger repair later.
Option 2: Cut a new slot with a rotary tool
If you can see the screw end clearly and work steady, a thin cutoff wheel can cut a clean slot.
- Mask the wood tightly.
- Cut a straight groove deep enough for a flathead to bite.
- Turn the screw out slowly with a hand screwdriver, not a drill.
Watch heat. A cutoff wheel can scorch finishes and darken light woods quickly.
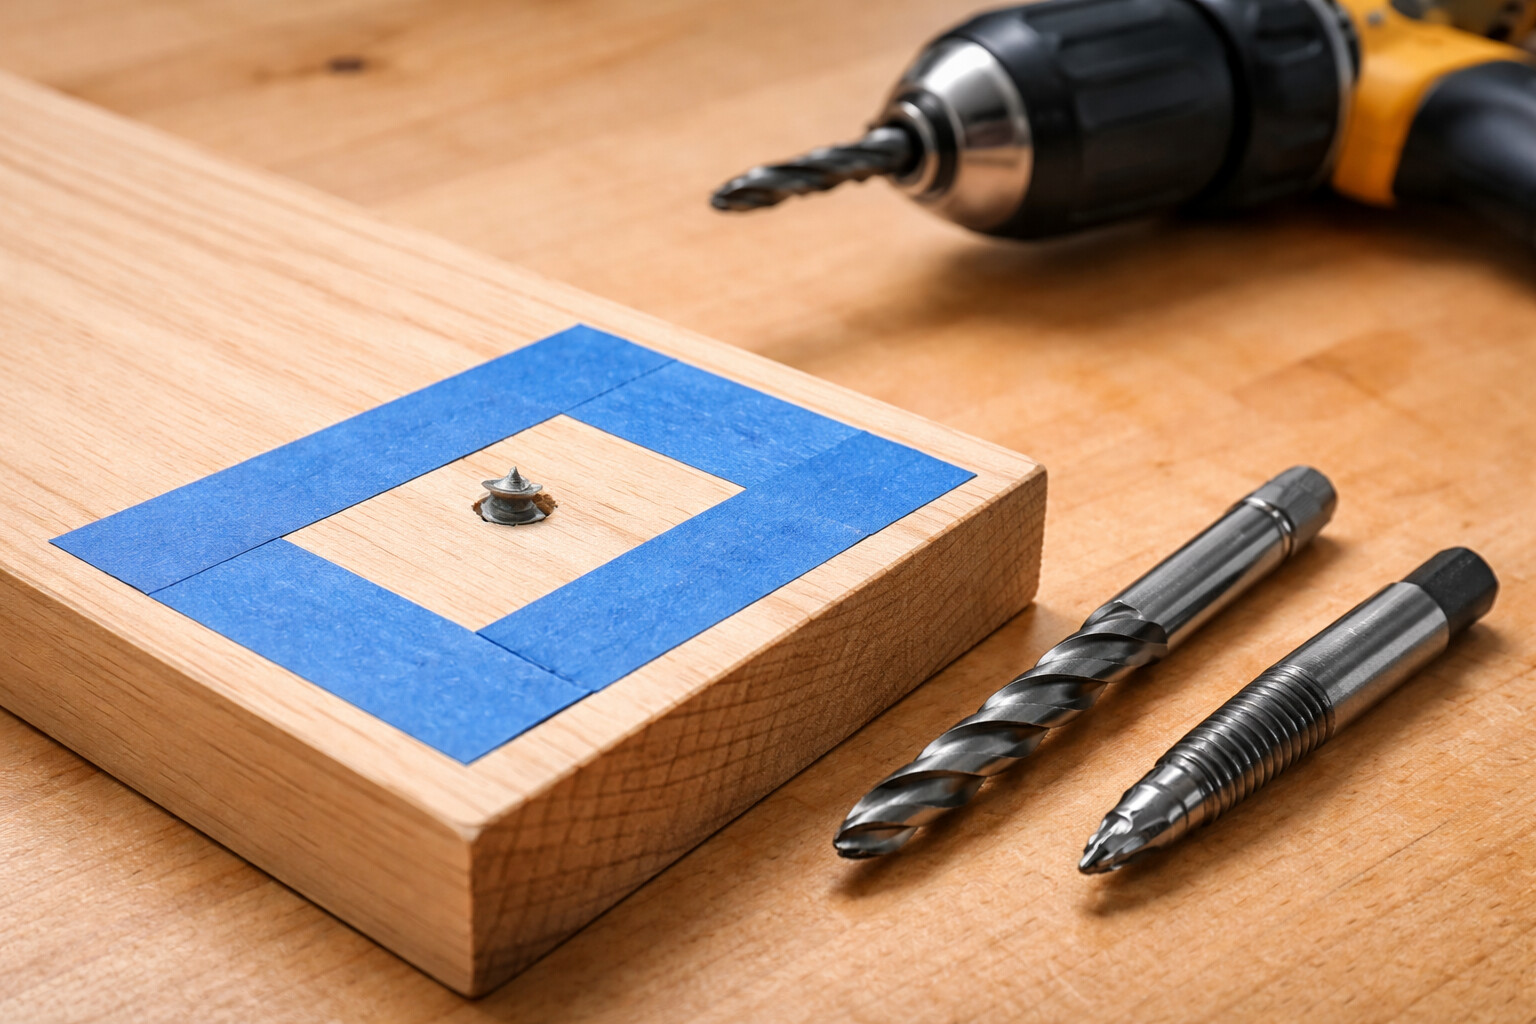
If the screw is below the surface, use a drill-and-extract sequence
This is where most people panic and go full demolition. You can keep it clean if you stay centered.
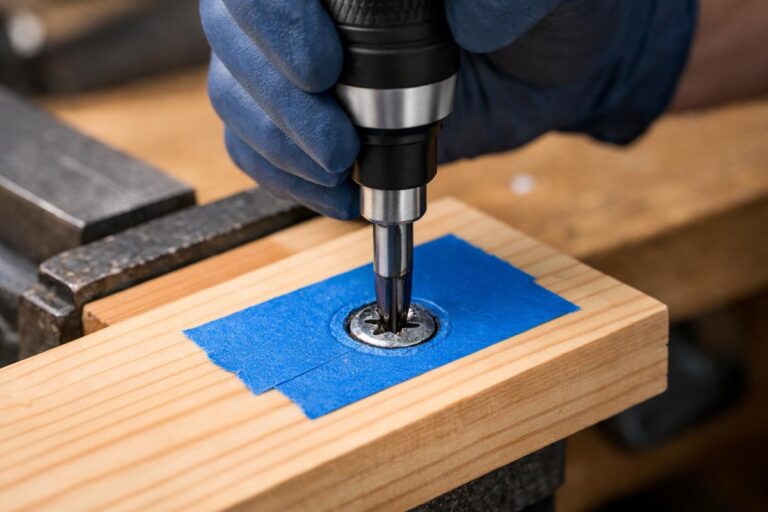
Step 1: Punch a dead-center starting point
Use an awl or center punch. If you start off-center, the bit will skate, and the hole will drift into the surrounding wood.
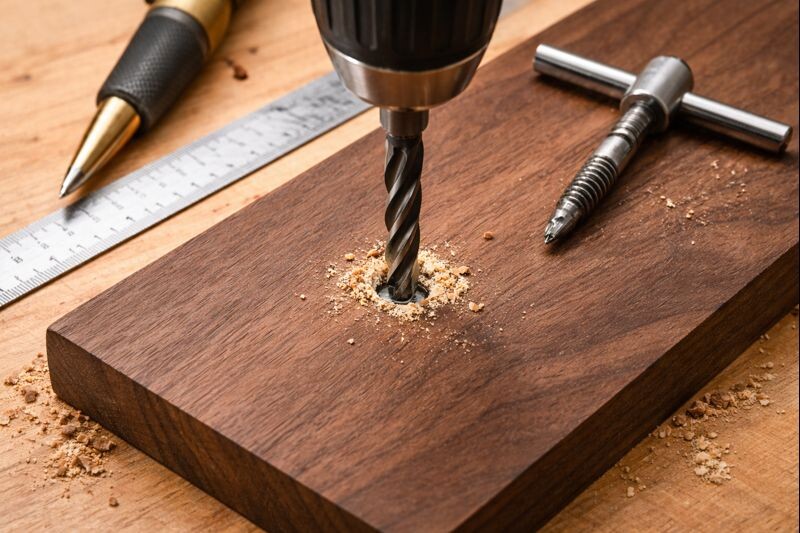
Step 2: Drill a small pilot hole
Use a bit smaller than the extractor’s recommended size. Drill straight, slow, and controlled. Back the bit out occasionally to clear chips.
Step 3: Try a left-handed bit (sometimes it solves everything)
A left-handed bit run in reverse can grab and spin the screw out during drilling. When it works, it feels like magic. When it doesn’t, you’re still left with a clean pilot hole for the extractor.
Step 4: Use the extractor gently
Insert the extractor, tap it lightly so it seats, then turn counterclockwise with a wrench or tap handle.
Two rules keep extractors from snapping:
- Don’t use brute force. If it doesn’t move, reassess.
- Don’t oversize the pilot hole. Extractors need bite.
If you break an extractor in the hole, you’ve just introduced hardened steel that’s miserable to drill.
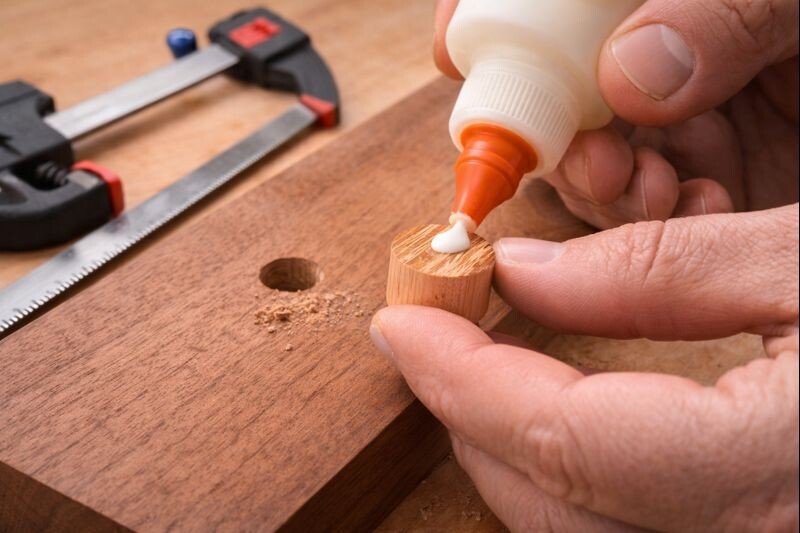
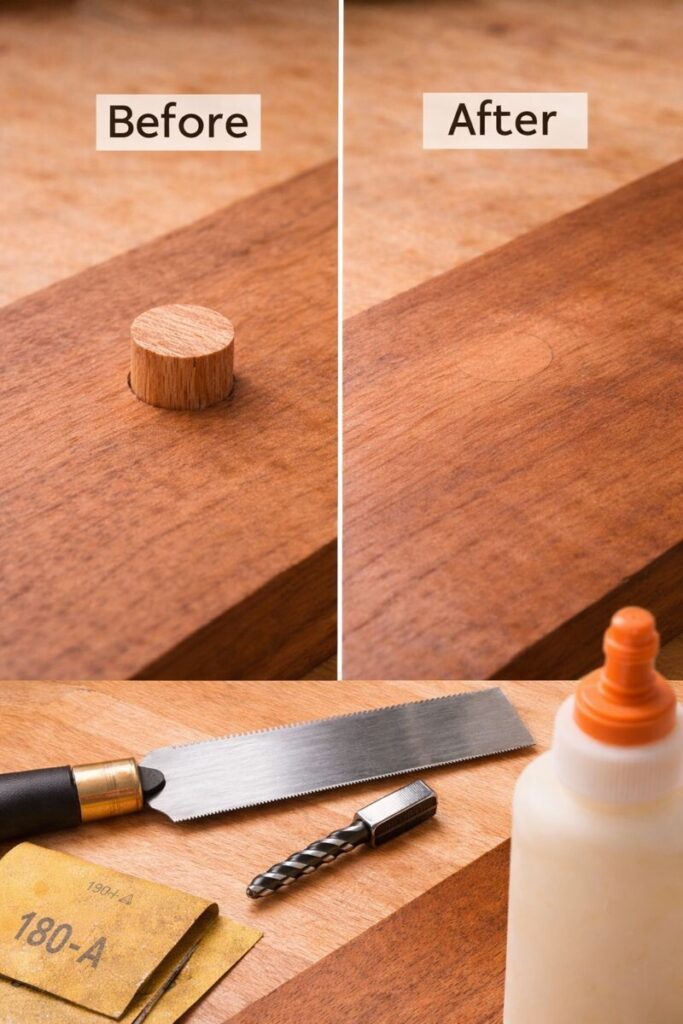
The woodworking-clean option: core it out and plug the repair
If the surface matters—furniture faces, tray tops, cabinet sides—the cleanest method is often to remove the screw along with a small cylinder of surrounding wood, then patch it like it was planned.
You can do this with a hollow “screw remover” style bit or by carefully boring a plug-sized hole around the shank, depending on your tools.
Once the screw comes out with the cored wood, you glue in a matching plug and sand flush. Done right, the repair blends instead of screaming “fix.”
For the best-looking patch (especially under stain), follow a real plug workflow instead of winging it: installing wooden plugs so the grain disappears.
Last resort: drill the screw out and rebuild the hole
Sometimes a screw is rusted, glued in place, or snapped at a weird angle. If extraction isn’t happening, drilling it out is legitimate—just plan the repair.
A safe approach:
- Drill straight down with a bit close to the screw’s root diameter.
- Step up gradually until the threads release.
- Pick out remaining thread fragments with an awl.
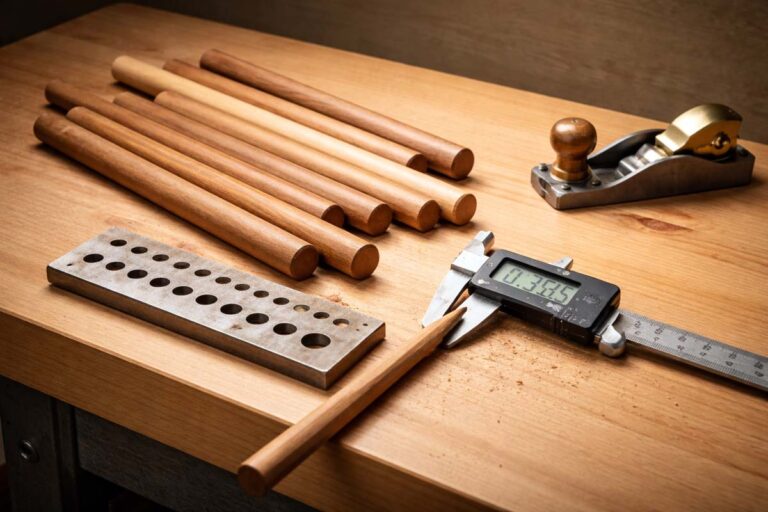
- Repair the hole with a plug or dowel, then re-drill a pilot hole.
If you’ll be reusing that location, don’t just pack it with random filler and hope. A repaired hole needs structure. This is the reliable path when the hole is chewed up or oversized: fixing a stripped or blown-out screw hole so it holds again.
Two “odd but real” tricks for stubborn situations
Controlled heat to break the bond
For a screw that’s stuck from pitch, finish, or light corrosion, heat can help. A soldering iron placed on the screw area warms it without open flame.
Keep it conservative. You’re trying to loosen, not scorch. If the wood is finished, test in an unseen spot first.
Epoxy a nut onto the stub
If there’s a tiny nub or you can expose a little metal, you can bond a small nut on top and use a wrench to turn it out. Let the adhesive fully cure before applying torque.
This is slower than drilling, but it can save delicate surfaces where you don’t want a plug.
Repair the damage so it looks intentional
Once the screw is out, the wood is often the real project.
When filler is fine
Filler works for:
- Painted surfaces
- Small cosmetic holes
- Low-stress locations
If you’re deciding whether filler can take a screw again, this answer helps set expectations: whether screws can bite into wood filler safely.
When a plug or dowel is better
Use a plug or dowel when:
- The hole is large or ragged
- The area is structural
- You’re staining or clear-coating
- You want the repair to vanish, not just “cover”
If you want an overview of clean fastener hiding methods (especially when the fix becomes part of the design), this is worth a read: ways to hide fasteners without making the project look patched.
Prevent broken screws next time (this is where the win is)
Most broken screws are predictable. They usually come from one of these: no pilot hole, wrong bit, too much speed, or driving past the wood’s limit.
Drill the right pilot hole
Pilot holes reduce torque, reduce splitting, and keep screws running straight. If you want a clean refresher that covers technique and common mistakes, start here: proper technique for driving screws into wood.
Avoid splitting near edges
If you’re working near a rim, edge, or narrow board, splitting increases resistance fast. That resistance is what snaps screws. This guide is practical and simple: stopping wood from splitting when you’re driving screws.
Use wax on long screws
A quick swipe of beeswax or a bar of soap on the threads drops friction noticeably. It’s cheap insurance, especially in hardwood.
Be careful with brass screws
Brass snaps easily. If you’re using brass for looks, run a similar steel screw in first to cut threads, then drive the brass by hand for the final snugging.
Match screw length to the job
Overlong screws demand more torque and invite snapping. If you’re not sure how deep you actually need to go, this clears it up: how far a screw should bite into wood for a strong hold.
FAQs on Remove a Broken Screw From Wood
How do you remove a broken screw that’s flush with the wood surface?
Cut a slot if you can do it cleanly, or drill a centered pilot hole and use a left-handed bit or extractor. If it’s a finished surface, coring it out and plugging often looks best.
What’s the best tool to remove a headless or broken screw from wood?
Locking pliers are best when anything is exposed. For flush or buried screws, a left-handed drill bit and a quality extractor kit are the most useful tools.
Do left-handed drill bits really work for broken screws?
Yes, often. Drilling in reverse can catch the screw and spin it out, especially if the screw isn’t glued in place or rusted. Even when it doesn’t, it leaves a clean hole for an extractor.
How do you remove a broken brass screw without damaging the wood?
Avoid aggressive extractors first. Try careful reverse drilling, then a gentle extractor if needed. Brass is brittle, so keep torque low and stay perfectly centered to prevent making the problem worse.
How do you repair the hole after removing the screw so it holds again
Glue in a hardwood dowel or wood plug, trim flush, and re-drill a proper pilot hole. If the hole is wallowed out, reset it fully before re-fastening.
Final Words
Removing a broken screw from wood gets a lot easier when you match the method to the break. Grab and back it out when there’s anything to grip.
Drill in reverse or use an extractor for flush breaks. When the screw is buried or the surface matters, core it out and plug the hole for a clean, strong reset.