How to Dissolve Wood Glue in Minutes: 5 Pro Tricks for Clean Wood
To dissolve wood glue, identify the glue type first, then soften PVA or hide glue with warm water or gentle heat (vinegar can help), scrape it off with a plastic scraper, and sand lightly if residue remains—stronger glues usually won’t dissolve and must be removed mechanically.
To dissolve wood glue, you first need to know whether it can be dissolved at all. Some glues soften with water, mild acids, or heat. Others don’t “dissolve” once cured, so the goal shifts to careful scraping and sanding. I’ll walk you through the safest path, based on glue type and surface finish.
Contents Here
- 1 Know what glue you’re dealing with before you reach for solvents
- 2 Protect yourself and the finish before you start
- 3 What you’ll want on the bench
- 4 If the glue is still wet, don’t wait
- 5 How to soften and remove dried wood glue on bare wood
- 6 How to remove wood glue from finished wood without damaging the surface
- 7 When the glue is inside a joint and you need to separate parts
- 8 Commercial glue removers
- 9 Cleanup and surface prep after the glue is gone
- 10 Mistakes that cause most of the damage
- 11 Prevention that actually works
- 12 Conclusion
Know what glue you’re dealing with before you reach for solvents
Wood glue isn’t one product. The method that works great on one glue can wreck a finish on another.
If you’re not sure what you used, this quick explainer on what PVA glue is and how it behaves when cured will help you narrow things down without guessing.
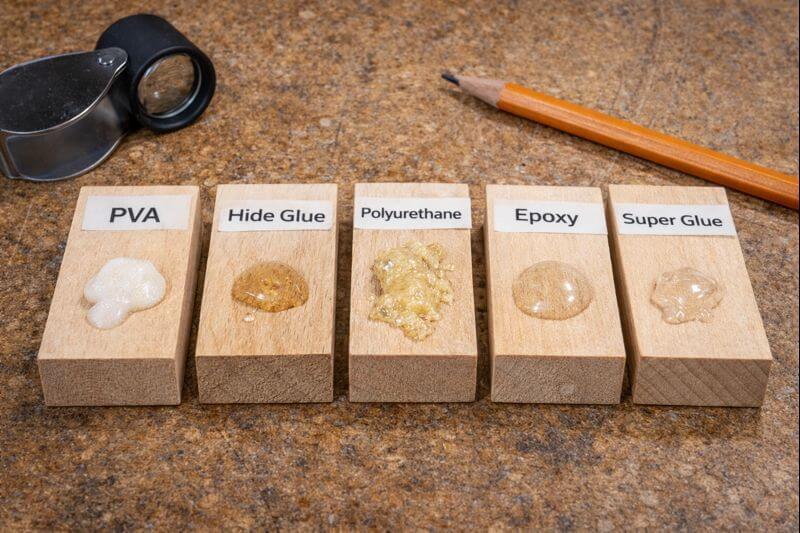
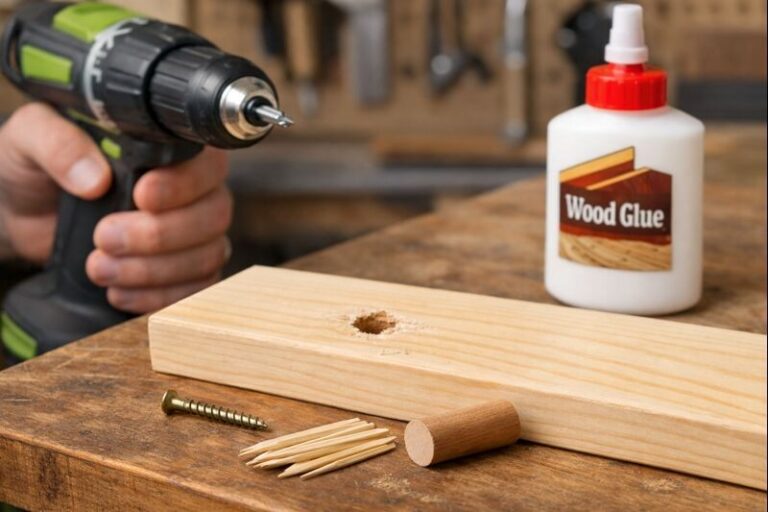
PVA glue (yellow or white “wood glue”)
PVA is the common carpenter’s glue for furniture and trays. When it’s wet, water cleans it up easily. When it’s cured, it usually won’t truly dissolve, but it can soften with heat and sometimes vinegar. That softening is enough to scrape cleanly.
Hide glue (older furniture, instruments, restorations)
Hide glue is a different animal. It’s known for being reversible with moisture and heat. If you’re working on an older piece, this is the glue type where “dissolve” is closest to reality.
Polyurethane glue (foamy, expands)
Polyurethane glue cures into a moisture-resistant, plastic-like mass. Water won’t help much after it cures. Plan on trimming, scraping, and sometimes sanding. Solvents aren’t reliably effective, and the finish risk isn’t worth it.
Epoxy (two-part adhesive)
Epoxy is built to resist chemicals. Once it cures, removal is usually mechanical. You can sometimes soften the surface slightly with heat, but you’re still scraping, not dissolving.
Cyanoacrylate (super glue / CA glue)
CA glue bonds fast and hard. Acetone can sometimes loosen it, but acetone can also damage many finishes. Spot testing matters here more than anywhere.
Learn more: Does wood glue work on painted wood? 9 Quick Ways to Make It Hold
Protect yourself and the finish before you start
Before you touch anything, decide if you’re working on bare wood or a finished surface. Bare wood can handle scraping and sanding, but it can also soak up liquids. Finished wood can be ruined by aggressive solvents or metal tools.
- Work with good airflow, especially with acetone or removers.
- Wear nitrile gloves and eye protection when scraping overhead.
- Test any liquid on a hidden spot first, even vinegar.
- Keep heat moving to avoid softening or blistering the finish.
If you’re building good shop habits, this refresher on basic tool maintenance for new woodworkers pairs well with glue cleanup, since dull scrapers and nicked chisels cause most surface damage.
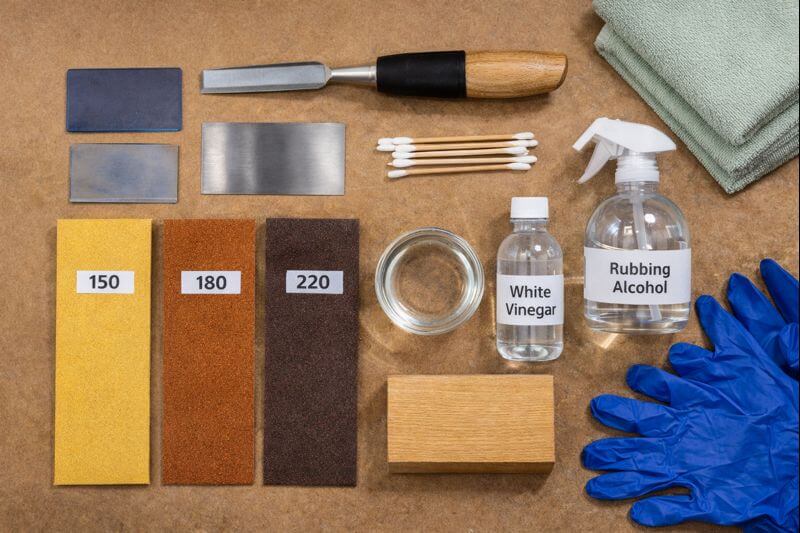
What you’ll want on the bench
You don’t need a chemistry set. You need control.
- Plastic scraper or old credit card
- Card scraper or sharp chisel (carefully used)
- Clean rags and cotton swabs
- Warm water
- White vinegar
- Rubbing alcohol (isopropyl)
- Hair dryer or heat gun (hair dryer is safer)
- Sandpaper (120, 150, 180, 220) and sanding block
- Optional: commercial glue remover (finish-safe type)
If the glue is still wet, don’t wait
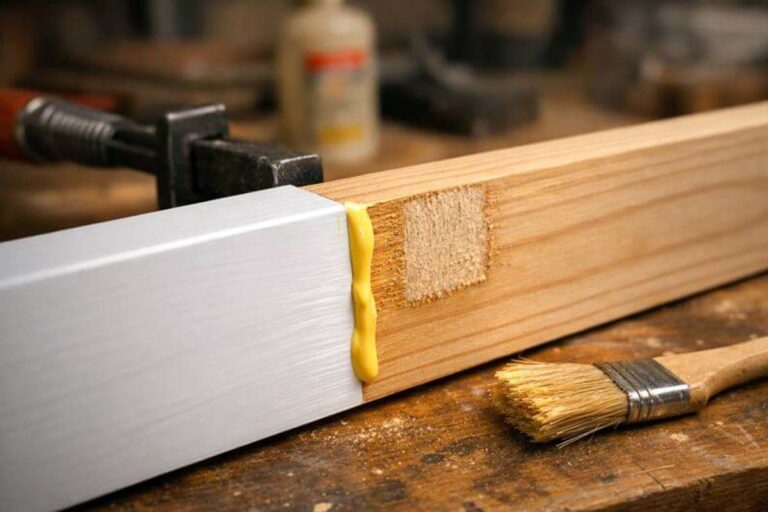
Fresh squeeze-out is the easiest glue you’ll ever remove. The trick is not smearing it into the grain.
If it’s puddled, scoop the bulk with a plastic scraper first. Then wipe lightly with a damp rag. If the glue is starting to gel, let it turn rubbery and peel it instead. Wiping half-cured glue is how you get that shiny patch that won’t take stain.
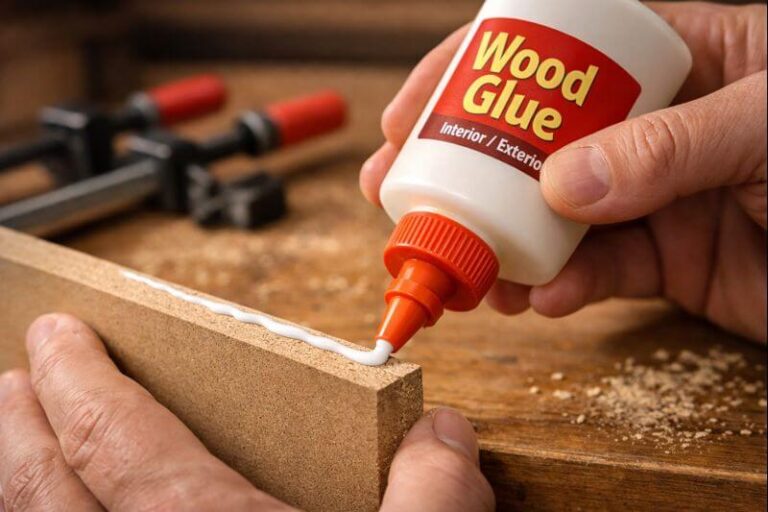
A lot of glue mess starts with using more adhesive than the joint needs. This guide on getting the right glue amount for clean joints is worth a look if squeeze-out keeps happening.
How to soften and remove dried wood glue on bare wood
On bare wood, you have options. Start gentle, then step up.
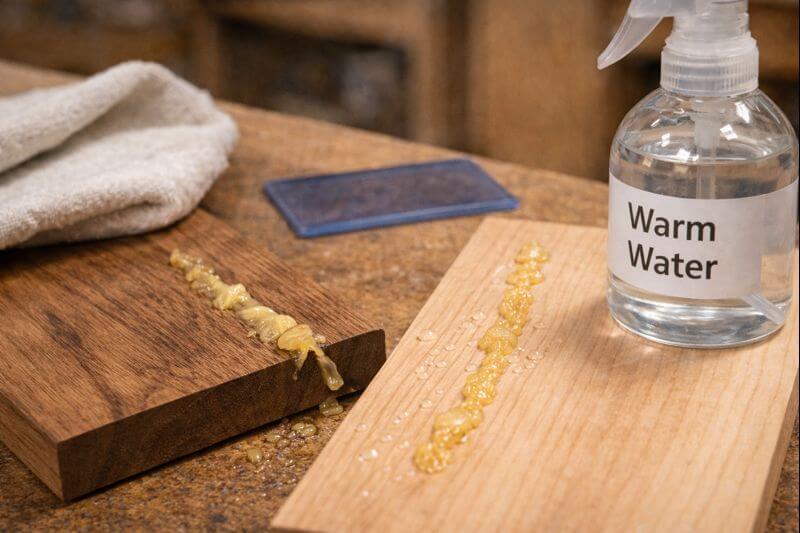
Warm water and a damp cloth (best first try)
For many water-based glues, moisture helps loosen the edge of the glue line. Dampen a rag with warm water and lay it over the glue for a minute or two. Don’t soak the board. Scrape gently, wipe clean, and repeat.
This works best for thin films and light residue. For thick beads, it usually only loosens the outer layer.
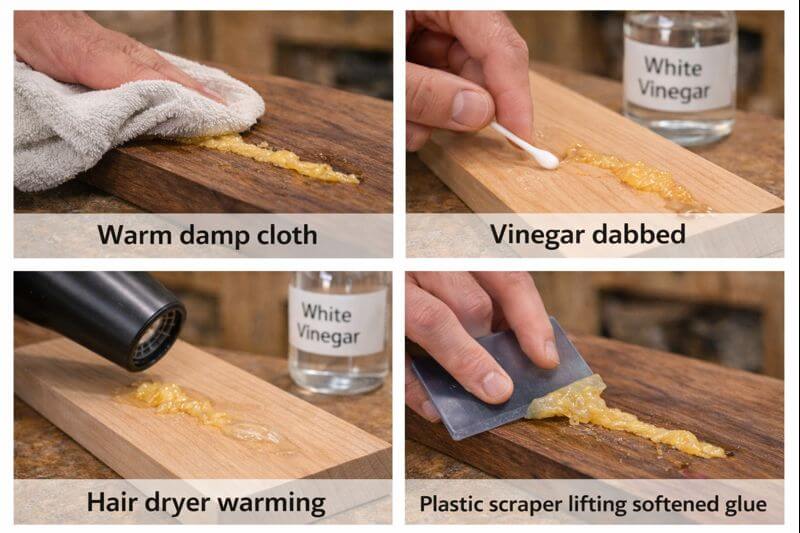
White vinegar for stubborn PVA residue
Vinegar is a mild acid, and it can help soften cured PVA enough to lift it. Wet a rag or cotton swab with vinegar and dab the glue. Give it a few minutes, then scrape with plastic first. Wipe with clean water afterward, then dry the area.
If you’re going to stain later, don’t leave vinegar sitting on bare wood. A quick wipe-down keeps you out of blotch trouble.
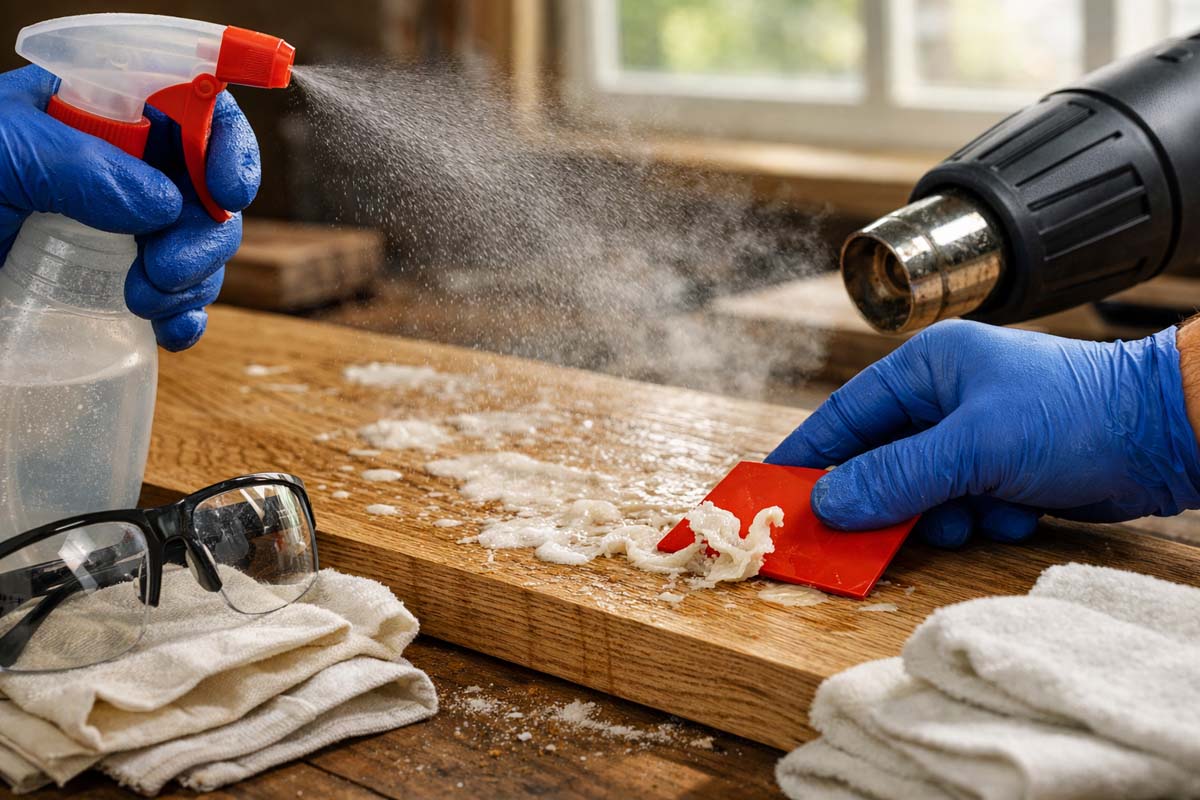
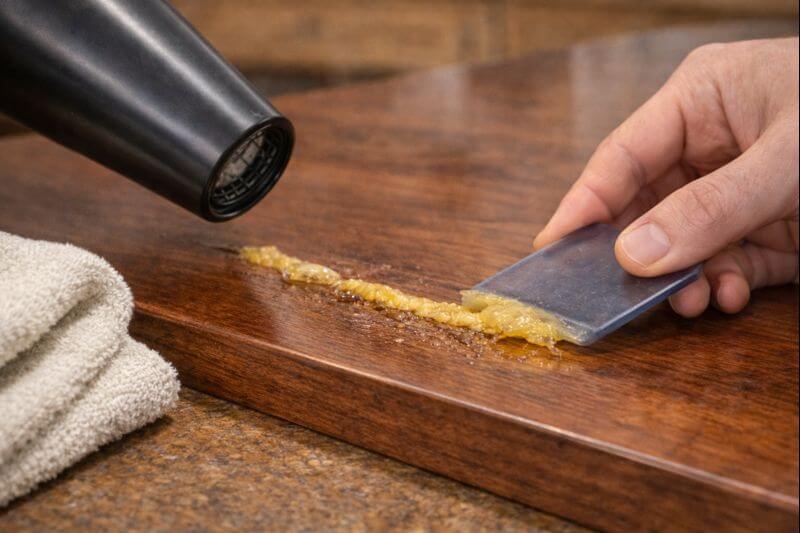
Controlled heat (hair dryer first, heat gun only if needed)
Heat can soften many glues enough to scrape cleanly. Use a hair dryer on high and warm the glue gradually. Keep the airflow moving. Once the glue turns slightly tacky, scrape it off in thin passes.
A heat gun works faster but scorches wood quickly. If you use one, stay farther away and keep it moving.
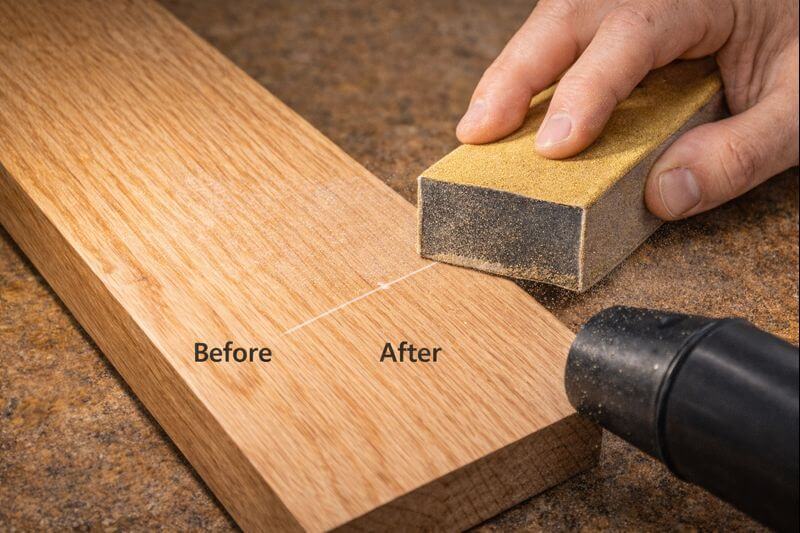
Scrape first, then sand to remove “glue-in-the-grain”
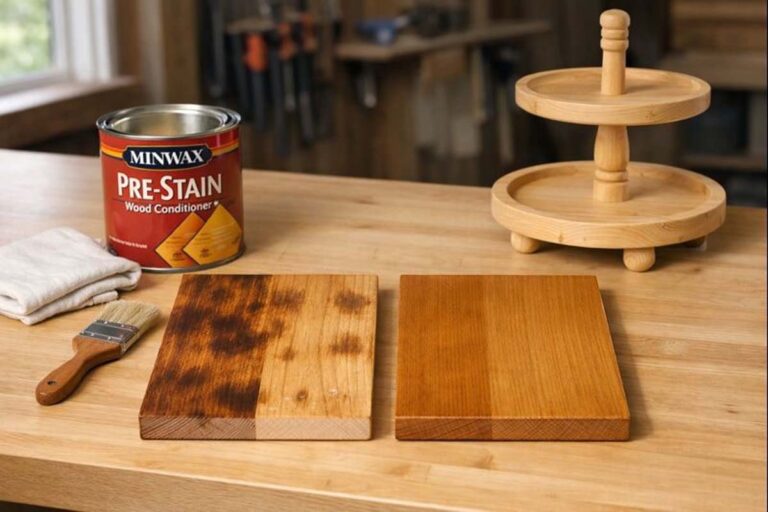
Even when the glue is gone, you may have a thin glaze in the pores. That’s what makes stain look pale and patchy. Scrape off the bulk, then sand the area evenly with a block.
A common sanding sequence is 150 → 180 → 220 on hardwoods. Match the grit to your project’s current stage. If you want a clear timing reference, here’s a helpful read on how long to wait before sanding glue-ups, since sanding too early clogs paper and smears glue.
How to remove wood glue from finished wood without damaging the surface
Finished wood is where people get in trouble. Your goal is to lift the glue while leaving the finish intact.
Start with the least aggressive approach:
- Warm the glue gently with a hair dryer.
- Lift it with a plastic scraper, working from the edge inward.
- Wipe with a barely damp rag, then dry immediately.
If there’s a remaining haze, try a tiny bit of warm water first. Avoid sanding unless you’re ready to refinish the whole area, because spot sanding often creates a dull “witness patch.”
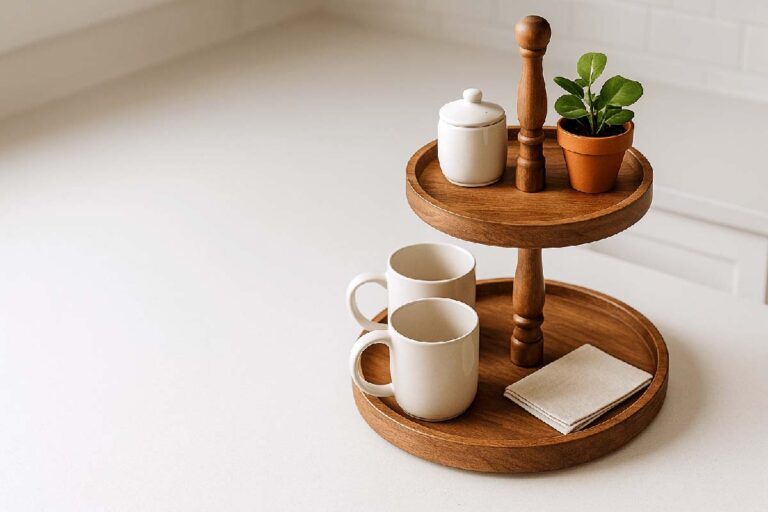
If the piece is something you handle daily, like a serving tray or tiered stand, good cleaning routines reduce how often glue and grime build up. This post on care and cleaning habits for wooden tray stands fits nicely with keeping finishes looking even.
When the glue is inside a joint and you need to separate parts
Surface cleanup is one thing. Taking apart a glued joint is another.
- For hide glue, moisture and heat can loosen the joint slowly.
- For PVA, heat helps more than water in most cases.
- For polyurethane and epoxy, separation often damages the wood first.
Work patiently. Gentle heat plus a thin putty knife can sometimes open a seam. Never pry hard across the grain. If the joint won’t budge, a careful saw cut and rebuild may save the project.
If you’re planning a repair and want the right adhesive next time, this overview of strong glue options for furniture repairs can help you pick a glue you can live with later.
Commercial glue removers
There are products marketed for glue removal, and some can help with residue. The problem is that many removers also soften finishes or leave oils behind.
If you use a remover:
- Test it where nobody will see.
- Follow the dwell time exactly.
- Scrape gently, then wipe clean and dry fully.
I still treat commercial removers as a last step, not the first step.
Cleanup and surface prep after the glue is gone
Once the glue is removed, wipe the area with a clean rag dampened with water, then dry. On bare wood, sand lightly and evenly so your finish looks consistent. On finished wood, check for dull spots in side light. If you see a patch, it may need a light buff and finish touch-up.
Don’t rush this stage. If the wood still has glue in the pores, stain will tell on you.
Mistakes that cause most of the damage
Here’s what I see most often in the shop.
- Using a metal scraper on a glossy finish
- Flooding bare wood with water or vinegar
- Overheating one spot until the finish wrinkles
- Sanding only the glue spot and creating a dip
- Jumping straight to acetone without testing
- Wiping half-cured glue into the grain
Slow, controlled passes beat aggressive force every time.
Prevention that actually works
A clean glue-up is easier than any cleanup.
Use less glue than you think you need, and clamp properly. Tape off squeeze-out zones when you care about the finish line. Keep a damp rag ready, but don’t smear. Wait for the rubbery stage when wiping would push glue into pores.
If you’re wondering how long glue really needs before it reaches full strength, this breakdown of what “fully cured” means for common wood glues helps you plan your sanding and finishing with fewer surprises.
Conclusion
Dissolving wood glue usually means softening it enough to remove it cleanly. Identify the glue type first, then protect the finish, and start with warm water, gentle heat, or vinegar for PVA. If dissolving isn’t realistic, scrape carefully and sand evenly to erase residue from the grain.