How to Cover Screw Holes in Wood: 11 Smart Tricks for Flawless Results
Cover screw holes in wood is one of those small details that makes a project look finished instead of “built in a hurry.”
A screw hole can be structural, cosmetic, or both.
When it’s handled the right way, the repair blends into the grain, takes stain or paint evenly, and holds up through seasonal wood movement.
Contents Here
- 1 Method 1: Countersink + wood plug (best for stained or clear-finished wood)
- 2 Method 2: Dowel plug patch (great for larger holes or removed screws)
- 3 Method 3: Wood filler (fastest for painted projects)
- 4 Method 4: Sawdust + glue (best for tiny gaps, not big holes)
- 5 Method 5: Epoxy fill (strongest for damaged, chipped holes)
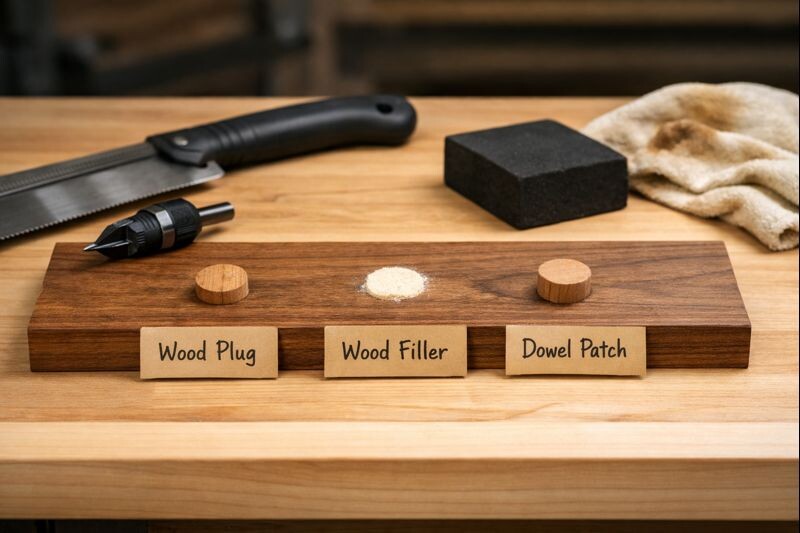
- 6 Comparing the best screw-hole covering options
- 7 Sanding and finishing so the repair disappears
- 8 Mistakes that make screw-hole covers look obvious
- 9 Practical example: clean screw-hole covers on a tray stand
- 10 FAQs about Cover Screw Holes in Wood
- 11 Final thoughts
First, decide what the screw hole is doing
Before grabbing filler, check one thing: is the screw still needed?
If the screw is holding parts together, the “cover” must not weaken the joint. In that case, the goal is usually to hide the head (countersink + plug) rather than remove the screw.
If the screw is temporary (like a clamp substitute during glue-up), the goal is a clean, permanent patch.
Here’s the quick decision guide used in the shop:
- Screw stays and needs to stay tight: use a wood plug or dowel plug over a countersunk head.
- Screw is removed and hole is shallow: use wood filler or sawdust + glue (depending on finish).
- Hole is blown out, chipped, or in a corner: consider epoxy or a dutchman patch (small inlay).
- Painted project: filler is usually fastest and most invisible.
- Stained/clear finish: plugs or real-wood patches look the most natural.
If the screw itself is stripping or the hole won’t hold anymore, fix that first. A cover job won’t last if the fastener is failing. This guide on a stripped fastener hole repair is the right starting point: fixing a stripped screw seat in wood.
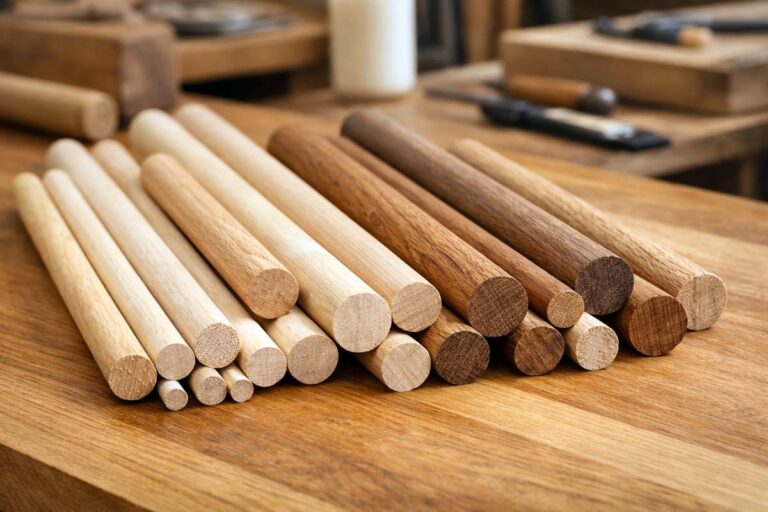
Tools and materials that make this easy
Keep these on hand and most screw-hole fixes become simple:
- Sharp chisel (1/2″ is a sweet spot)
- Flush-cut saw or flexible flush saw
- Sandpaper (120, 150, 180, 220)
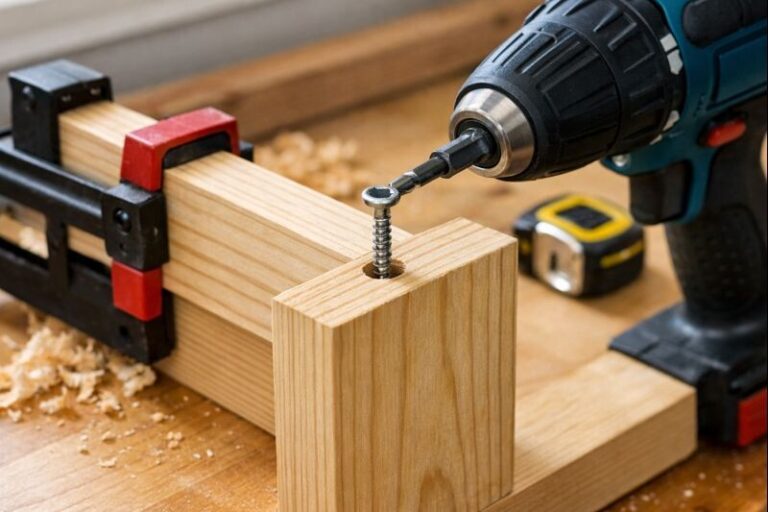
- Drill + bits (including countersink bit)
- Plug cutter (if making your own plugs)
- Pre-made tapered plugs (great for quick work)
- Wood filler (paint-grade and stainable versions)
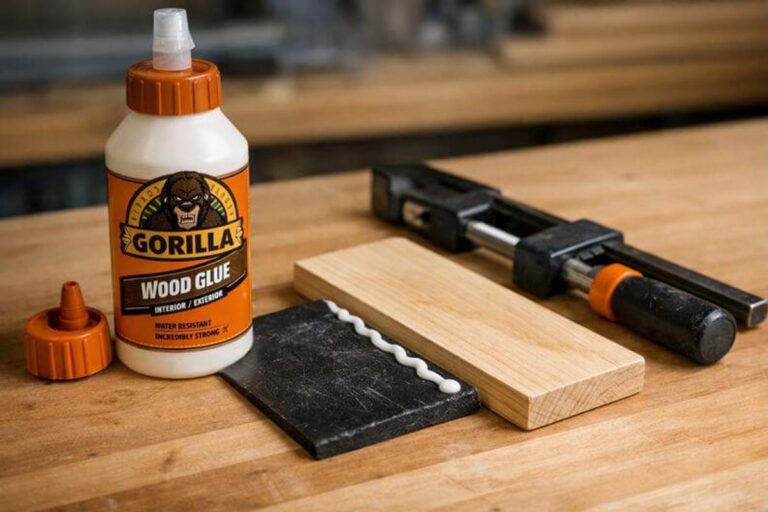
- Wood glue (PVA) + scrap sawdust
- Optional: 2-part epoxy for damaged areas
For tray stands and tiered tray builds, a countersink bit is worth its weight. It lets the screw pull tight while leaving room for a plug that hides everything. If you’re building stands often, it also helps reduce wobble and keeps joints snug over time. This guide pairs well with that kind of work: stopping a tiered tray stand from wobbling.
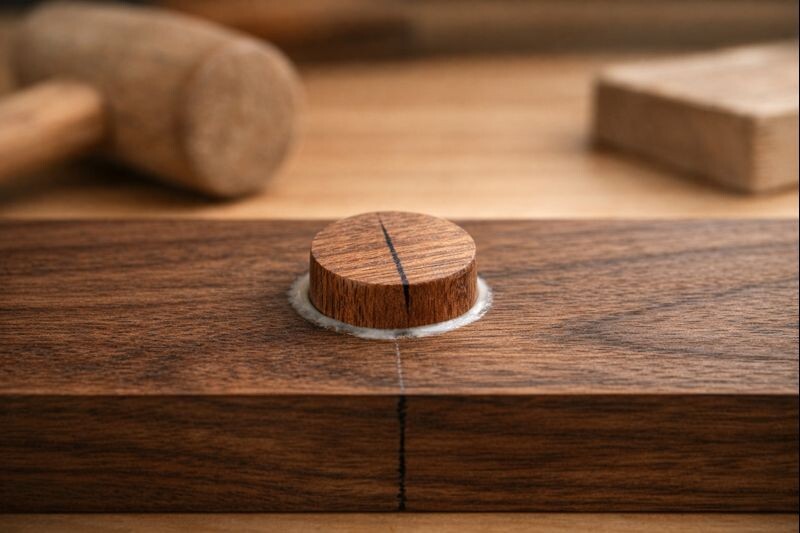
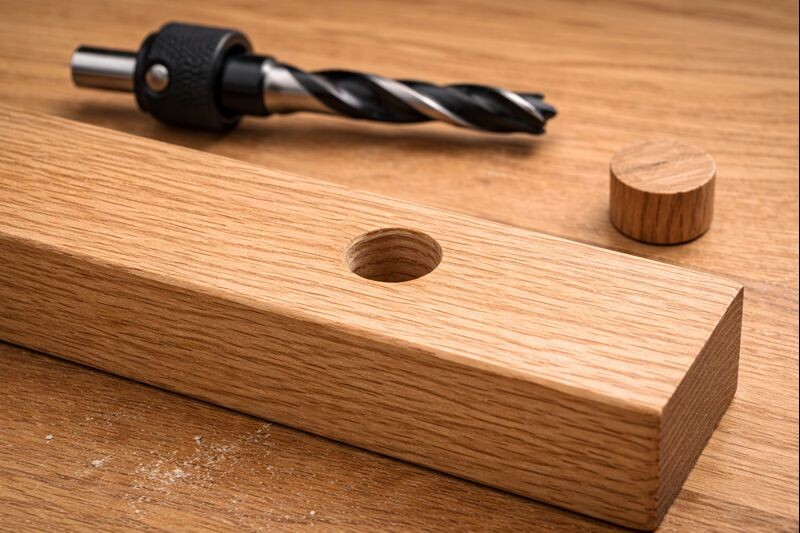
Method 1: Countersink + wood plug (best for stained or clear-finished wood)
This is the “furniture-grade” fix. It’s strong, clean, and looks like real wood because it is real wood.
When to use it
- Visible surfaces (table tops, tray stand uprights, side panels)
- Clear coat or stain finishes
- Projects where you want the cover to disappear into grain
Step-by-step
- Countersink the screw head (or deepen it): Use a countersink bit so the screw head sits below the surface by about 1/8″ to 3/16″.
- Choose the plug style:
- Tapered plug: wedges in tight, easiest for clean installs.
- Straight plug: works fine but needs a precise hole.
- Match grain direction on purpose: Align the plug grain to run the same way as the board grain. That’s the difference between “hidden” and “obvious.”
- Glue the plug lightly: Spread a thin coat of wood glue on the plug sides, not in a puddle. Too much glue causes squeeze-out that blocks stain.
- Tap it home: Use a mallet and a scrap block. Stop when the plug bottoms out.
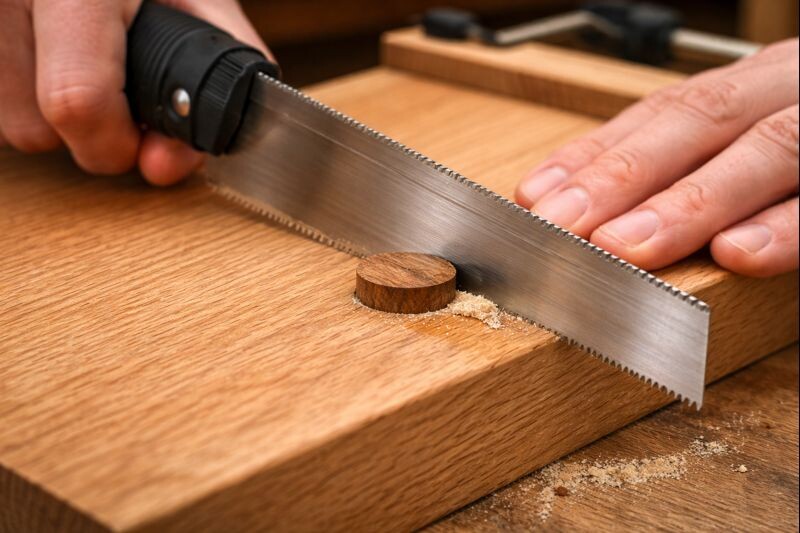
- Trim flush: Use a flush-cut saw or a sharp chisel. Keep the tool flat to avoid gouges.
- Sand smooth: Sand just enough to blend. Usually 150 → 180 → 220 does it.
A plug cutter helps you create perfect grain matches from offcuts. When working with distinctive woods (like walnut), using project scrap makes the patch nearly vanish. If you’re building a dark wood stand, these finishing notes help keep everything even: finishing walnut without dulling the grain.
Benefits and drawbacks
Benefits
- Best-looking repair for clear finishes
- Strong and durable
- Doesn’t shrink like filler
Drawbacks
- Takes more time than filler
- Needs matching wood and clean cutting
Method 2: Dowel plug patch (great for larger holes or removed screws)
A dowel plug is basically a “wood cylinder patch.” It’s excellent when the hole is too wide or ragged for a small tapered plug.
When to use it
- Bigger screw holes, especially after hardware changes
- Repairs on tray stand posts, legs, and rails
- Spots where you can drill cleanly and perpendicular
Step-by-step
- Drill the hole to a clean size: Pick a bit that makes a clean round hole (often 1/4″ or 3/8″). Drill just deep enough to remove torn fibers.
- Cut a dowel plug from matching wood if possible: Store dowels can be mismatched and blotchy under stain. If stain matters, cut your own dowel from scrap.
- Score the dowel lightly: A few shallow knife lines along the sides give glue a place to go and reduce hydraulic pressure.
- Glue and tap in: Add glue to the hole walls, not a big pool in the bottom.
- Trim and sand flush: Same as the plug method.
Tip: if the surface will be stained, test stain on the dowel first. Many birch dowels look “pale and loud” under stain.
If you’re working in pine, stain mismatch is even more common. This guide helps prevent those surprise dark patches around repairs: preventing blotchy stain on pine boards.
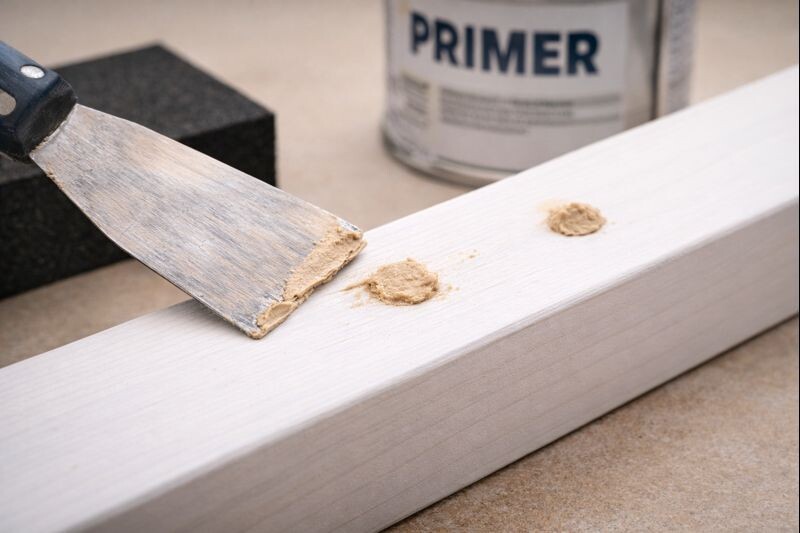
Method 3: Wood filler (fastest for painted projects)
For paint-grade projects, filler is often the best choice because paint hides minor texture differences.
When to use it
- Painted tiered trays, tray stands, décor builds
- Small countersinks and nail holes
- Anywhere the grain match doesn’t matter
Step-by-step
- Clean the hole: Remove loose fibers. If the hole edge is fuzzy, lightly chamfer it with sandpaper.
- Choose the right filler:
- Lightweight spackle: easy sanding, best for indoor décor
- Wood filler: tougher, better for edges and high-wear areas
- “Stainable” filler: only helps a little; test first
- Pack it in firmly: Overfill slightly. Most fillers shrink a bit.
- Let it dry fully: If it sands gummy, it’s not ready.
- Sand level, then prime: Priming is what makes painted repairs disappear.
For painted tray builds, brush marks can make repairs stand out more than the patch itself. This finishing walkthrough helps keep the paint surface uniform: getting a smooth painted finish without brush marks.
Benefits and drawbacks
Benefits
- Fast and simple
- Minimal tools
- Great under paint
Drawbacks
- Can shrink or crack in deep holes
- Often looks obvious under stain or clear coat
Method 4: Sawdust + glue (best for tiny gaps, not big holes)
This is a classic trick, but it’s easy to misuse.
Sawdust-and-glue works best for hairline gaps and shallow fills. For a deep screw hole, it tends to dry darker and can look like a “mud spot,” especially under stain.
When to use it
- Small defects around a plug
- Micro gaps at trim joints
- Shallow countersink touch-ups
Step-by-step
- Use fine sanding dust from the same wood: Dust from a random orbital sander on the project piece is ideal.
- Mix with glue to a thick paste: Keep it stiff enough that it doesn’t run.
- Press it into the defect: Overfill slightly.
- Let it dry, then sand.
Important: glue blocks stain. If the final finish is stain, keep glue squeeze-out off the surrounding wood.
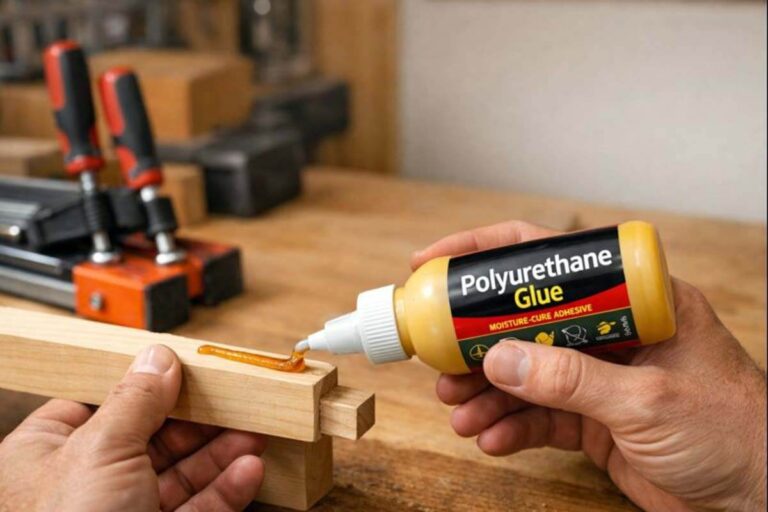
Method 5: Epoxy fill (strongest for damaged, chipped holes)
Epoxy is a problem-solver when the wood fibers are busted and you need strength more than perfect grain matching.
When to use it
- Chipped corners, broken edges, torn-out holes
- High-stress parts like tray stand center posts
- Repairs that will be painted (best use)
Step-by-step
- Mask the area: Painter’s tape makes cleanup easier.
- Mix epoxy carefully: Follow ratios. Scrape the sides of the cup.
- Fill in layers for deep voids: This reduces heat and shrink issues.
- Shape after it reaches “rubbery” stage (if possible): Some epoxies are easier to trim before full cure.
- Sand and finish: Epoxy doesn’t take stain like wood, so plan on paint or an intentional decorative look.
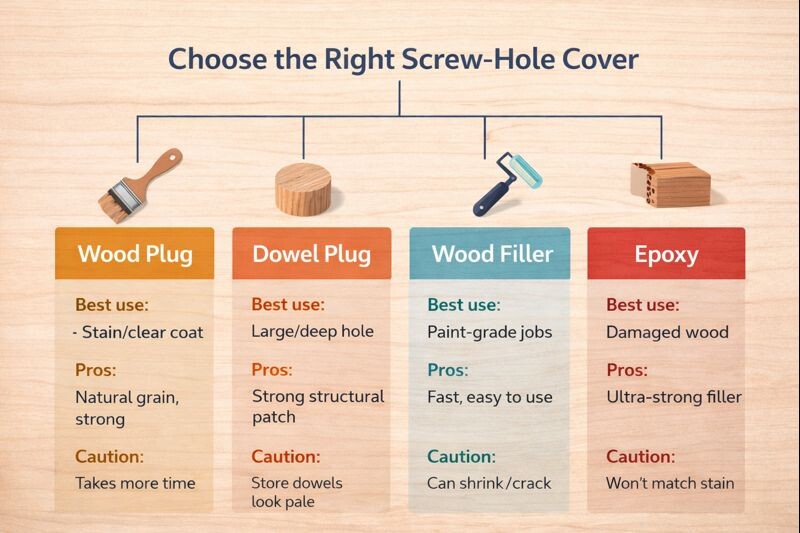
Comparing the best screw-hole covering options
| Method | Best for | Strength | Finish match | Typical time |
|---|---|---|---|---|
| Countersink + tapered plug | Stained/clear surfaces | High | Excellent | Medium |
| Dowel plug patch | Larger holes, removed screws | High | Good to excellent | Medium |
| Wood filler | Painted surfaces | Medium | Excellent under paint | Fast |
| Sawdust + glue | Tiny gaps, touch-ups | Low–Medium | Fair | Fast |
| Epoxy | Damaged wood, structural fill | High | Poor under stain | Medium |
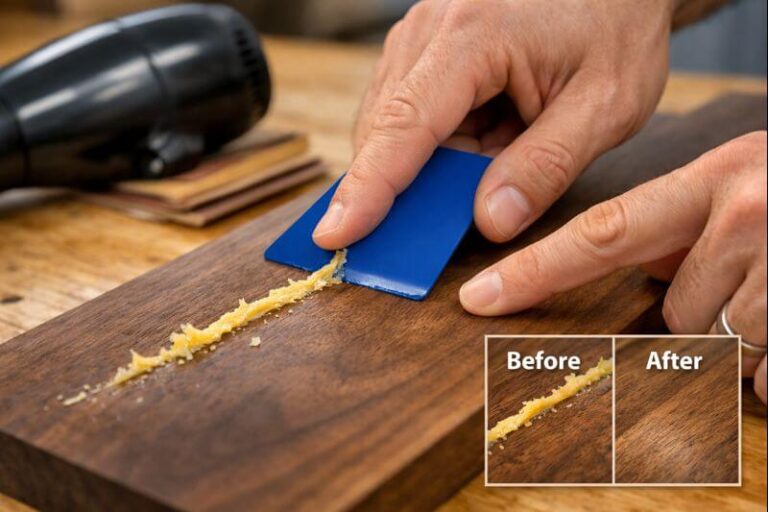
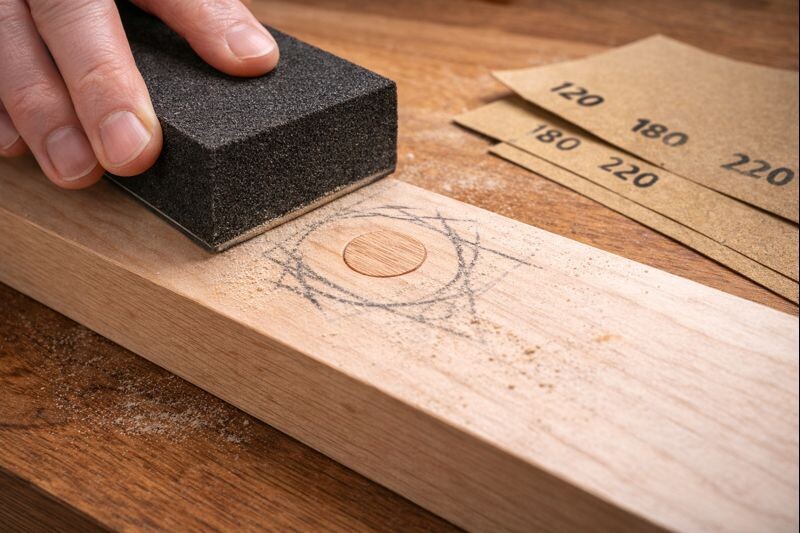
Sanding and finishing so the repair disappears
A perfect patch can still look bad if sanding and finish are rushed.
Sanding tips that prevent “witness rings”
- Start sanding the plug area with a block, not fingers.
- Feather the surrounding area lightly. Don’t dish the surface.
- Stop at the same grit used on the rest of the piece.
If the repair sits on end grain (like tray stand parts with exposed edges), end grain can highlight patches fast. This guide helps keep end grain smooth and consistent: sanding end grain to a glassy finish.
Finish tips that help patches blend
- Use a washcoat (thin shellac or conditioner) before stain on blotch-prone woods.
- Wipe stain consistently across the patched area. Don’t “spot stain” only the plug.
- Apply clear coats evenly. Uneven build can telegraph repairs.
If your clear coat turns hazy or milky, that can make plug repairs look worse than they are. These fixes help fast: fixes for cloudy clear coats.
Mistakes that make screw-hole covers look obvious
These are the problems that show up most often:
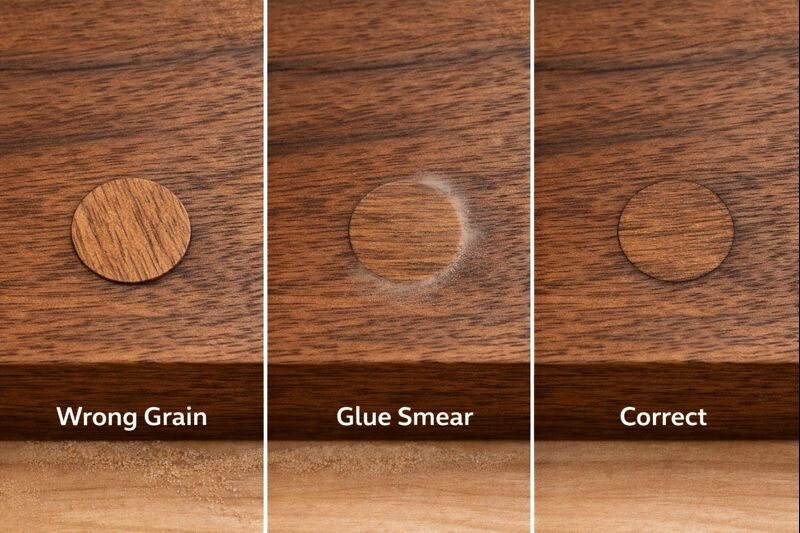
- Plug grain runs the wrong direction: It catches light differently and pops out.
- Glue squeeze-out wasn’t cleaned: Stain won’t penetrate where glue smeared.
- Filler used under stain: Even “stainable” filler rarely matches real wood well.
- Sanding dish around the repair: Light reflects differently and creates a halo.
- Trying to hide a loose screw instead of fixing it: If the screw keeps moving, the patch fails. This guide helps when threads won’t bite: tightening up loose screws in wood.
Practical example: clean screw-hole covers on a tray stand
Tray stands are a good example because they’re both structural and decorative.
If screws are used in a center post or under a tray, countersink + plug keeps the joint strong while hiding the hardware.
If the stand is painted farmhouse style, filler plus primer is usually the cleanest route.
And, If you’re planning a full build, this walkthrough shows where fasteners tend to land and how to plan for them: building a sturdy tiered tray stand step by step.
FAQs about Cover Screw Holes in Wood
Can wood filler be used for screw holes on stained wood?
Wood filler can be used, but it rarely blends well under stain. Most fillers absorb stain differently than wood fibers. For a clean match, a wood plug or dowel patch made from the same species is usually the better choice.
Should the screw be removed before covering the hole?
If the screw provides structural strength, it should stay in place and be covered with a countersink and plug. If it was temporary or decorative, removing it and patching the hole with a plug, dowel, or filler is appropriate.
What’s the cleanest way to hide screw heads on a tray stand?
A countersunk screw covered with a tapered wood plug is typically the cleanest option for stained or clear finishes. For painted tray stands, a quality wood filler followed by primer usually becomes invisible after topcoat.
Why does a plug sometimes stand out even after sanding?
A plug stands out when its grain direction doesn’t match the surrounding wood, or when sanding creates a shallow dish around the repair. Glue smear can also block stain and create a lighter ring that highlights the patch.
How deep should a countersink be for a wood plug?
A countersink depth of about 1/8″ to 3/16″ is usually enough for a durable plug cover. The plug should sit fully below the surface, then be trimmed flush so sanding doesn’t thin the surrounding board.
Final thoughts
Covering screw holes cleanly isn’t about one “best” method. It’s about choosing the right fix for the finish, the location, and the job the screw is doing. For stained or clear wood, real-wood plugs and dowel patches look the most natural. For paint, filler is faster and plenty reliable. When the repair is planned and finished carefully, the hole stops being a distraction and the project looks intentional.