How to Clean a Sealed Wood Tray Without Dulling It: 8 Fast, Safe Steps
To clean a sealed wood tray without dulling it, keep the goal simple: lift off grime and residue without scratching the finish or leaving a cleaner film behind. Most trays get “dull” from tiny abrasions, oily fingerprints, or soap that never fully rinses. The fix usually isn’t a new product. It’s a better method, the right cloth, and a quick dry so water can’t explain itself.
Contents Here
- 1 What “sealed wood” really means (and why it matters)
- 2 Quick finish check (30 seconds)
- 3 The safest everyday cleaning method (step by step)
- 4 When the tray still looks dull (common causes + fixes)
- 5 What to avoid (this is where most dulling starts)
- 6 Best cloths and tools (quick guide)
- 7 Cleaner options table (what works, what risks dulling)
- 8 “Deep clean” for a decorative tray (monthly or seasonal)
- 9 How to keep a sealed tray shiny longer (prevention tips)
- 10 FAQs
- 11 Final thoughts
What “sealed wood” really means (and why it matters)
A sealed wood tray has a protective finish sitting on top of the wood, inside the wood, or both.
That finish is what you’re cleaning.
If the finish gets hazy, scratched, or softened, the tray looks tired even if the wood underneath is fine.
Common sealed finishes on trays:
- Polyurethane / polycrylic (very common, tough, water-resistant)
- Varnish (similar family, often warm tone)
- Lacquer (hard, smooth, can haze with harsh cleaners)
- Shellac (beautiful, but sensitive to alcohol/ammonia)
- Hardwax oil (more “in the wood,” needs gentler cleaning)
If you’re ever unsure what you’re dealing with, it helps to know the wood species first. A quick read on spotting walnut in real projects makes finish decisions easier, since darker woods show haze faster under side light.
Why dulling happens:
- Micro-scratches from paper towels, scrubby sponges, or gritty dust.
- Cleaner residue (soap film is a big one).
- Hard-water minerals leaving a haze.
- High-pH cleaners (some “all-purpose” sprays) slowly cloud certain finishes.
- Too much water creeping into seams, edges, or under hardware.
Quick finish check (30 seconds)
Before using anything stronger than mild soap, do this:
- Wipe the tray with a dry microfiber cloth: If the “dullness” improves, it was mostly dust or light film.
- Pick a hidden spot (bottom edge): Dampen a cloth with plain water and rub lightly.
- If it cleans normally, you’re likely dealing with poly/varnish/lacquer/hardwax oil.
- If it gets tacky fast, stop. The finish may be heat-softened or compromised.
- Avoid alcohol-based sprays until you know it’s not shellac: Shellac and alcohol are not friends.
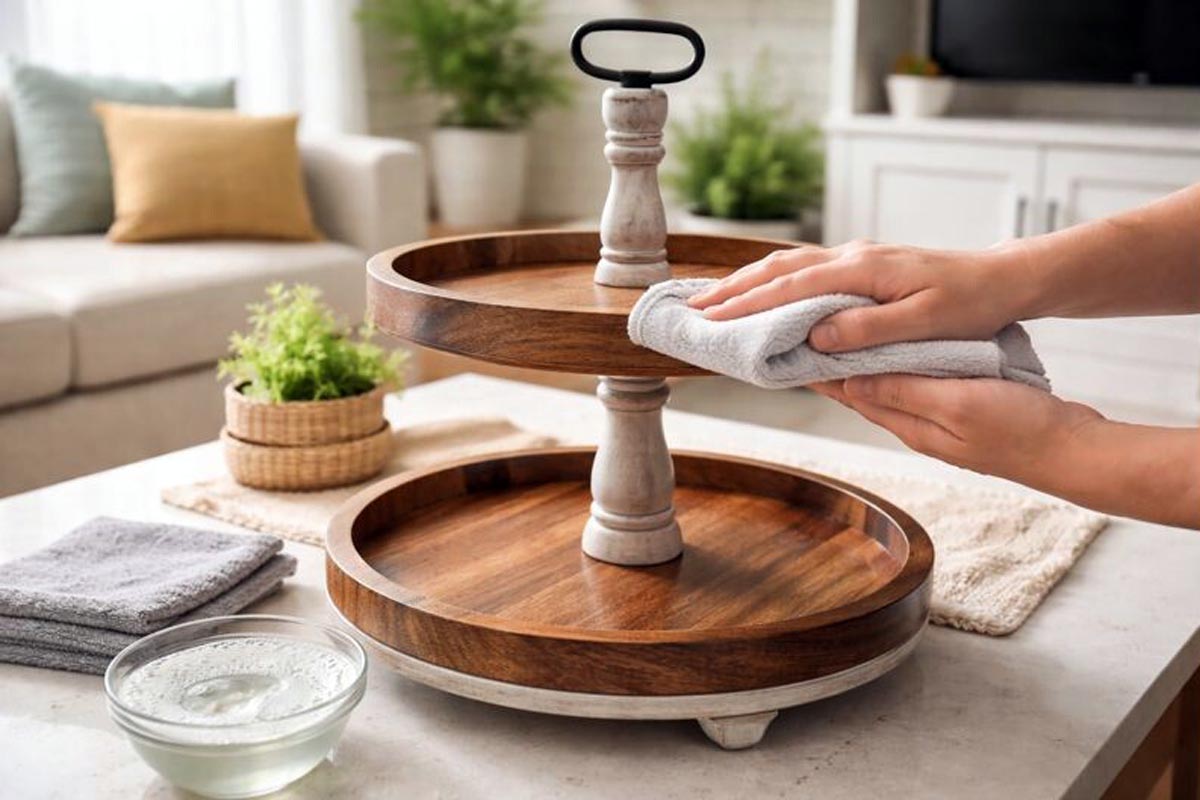
The safest everyday cleaning method (step by step)
This is the routine that keeps sealed trays glossy without drama.
Supplies
- 2 microfiber cloths (one for washing, one for drying)
- A small bowl of warm water
- Mild dish soap (no heavy degreasers)
- Optional: a second bowl of clean rinse water
Steps
- Dust first: Wipe with a dry microfiber cloth. This prevents grinding dust into the finish.
- Mix a weak soap solution: Use warm water and just a couple drops of dish soap. More soap means more residue.
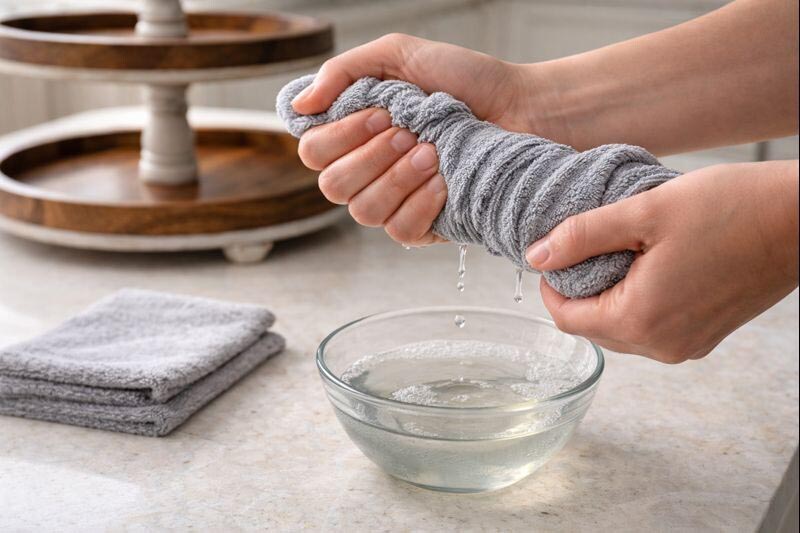
- Wipe, don’t soak: Dip the cloth, wring it hard, and wipe with the grain. Don’t let water pool around handles, feet, or joints.
- Rinse wipe: Use a second cloth dampened with clean water (wrung out) and wipe again. This is the step most people skip, then wonder why the tray looks hazy.
- Dry immediately: Dry with a clean microfiber cloth right away. Pay attention to edges and corners.
When the tray still looks dull (common causes + fixes)
If the tray is clean but still not popping, it’s usually one of these.
1) Soap film or cleaner residue
Signs:
- Looks cloudy under side light.
- Feels slightly grabby instead of slick.
Fix:
- Wipe with a cloth dampened in warm water only (wrung out).
- Dry and buff right away.
If needed:
- Add a tiny drop of dish soap, wipe once, then do a thorough rinse wipe.
2) Hard-water mineral haze
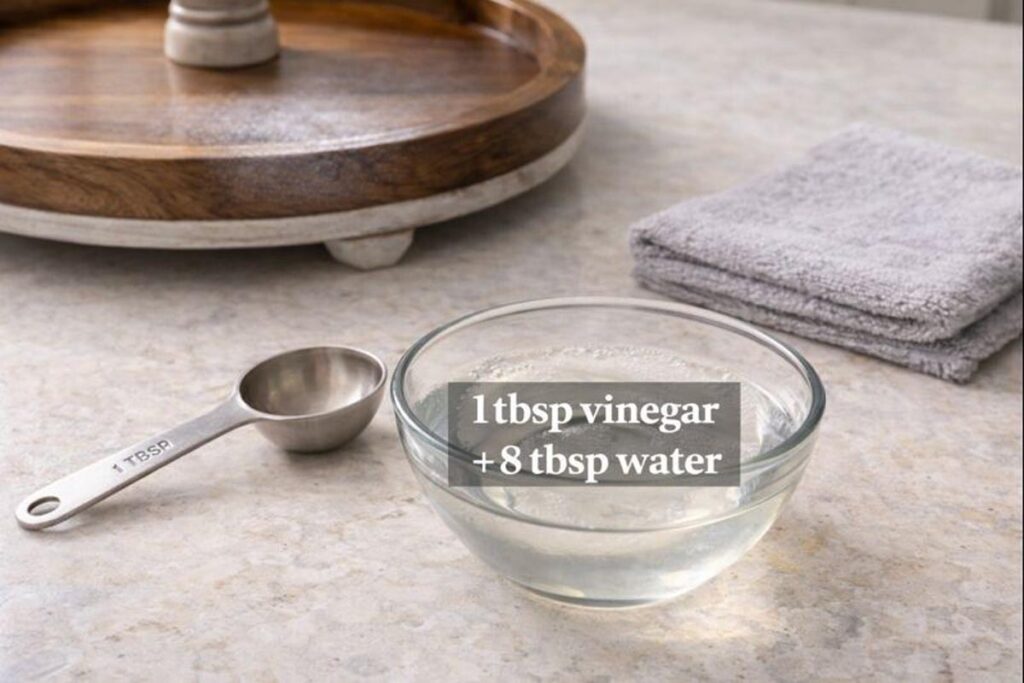
Signs:
- Chalky look, especially near edges where water dries first.
Fix (gentle):
- Mix 1:8 white vinegar to water (example: 1 tablespoon vinegar in 8 tablespoons water).
- Dampen cloth, wipe lightly, then wipe once with clean water.
- Dry and buff.
Important:
- Don’t use vinegar on raw wood. This is for sealed finishes only.
- Don’t soak the surface.
3) Greasy fingerprints (kitchen oils, lotion, hand creams)
Signs:
- Smudges move around instead of lifting.
Fix:
- Use warm water + a couple drops of dish soap.
- Wipe, rinse wipe, then dry and buff.
Avoid:
- “Degreaser” sprays. Many are high-pH and can haze some finishes over time.
4) Micro-scratches (the sneaky dulling)
Signs:
- Tray is clean but looks flat, especially under a lamp.
- Often from paper towels or the green side of a sponge.
Fix options (pick one, stay conservative):
- Buff with a clean microfiber cloth first: Sometimes the “dull” look is just flattened waxy film.
- Use a non-silicone furniture polish sparingly (only if the tray is decorative). Silicone can cause refinishing problems later.
- For poly/varnish trays: a tiny amount of quality paste wax can add slip and shine. Apply very thin, buff well. Don’t build layers.
If the tray is for food serving, skip most polishes and waxes unless you’re certain they’re food-safe and used correctly.
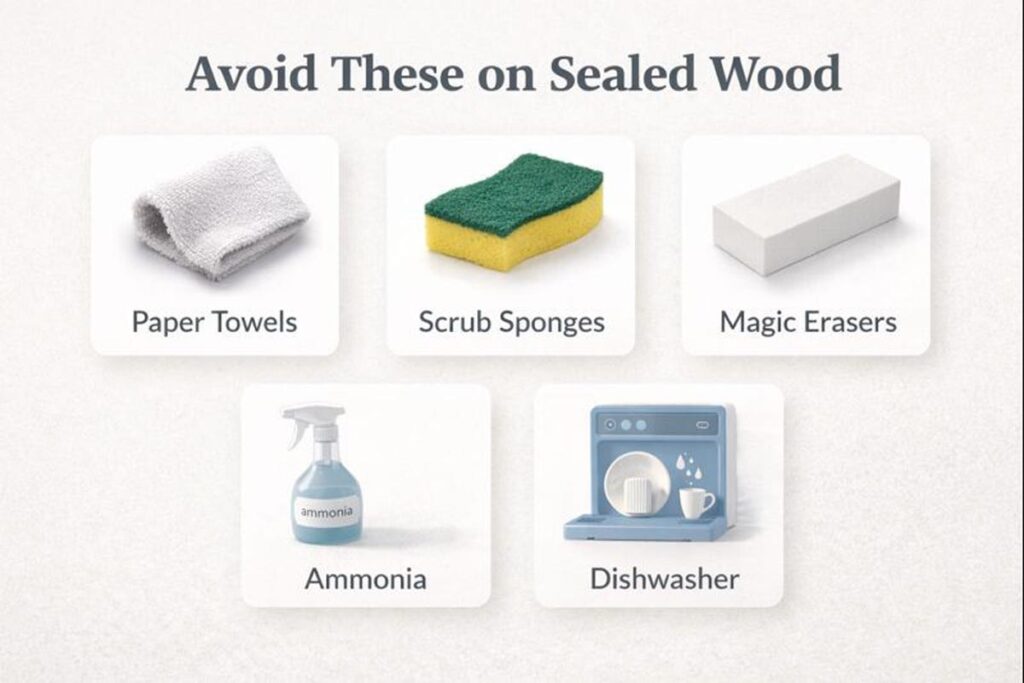
What to avoid (this is where most dulling starts)
Avoid these on sealed wood trays:
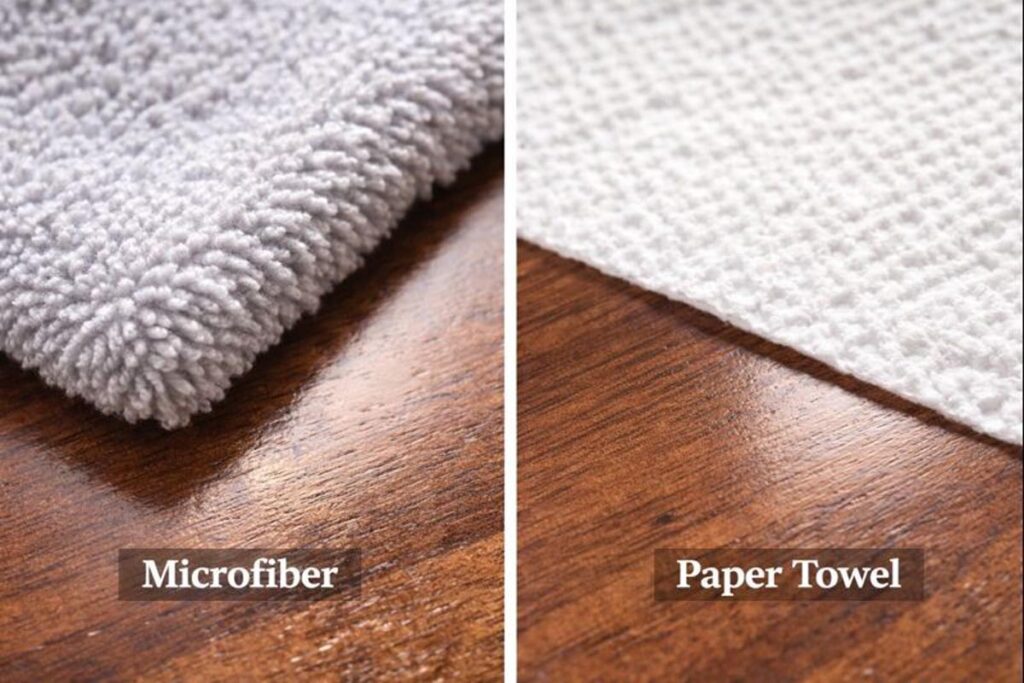
- Paper towels (can be abrasive, especially on satin finishes)
- Scrub sponges (even the “soft” side can hold grit)
- Magic erasers (they’re micro-abrasives; they will knock sheen down)
- Ammonia, bleach, harsh bathroom cleaners
- Alcohol-heavy sprays unless you know the finish isn’t shellac
- Soaking or running under a faucet
- Dishwasher (never—heat + water + detergent is a finish killer)
If you’re building or maintaining trays/stands, the same “avoid abrasives” mindset applies to tools and pads too. The habits in basic tool upkeep for newer woodworkers help prevent accidental scratches from contaminated sanding blocks and dusty rags.
Best cloths and tools (quick guide)
A good cloth matters more than a fancy product.
- Microfiber: best all-around, gentle, grabs grime.
- Soft cotton (old T-shirt): good for drying/buffing.
- Soft detailing brush: great for corners, around handles, carved edges.
- Felt pads under decor: prevents scratches when styling trays.
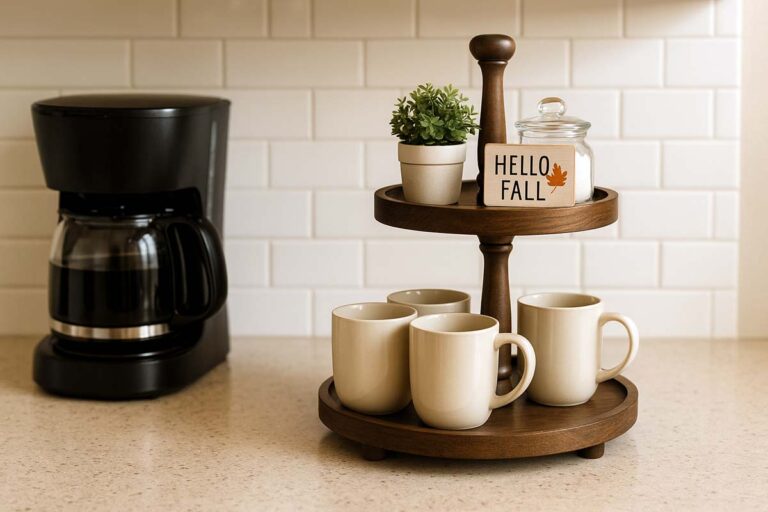
If you’re decorating tiered trays, movement is the enemy. A lot of surface scuffs come from shifting decor, not “dirty wood.” The layout ideas in tiered tray styling that prevents scuffs help control sliding and rubbing on sealed finishes.
Cleaner options table (what works, what risks dulling)
| Cleaner / Method | Best for | Benefits | Drawbacks | Safe for most sealed trays? |
|---|---|---|---|---|
| Warm water + tiny dish soap | Daily grime, light grease | Low risk, easy | Can leave film if not rinsed | Yes |
| Clean-water rinse wipe | Soap haze | Removes residue | Needs immediate drying | Yes |
| Diluted vinegar (1:8) | Hard-water haze | Breaks mineral film | Can irritate weak finishes if overused | Usually, if used lightly |
| Furniture polish (non-silicone) | Decorative shine boost | Quick gloss | Can build residue; not ideal for food use | Sometimes |
| Paste wax (thin coat) | Decorative protection | Adds slip and sheen | Can attract dust; not for all uses | Sometimes |
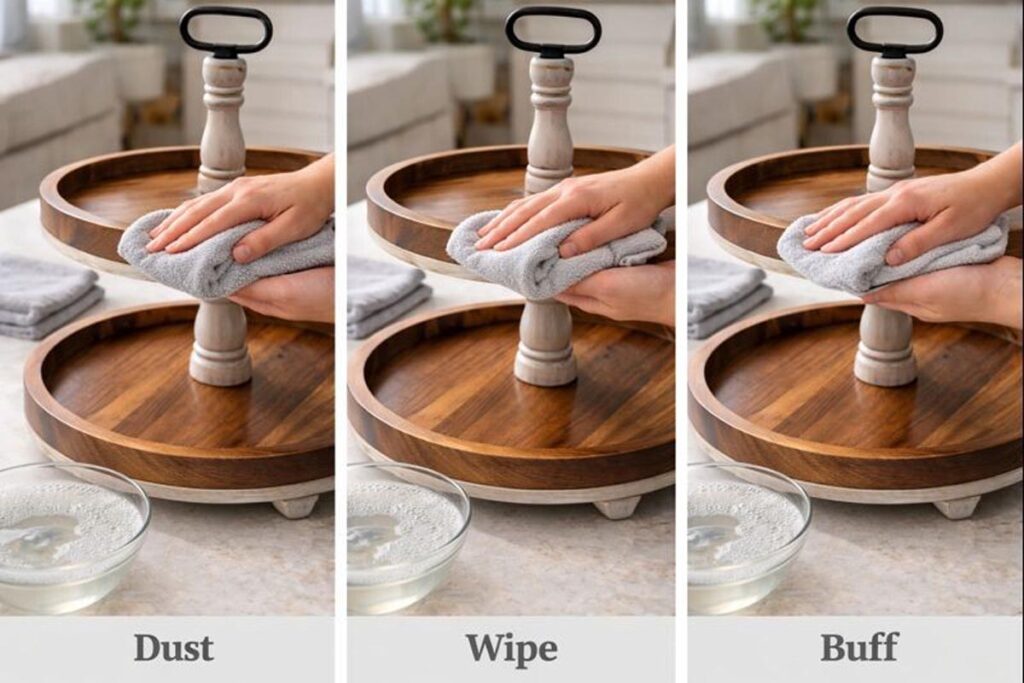
“Deep clean” for a decorative tray (monthly or seasonal)
- Dust with a dry microfiber cloth.
- Wipe with warm water + mild soap (cloth wrung hard).
- Rinse wipe with clean water.
- Dry completely.
- Buff for 30–60 seconds with a dry microfiber cloth.
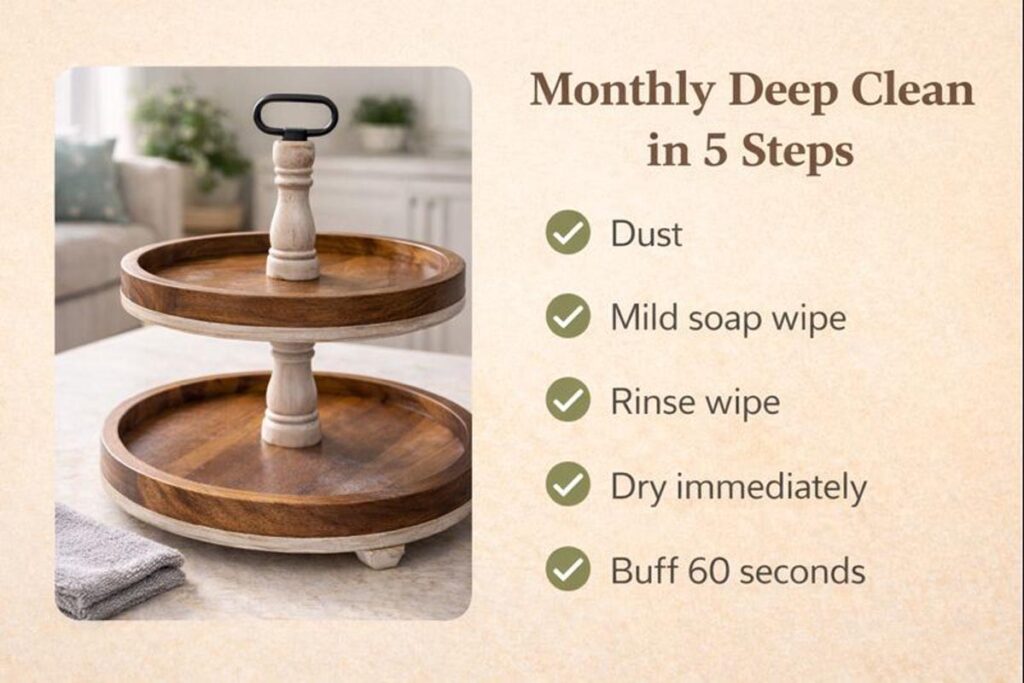
If the tray sits on a tiered stand, check wobble and hardware while you’re at it. Movement causes rubbing, and rubbing causes dull spots. The build notes in a simple guide to making your own tray stand show where loosening usually starts (center rod, washers, and base contact points).
How to keep a sealed tray shiny longer (prevention tips)
- Use coasters or small mats under candles, soaps, and diffusers.
- Add felt pads under heavy decor pieces.
- Don’t drag items across the surface. Lift and place.
- Keep it out of constant sun if possible. UV can fade stain and shift sheen.
- Dry spills right away, especially coffee, tea, and citrus.
Wood choice affects how well edges hold up over time. If you’re picking lumber for trays or stands, the comparison in choosing between pine, oak, and maple for projects helps you predict denting, edge wear, and how “dull” marks show on lighter vs darker species.
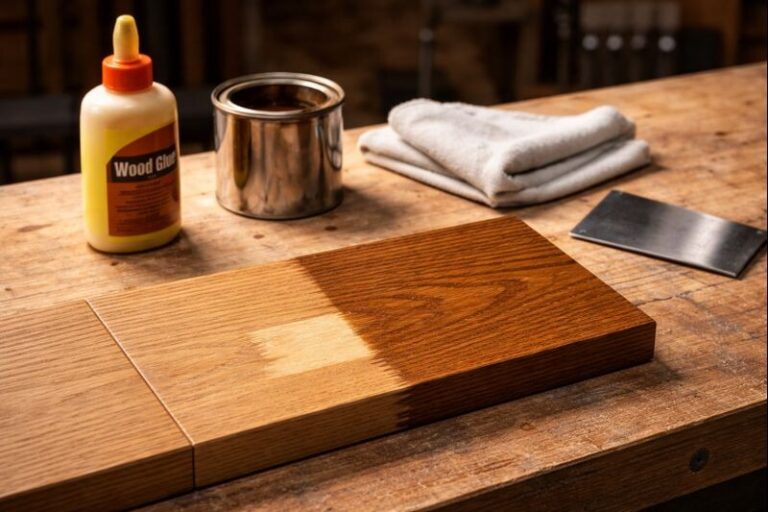
If you’re working with walnut, finish clarity matters even more because haze shows fast. The steps in finishing walnut so it stays crisp and clear line up well with the same “thin layers, clean wipes, no residue” rule used in cleaning.
FAQs
Can a sealed wood tray be washed under running water?
It is not recommended. Running water often pools at edges and hardware, which can creep under the finish and cause lifting or haze. A wrung-out cloth and immediate drying is the safer, finish-friendly method.
What’s the safest cleaner for a glossy sealed tray?
Warm water with a few drops of mild dish soap is usually safest. Use a barely damp cloth, wipe with the grain, then do a clean-water rinse wipe so soap residue does not dull the surface.
Why does my tray look cloudy after cleaning?
Cloudiness is commonly caused by leftover soap film or hard-water minerals drying on the finish. Wipe again with clean water, dry immediately, and buff with microfiber. If minerals persist, use a lightly diluted vinegar wipe, then rinse.
Can olive oil or cooking oil restore shine on sealed wood?
It is not recommended. Cooking oils can become sticky, attract dust, and create uneven sheen over time. For decorative trays, a thin wax can help, but routine cleaning and proper drying usually solve dullness better.
Final thoughts
A sealed wood tray stays good-looking when cleaning stays gentle and consistent. Start with dry dusting, wipe with barely-damp soapy water, rinse wipe, then dry and buff right away. That rinse-and-dry combo prevents most dulling. If haze shows up, treat it like residue or minerals first, not “damage,” and you’ll avoid over-correcting the finish.