How Long for Wood Glue to Dry Before Sanding: 6 Fast Checks
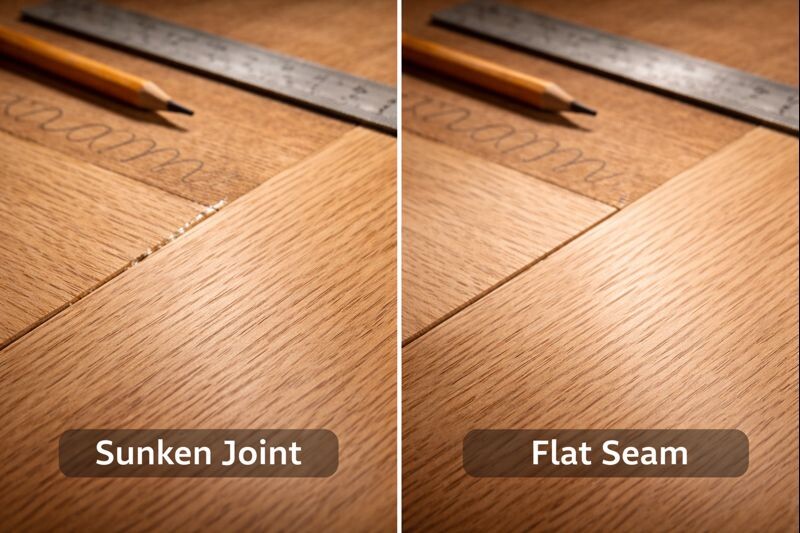
How long for wood glue to dry before sanding depends on the glue type, your shop conditions, and how thick the glue line is. Most of the time, you’ll get the cleanest, flattest result by waiting at least 24 hours before sanding a PVA (yellow/white) glue joint. That extra patience prevents smeared glue, clogged paper, and the dreaded seam that sinks after you thought it was perfect.
Contents Here
- 1 The quick answer most people need
- 2 A quick reference you can trust in the shop
- 3 Drying vs setting vs curing: why the words matter
- 4 Wood glue types and what changes your sanding time
- 5 The four things that change drying time in real life
- 6 How to tell if wood glue is ready to sand
- 7 What happens when you sand too soon
- 8 The best way to deal with squeeze-out before sanding
- 9 How to sand a glued joint so it disappears
- 10 Ways to speed up drying without weakening the bond
- 11 Safety note that actually matters
- 12 Conclusion
The quick answer most people need
If you’re using standard yellow or white wood glue, give it a full day before sanding whenever the joint matters visually. Yes, many joints feel “hard” earlier, and you can often scrape squeeze-out sooner. But sanding too early can leave a low valley later when the wood around the seam finally dries back.
If you want the deeper timing breakdowns for different glue stages, I’ve got a solid primer on real-world glue drying timelines in this guide: what actually affects glue drying in the shop.
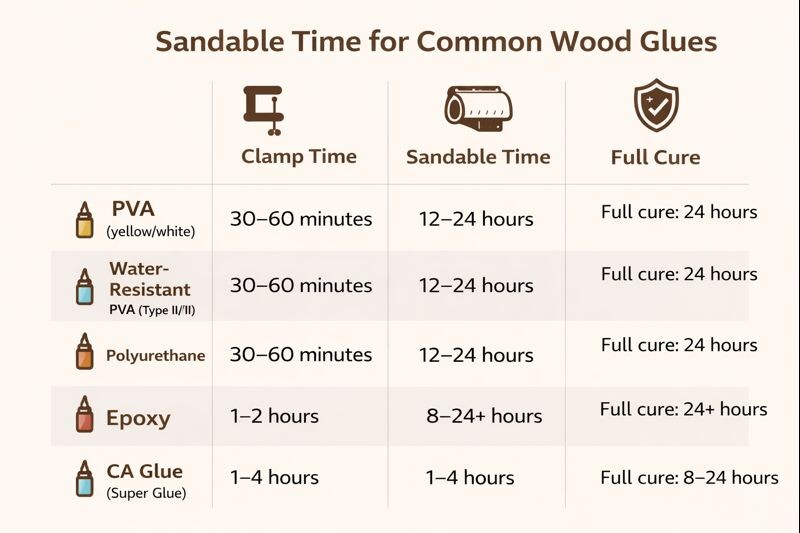
A quick reference you can trust in the shop
These are practical “sandable” windows I use for typical furniture-style joints. Always check your bottle for the manufacturer’s numbers, because formulas vary.
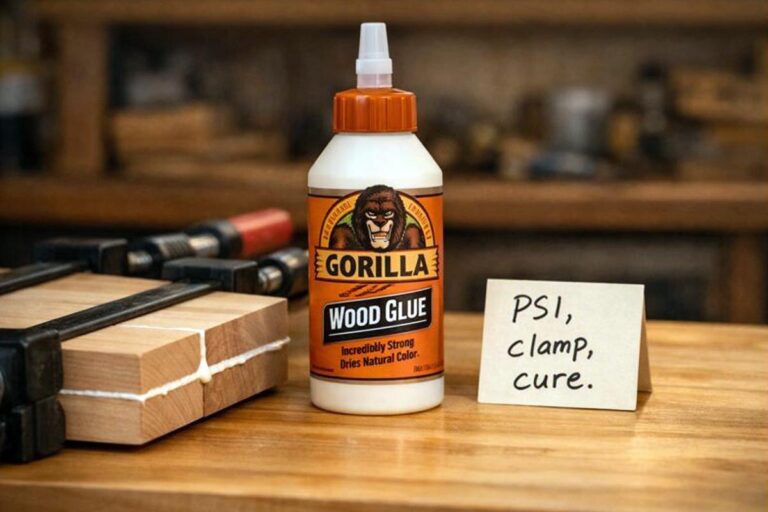
- PVA (yellow/white wood glue): sand after 12–24 hours (best results closer to 24)
- Type II/III PVA (water-resistant PVAs): sand after 18–24+ hours
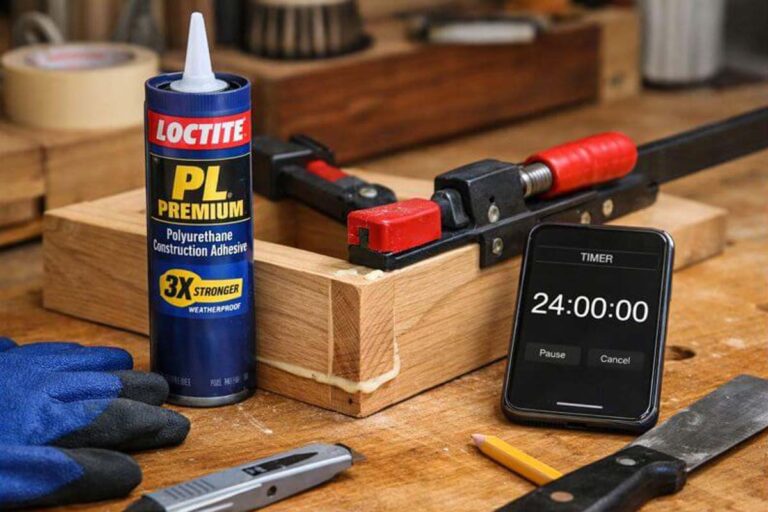
- Polyurethane glue (foaming): sand after 12–24 hours (scrape first)
- Epoxy: sand after the product’s cure window (often 8–24+ hours depending on mix)
- CA glue (super glue): sand after 1–4 hours for tiny fills, longer for strength
When clamp time is the part you’re unsure about, this explainer helps: what “set time” really means for clamping.
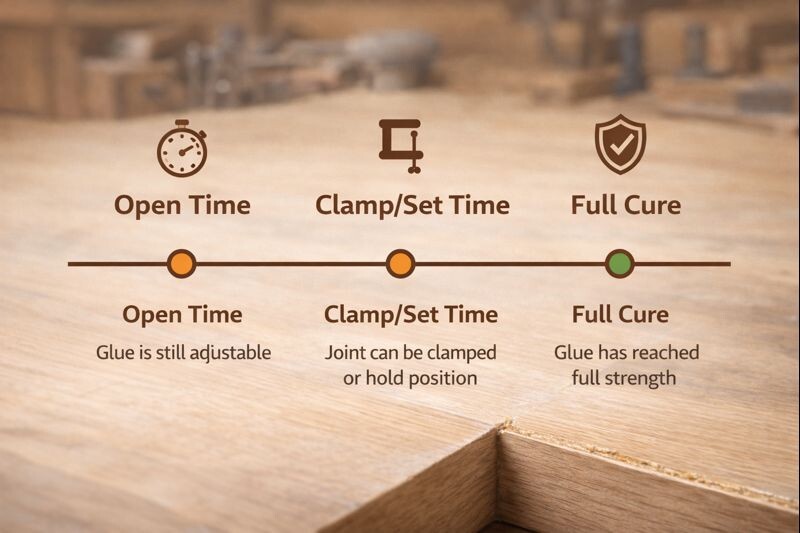
Drying vs setting vs curing: why the words matter
Wood glue doesn’t go from wet to “done” in one step. There are three phases that affect sanding:
- Open time: how long you can still move parts and adjust alignment.
- Set or clamp time: when the joint can hold itself without shifting.
- Full cure: when the glue reaches its maximum strength and stability.
Sanding is less about “strength” and more about clean cutting. If the glue is still rubbery inside, sandpaper will smear it into the grain. If the wood is still wet around the seam, you can sand the surface flat now and watch it dip later.
For a clean explanation of cure in plain language, see: why “fully cured” matters before finishing and heavy handling.
Wood glue types and what changes your sanding time
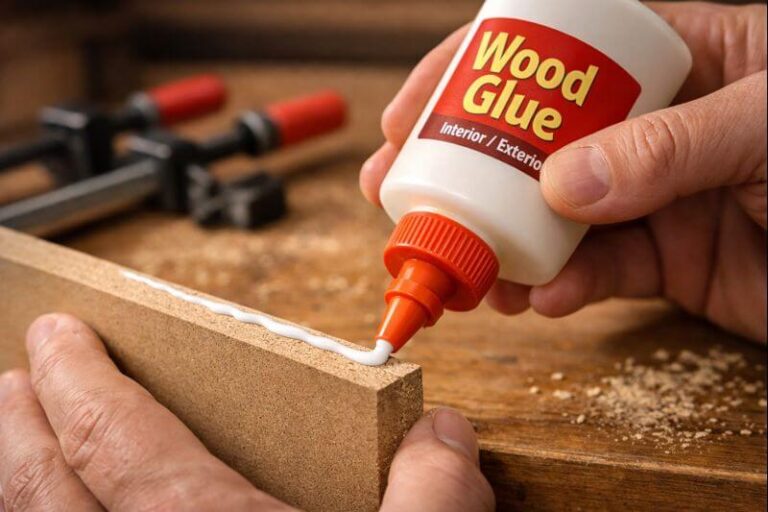
PVA (yellow/white) glue: the most common troublemaker
PVA is water-based, so it can leave the surrounding wood slightly swollen. Even after the glue “sets,” the wood near the seam may still be drying. That’s why the seam can sink after you sand too soon.
My rule: if the piece will be stained, painted smooth, or viewed up close, wait the full 24 hours. If it’s a rough utility build, you can sometimes sand sooner, but you’re gambling with the final flatness.
If you’re choosing glue for a repair and want a quick comparison, this roundup is handy: picking a glue that matches the job, not just the label.
Polyurethane glue: scrape first, sand second
Polyurethane glue is moisture-cured and it foams as it expands. That foam sands, but it’s brittle and messy if you hit it too early. Your best move is to let it firm up, then scrape the bulk off, and only sand once it’s fully hardened.
Epoxy: follow the cure schedule, not your impatience
Epoxy can feel hard on top while still curing underneath. If you sand too early, you’ll load your paper and risk tearing at the edges. With epoxy, I follow the product’s cure window and do a small test sand before committing.
CA glue: fast, but it behaves differently
CA glue is great for tiny fills and quick fixes. It sands hard and can leave a shiny spot if you stop too early in your grit progression. For little tear-out patches, it can be sanded relatively fast, but I still avoid finishing over it until it’s stable.
The four things that change drying time in real life
You’ll see the same joint dry at two different speeds depending on conditions. These are the big drivers.
Temperature and humidity
Warm air speeds drying. High humidity slows it down, especially with water-based PVAs. If your shop is cool and damp, treat every label time like the optimistic minimum.
Wood moisture and species
Wet lumber slows everything. Dense hardwoods also don’t breathe like open-grain softwoods, so moisture can move differently around a seam. If boards feel cool and damp to the touch, give your glue-up more time.
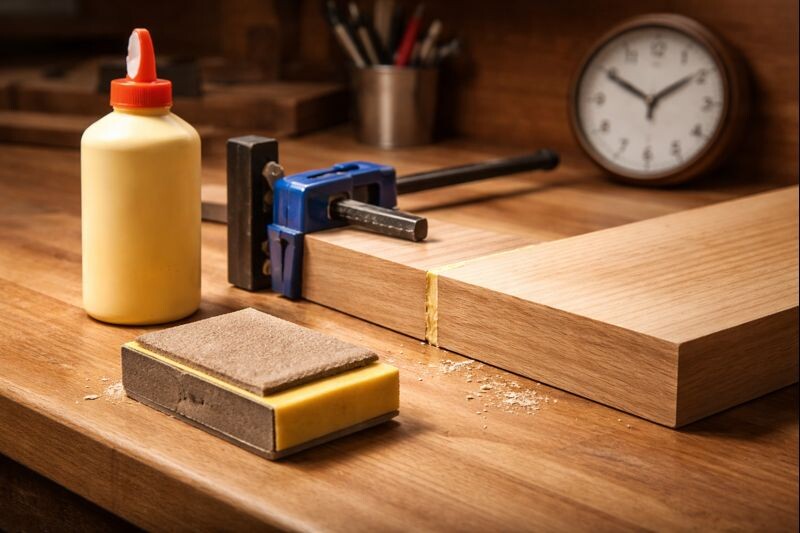
Glue amount and squeeze-out thickness
A thin, even glue line cures more predictably. Thick squeeze-out beads can stay soft underneath a dry skin. That’s why a joint can look ready but still smear when sanded.
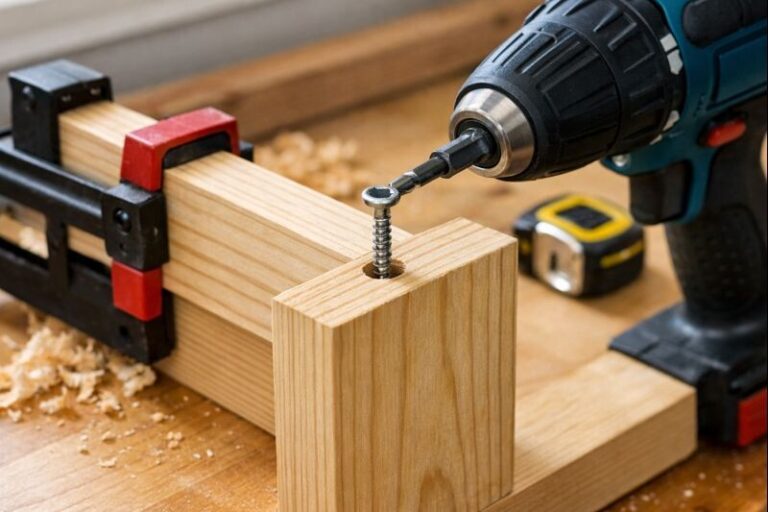
Clamp pressure and joint fit
A clean, tight-fitting joint needs less glue, which cures more evenly. A gap-filled joint needs more adhesive, so it takes longer to become truly sandable.
How to tell if wood glue is ready to sand
I don’t guess on show surfaces. I test.
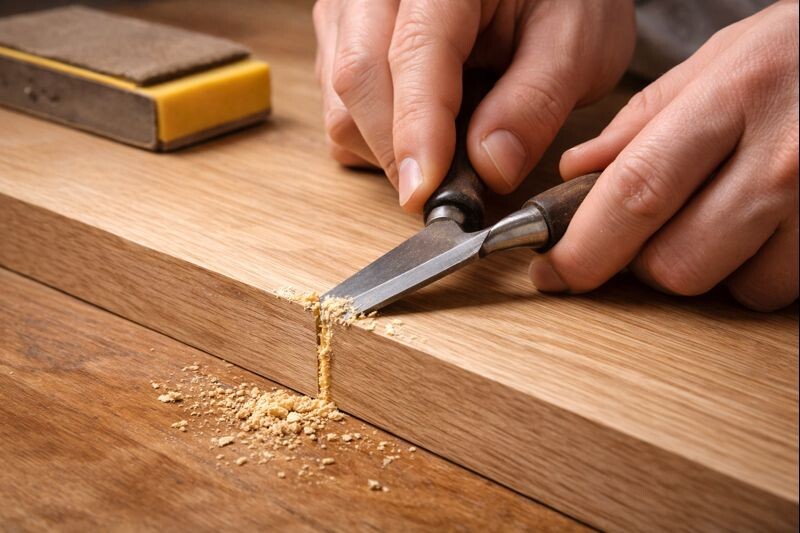
- Scrape test: Use a chisel or scraper on squeeze-out. If it chips into dry flakes, you’re close. If it peels like gum, wait.
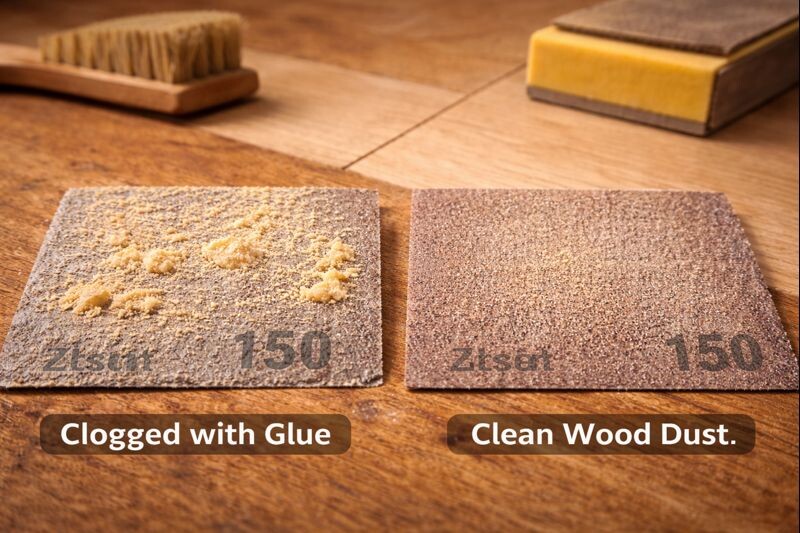
- Sandpaper test: Lightly sand a hidden spot near the seam. If the paper clogs fast or you see smears, it’s too soon.
- The “extra bead” trick: Leave a small bead of glue on scrap from the same glue-up. When that bead sands to dust instead of rolling up, your joint is usually ready.
What happens when you sand too soon
Rushing doesn’t just waste time. It creates problems you can’t always “sand out.”
- Glue smears into the grain, then shows as pale patches under stain.
- Sandpaper clogs, heats up, and chews the surface instead of cutting cleanly.
- The seam sinks later, leaving a visible ridge line or valley.
- Edges get rounded, because you fight the tool instead of letting it cut.
If your project is headed for a crisp topcoat, this finishing guide helps you avoid telegraphing glue lines: getting a clean finish when the wood matters.
The best way to deal with squeeze-out before sanding
Squeeze-out is normal. The trick is removing it without pushing glue into the pores.
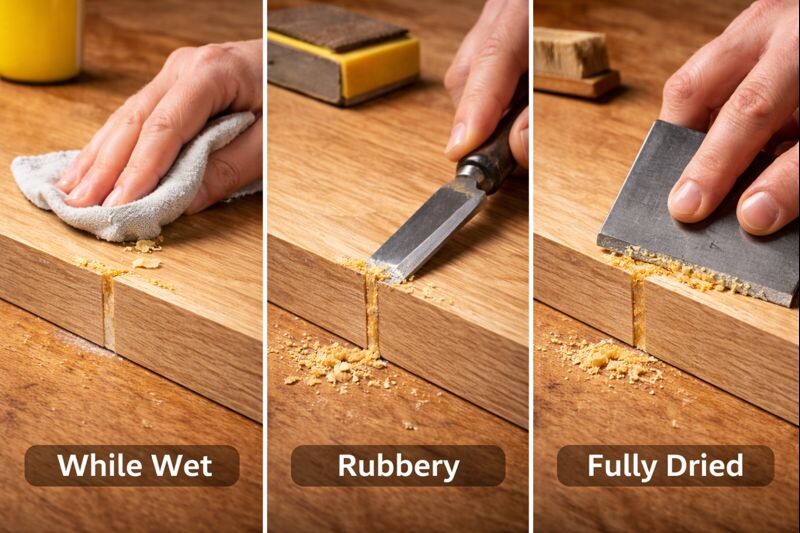
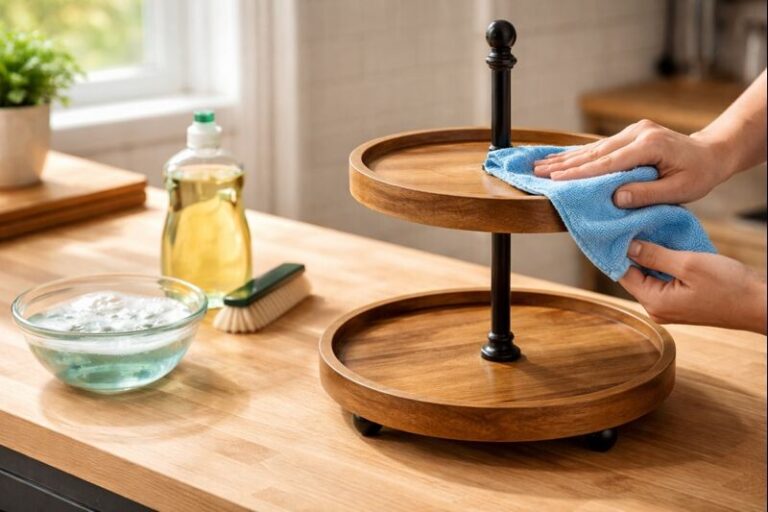
When glue is still wet
If you wipe, wipe lightly. Use a barely damp rag and change to a clean section often. Heavy water wiping can drive diluted glue into the grain, which stains and finishes hate.
When glue is rubbery
This is the sweet spot for many PVAs. You can often slice the bead cleanly with a sharp chisel. It peels off like a soft ribbon and leaves less residue than wet wiping.
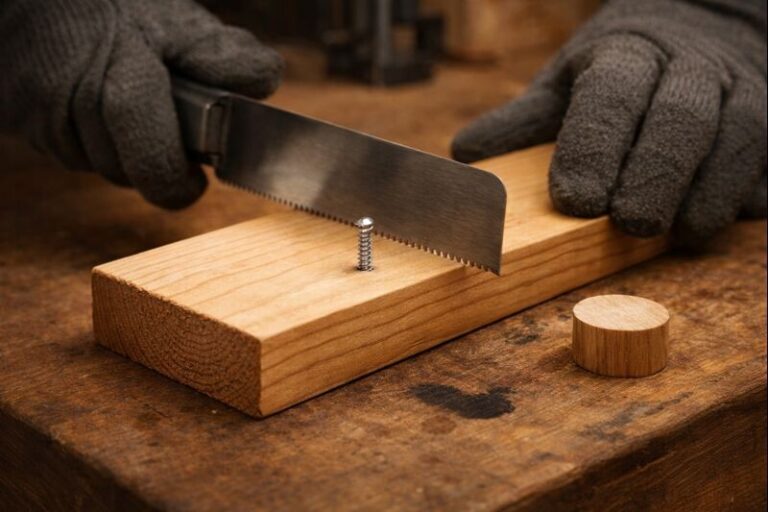
When glue is fully hard
Scrape it flush first, then sand. A cabinet scraper, sharp chisel, or a razor scraper does cleaner work than trying to grind a hardened ridge with paper.
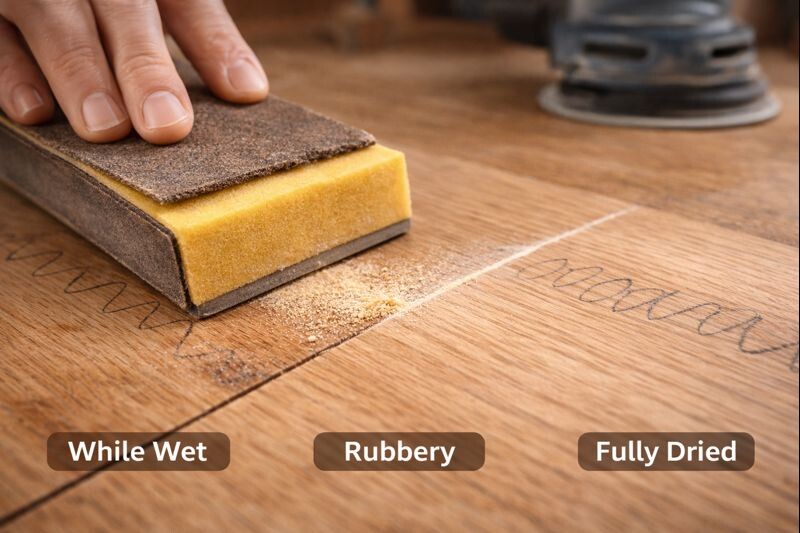
How to sand a glued joint so it disappears
Start by making the surface flat, not “smooth.”
- Knock down ridges first with a scraper or careful sanding block passes.
- Sand across the joint, not along it, so you don’t dish the seam.
- Use a sensible grit jump: start where the surface needs it, then refine.
- Stop if paper gums up. That’s your sign the glue isn’t ready.
If you’re fighting fuzzy or stubborn fibers, especially on end grain, this technique saves a lot of frustration: smoothing end grain without tearing it up.
Ways to speed up drying without weakening the bond
You can encourage drying, but you can’t cheat chemistry.
- Raise the shop temperature a bit (even 5–10°F helps).
- Improve airflow around the project, not directly blasting the joint.
- Keep glue lines thin by fitting joints well and applying evenly.
- Start with dry wood, especially for indoor furniture projects.
For a full list of safe tactics, this guide is worth bookmarking: speeding up glue safely without wrecking joint strength.
Safety note that actually matters
Sanding dust is no joke, and glue squeeze-out can turn into gritty airborne junk. If you’re setting up your sanding station, grab the basics first: simple dust-and-eye protection that makes sanding easier.

Conclusion
Waiting long enough is the simplest way to make a glue joint look professional. If you’re using PVA glue and you care about a flat, invisible seam, plan on sanding after 24 hours, then confirm with a quick scrape or sand test. You’ll save paper, avoid finish blotches, and stop chasing seams that sink overnight.