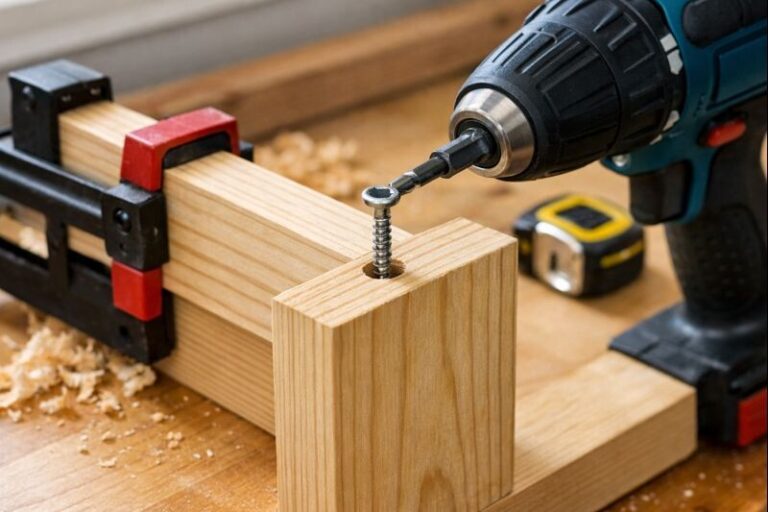
How Long Does PVA Wood Glue Take to Dry? 5 Mistakes to Avoid

Wondering how long does PVA wood glue take to dry? Its actually depends on whether you mean “set” or “cure.” Most people ask that question because a joint can feel firm in an hour, yet still be weak inside the glue line for much longer. Once you understand the timeline and the conditions that slow it down, you’ll clamp with more confidence and stop rushing parts to sanding too soon.
Contents Here
- 1 Quick answer — How Long Does PVA Wood Glue Take to Dry?
- 2 Drying vs curing — what those words mean for PVA
- 3 How long to clamp PVA wood glue
- 4 What changes PVA wood glue drying time
- 5 When you can sand, cut, or finish after PVA glue
- 6 How to make PVA wood glue dry faster without weakening the joint
- 7 Common mistakes that cause slow drying or weak joints
- 8 Thinking It Over
Quick answer — How Long Does PVA Wood Glue Take to Dry?
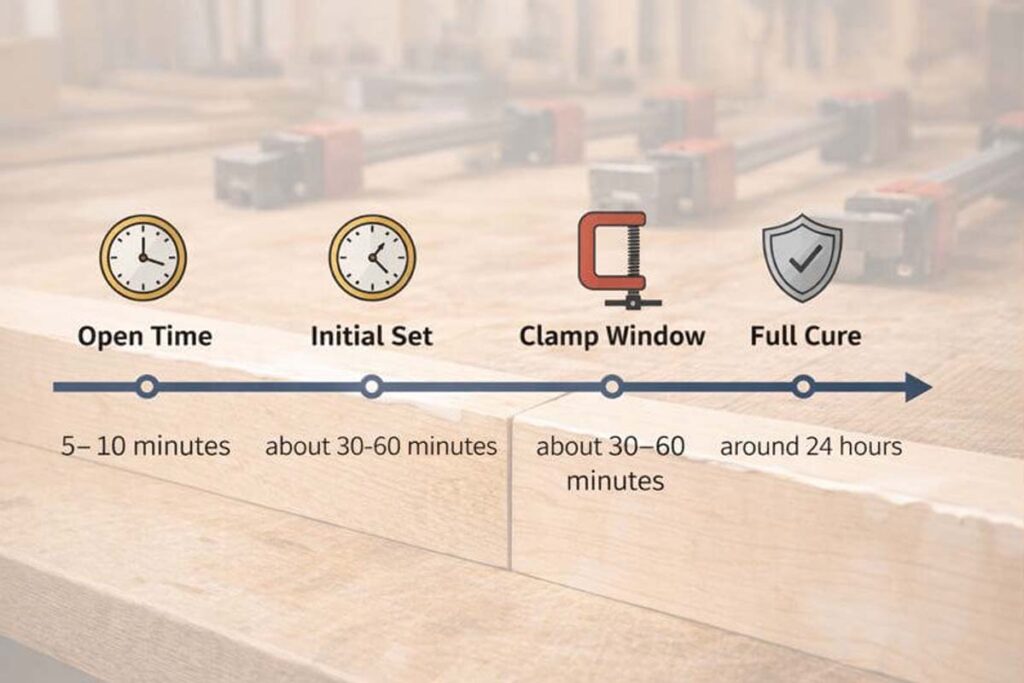
In a typical indoor shop (around 18–24°C / 65–75°F with moderate humidity), PVA glue follows a pretty predictable pattern. Your exact numbers will vary by brand and conditions, so treat these as practical ranges, not promises.
- Open time (working time): about 5–10 minutes to assemble and align parts.
- Initial set: about 30–60 minutes before the joint stops shifting easily.
- Common clamp time: 30–60 minutes for light-duty, unstressed work.
- Full cure: about 24 hours for best strength and clean machining.
If you want a wider comparison across different adhesives, check this deeper breakdown of drying timelines across common wood glues.
Typical timeline under normal shop conditions
When the parts fit well and the glue line is thin, PVA grabs fast. You can often remove clamps after an hour on small frames, trim, and basic tray parts. The joint may hold together, but it’s not ready for real stress yet. If you’re building something load-bearing, plan on keeping stress off the joint until the next day.
If you’re trying to separate “feels solid” from “actually strong,” this explanation of what it means when wood glue starts to set is useful.
Brand differences that can shift the clock
Yellow and white PVAs share the same basic behavior, but formulas vary. Some give longer working time for large glue-ups. Others grab faster for quick assembly. Water-resistant PVAs can also act a little different as they dry. The label matters, so always read the clamp-time and cure-time notes on your bottle.
If you’re comparing popular bottles, this side-by-side on choosing between Titebond and Gorilla options can help you match glue to the job.
Drying vs curing — what those words mean for PVA
This is the part that saves projects.
Drying is mostly about moisture leaving the glue film. The surface stops feeling wet or tacky, and squeeze-out starts skinning over. The joint becomes harder to slide around, which feels like “it’s done.”
Curing is when the glue film reaches its designed strength through the full thickness of the joint. That takes time, especially where air can’t reach well. The inside of a tight joint can stay soft long after the outside looks dry.
If you want one simple shop rule: don’t stress the joint until cure time is complete. Clamp time holds alignment. Cure time protects strength.
For a clearer picture of when strength actually peaks, see this page on how long glue takes to fully cure in real woodworking.
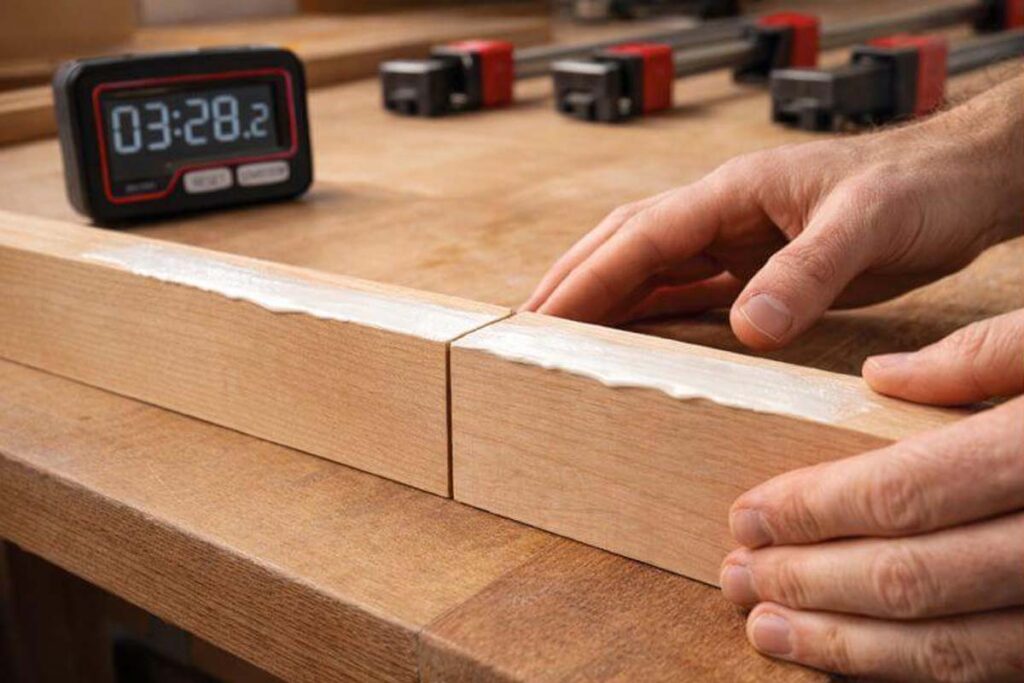
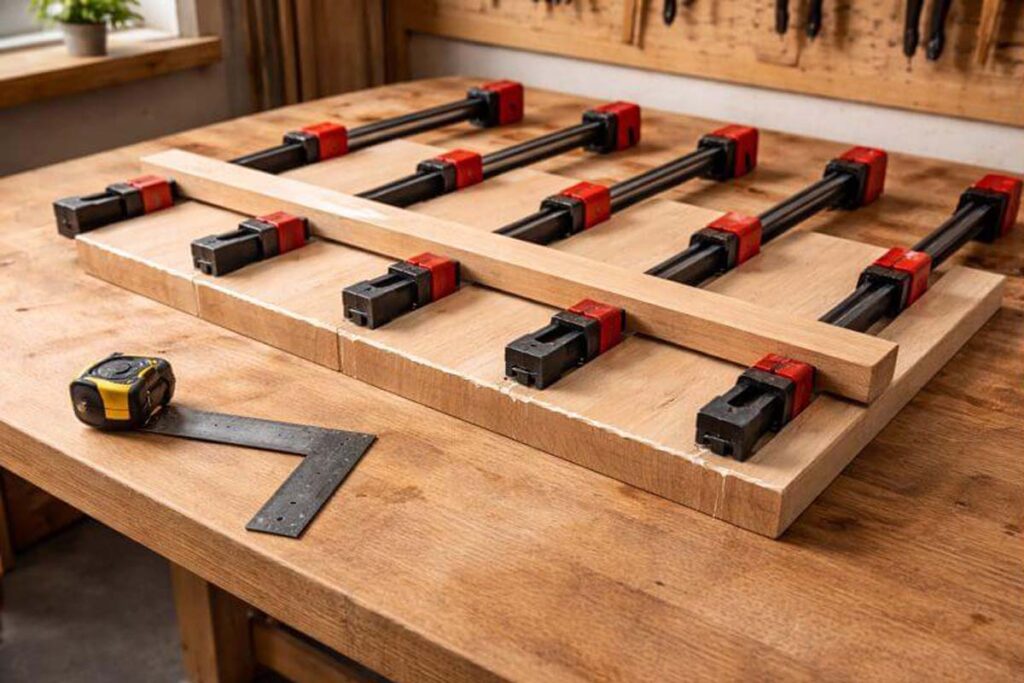
How long to clamp PVA wood glue
Clamping is about two things: keeping parts from drifting and keeping a good glue line. A thin, even glue film usually bonds stronger than a thick puddle. Clamps help you get there.
As a baseline, I treat clamp time as the minimum time the joint needs to stay motionless. After clamps come off, the joint still needs hours to toughen up.
If you want a practical range by project type, this guide on clamping time for typical wood-glue joints is a solid reference.
Unstressed joints (light duty)
Unstressed joints are things like decorative trays, small boxes, picture frames, and trim. If the parts fit well, 30–60 minutes of clamping is often enough to remove clamps safely. After that, handle the work gently and avoid twisting the joint for the rest of the day.
If your shop is cool or humid, stretch that clamp time. PVA doesn’t like cold, and it slows down dramatically when moisture can’t escape.
Stressed joints (furniture and load-bearing)
Stressed joints are chair parts, table bases, shelves that carry weight, and anything that will flex. For these, I keep clamps on longer and keep the joint unloaded until it’s cured. Even if you unclamp after a couple hours, don’t put it into service until the next day.
If you’re unsure when it’s safe to remove clamps, this timing guide on removing clamps without inviting joint creep helps you play it safe.
What changes PVA wood glue drying time
PVA glue is water-based, so drying is mostly about moisture leaving the joint. Anything that traps moisture slows the process, and anything that helps moisture move speeds it up.
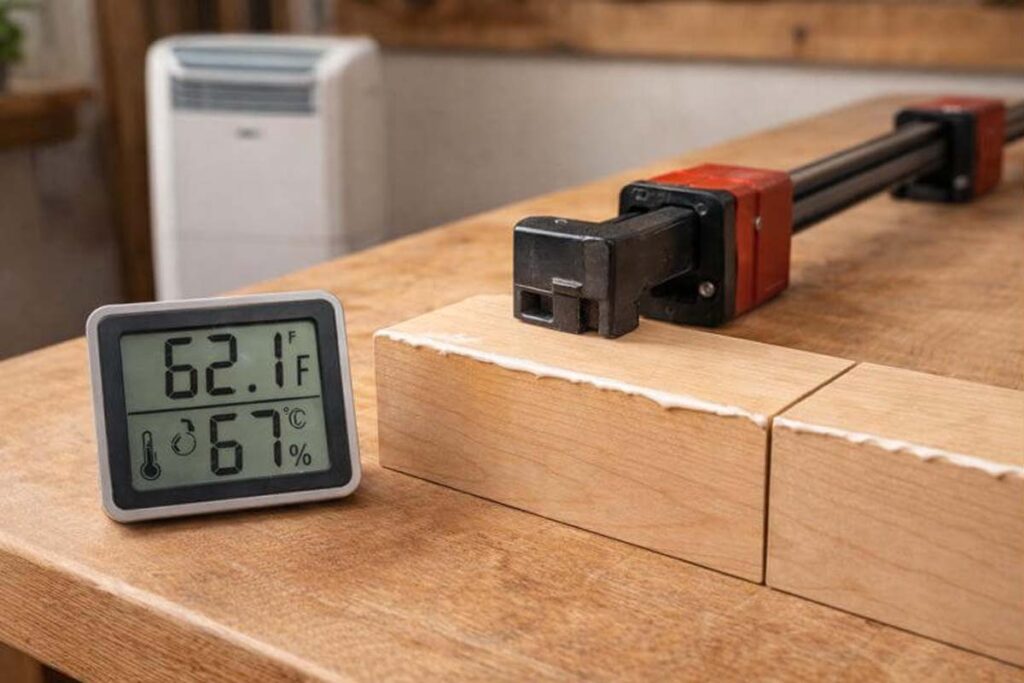
Temperature and humidity
Warm, dry air helps PVA behave the way the label suggests. Cold air slows evaporation and can leave the glue film rubbery for longer. High humidity does the same, even if the room temperature feels fine. If your workspace is under about 15°C / 60°F, assume everything will take longer and be cautious with clamp removal.
A small hygrometer in the shop is worth it. Once you know the humidity, your glue results make more sense.
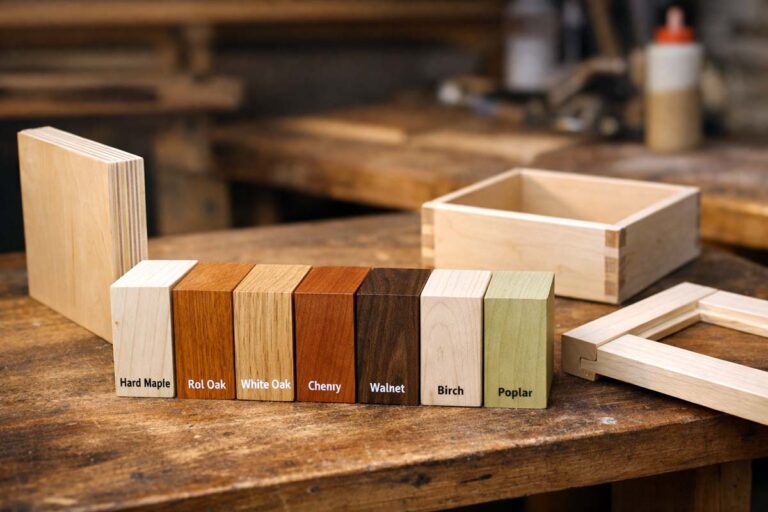
Wood species, moisture content, and porosity
Porous woods can absorb some moisture and help the glue grab sooner. Dense woods don’t absorb much, so the glue depends more on evaporation. Wet wood is the biggest problem, because moisture can’t move out of the joint efficiently. If boards feel damp, let them acclimate before you glue.
Glue amount and glue-line thickness
Too much glue makes a thick glue line, and thick glue lines take longer to dry. They also create more squeeze-out, which can cause finishing headaches. You want enough glue to wet both surfaces, but not so much that it pools.
If you struggle with over-application, this quick explainer on how much wood glue to spread for a strong bond is helpful.
Joint fit, clamp pressure, and squeeze-out
Good joinery makes glue behave. Tight-fitting parts create a thin glue film and consistent squeeze-out. Gappy joints create thick glue pockets that cure slowly and can weaken the bond.
Also, don’t crank clamps like you’re bending steel. Too much pressure can squeeze out too much glue and starve the joint. Aim for firm, even pressure that closes the joint without distortion.
If you’re dealing with gaps on purpose, read up on whether gap-filling wood glue is the right solution before relying on standard PVA.
When you can sand, cut, or finish after PVA glue
A lot of people ruin a clean project right here. They sand too early, smear glue into pores, or start finishing before glue residue is gone.
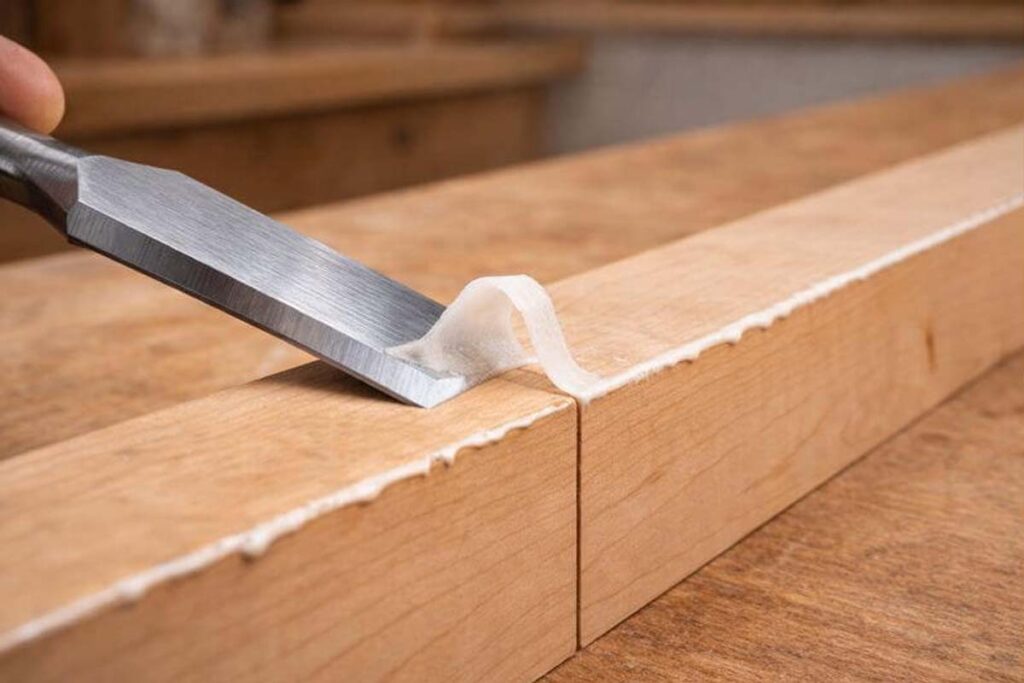
Scraping squeeze-out
The cleanest time to remove squeeze-out is when it turns rubbery. It won’t smear like wet glue, and it won’t chip like fully hardened glue. A sharp chisel or a plastic scraper works well. I avoid wiping with a wet rag on open-grain woods, because you can push diluted glue into the grain.
If you already have hardened squeeze-out, this guide on removing dried glue without digging into the wood is safer than brute sanding.
Sanding and machining
Light sanding can be fine later the same day, especially if the joint was thin and the shop is warm. Heavy sanding, routing, planing, and aggressive machining are better after full cure. Fully cured glue is easier to cut cleanly, and it won’t gum up abrasives as easily.
If you want a reliable window to work from, use this reference on sanding after a glue-up without clogging your paper.
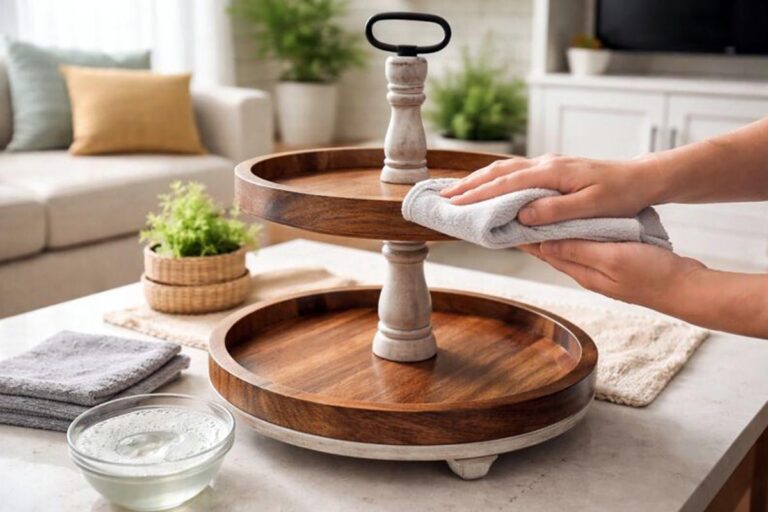
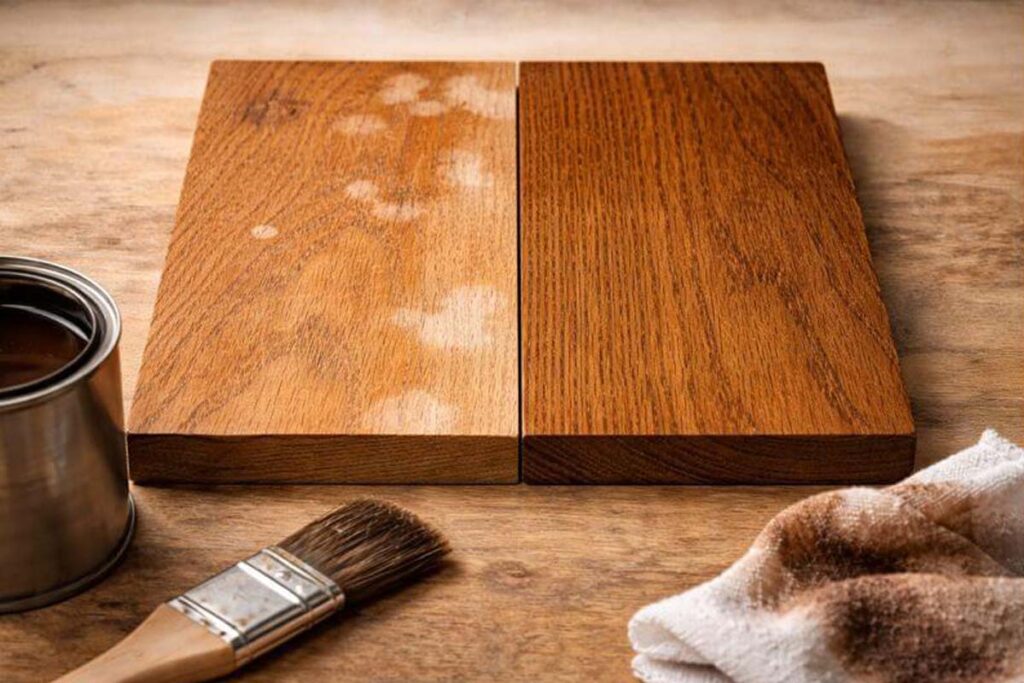
Finishing and staining
Glue residue is a stain-blocker. It leaves pale spots that show up the second you wipe stain or oil onto the surface. The fix is simple: remove glue completely and sand evenly before finishing.
If you’re staining or using a clear finish and want to avoid surprises, read this note on whether wood glue residue will accept stain.
How to make PVA wood glue dry faster without weakening the joint
You can speed up drying by improving conditions, not by cheating clamp time. The goal is to help moisture leave the joint while keeping parts stable.
Here are the safe levers that actually work:
- Raise shop temperature slightly and keep it steady during curing.
- Reduce humidity with ventilation or a dehumidifier when possible.
- Apply a thin, even coat instead of an overloaded bead.
- Improve joint fit so you don’t trap thick glue pockets.
- Keep clamps on long enough that parts can’t creep.
If you want a practical checklist, this page on safe ways to speed up glue drying lays it out clearly.
Common mistakes that cause slow drying or weak joints
These are the problems I see most in small shops and home garages.
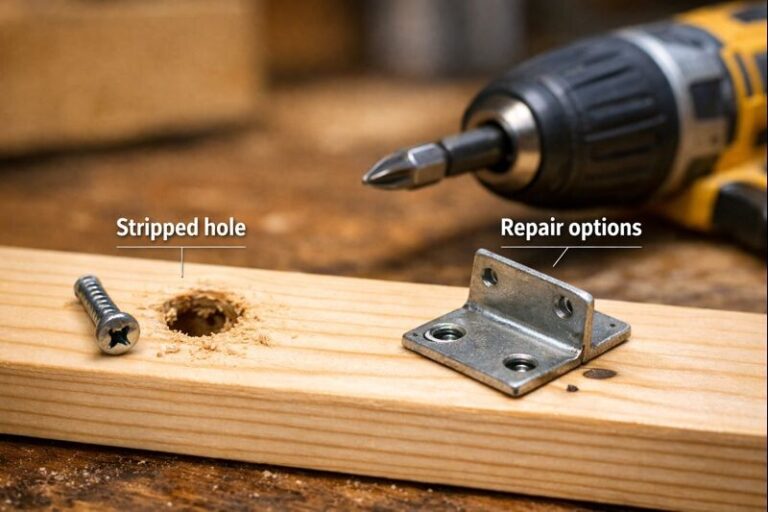
Removing clamps too soon
The joint can feel firm, then slowly shift under load later. That movement breaks the glue film while strength is still building. If you see a hairline gap form, treat it seriously. Re-clamp immediately if you can, and don’t stress the joint.
Gluing in cold, damp conditions
Cold and humidity stack the deck against you. PVA will still work, but it needs more time. If you can’t control the environment, extend clamp time and delay sanding and finishing.
Using old or compromised glue
Old glue can thicken, separate, or bond poorly. If the glue comes out stringy, lumpy, or smells off, don’t trust it on a joint that matters.
If you’re unsure what “bad” looks like, this quick check on spotting expired wood glue before it fails is worth reading.
Over-gluing and wiping with water
More glue doesn’t mean a stronger bond. Too much glue slows cure time and increases squeeze-out. Wiping wet glue with a damp rag can also push glue into the wood, which shows up during staining. Scrape at the rubbery stage instead.
Thinking It Over
PVA glue usually sets within an hour but needs about a day to reach full strength. Clamp time keeps parts aligned, while cure time protects the bond when the joint gets stressed. If your shop is cold or humid, add time and don’t rush sanding. When a joint matters, patience is cheaper than rebuilding.