Does wood glue work on painted wood? 9 Quick Ways to Make It Hold
Wood glue can work on painted wood, but the bond is usually weak unless you sand or scrape the paint off where the joint meets so the glue can grab bare wood.
In this guide, I’ll show you when standard wood glue is enough, when it’s a bad bet, and how to prep painted parts so your joint lasts.
Contents Here
- 1 Does wood glue work on painted wood? The honest answer
- 2 Why painted wood is harder to glue
- 3 Paint and finish types that change the result
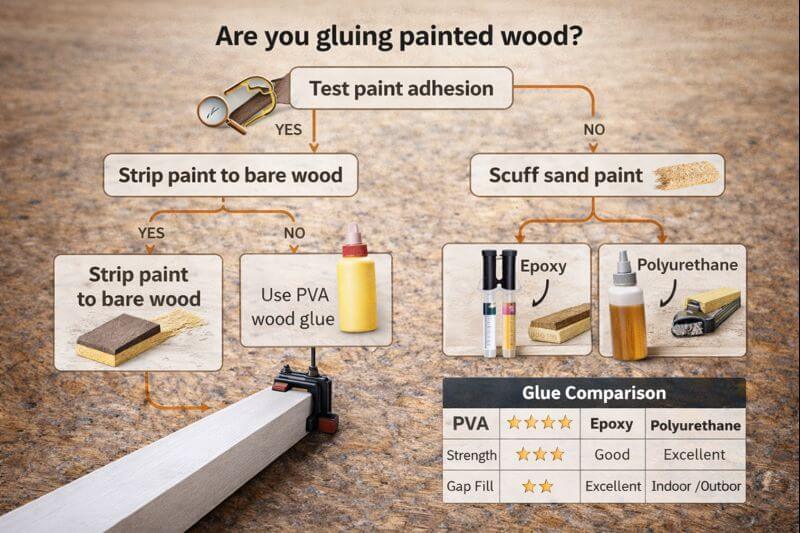
- 4 Surface prep that makes a painted-wood joint survive
- 5 Choosing the right adhesive for painted wood
- 6 Step-by-step: how to glue painted wood (two methods that actually work)
- 7 Common failures and fixes
- 8 When you should not rely on wood glue over paint
- 9 Conclusion
Does wood glue work on painted wood? The honest answer
Wood glue can stick to paint, but it’s not what it’s designed for. Most yellow/white wood glues (PVA) are made to soak into porous wood and lock into the fibers. Paint blocks those pores. That means the glue often bonds to the paint film, not the wood underneath.
Here’s the practical takeaway:
- If you can expose bare wood where the joint meets, wood glue works great.
- If you glue paint-to-paint, the joint is only as strong as the paint’s grip.
- If the project will carry weight or get bumped, don’t trust glue on paint.
If you want a quick refresher on how PVA adhesives behave, read my guide on how PVA wood glue actually bonds to wood fibers.
Learn more: How to Remove Dried Wood Glue: 7 Fast, Finish-Safe Fixes
Why painted wood is harder to glue
Paint creates a sealed surface. Even when it feels “dry,” it’s still a smooth film that acts like a barrier. With PVA glue, the best strength comes from glue penetrating wood fibers and curing inside them. On paint, there’s little penetration, so you’re left with a surface bond.
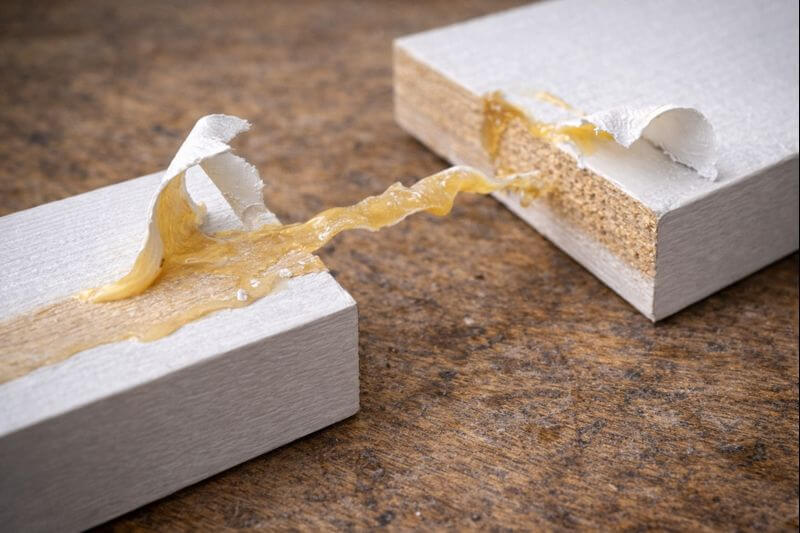
That’s why a common failure looks like this: the joint pops, and the dried glue is still stuck to a peeled sheet of paint. The glue did its job—the paint didn’t.
Paint and finish types that change the result
Water-based paint (latex/acrylic)
Water-based paints can sometimes give you a slightly better “tooth” than hard enamels, especially if they’re matte. Still, the glue is bonding to a coating, not wood. If the paint is soft, chalky, or easy to scratch, the joint is weaker than it looks.
Best practice: treat latex paint as glueable only after prep, not straight off the brush.
Oil-based paint, enamel, and alkyd finishes
Oil-based coatings and enamels usually cure harder and seal tighter. They also tend to be slicker. In my shop, these are the painted surfaces that most often cause “clean snap” failures when someone uses regular wood glue.
If you can’t strip the joint line to bare wood, you’re usually better off switching adhesives (I’ll cover that below).
Primer, clear coat, and “fully cured” paint
Primer and clear coats can be just as “non-porous” as paint. Also, paint that’s dry to the touch may not be cured. If you glue too soon, trapped moisture and solvents can weaken adhesion.
Rule of thumb: if the paint still smells strongly, or it dents easily with a fingernail, wait.
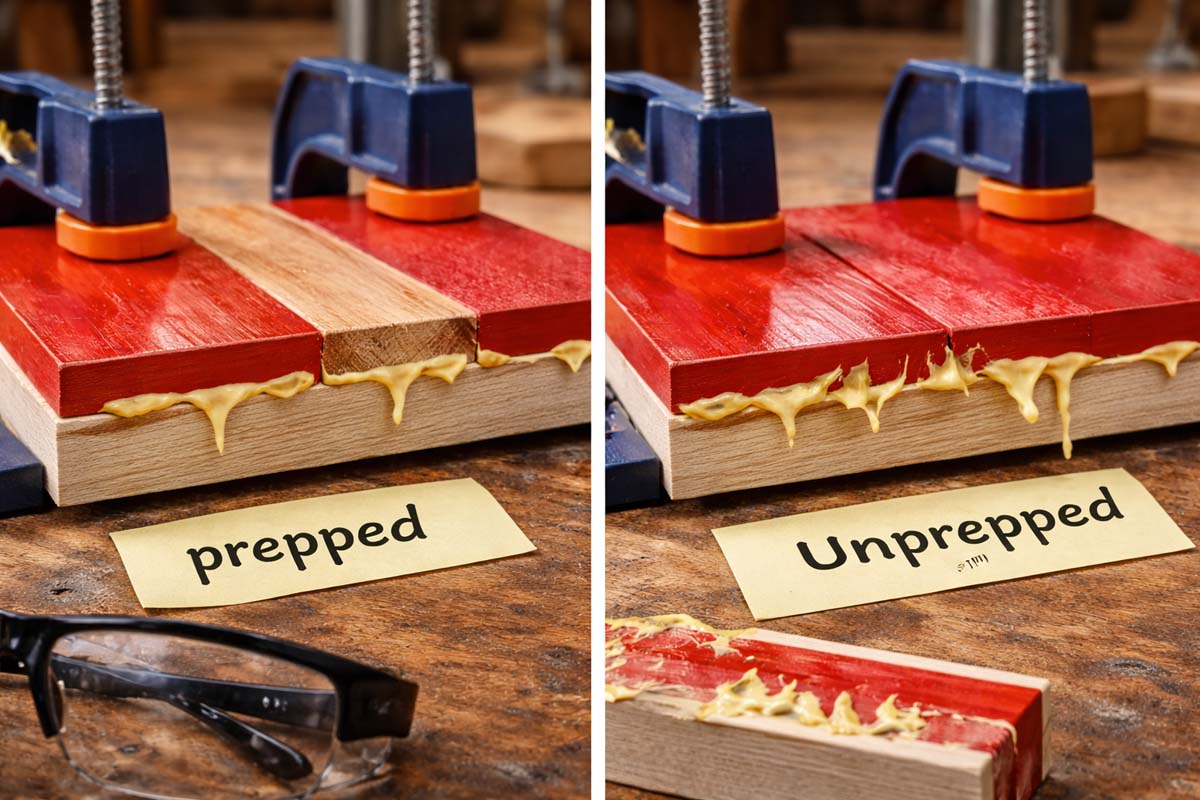
Surface prep that makes a painted-wood joint survive
Best option: expose bare wood at the joint area
If you want a reliable joint with wood glue, this is the move. You don’t need to strip the whole piece—just the hidden mating surfaces.
- Dry-fit the parts and mark the exact glue line.
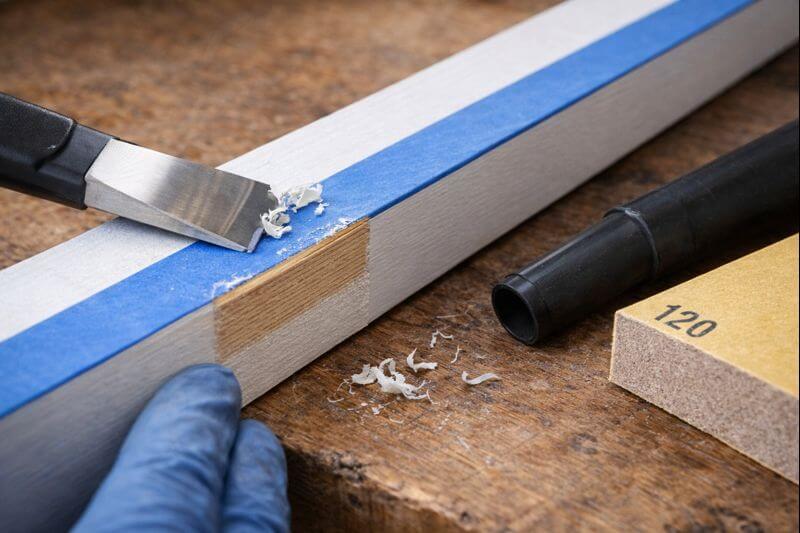
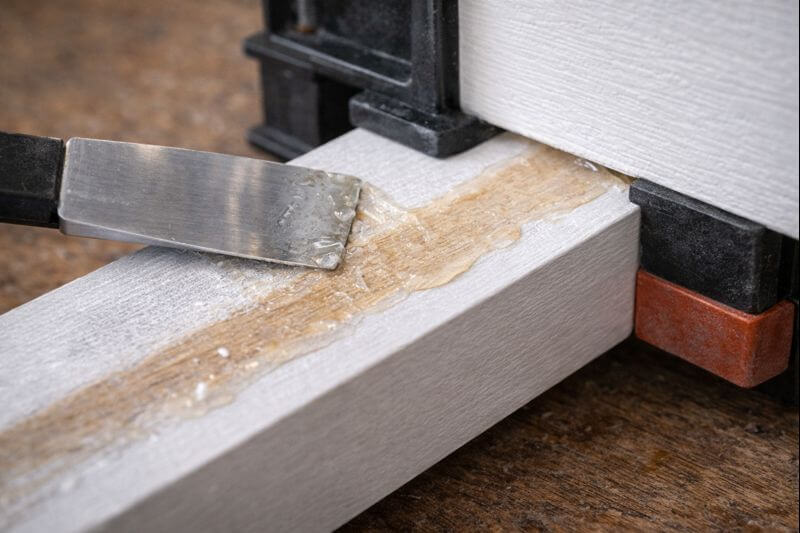
- Scrape or sand to bare wood only where the joint will sit.
- Feather the edges so the paint line stays clean and invisible.
- Remove dust completely (vacuum + dry cloth works well).
For sanding, 80–120 grit removes paint fast. Then you can smooth lightly if needed for fit. If you’re unsure about timing, my guide on how long wood glue should dry before sanding near a joint will keep you from tearing up a fresh bond.
If you can’t strip paint: scuff-sand + clean
Sometimes you can’t remove paint without ruining a finished face. In that case, you’re relying on mechanical grip.
- Scuff-sand the painted area until it’s uniformly dull.
- Clean off wax, oils, and dust.
- Choose an adhesive that bonds well to sealed surfaces (more on that next).
A lot of “mystery failures” come from polish, hand oils, or silicone-based cleaners. If you’ve ever used furniture spray on it, assume it needs a serious cleaning.
Safety note for older painted pieces
If you’re working on unknown older paint, treat the dust like it matters. Wear a proper mask or respirator, control dust, and clean up carefully. It’s not worth breathing fine sanding debris.
Choosing the right adhesive for painted wood
PVA/yellow wood glue (best only when wood is exposed)
PVA glue is my go-to for wood-to-wood joints because it’s strong, predictable, and easy to clamp. But it’s not a “paint glue.” Use it when you can strip paint at the joint line and get real fiber contact.
If you’re planning a repair that must hold real load, it helps to understand how strong wood glue joints can be when the surfaces are prepped right.
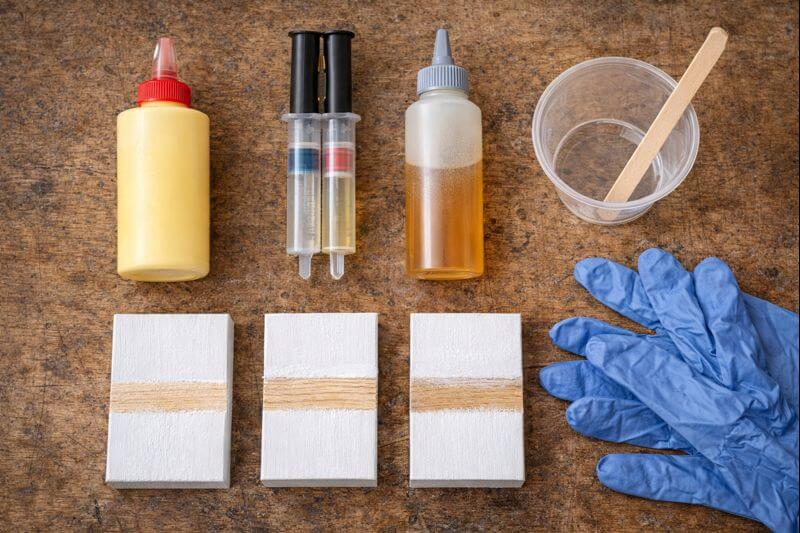
Two-part epoxy (best when paint must stay)
Epoxy is often the most forgiving choice when you can’t get to bare wood. It bonds well to many scuffed, cleaned coatings and it fills small gaps better than wood glue.
A few shop realities with epoxy:
- Measure and mix carefully, or strength drops.
- Clamp lightly—too much pressure can squeeze it out.
- Let it fully cure before stressing the joint.
Polyurethane glue and construction adhesive
Polyurethane glues can work well on mixed surfaces and are more tolerant of sealed wood than PVA. Construction adhesive is thick and strong for rougher assemblies, but it’s not ideal for tight-fitting fine joinery.
These can be smart choices when you’re attaching something like a cleat or block onto a painted panel and you can’t strip paint cleanly.
CA (super glue) and hot glue
These are fine for small, non-structural fixes—like a loose trim detail that never sees stress. They’re not dependable for anything load-bearing. If you use them, scuff the surface and keep expectations realistic.
Step-by-step: how to glue painted wood (two methods that actually work)
Method 1 (recommended): strip paint at the glue line, then use wood glue
Use this for frames, legs, rails, and anything that carries weight.
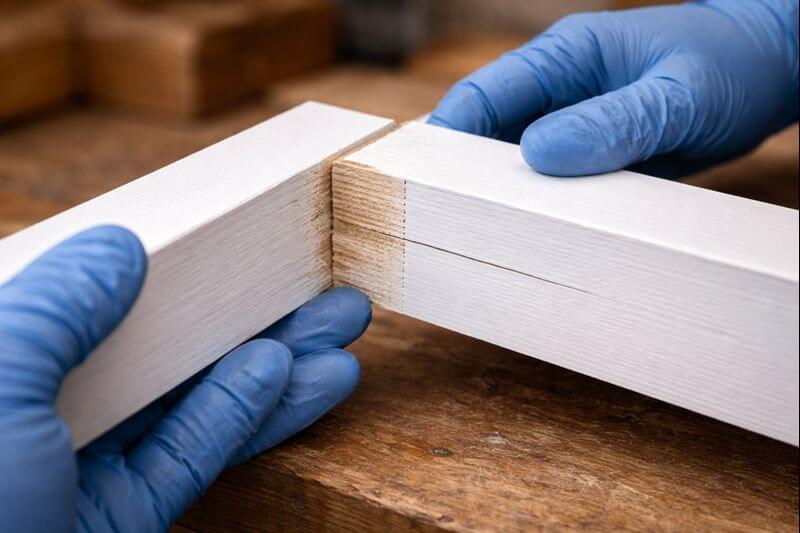
- Dry-fit and mark the joint area precisely.
- Remove paint to bare wood on both mating surfaces.
- Test the fit again—paint removal sometimes changes tightness.
- Apply a thin, even layer of wood glue.
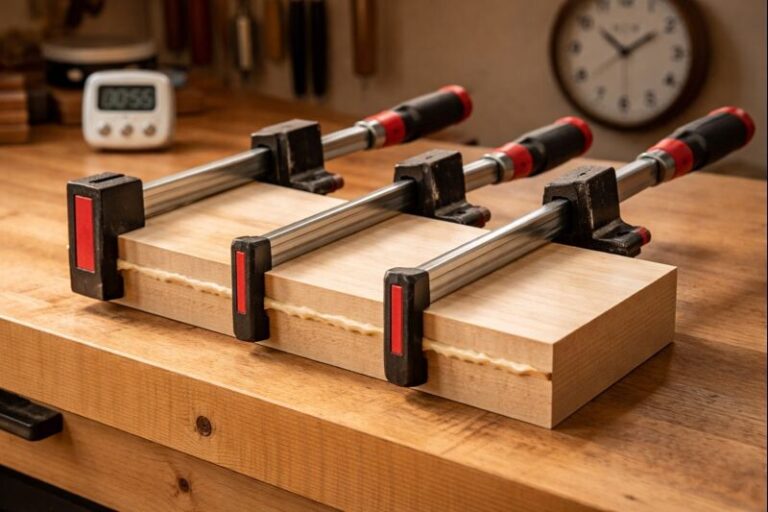
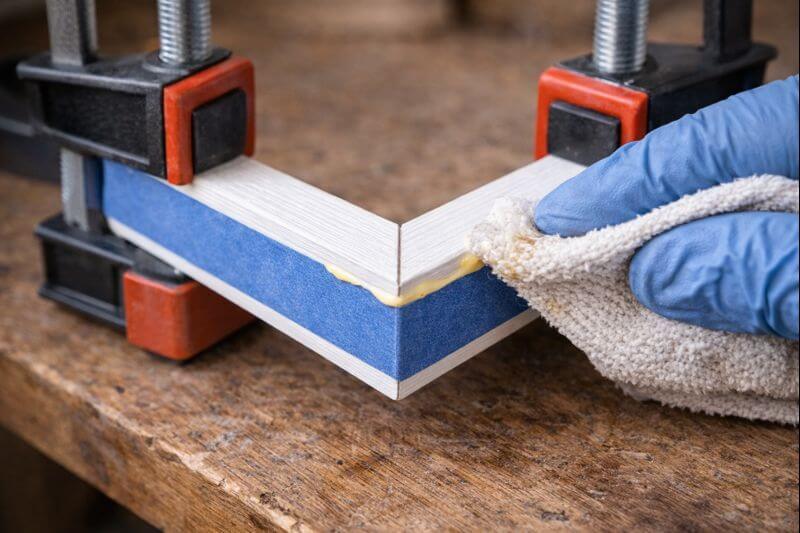
- Clamp firmly and evenly so the joint closes fully.
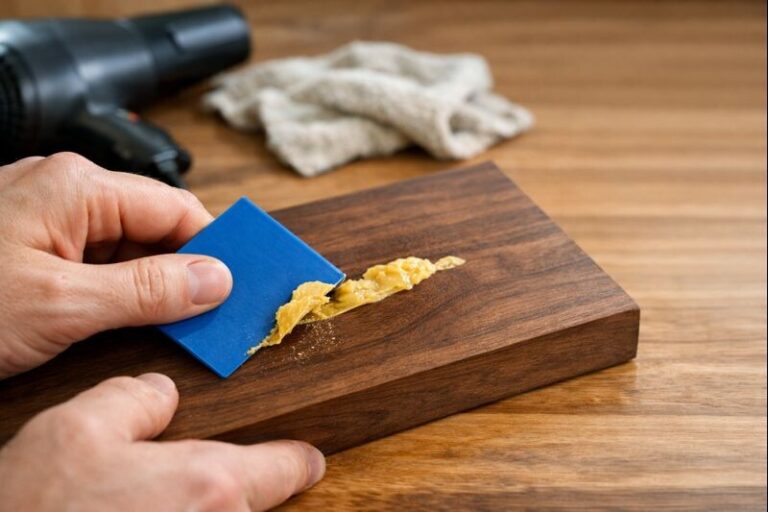
- Clean squeeze-out with a damp rag before it sets.
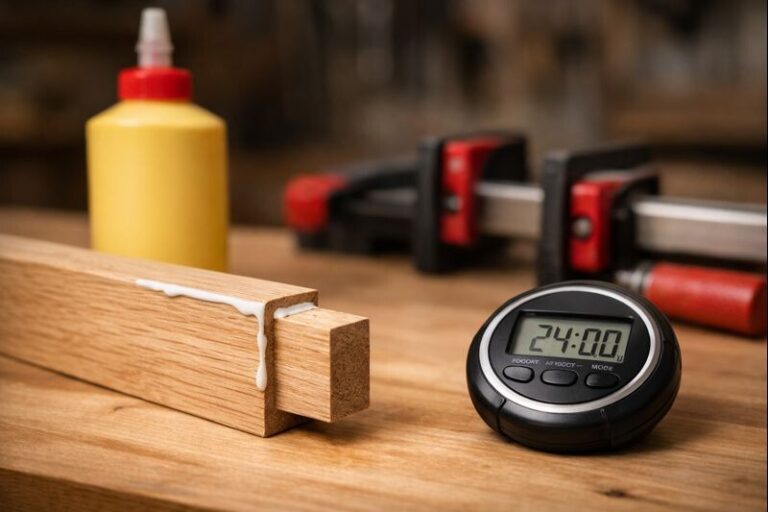
Clamping matters more than most people think. If you want a simple time guide, use my breakdown on how long to keep clamps on a glued joint so you’re not guessing.
Method 2: keep paint, switch adhesive, then clamp or weight
Use this when the paint is part of the final look and you can’t hide a stripped area.
- Clean the surface and let it dry completely.
- Scuff-sand until the sheen is gone.
- Wipe away all dust (dust is a bond breaker).
- Use epoxy or polyurethane glue as directed.
- Clamp or weight to keep parts from shifting.
- Leave it alone until fully cured.
Even with the right adhesive, remember: if the paint is poorly bonded to the wood, the whole joint is still limited.
Curing basics that save joints from “early failure”
Most glue failures I see aren’t bad glue—they’re rushed curing. Wood glue can feel solid before it’s ready for stress. If you remove clamps too early or sand too soon, you can crack the bond line.
If you ever need a quick reference for timing, this guide on when it’s safe to remove clamps without weakening the joint is a good one to keep bookmarked.
Common failures and fixes
Failure: the paint peels off with the glue attached
Fix: Strip to bare wood at the joint line, or switch to epoxy and scuff-sand.
Failure: the joint slides during clamping
Fix: Use better clamping pads, reduce glue squeeze, and tack the position with light pressure first.
Failure: it holds for a day, then pops under load
Fix: The paint layer was the weak link. Strip the joint or add mechanical support.
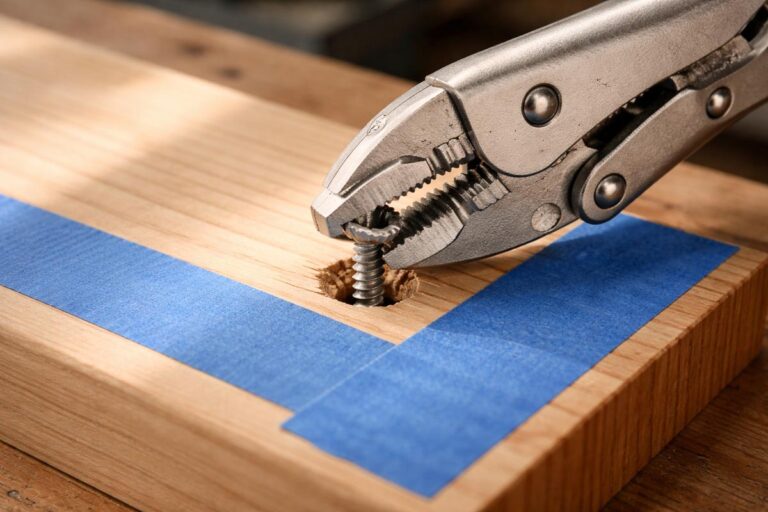
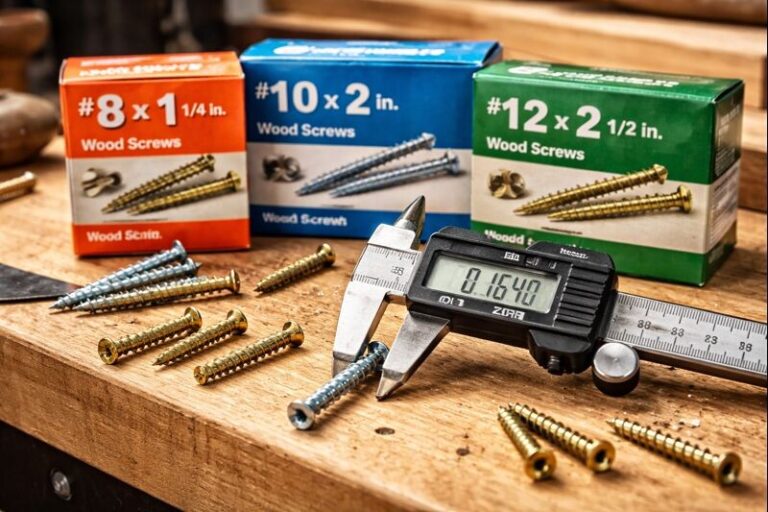
For high-stress repairs, I often combine adhesive with reinforcement like screws, brads, corner blocks, or dowels. If you’re choosing an adhesive for a serious fix, my roundup on picking the right glue for furniture repairs that take real stress can help you match glue type to the job.
When you should not rely on wood glue over paint
Skip standard wood glue over paint when:
- The joint is load-bearing (chairs, shelves, stools, rails).
- The piece will live outdoors or in damp areas.
- The paint is glossy, flaky, or unknown in quality.
- You can’t prep properly or clamp securely.
If you can’t strip the paint at the joint, choose a more suitable adhesive and consider mechanical backup. And if you end up with dried squeeze-out in the wrong spot, here’s how to remove hardened wood glue without scarring the surface before you touch up paint.
Conclusion
The safest way to get a strong bond is simple: glue wood to wood, not glue to paint. When you can strip the glue line to bare wood, PVA glue is tough and reliable. When the paint must stay, scuff, clean, and use epoxy or polyurethane—and don’t rush cure time.