How to Sand End Grain Smooth: 7 Clean Grit Jumps for Better Stain
To sand end grain smooth, you need patience, the right grit sequence, and a bit of technique. End grain behaves differently than face grain—it soaks up finish and shows scratches easily.
If you’ve ever finished a tray stand and noticed the end grain looks darker, rougher, or just “different,” that’s why.
The good news is this problem is predictable. With the right grit plan and a few habits, end grain can feel nearly as clean as face grain, even on tiered tray parts.
What end grain is and why it sands “weird”
End grain is the cut end of the wood fibers. Think of it like looking at the ends of drinking straws.
That structure causes three common issues:
- It absorbs finish faster, so it can turn darker than the rest of the piece.
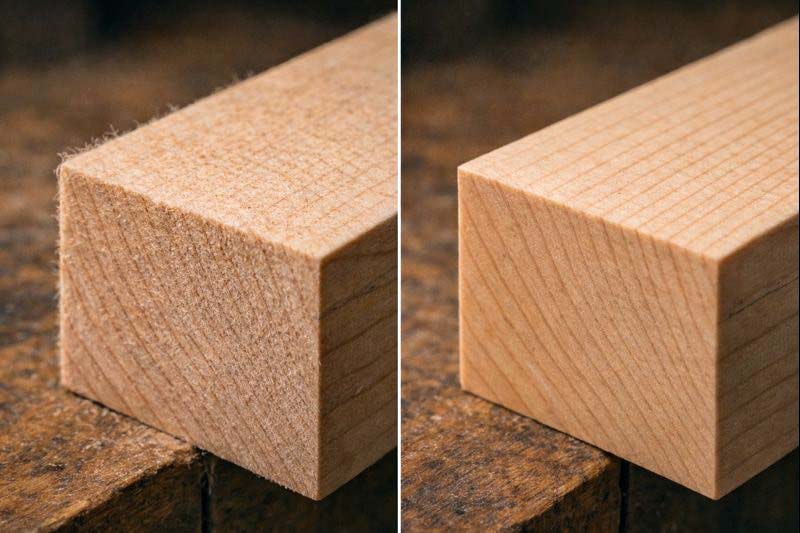
- It fuzzes up, especially on softer woods like pine, poplar, and fir.
- It hides scratches until finish hits, then every swirl shows up like a spotlight.
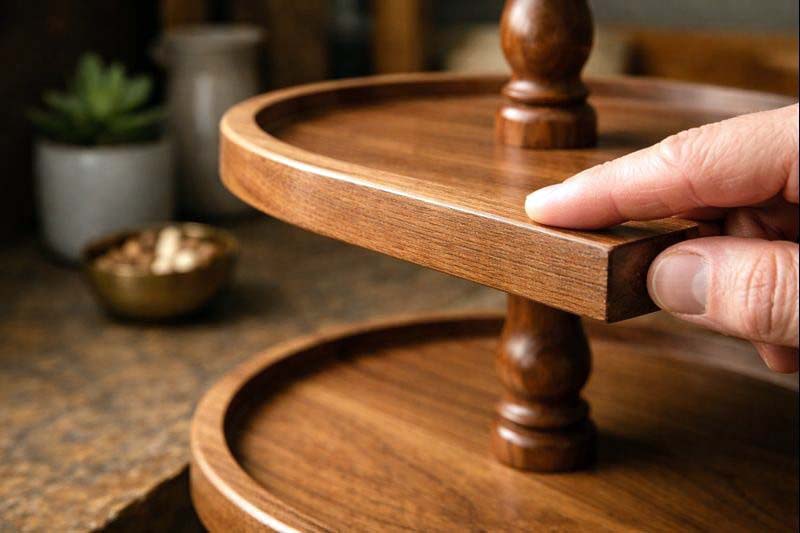
On tray stands, end grain shows up everywhere. Posts, dowels, tray edges, feet, and even the underside of tray tiers can all expose it.
The real goal: flatten first, polish second
A lot of people jump to higher grits too early. That’s where the “why won’t this get smooth?” frustration comes from.
End grain goes smooth when two things happen:
- The surface gets truly flat (no saw ridges, no torn fibers).
- Each grit removes the scratches from the grit before it.
If either one fails, the end grain stays ugly—just shinier.
Tools that make end grain sanding easier
You don’t need fancy gear. But the wrong setup will waste time.
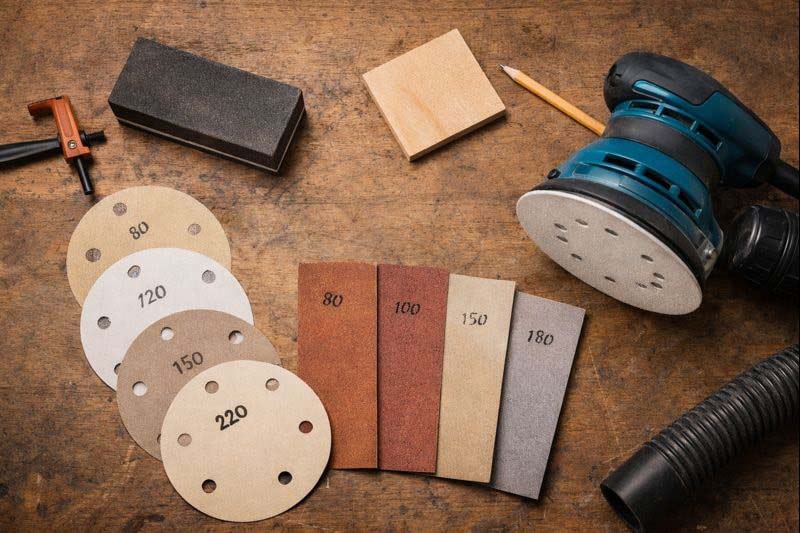
The basics that work for most tray stand parts
- Sandpaper in a few grits (80–320)
- A hard sanding block (cork or rubber is fine)
- A flat backer for tight areas (scrap plywood works)
- A vacuum or dust collection (end grain dust is fine and floaty)
If you’re building a full tiered stand, it helps to keep tools clean and running right, especially ROS pads and discs.
This maintenance walkthrough can save you headaches: keeping sanding tools in good shape for clean results.
Quick tool choices for common situations
| Situation | Best tool | Why it works |
|---|---|---|
| Small end grain blocks/feet | Hard sanding block | Keeps edges crisp |
| Large flat ends (tray tiers) | Random orbital sander + light pressure | Faster, consistent |
| Curved ends (turned legs/posts) | Hand sanding with a flexible pad | Follows the curve |
| Dowels/rods | Spin the part + sand lightly | Even scratch pattern |
Step-by-step: sanding end grain smooth the right way
Step 1: Start with the cleanest cut possible
End grain sanding is easier when the cut is clean. A ragged cut forces you to start at a lower grit and remove more material.
Before sanding, do these quick fixes:
- Trim with a sharp blade if possible (miter saw tear-out is common).
- Knock off splinters with a sharp chisel.
- Lightly break the edge (one or two passes) so it doesn’t crumble later.
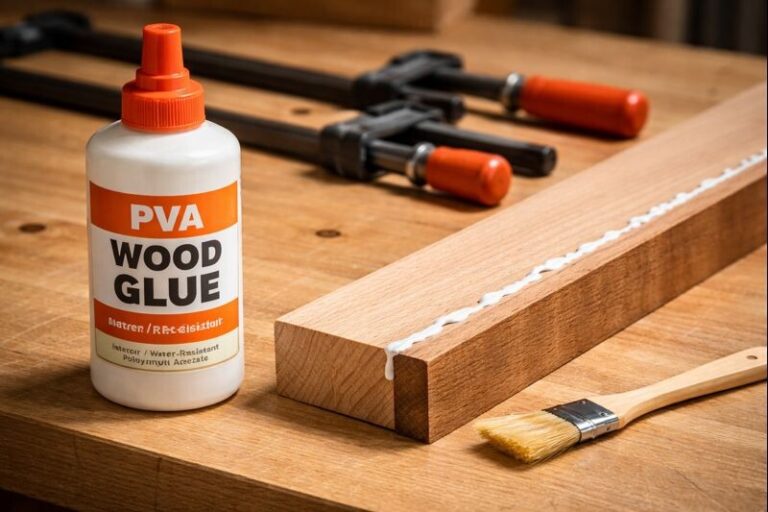
If you’re building a tray stand from scratch, cleaner joinery and cleaner cuts reduce sanding time everywhere.
This build guide is a solid reference for part layout and clean assembly: a step-by-step tiered stand build walkthrough.
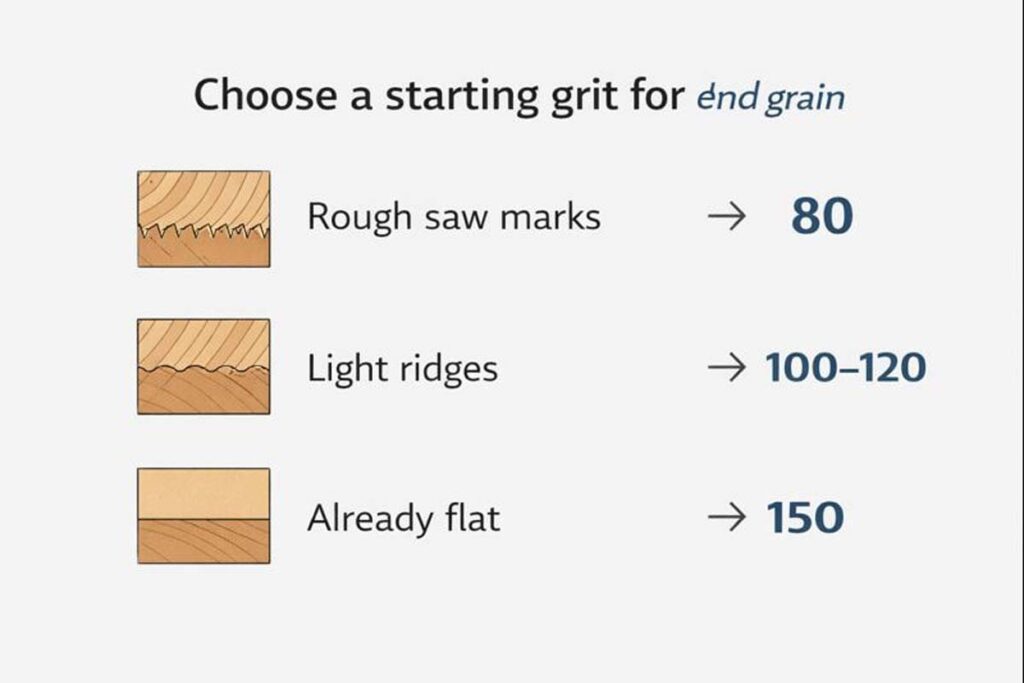
Step 2: Pick a starting grit based on the damage, not a habit
Starting too fine is a classic mistake. If you start at 180 on saw marks, you’ll be there all day.
Use this as a practical starting point:
| What the end grain looks like | Start grit |
|---|---|
| Rough saw marks / tear-out | 80 |
| Light saw marks / minor ridges | 100–120 |
| Already flat, just needs smoothing | 150 |
On most tray stand parts, 100 or 120 is a safe starting point. Save 80 grit for true problems, because it can leave deep scratches that take longer to remove.
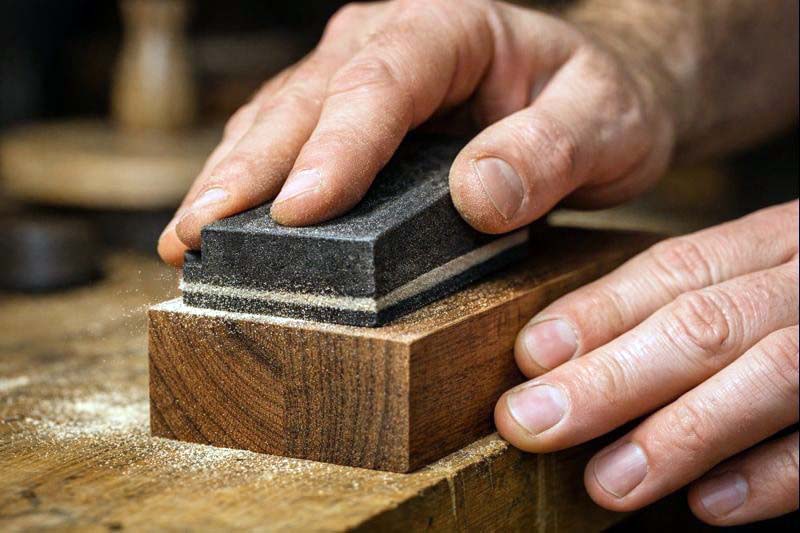
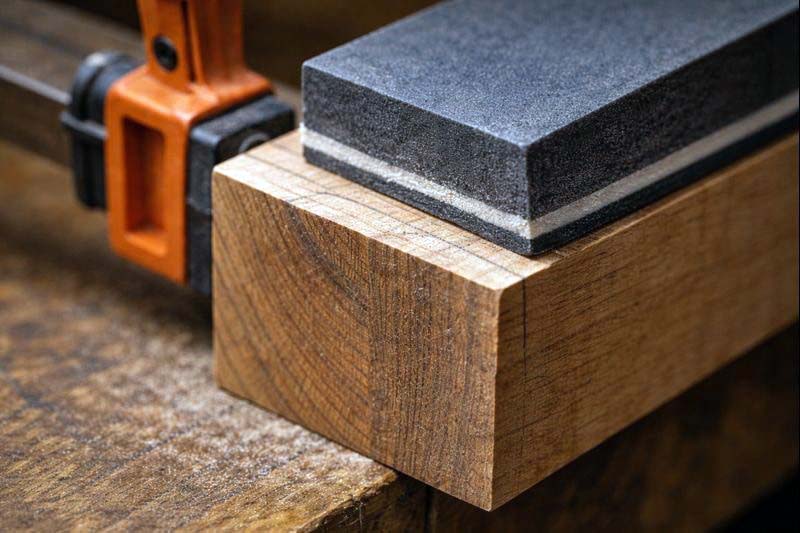
Step 3: Sand end grain in a controlled pattern (don’t “scribble”)
End grain rewards a repeatable motion. Random rubbing creates random scratches.
Use this method:
- Clamp the piece so it can’t move.
- Sand with the block using short strokes.
- Angle your strokes about 45 degrees.
- After 10–15 strokes, rotate the piece 90 degrees and repeat.
That crosshatch pattern removes high spots faster. Plus, it makes scratch tracking easier.
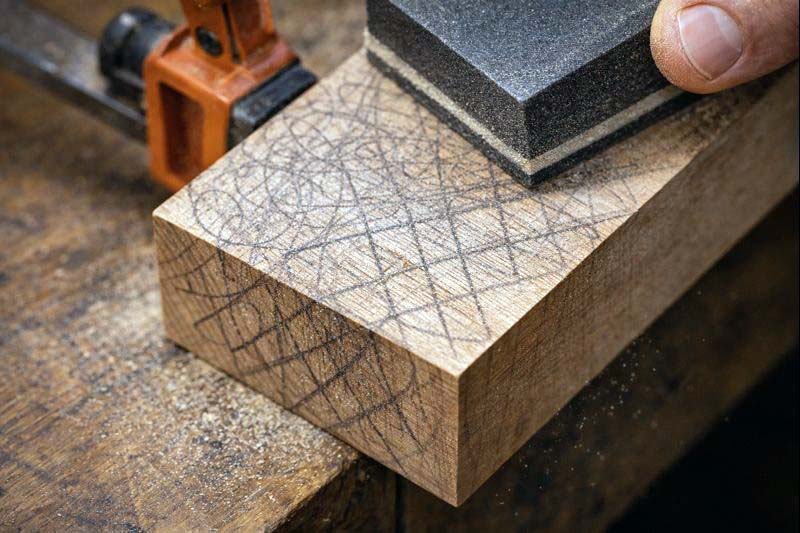
Tip that saves time: mark the end grain with pencil scribbles before sanding. When the scribbles are gone evenly, the surface is flatter.
Step 4: Don’t round edges unless the design calls for it
End grain edges disappear fast. That’s how tray feet and tray rims lose their crisp look.
To keep edges sharp:
- Keep the sanding block flat.
- Stop your stroke right at the edge instead of rolling over it.
- If using a ROS, keep it moving and avoid tilting.
If the tray stand style you’re building does use softened edges, do it at the end as a separate step. That way, you’re not accidentally changing joinery fit.
Step 5: Move up in grits only when the scratches are truly gone
This is the part most people rush. End grain hides deep scratches until later.
A simple grit plan that works for tray stands:
- 100/120 → 150 → 180 → 220
- For hardwoods or show surfaces: add 320 (sometimes)
At each grit:
- Sand until the surface looks uniform.
- Wipe off dust.
- Check under a raking light (flashlight held low works great).
- Then move on.
However: don’t push hard. Heavy pressure burnishes end grain and clogs paper, which makes sanding slower.
Step 6: Raise the grain on softwoods (this is the “secret sauce” step)
If you’re working with pine or poplar, end grain can feel smooth… then get fuzzy after finish.
That fuzz is raised fibers.
Fix it like this:
- Wipe the end grain with a damp cloth (water, not soaking).
- Let it dry fully.
- Sand lightly with 220 on a block.
This takes two minutes. It can save a full refinish later.
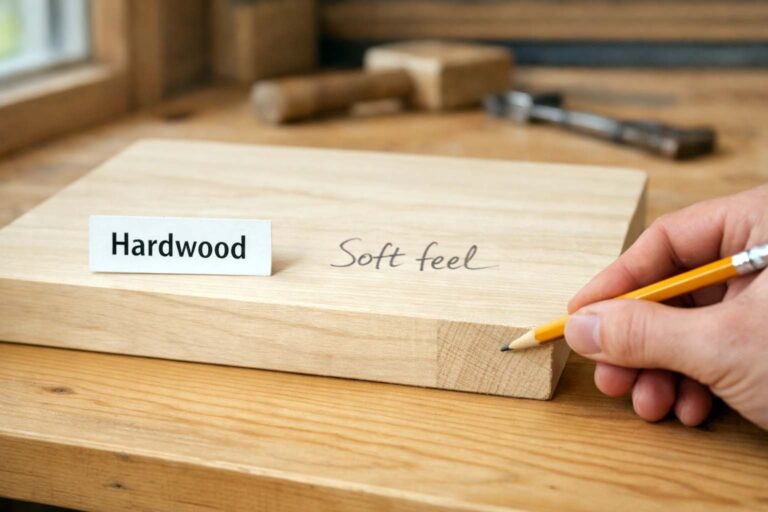
If you’re choosing wood for a tray stand, softwoods are easy to work but they show this problem more.
This wood comparison can help you plan ahead: choosing between pine, oak, and maple for tray builds.
Step 7: Preview the surface before finishing
End grain lies. Dust hides scratches.
Do a quick preview:
- Wipe with mineral spirits (or denatured alcohol).
- Let it flash off.
- Look for swirl marks or dark scratch lines.
If you see them, drop back one grit and remove them fully. This is especially important on darker woods like walnut, where scratches pop.

For walnut-specific finishing tips (where end grain can go extra dark), this guide pairs well with the sanding steps: finishing darker woods without ugly blotching.
How far to sand end grain (based on finish)
End grain doesn’t follow the same rules as face grain. Sanding too high can sometimes reduce stain absorption, but it can also create uneven color if you’re not consistent.
Here’s a practical finish-based guide:
| Finish type | Recommended final grit on end grain | Notes |
|---|---|---|
| Paint | 150–180 | Paint hides a lot, but keep it flat |
| Stain + clear coat | 180–220 | Stop at 220 to avoid burnishing |
| Clear coat only (poly, lacquer) | 220–320 | Go higher only after scratches are gone |
| Oil/wax finish | 220–320 | Oil will highlight scratches fast |
If a tray stand is going to see a lot of handling (coffee bar, kitchen counter, holiday decor), a smoother end grain finish feels better in the hand.
Wood choice matters too, and this list can help you pick durable options: strong wood picks for sturdy tiered tray stands.
Common end grain problems (and what fixes them fast)
“It still feels rough after 220”
That’s usually one of two things: fuzz or torn fibers. Raise the grain, let it dry, then sand lightly with 220 on a block.
“Swirl marks show up after finish”
That’s grit skipping or paper clogging. Go back one grit, sand until uniform, and switch to fresh paper sooner.
“The end grain looks darker than everything else”
That’s normal absorption behavior. If staining, consider a light pre-seal or conditioner, and keep your sanding consistent across all end grain areas.
“Edges keep rounding over”
Stop sanding freehand with fingertips. Use a block, clamp the part, and shorten your strokes near edges.
Tray stand-specific tips (where end grain causes the most headaches)
Tray tiers (large circles or rectangles)
Use a ROS for speed, but keep pressure light. Finish with a few hand-sanding passes on a block to erase swirls.
If you’re building a farmhouse-style setup with wide tray surfaces, this guide is a helpful companion for layout and assembly: a farmhouse tiered tray build approach.
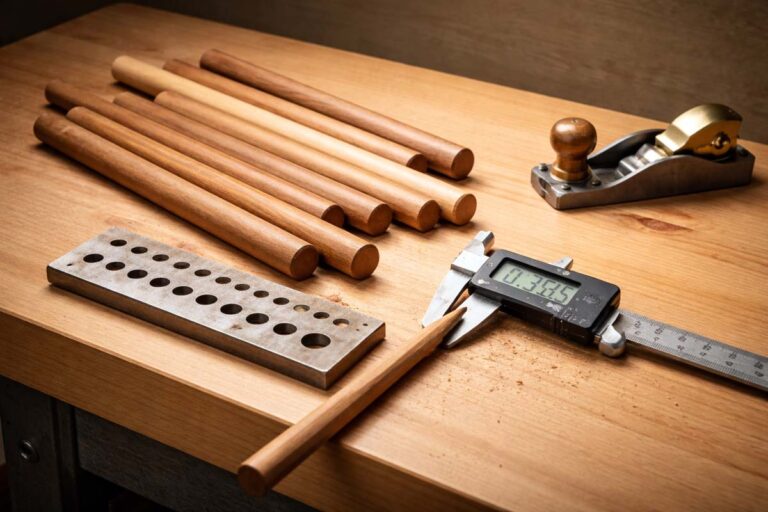
Upright posts, dowels, and center rods
Clamp the rod and rotate it a little between passes. That rotation keeps the scratch pattern even.
Feet and small blocks
Sand them as a group when possible. A simple trick is sticking sandpaper to a flat board and rubbing the parts across it—keeps everything square.
And don’t ignore safety. Small parts plus sanding equals “finger too close to moving paper.” This checklist helps: basic safety gear to keep builds comfortable and safe.
Quick checklist: end grain that finishes clean
- Cut clean, trim splinters, break the edge lightly
- Start at the right grit (often 100–120)
- Use a hard block and a consistent crosshatch pattern
- Don’t move up until the previous scratches are gone
- Raise grain on softwoods, then re-sand lightly
- Preview with mineral spirits before finishing
- Match your final grit to your finish plan
FAQs
Why does end grain stay rough even after sanding?
End grain contains fiber ends that “stand up” as you sand, especially on softwoods. Raising the grain with a damp wipe, letting it dry, and sanding lightly with 220 usually removes that fuzz and keeps it from returning after finish.
What grit should you start with on end grain?
Start grit depends on the surface quality. Heavy saw marks often require 80 grit, light ridges usually need 100–120, and already-flat end grain can begin at 150. Starting too fine wastes time and can leave uneven results.
Should end grain be sanded to 320 grit?
320 grit can work well for clear coats on hardwoods if all earlier scratches are fully removed. However, for stained pieces, stopping around 180–220 is often safer because very fine sanding can burnish end grain and change stain absorption.
Final thoughts
End grain doesn’t need magic tricks. It needs a plan, fresh paper, and a flat sanding surface that doesn’t roll over edges.
When end grain is prepped right, a tray stand looks cleaner, finishes more evenly, and feels better in the hand.
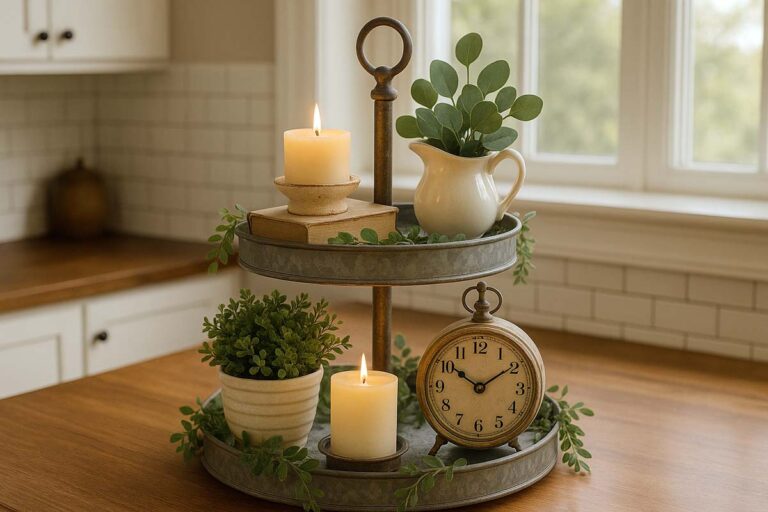
Plus, decorating and handling it is more satisfying when nothing feels fuzzy or sharp—especially if you’re putting it on display after using ideas from tiered tray styling and decor setups.