1/8 Baltic Birch Plywood: 8 Smart Uses for Boxes, Trays, Drawer
1/8 Baltic birch plywood is my go-to thin panel when a project needs a clean face, crisp edges, and stable parts that stay flat. Woodworkers use it for drawer bottoms, small boxes, tray bottoms, templates, and laser-cut pieces because the cross-laminated plies resist splitting. The tradeoff is stiffness. At 1/8 inch thick, the sheet needs support from a frame or groove, and it punishes rough handling. This guide covers how to choose it, cut it cleanly, and finish it without blotching.
1/8 Baltic birch plywood is a thin birch-veneer panel, often sold as 3 mm. Choose it for light-duty panels and skins where you can support the edges in a groove or rabbet. Cut it with a sharp, fine-tooth blade and full backing. Finish with a washcoat or conditioner before stain to reduce blotches.
What is 1/8 Baltic birch plywood?
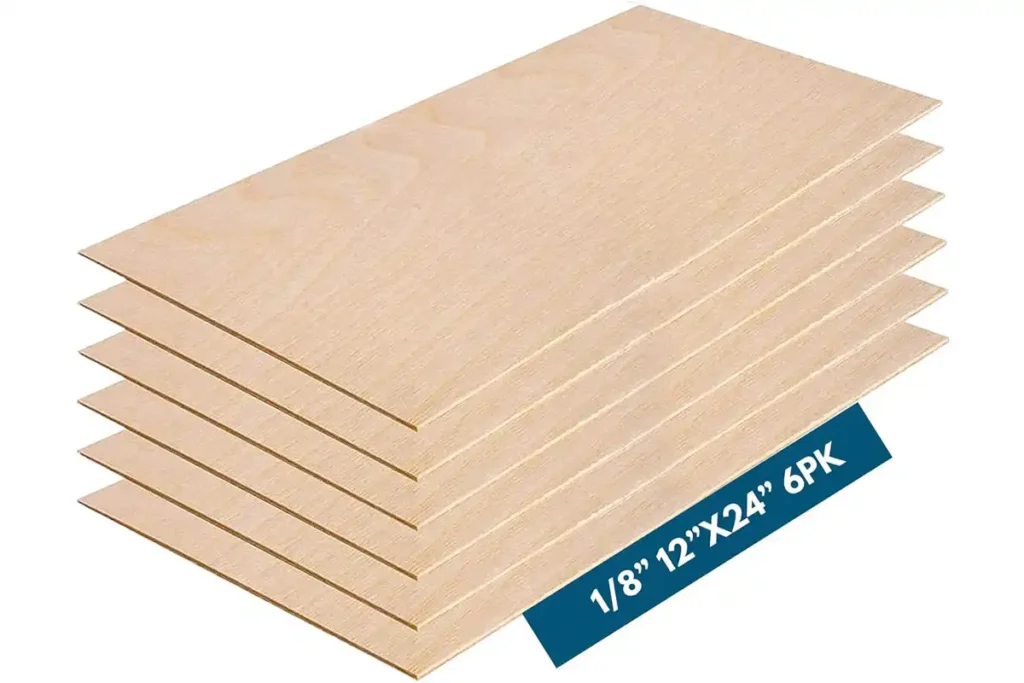
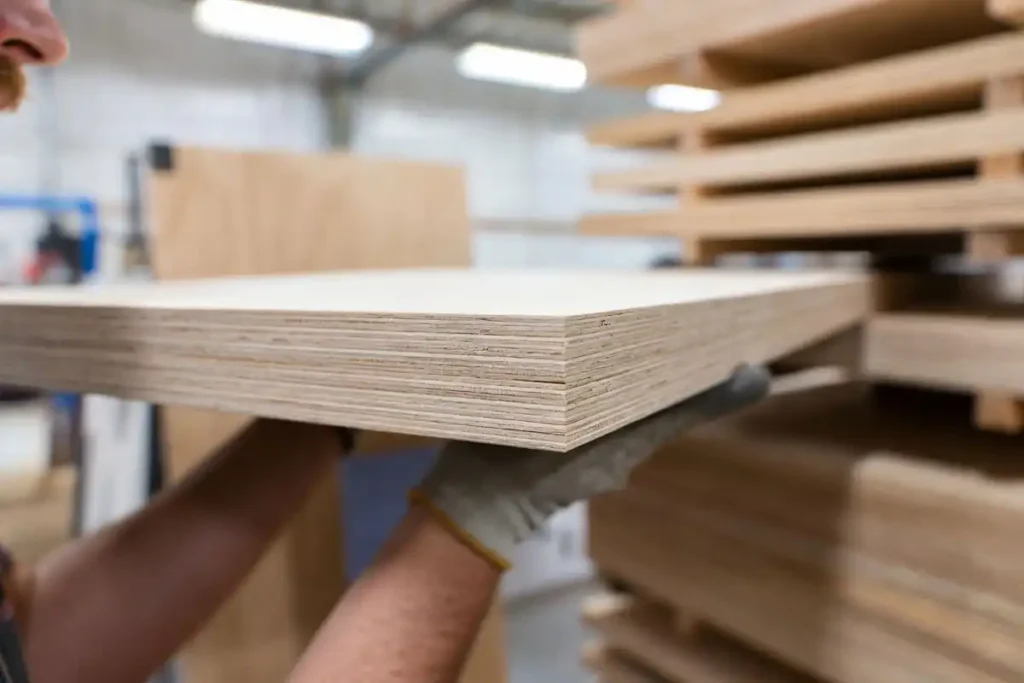
1/8 Baltic birch plywood is a thin plywood panel built from birch veneers laminated in alternating directions. The cross-laminated core limits seasonal movement compared with solid wood.
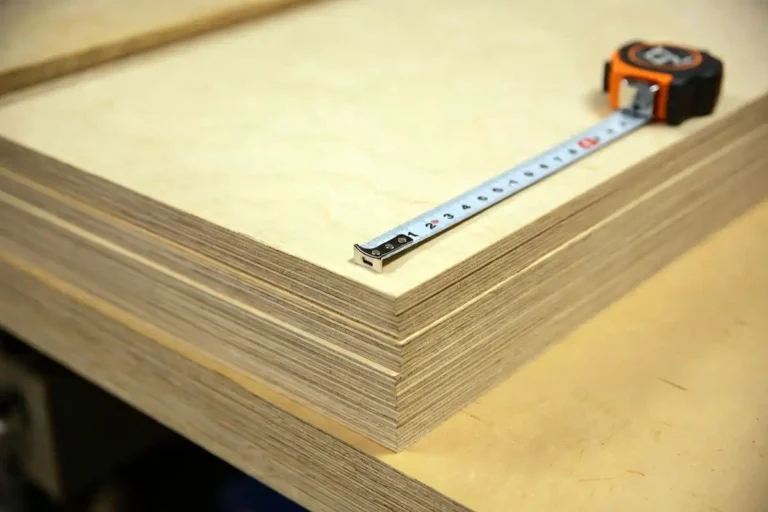
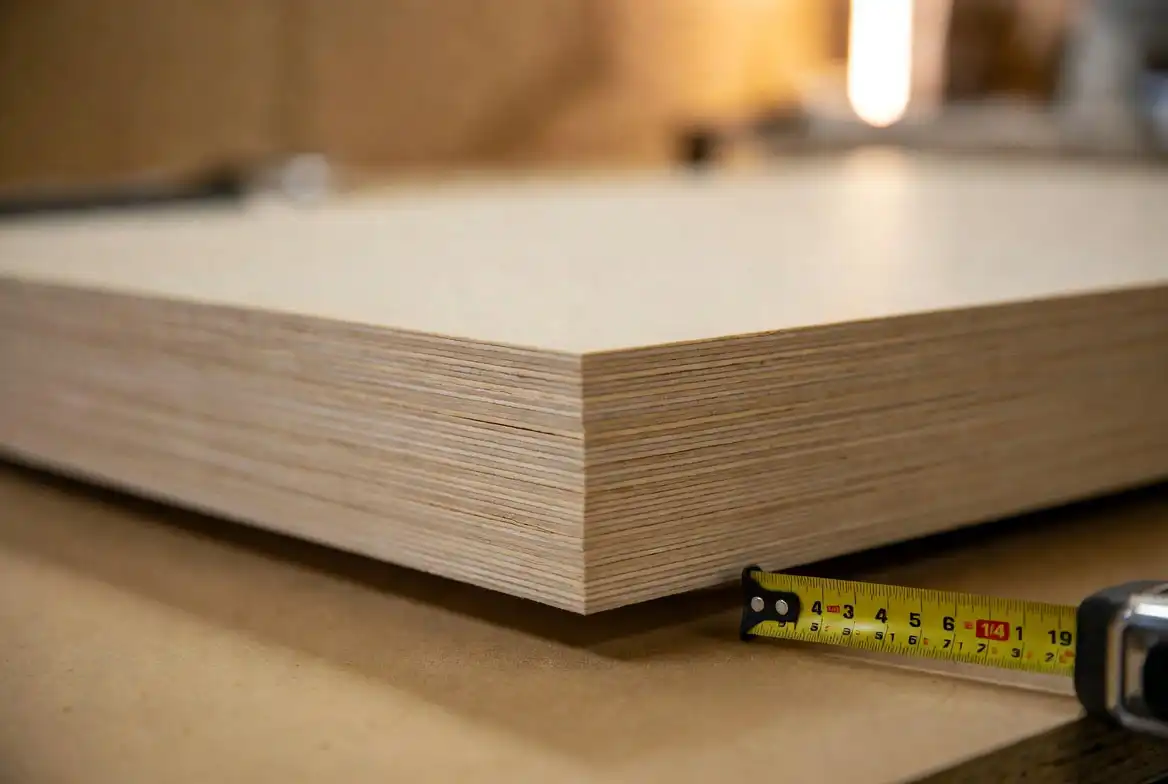
Sellers often label it “1/8 inch.” Many sheets measure close to 3 mm (about 0.118 inch) or 3.2 mm (0.125 inch). Measure your sheet with calipers before you cut joinery.
Baltic birch usually means an all-birch core with uniform plies. Big-box “birch plywood” often uses a mixed-wood core with a birch face veneer.
To know more: 1/4 Baltic Birch Plywood: 6 Must-Know Thickness Facts
When should you choose 1/8 Baltic birch plywood?
Choose 1/8 Baltic birch plywood when you need a thin, clean panel and you can protect it with joinery or a frame.
It fits projects like:
- Drawer bottoms captured in grooves
- Box bottoms and lids
- Back panels on small cabinets
- Tray bottoms set into a rabbet
- Scroll-saw parts and craft panels
- Templates and router patterns
Skip 1/8 panels for spans that carry weight. Use thicker plywood or add ribs, frames, or a backer.
Where do woodworkers buy it, and what sizes matter?
Woodworkers buy 1/8 Baltic birch plywood from hardwood dealers, cabinet supply houses, and woodworking stores. Those sellers handle higher-grade sheet goods and store them flatter.
True Baltic birch often comes in 5×5 sheets. Other birch plywood products commonly come in 4×8 sheets. Use a cut list that matches your local supply. Double-check common plywood sheet sizes before you design parts.
Labels on the rack also mix “cabinet grade,” “shop grade,” and mill grades. If the tag feels vague, start with how cabinet-grade labels usually get used. Then inspect the sheet in person.
How to pick a good 1/8 sheet in the rack
A thin sheet shows defects fast. Spend two minutes on inspection and save hours later.
Check these points:
- Flatness: Sight down the long edge. Reject sheets with a hard twist.
- Face quality: Look for patches, football plugs, and rough grain. Decide if your project hides one face.
- Core gaps: Check the edges for voids. Small voids happen, but long gaps weaken nails and screws.
- Veneer thickness: Look for sanding-through on the face. Thin face veneer limits your sanding margin.
- Glue lines: Tap the sheet. A hollow sound can point to a loose ply.
If you build parts that fit grooves or dados, keep a note on nominal vs measured plywood thickness. That habit prevents “almost fits” joinery.
How to cut 1/8 Baltic birch plywood without tear-out
Thin plywood splinters when the sheet vibrates or the blade tears fibers on the exit side. Support and sharpness fix most problems.
Tools that make clean cuts easier
- Table saw with a zero-clearance insert
- Fine-tooth crosscut blade (or plywood blade)
- Straightedge guide for a track saw or circular saw
- Sacrificial backer board (MDF or hardboard works well)
- Sharp knife for scoring cut lines
- Blue tape for fragile face veneer
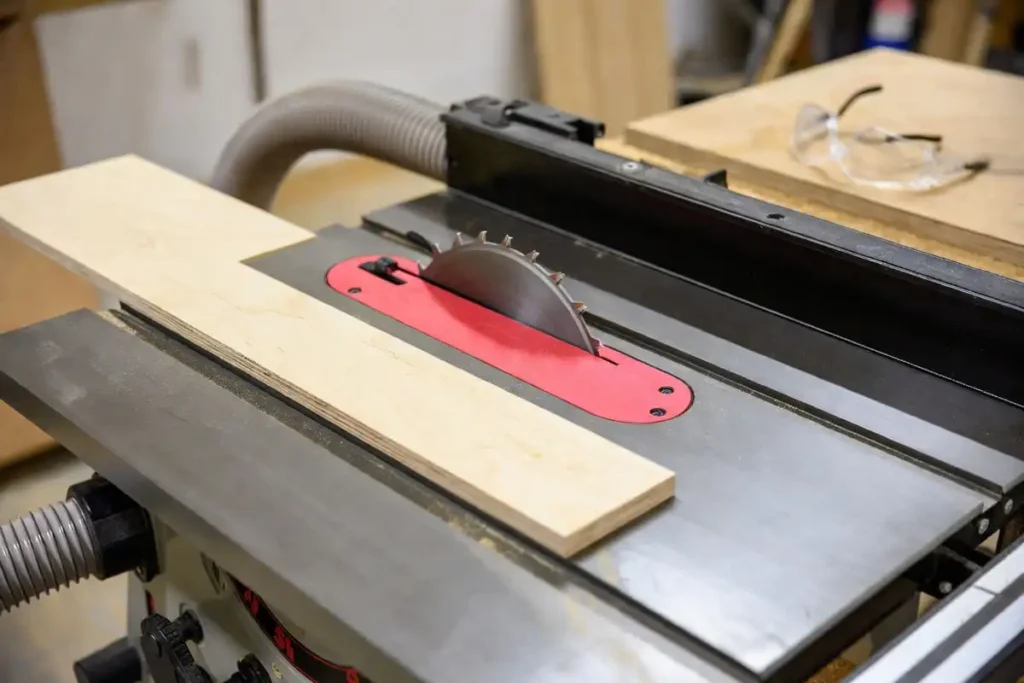
Step-by-step: clean cuts on a table saw
- Set a zero-clearance insert or tape the kerf line on the insert.
- Raise the blade so gullets clear the top veneer. Use a moderate height, not a full lift.
- Put the best face up. Table saw teeth exit on the top face.
- Add an outfeed support so the sheet stays flat through the cut.
- Feed at a steady pace. Slow feeds invite burning and chipping.
Step-by-step: clean cuts with a circular saw or track saw
- Lay rigid foam or a sacrificial sheet under the plywood for full support.
- Put the best face down. Handheld saw teeth tend to splinter the top face.
- Use a fine-tooth blade and a straightedge guide.
- Score the cut line with a knife before you cut. Score across the face grain direction.
- Cut in one pass and keep the base plate flat.
Cutting curves without blowing out the face
Use a jigsaw with a sharp blade and full support under the work. For a standard up-cut blade, put the best face down. For a down-cut blade, put the best face up.
How to join and fasten 1/8 Baltic birch so it stays flat
A thin panel works best when a frame carries the stress. Capture the plywood and let it sit in a groove.
Common approaches:
- Groove capture: Cut a groove in a solid-wood frame and slide the panel in.
- Rabbeted bottom: Rabbet the underside of a tray frame so the panel sits on a ledge.
- Laminated build-up: Glue two sheets together for stiffness, then trim to size.
Thin panels also telegraph glue lumps. A consistent glue film and even pressure keep the sheet flat. Use a plywood-friendly glue approach when you laminate, veneer, or skin a panel.
Step-by-step: laminating two 1/8 sheets for stiffness
- Cut both sheets oversize by 1/4 inch on each edge.
- Spread glue with a roller. Aim for an even, thin film.
- Stack the sheets with face grain aligned for appearance.
- Clamp between flat cauls. Add wax paper to keep squeeze-out off the cauls.
- Let the panel cure, then trim it to final size.
Before you sand the panel, give glue time to harden. This glue cure timing guide helps avoid gummy paper and torn veneer.
Fasteners: what works and what fails
Pins, narrow-crown staples, and small brads work when the plywood sits on a frame. Screws rarely hold well in 1/8 plywood.
If you need mechanical hold, add backing blocks or switch to a thicker panel.
How to finish 1/8 Baltic birch plywood
Birch face veneer takes clear finish well, but stain can blotch. The fix is surface prep and a controlled first coat.
Surface prep that protects thin veneer
Sand light and flat. A sanding block keeps pressure even and limits divots.
A practical sanding path:
- 150 grit to level factory fuzz
- 180 grit for a clean finish-ready surface
- 220 grit only if your topcoat calls for it
Avoid heavy sanding on edges. Edges burn through fast because veneer ends meet glue lines.
Clear finishes for small shop projects
Film finishes protect thin panels from scuffs and fingerprints.
- Water-based polyurethane keeps the color light and dries fast.
- Oil-based polyurethane warms the tone and levels well.
- Shellac dries fast and works as a sealer under other finishes.
Staining Baltic birch without blotches
Birch soaks pigment unevenly. Seal first, then stain.
A shop-safe method:
- Sand to 180 and remove dust.
- Apply a washcoat of dewaxed shellac or a wood conditioner.
- Scuff sand lightly after the sealer dries.
- Apply dye or gel stain for more even color.
- Topcoat after the stain cures.
If you want a deeper walkthrough, follow my Baltic birch staining steps. Compare a few birch stain examples before you commit to a color.
Solutions for common 1/8 Baltic birch problems
The sheet cups or twists after you bring it home
Store thin plywood flat with support every 12 to 16 inches. Put weight on top and keep both faces exposed to the same air.
If a sheet already cups, build it into a frame or laminate it. A thin panel rarely “relaxes” back to flat on its own.
The face veneer chips at the cut
Support the sheet, use a sharper blade, and cut with the right face orientation for your tool.
A knife score line also reduces splintering on crosscuts.
The edges look fuzzy
Fuzz comes from crushed fibers and dull abrasives. Switch to fresh paper and sand with a hard block.
For exposed edges on trays and boxes, a small round-over bit also protects the veneer stack.
The panel delaminates at the corner
Delamination usually points to impact damage or moisture. Trim back to sound material and seal all faces on the finished part.
For outdoor exposure, pick an exterior-rated panel instead of an interior panel.
Stain looks patchy
Apply a washcoat or conditioner and switch to dye or gel stain. Birch face veneer rewards thin, repeatable coats.
Troubleshooting checklist
Use this quick diagnosis when a thin panel acts up:
- Chips on one face: Flip the sheet for the right cut orientation, or add a zero-clearance backer.
- Wavy cut line: Support the sheet fully and guide the saw base with a straightedge.
- Bubbles after lamination: Increase caul pressure and spread glue more evenly.
- Raised grain under water-based finish: Let the first coat dry, then scuff sand lightly.
- Glue smears that resist stain: Scrape squeeze-out, then sand. Avoid wiping glue with a wet rag.
Mistakes that waste 1/8 Baltic birch plywood
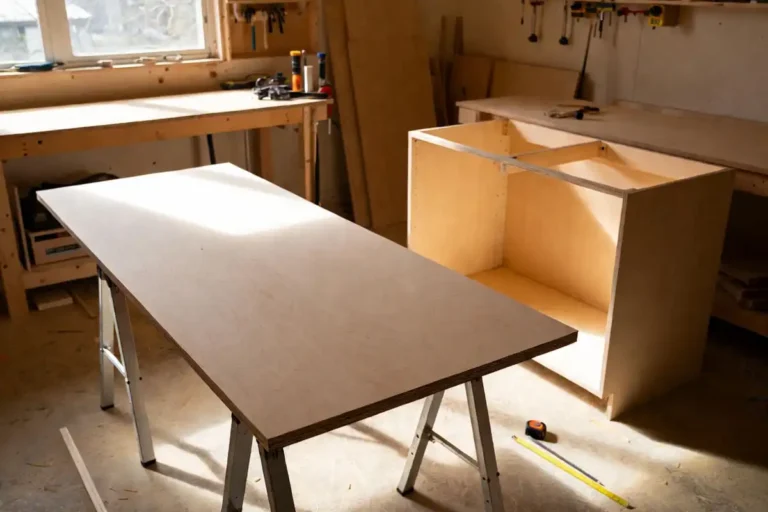
- Cutting it unsupported on sawhorses and letting the sheet vibrate.
- Designing joinery off the label instead of measuring thickness.
- Sanding edges hard and burning through the face veneer.
- Relying on screws for holding power.
- Staining without sealing first.
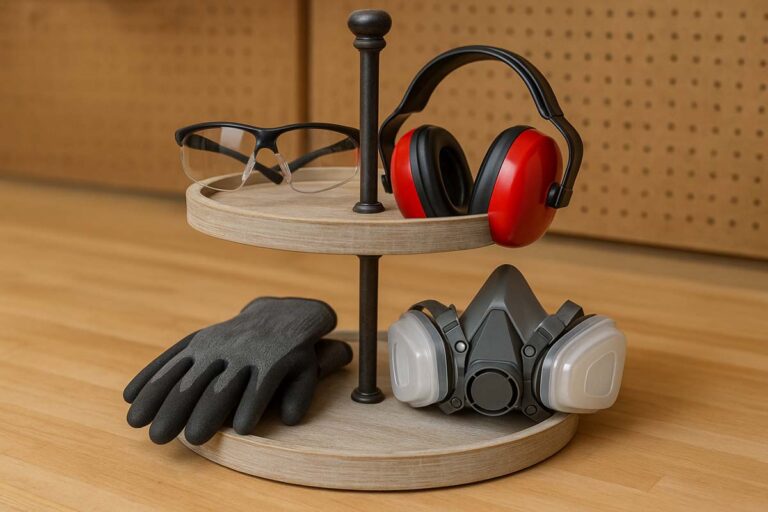
Safety notes for cutting and sanding plywood
Plywood dust and glue resins irritate lungs. Take dust control as seriously as the cut itself.
Safety habits that pay off:
- Wear eye protection and hearing protection at the saw.
- Use a respirator rated for fine dust when you cut and sand.
- Support long sheets so they do not bind and kick back.
- Keep hands away from blades, and use push sticks at the table saw.
- Review basic PPE and dust control practices if you need a reset.
Conclusion
1/8 Baltic birch plywood solves a specific problem: clean, thin panels that stay stable when a frame supports them. Measure thickness, support the sheet for every cut, and seal before you stain. Treat it gently and it rewards you with crisp parts and tidy joinery.