How to Make a Tiered Tray Stand: Easy DIY Guide for Home Decor
If you’re here, it’s likely because you’re looking to make a beautiful, functional tiered tray stand, right? Whether you’re planning to use it to display seasonal decor, organize your kitchen counter, or even sell a few of your creations, a well-crafted tiered tray stand can add elegance and a personal touch to any space. Lucky for you, I’m here to guide you through the entire process, from selecting the right materials to the final finishing touches. Plus, I’ll break down everything you need to know in a simple, easy-to-follow format.
So grab your tools, and let’s get started!
Contents Here
- 1 Why Make Your Own Tiered Tray Stand?
- 2 Materials You’ll Need
- 3 Step 1: Choose Your Design and Dimensions
- 4 Step 2: Cut Your Wood
- 5 Step 3: Sanding the Wood
- 6 Step 4: Assemble the Tiered Tray Stand
- 7 Step 5: Finish Your Tiered Tray Stand
- 8 Step 6: Decorating Your Tiered Tray
- 9 FAQs (Frequently Asked Questions):
- 10 Final Thoughts
Why Make Your Own Tiered Tray Stand?
Before we dive into the “how-to,” let’s talk about why you should consider making a tiered tray stand instead of buying one. There are several advantages:
- Customization: When you make your own, you can customize it to fit your personal style, the decor of your home, or even the season.
- Durability: A handmade tray stand can be stronger and more durable than store-bought ones, especially if you choose high-quality wood.
- Cost-Effective: With the right tools and materials, making your own tray stand is often more affordable than purchasing one, especially when considering how much you can customize it.

Plus, there’s something immensely satisfying about crafting something with your own hands.
Materials You’ll Need
Before you start cutting and sanding, it’s important to gather all the materials you’ll need. Here’s a quick rundown:
- Wood: I recommend using hardwood like oak, maple, or pine for sturdiness and ease of work.
- Wooden Dowels: These will form the central posts to support the tiers.
- Wood Glue: A high-quality wood glue will help hold everything together firmly.
- Screws: You’ll need these to secure the dowels to the trays.
- Sandpaper: To smooth out your wooden surfaces.
- Paint or Wood Stain: Optional, depending on the finish you want.
- Clear Wood Sealer: To protect your tray stand.
- Tools: A saw, drill, measuring tape, and a screwdriver are all essentials.

Step 1: Choose Your Design and Dimensions
The first step in making your tiered tray stand is to decide on your design and dimensions. Tiered trays come in many different shapes and sizes, but a basic structure typically includes two or three tiers.
Here are a few things to keep in mind when deciding on your design:
- Tier Size: Consider how large you want each tier to be. For a simple and functional tiered tray, a 12-inch diameter for the top tier and a 10-inch diameter for the bottom tier is a great starting point.
- Height Between Tiers: The distance between each tier can vary. Generally, 6 to 8 inches between tiers works well.
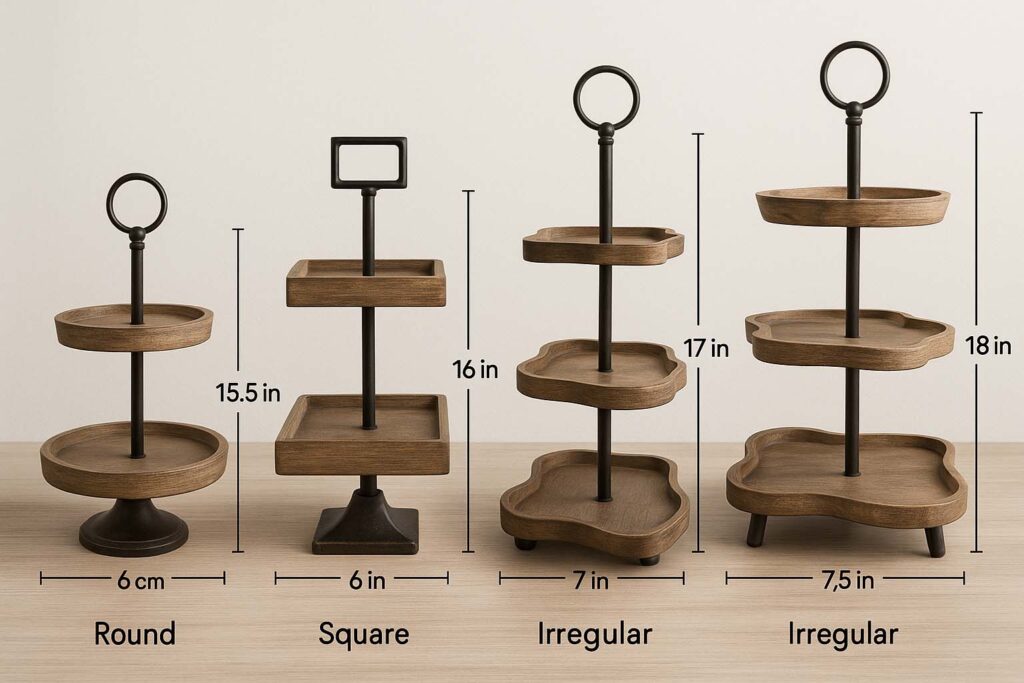
- Shape of Trays: You can stick to the classic round trays, but square or even irregularly shaped trays can give your piece a more unique touch.
At this point, you should have a clear vision of the size and design of your tiered tray stand.
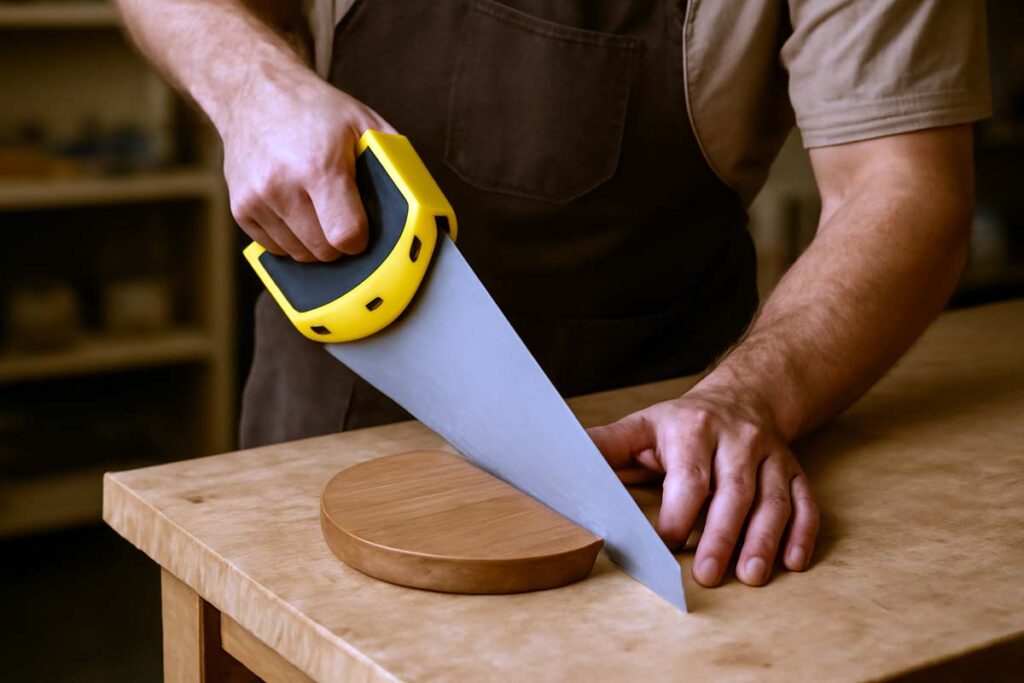
Step 2: Cut Your Wood
Now that you have your design in mind, it’s time to cut your wood. For this step, you’ll need a saw (a circular saw works great for straight cuts, but a jigsaw can help with more intricate shapes if you’re going for something unique).
- Cut the Base Tray: Start with the bottom tray. Using your measurements, cut your wood into a round (or square, depending on your design) shape. Be sure to keep the edges smooth and even.
- Cut the Upper Trays: Do the same for the upper trays, making sure they’re slightly smaller than the bottom one. The sizes I mentioned earlier (12-inch and 10-inch) should give you a great starting point.
- Cut the Dowels: Measure and cut the dowels for your stand. You’ll need one dowel per tier. The height of the dowels should be the distance between each tier, plus a little extra to secure them into the trays.
Tip: If you’re not confident about cutting the wood yourself, many home improvement stores will cut the wood for you to your specifications. It’s a great option to save time and ensure accurate cuts.
Step 3: Sanding the Wood
After cutting all your pieces, it’s time for some sanding. Sanding is crucial to smooth out any rough edges and ensure a professional finish. Here’s how to do it:
- Start with Coarse Sandpaper: Use a medium-grit sandpaper (around 80-120 grit) to smooth out the rough surfaces.
- Finish with Fine Sandpaper: Follow up with a finer grit (around 220 grit) to give the wood a soft, smooth feel.
- Edge Sanding: Pay extra attention to the edges of your trays. You want them to be rounded and smooth for a polished look.

Take your time with this step. It makes a huge difference in how your finished tiered tray will look.
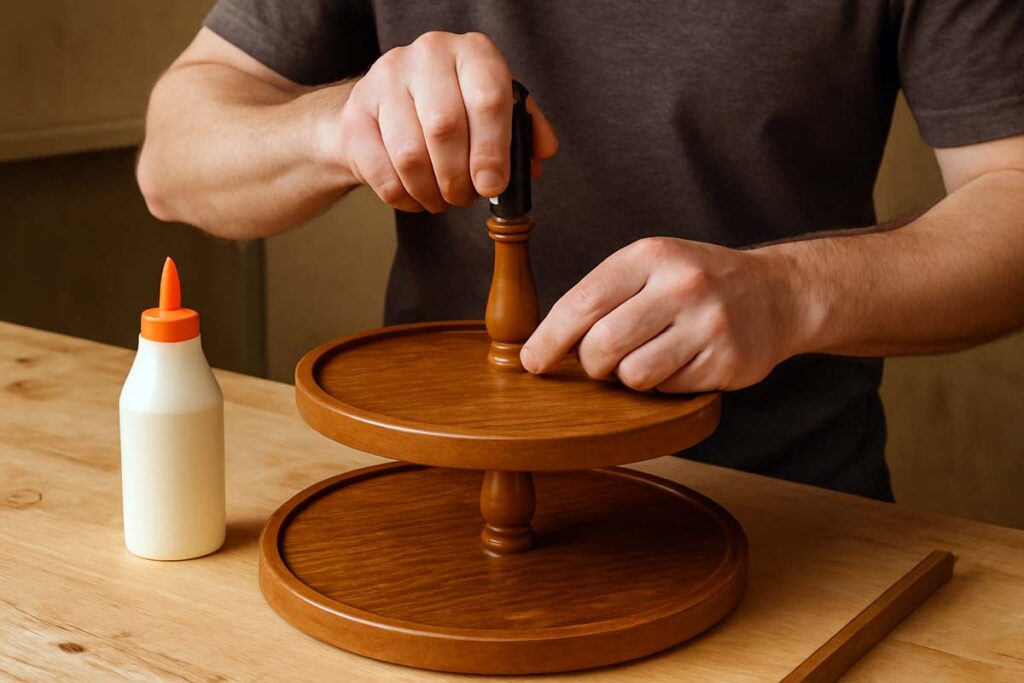
Step 4: Assemble the Tiered Tray Stand
With your trays and dowels ready, it’s time to assemble everything. This step is straightforward but requires precision to ensure the tiers are properly aligned.
- Attach the Dowels to the Bottom Tray: Begin by gluing one of the dowels to the center of the bottom tray. Use wood glue for this, but you may also want to screw it in for added stability. Let the glue dry for at least an hour.
- Attach the Upper Tray: Once the glue on the bottom tray is dry, attach the second tray to the other end of the dowel. Make sure it’s centered and level.
- Repeat for Additional Tiers: If you’re adding a third tier, repeat this process. Secure the dowel to the second tray and add the top tray.
- Secure with Screws (Optional): If you want extra durability, drill screws into the dowels at the base of each tray. This will ensure that the trays stay secure and aligned.
Step 5: Finish Your Tiered Tray Stand
After the glue has dried and everything is securely in place, it’s time to finish your tiered tray stand. Here are a few options to consider:
- Wood Stain: If you want to keep the natural look of the wood, apply a wood stain. Choose a shade that complements your existing decor.
- Paint: For a more vibrant or modern look, paint your tray stand. You can go with a solid color or even a distressed look for a vintage vibe.
- Clear Sealer: Whether you stain or paint, it’s important to seal your piece with a clear wood finish. This protects the wood from wear and tear and adds a nice shine.

Step 6: Decorating Your Tiered Tray
Now that your tiered tray stand is complete, it’s time to get creative! One of the best parts of a tiered tray is how versatile it is. You can decorate it for different seasons, holidays, or themes. Here are a few ideas:
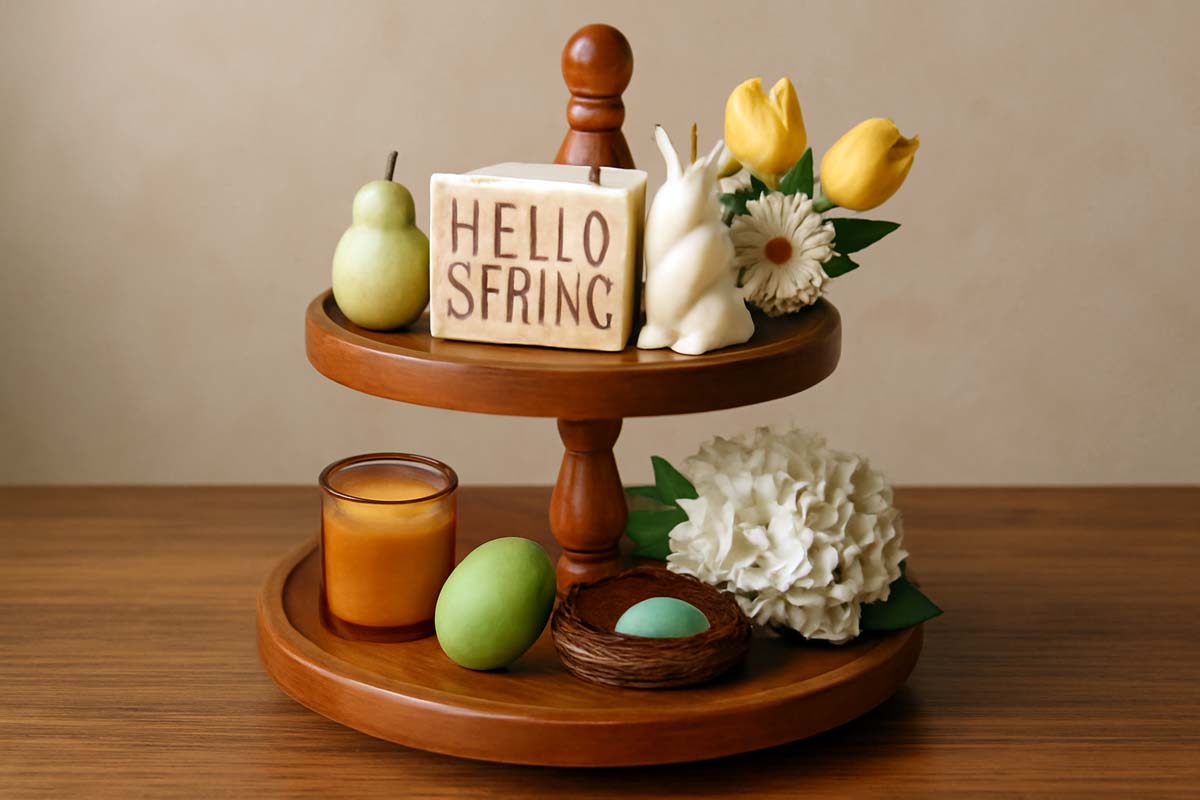
- Spring: Add faux flowers, small pots, and pastel-colored items for a light, airy feel.
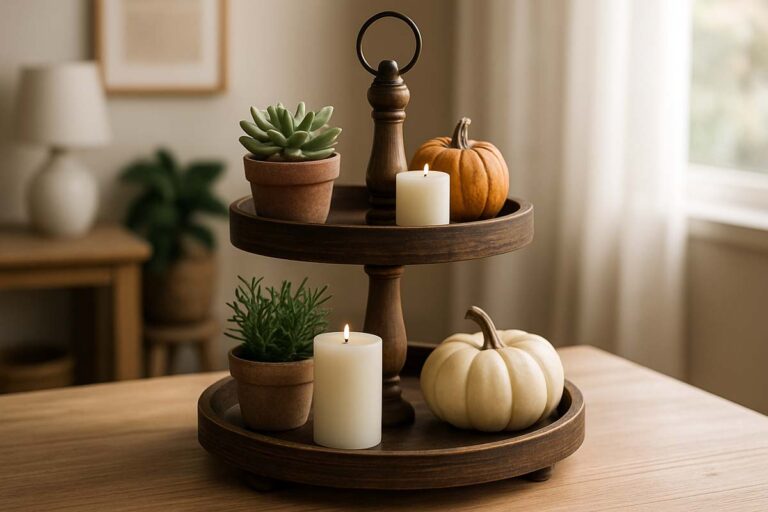
- Fall: Use small pumpkins, mini pinecones, and candles for a cozy autumn vibe.
- Christmas: Think about mini Christmas trees, ornaments, and festive candles.
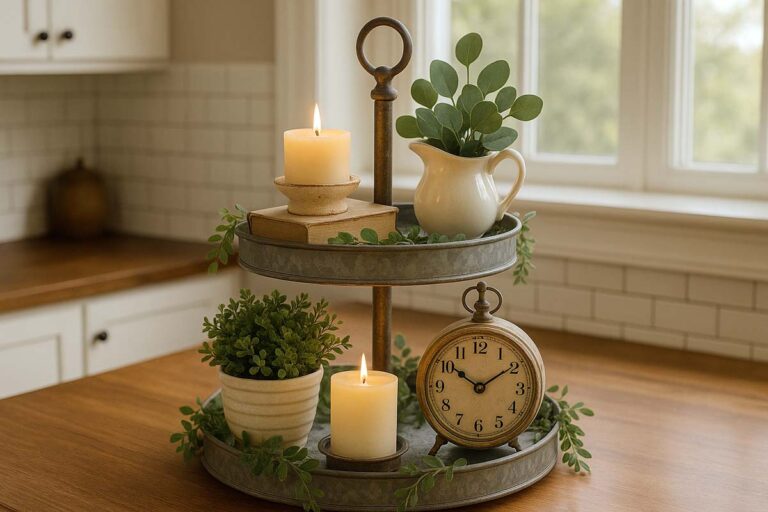
- Kitchen: Use your tiered tray stand for kitchen items like spices, napkins, or coffee pods.

The possibilities are endless!
FAQs (Frequently Asked Questions):
Final Thoughts
There you have it—a complete step-by-step guide to making your own tiered tray stand. It’s a rewarding project that’ll add personality and style to your home. Plus, you’ll have the satisfaction of knowing you made it yourself!
By following these steps, you can craft a high-quality, durable tiered tray stand that is not only functional but also a true work of art. Remember, the key to success in any woodcraft project is patience and attention to detail. So take your time and enjoy the process!
Happy crafting!