Tiered Tray Stand Plans & Templates
Welcome to TrayEdit for Tiered Tray Stand Plans & Templates. Pick a plan, print the template, and build with confidence. Every plan links to cut lists, drilling layouts, hardware, and step‑by‑step guidance. Filter by tier count and style below.
Pick a Plan
Farmhouse 2 Tier Tray Stand
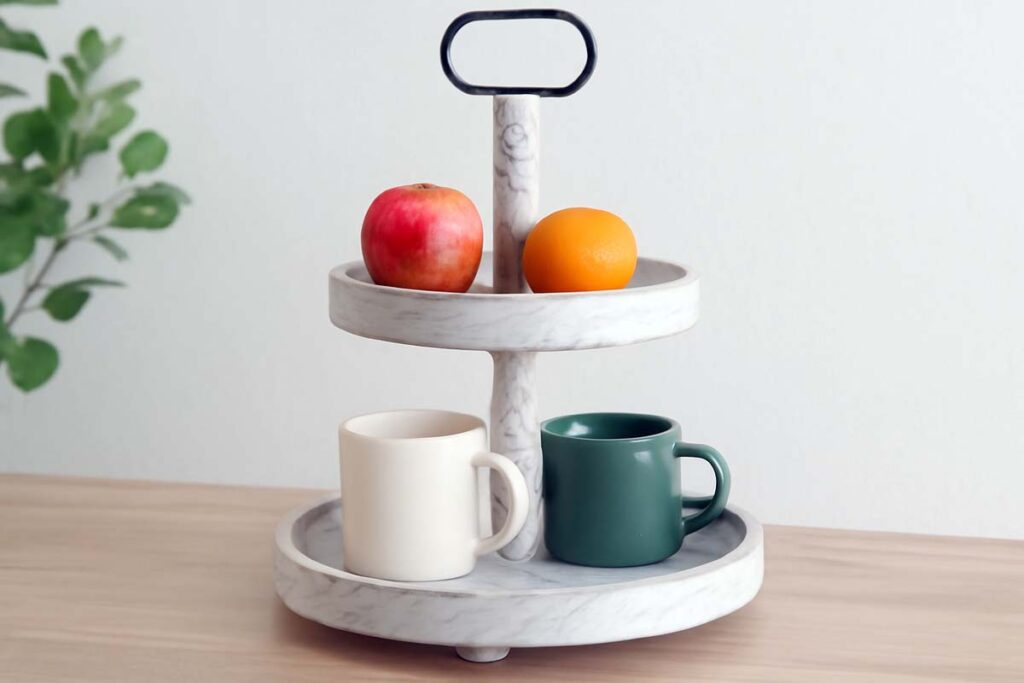
Build a classic farmhouse look with two round tiers and a central post. The linked post walks through the build in order and highlights key tips for layout, drilling, and assembly.
- Best for: coffee bars, seasonal decor, counters.
- Key steps: mark centers, drill straight holes, assemble post.
- Helpful links: wood choices, safety gear.
2 Tier Tray Stand
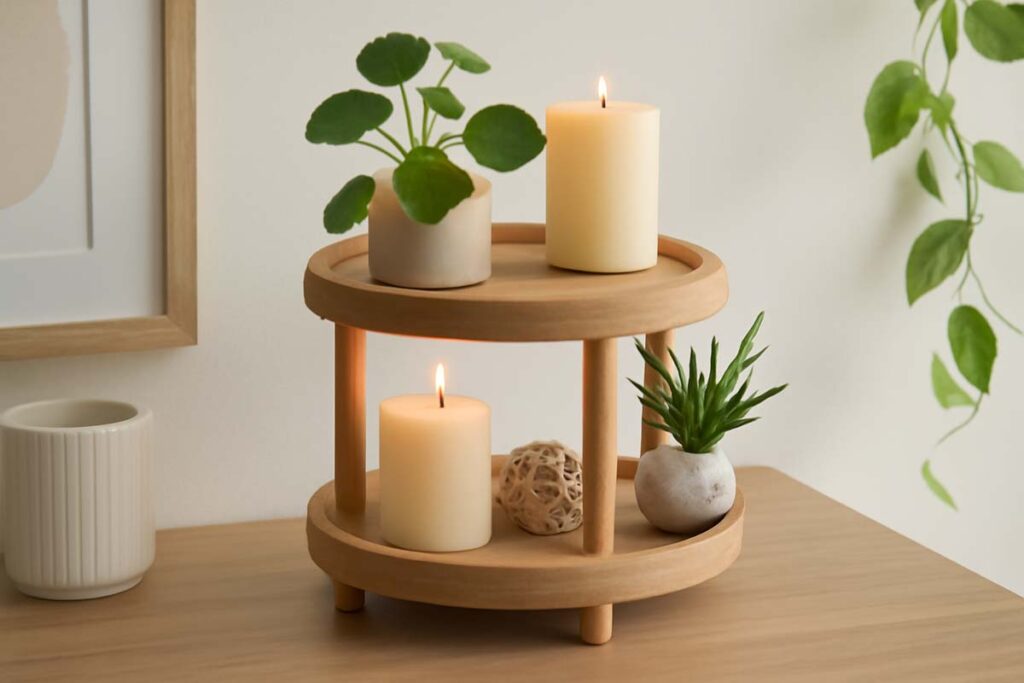
A clean, versatile 2‑tier design sized for everyday use. The post covers the core steps and links to complementary guides so you can prep materials and finish confidently.
- Best for: small kitchens, display shelves, gifts.
- Key steps: layout, sanding, center‑post hardware.
- Helpful links: pine vs oak vs maple, tool maintenance.
Turned Leg 3 Tier Stand

Three tiers for maximum display space with a turned center post. The article shows the overall process and considerations so the tiers sit level and the stand stays stable.
- Best for: dessert tables, entry displays, markets.
- Key steps: accurate drilling, post alignment, base support.
- Helpful links: DIY substitutes, safety checklist.
Tray Stands Guides & Tutorials


Quick Sizing & Spacing
2‑tier reference: top 10–12 in (25–30 cm), bottom 14–16 in (36–41 cm); height 12–18 in (30–46 cm). 3‑tier reference: top 8–10 in (20–25 cm), middle 10–12 in (25–30 cm), bottom 14–16 in (36–41 cm); height 18–24 in (46–61 cm). Tier clearance: 6–8 in (15–20 cm).
| Hardware | What it does | Notes |
|---|---|---|
| 1/4″‑20 threaded rod | Center post | Cut to length; allow for tier thickness and nuts |
| Fender washers | Spread load | Use above the base and under the cap nut |
| Cap (acorn) nut | Protect threads | Gives a clean top; easier to handle |
| Rubber/felt feet | Level & grip | Helps with uneven counters; reduces wobble |
Tip: Keep heavier items on the bottom tier for stability and place stands on a flat, dry surface.
Before You Cut: Materials, Safety & Tools
- Best Wood Types for Sturdy Tiered Tray Stands — strengths, screw holding, and look.
- How to Choose Between Pine, Oak, and Maple — budget vs durability trade‑offs.
- Essential Safety Gear for Tray‑Stand Builds — PPE and safe setup.
- Tool Maintenance for Woodworking Newbies — clean, sharp tools cut safer.
- 5 DIY Material Substitutes — alternatives if you lack certain tools or stock.
After You Build: Style & Decor
Once your stand is done, style it for the season or room. These posts help you dial in the look:
Plans & Templates — FAQs
Next: Pick a plan above, then review wood options and safety before you cut. If you’d rather buy, see our latest hands‑on reviews.