2 Tier Serving Tray: Versatile, Elegant, and Practical for Any Event
As a woodworker, there’s something incredibly satisfying about crafting something with your own hands. Not only does a 2 tier serving tray look beautiful in your home, but it also serves a functional purpose. Plus, it’s a fantastic way to showcase your skills and impress friends or family.
In this guide, I’ll walk you through the benefits of using a 2 tier serving tray, provide expert tips on choosing the right one, and share some creative ways to incorporate them into your home or event. Along the way, I’ll highlight everything you need to know, ensuring that by the end, you’ll feel confident in your ability to choose, use, and style your very own 2-tier tray like a pro!
Contents Here
- 1 What is a 2 Tier Serving Tray?
- 2 Why Should You Use a 2 Tier Serving Tray?
- 3 Types of 2 Tier Serving Trays
- 4 Choosing the Right 2-Tier Tray for Your Needs
- 5 How to Make a 2 Tier Serving Tray Stand
- 6 How to Style Your 2-Tier Tray
- 7 Tips for Maintaining Your 2-Tier Serving Tray
- 8 FAQs about 2 Tier Serving Tray
- 9 Final Thoughts
What is a 2 Tier Serving Tray?
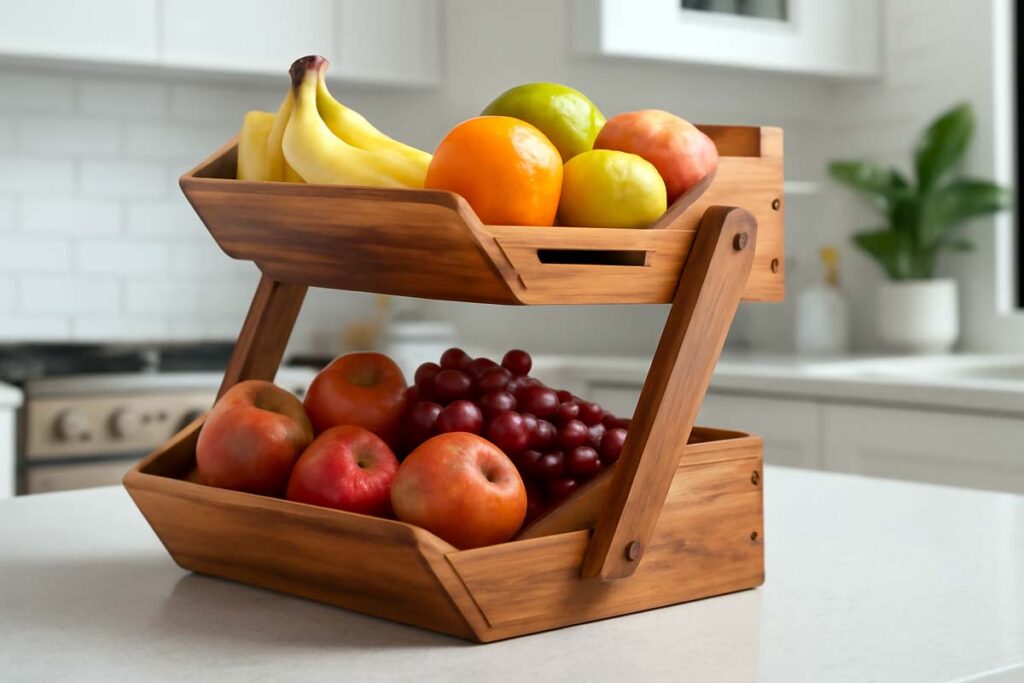
A 2 tier serving tray is a kitchen or dining accessory that features two levels or tiers for holding food, drinks, or decorative items. It’s designed to provide extra surface space while giving you the ability to display your treats and items in an organized way. You’ll often find these trays being used at parties, special occasions, and even on coffee tables to keep things neat yet accessible.

A tiered serving tray is an excellent choice for entertaining guests, offering an elegant and efficient way to display appetizers, desserts, or drinks. It allows you to stack items vertically, which not only saves space but also makes it easier for guests to grab what they need without cluttering the table.
Why Should You Use a 2 Tier Serving Tray?
Maximizing Space
The primary benefit of a 2 tier serving tray is its ability to maximize space. Instead of taking up valuable room on a countertop or dining table with multiple trays or platters, you can stack items vertically, effectively using less space while still offering a large selection. This is particularly useful for those with smaller kitchens or for hosting where space is limited.
Organization Made Easy
If you love keeping your kitchen or dining area neat and organized, a 2-tier serving tray is a game changer. It allows you to neatly arrange snacks, appetizers, or condiments in an organized manner. Plus, they make cleaning up after meals easier since you can quickly pick up everything in one go.
Aesthetic Appeal
Aside from being functional, 2-tier trays bring a sense of elegance and sophistication to your table or kitchen. Their stacked design creates a visually appealing focal point, especially when used with decorative or themed items. Whether you’re serving finger foods at a casual get-together or showcasing your favorite knick-knacks, a 2-tier serving tray can elevate any setting.
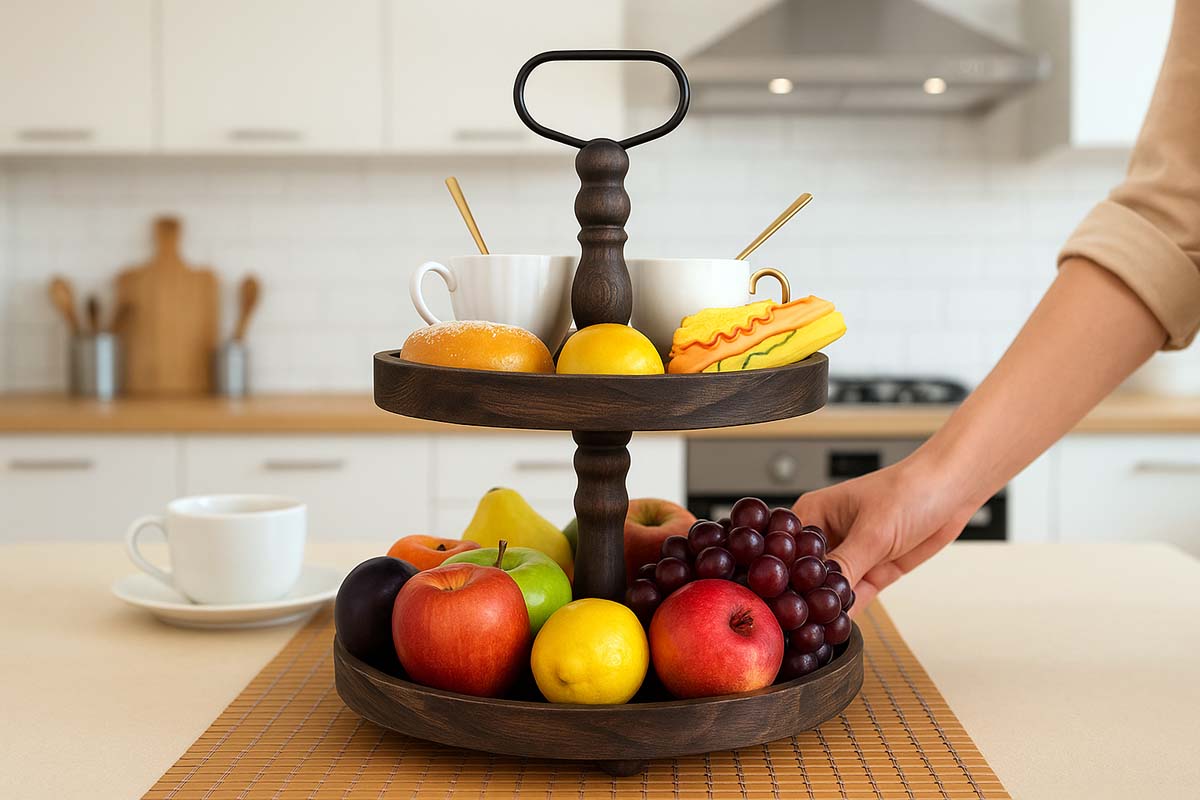
Perfect for Hosting and Entertaining
If you often entertain guests, a 2-tier serving tray is a must-have. It provides a simple way to serve hors d’oeuvres, drinks, or desserts, keeping everything organized and easily accessible. Plus, it’s a great way to impress guests with minimal effort.
Types of 2 Tier Serving Trays
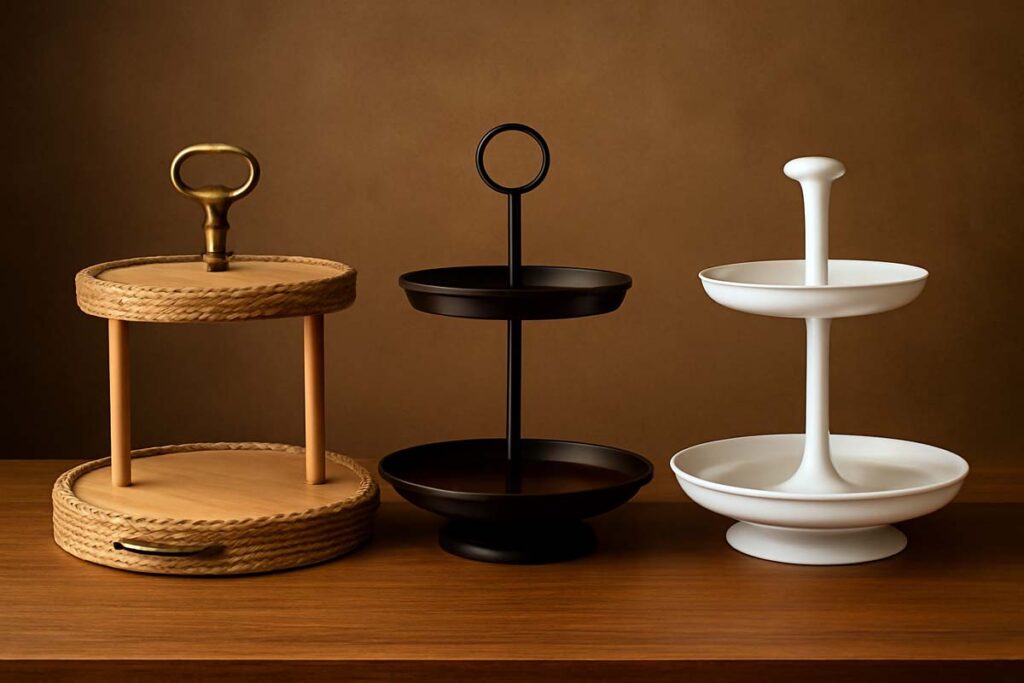
Now that you know why a 2-tier serving tray is so useful, let’s take a look at the different types of 2-tier trays available on the market. Depending on your style and needs, here are a few popular options:
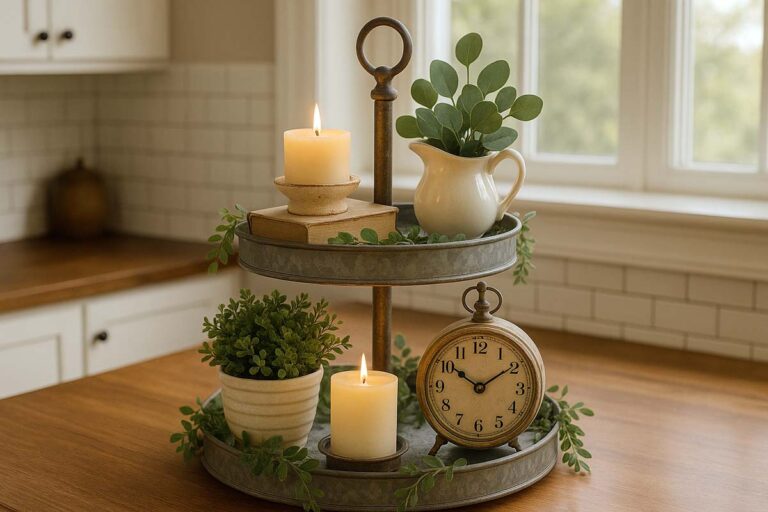
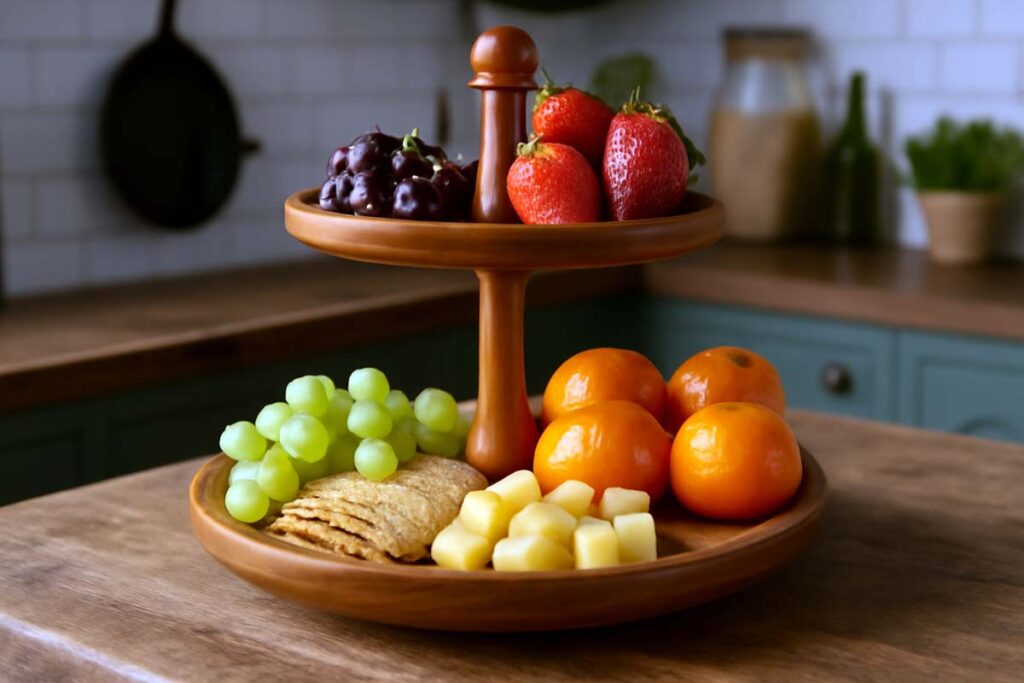
1. Wooden 2-Tier Trays
Wooden trays add a rustic and natural touch to your décor. They are perfect for farmhouse-style kitchens or events with a rustic theme. Wooden trays can range from simple designs to more elaborate pieces with carvings and inlays.
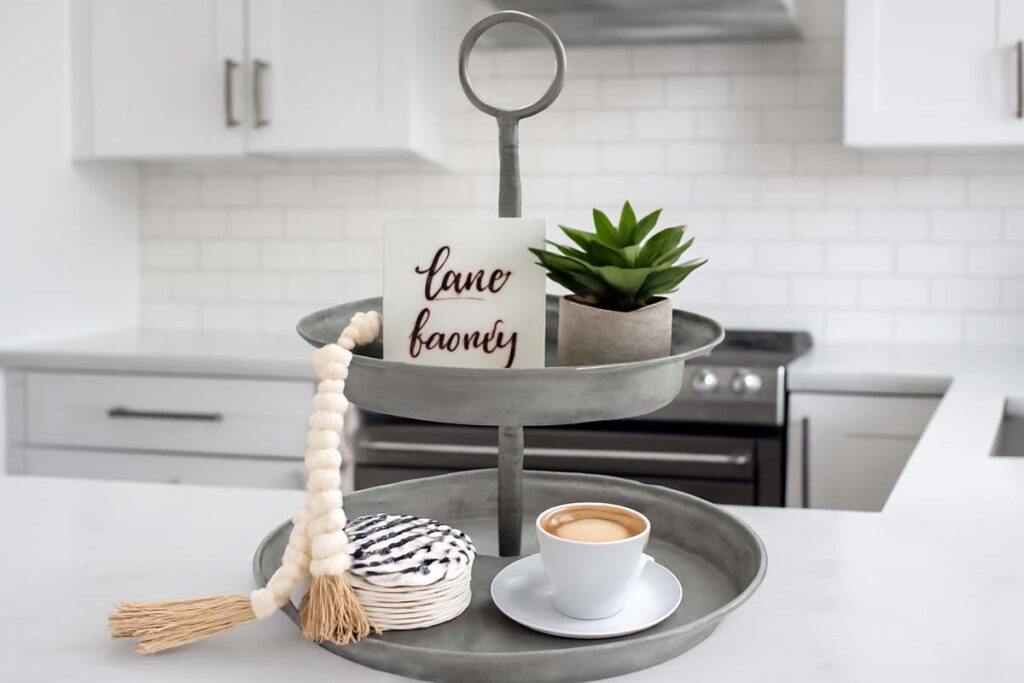
2. Metal 2-Tier Trays
If you prefer something more modern and sleek, metal trays might be the way to go. They come in a variety of metals, including stainless steel, brass, and iron, and can offer a more industrial or contemporary aesthetic. Many metal trays feature intricate designs or finishes, adding sophistication and shine to your space.
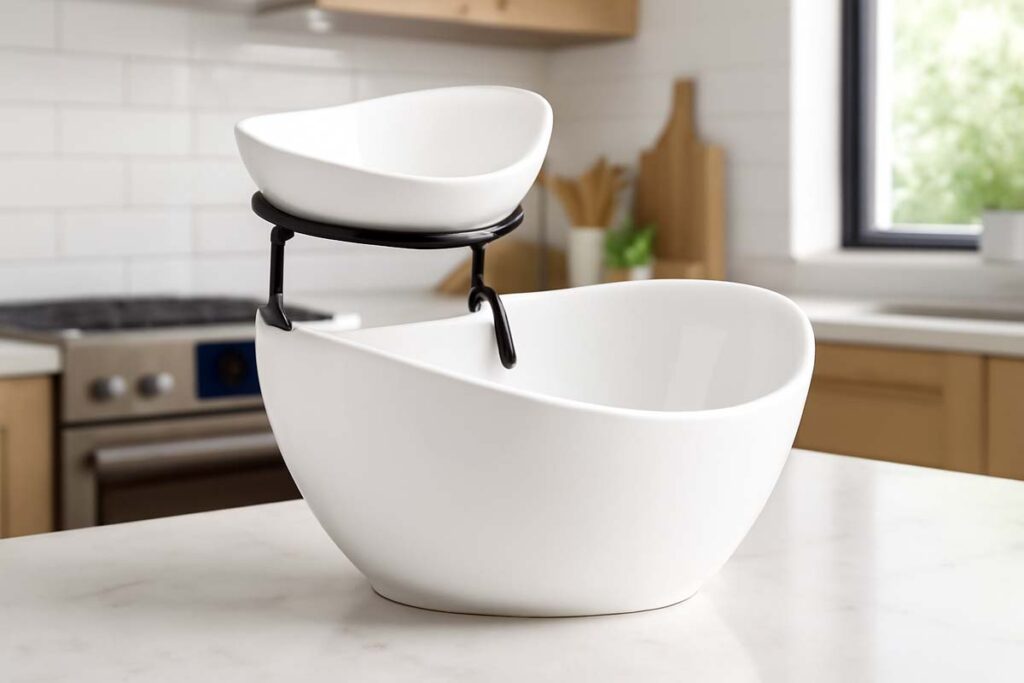
3. Ceramic and Glass 2-Tier Trays
For those looking for a refined look, ceramic and glass 2-tier trays offer both functionality and beauty. They are often used for serving delicate foods like cakes, pastries, or fruits. Glass trays allow your items to shine through, creating an elegant display. Ceramic trays, on the other hand, can add color and texture to your space.
4. Multipurpose 2-Tier Trays
Some 2-tier trays come with added features, such as removable trays, adjustable heights, or interchangeable trays for more versatility. These are great for those who need more flexibility when it comes to serving or displaying different types of items.
Choosing the Right 2-Tier Tray for Your Needs
When it comes to selecting the best 2-tier serving tray for your home, there are a few factors to consider to ensure you make the right choice.
1. Material
Consider the material that best suits your style and intended use. For example, a wooden tray might fit well with a rustic theme, while a metal tray could be ideal for a modern look. If you plan to serve food, make sure the material is food-safe and durable enough for regular use.
2. Size and Capacity
Think about how much space you need on each tier. Are you planning to use the tray for small snacks and appetizers, or do you need something larger for a buffet spread? Also, consider the overall size of the tray. A larger tray might be perfect for big parties, but it could take up too much space in a small kitchen.
3. Design and Style
Choose a design that complements your existing décor. If your home has a minimalist aesthetic, you might want to choose a tray with clean lines and subtle finishes. On the other hand, if you love bold and eclectic designs, look for a tray with more character and personality.
4. Stability and Durability
When serving food or drinks, stability is key. Make sure the tray is sturdy enough to hold the weight of the items you plan to place on it. Also, consider how easy it is to clean and maintain the tray.
How to Make a 2 Tier Serving Tray Stand
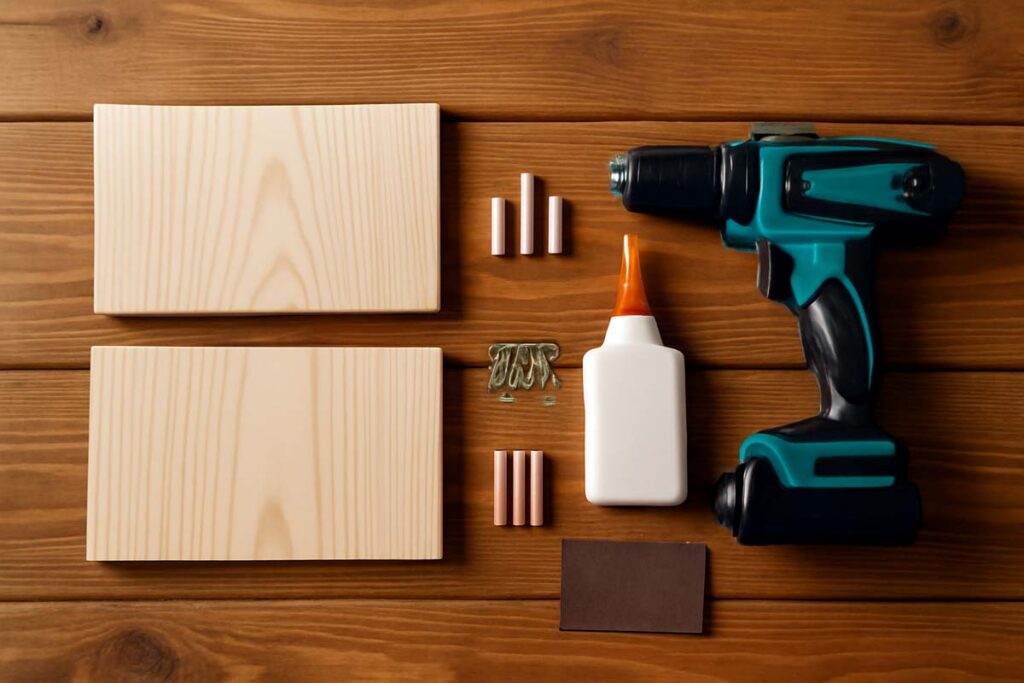
Step 1: Gather the Necessary Materials
Before you start crafting, it’s essential to have everything in place. Here’s a list of materials you’ll need for this project:
- Wood: For the base and trays, I recommend using high-quality pine, oak, or any hardwood you prefer. Pine is easy to work with, while oak gives you a stronger, more polished finish.
- Wood glue: This is essential for securing the wooden pieces together.
- Screws: Choose screws that match the wood thickness.
- Drill: A power drill is crucial for making precise holes for screws and rods.
- Round dowels or metal rods: These will serve as the support for the two tiers. You can use metal rods if you prefer a sleek look or wood dowels for a more rustic, handcrafted vibe.
- Finishing supplies: Sandpaper, wood stain, or paint to finish the project and protect the wood.
- Measuring tape and a saw: Accurate measurements are key, and you’ll need a saw to cut the wood to the correct size.
Pro tip: If you’re planning to display food or beverages on the tray, make sure to choose wood that is food-safe and easy to clean.
Step 2: Cut the Wood for the Base and Trays
Start by cutting the wood into the desired shapes for the two trays. The base will need to be sturdy and large enough to support the weight of the two tiers.
- Bottom Tray: For the bottom tray, I recommend cutting a circular or square piece of wood that is around 12-14 inches in diameter or width, depending on your preference.
- Top Tray: The top tray should be slightly smaller, around 8-10 inches in diameter or width, to create a nice layered look.

Once you’ve cut the wood for the trays, use a fine-toothed saw to make smooth edges. This will give the tray a refined finish.
Tip: For extra flair, you can round off the edges of the trays for a soft, more polished look. If you’re after a rustic feel, consider keeping the edges more raw.
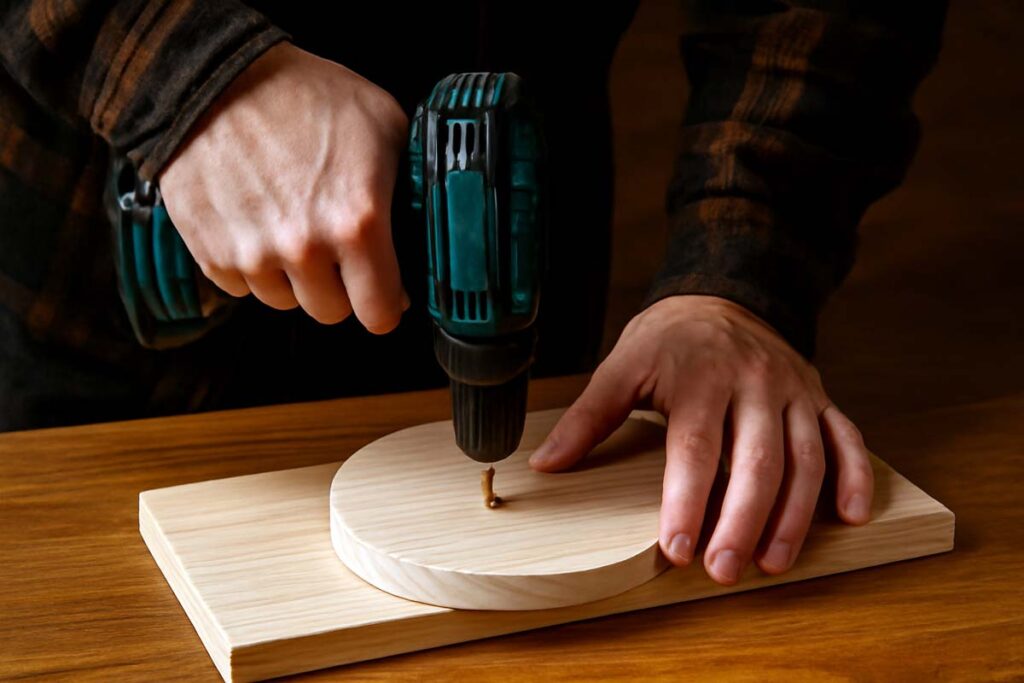
Step 3: Drill Holes for the Support Rods
Now it’s time to set up the structure for the trays.
- Measure the placement: Decide where you want the support rods to go. Measure carefully so that both tiers are evenly spaced. Typically, the rods should be around 6-8 inches apart, depending on the height of the trays you want.
- Drill the holes: Use a drill with a bit that matches the size of your dowels or metal rods. Drill two holes on the bottom tray for the base supports, and two holes on the top tray for the upper supports. Make sure to drill straight and evenly to ensure stability.
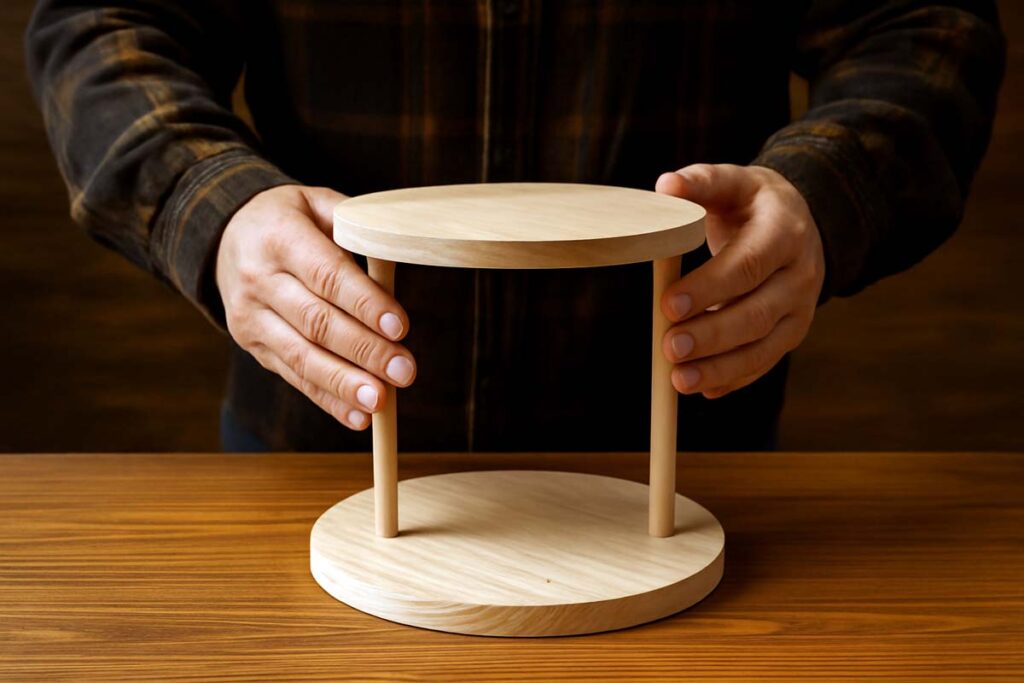
Step 4: Assemble the Tray Stand
With the trays and rods ready, it’s time to put everything together.
- Insert the rods: Start by inserting the dowels or metal rods into the holes of the bottom tray. Apply a small amount of wood glue to the ends of the rods before placing them into the holes to add extra strength.
- Attach the top tray: Once the bottom tray is secure, place the top tray onto the rods. Ensure the top tray fits snugly on the rods. If you’re using screws, now is the time to secure the rods into place by drilling small screws into the ends of the rods that protrude through the top tray.
Tip: If you want an added touch of elegance, you can opt for decorative finials or caps for the top of the rods. This can give the tray a more polished, professional look.
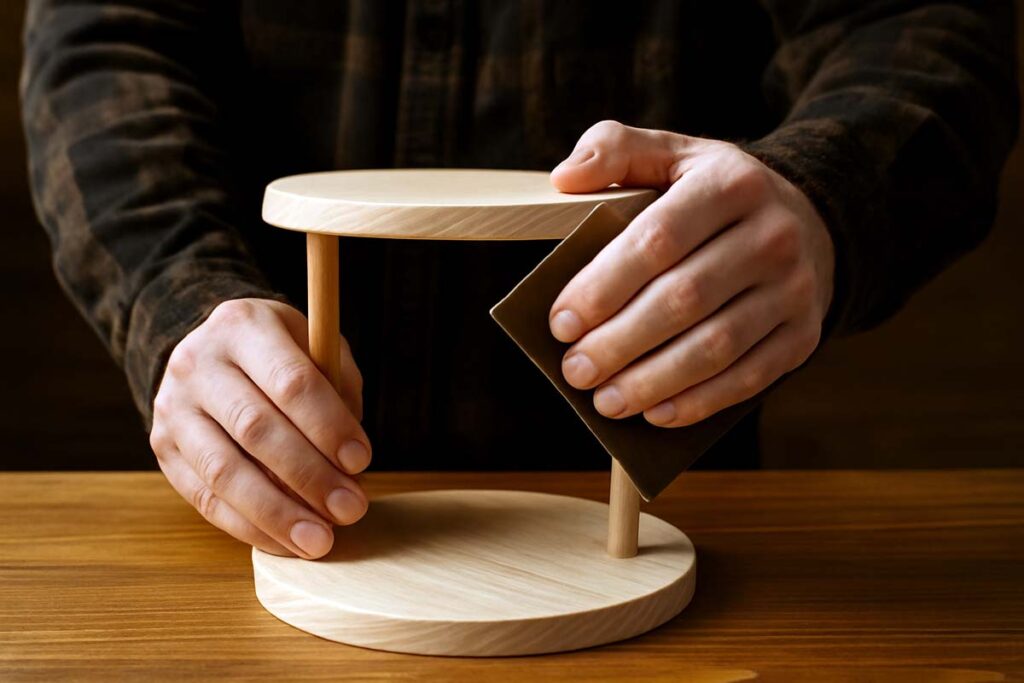
Step 5: Sand and Finish the Wood
Now that the tray stand is assembled, it’s time to make it smooth and beautiful.
- Sand the surfaces: Using sandpaper, smooth down any rough edges or surfaces. Sand in the direction of the grain for the best finish. You want the tray to be smooth enough to the touch, especially if it’s going to be used for food or display.
- Apply finish: Depending on the look you want, apply a wood stain for a deeper color or a clear wood finish for a natural look. If you’re using the tray for food, make sure to choose a food-safe finish. Allow the finish to dry completely before moving on to the next step.
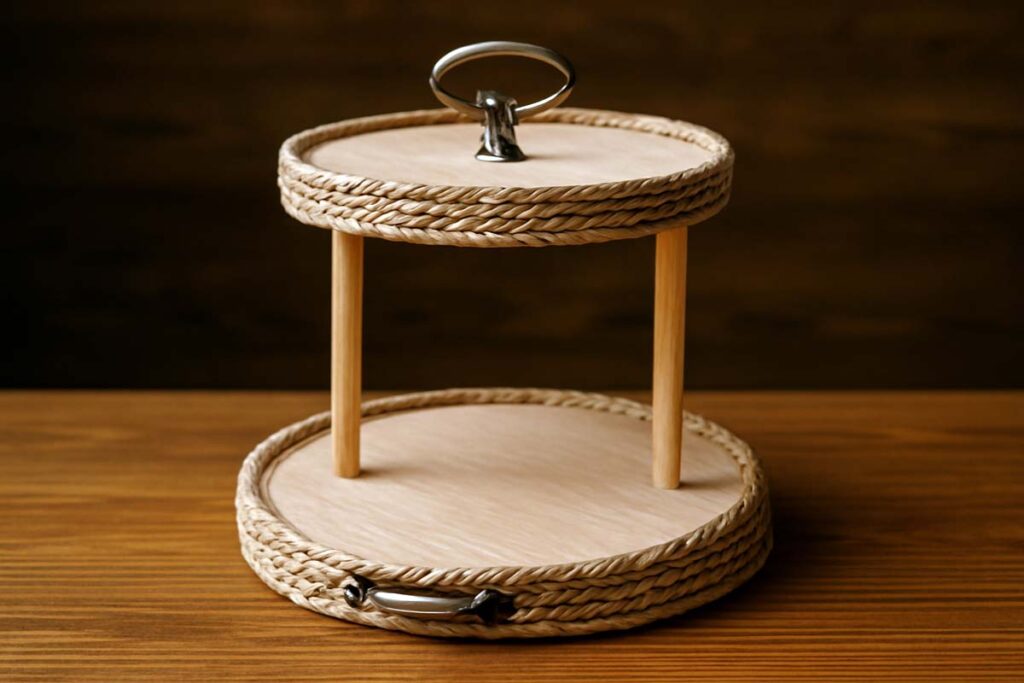
Step 6: Add the Final Touches
Here’s where you can really get creative. Whether you want a rustic, modern, or farmhouse-style look, the final touches will elevate your tray’s appearance.
- Decorative Accents: Add some decorative accents like rope around the edge of the tray for a rustic touch, or metal brackets for a more industrial look.
- Handles: If you want your 2-tier tray to be easy to move, consider adding handles. You can attach small metal handles to the sides of the trays for easy lifting.
- Personalization: For a truly unique touch, you could add some custom engravings or carvings to the wood. This is an excellent way to make the tray stand out.
Step 7: Display and Enjoy Your Creation
Your 2-tier serving tray stand is now complete, and it’s time to enjoy your hard work. You can use it as a serving piece for appetizers or snacks, display decorative items in your living room, or even use it to organize jewelry or office supplies.

Also learn: How to Make a Tiered Tray Stand
How to Style Your 2-Tier Tray
Styling your 2-tier tray is all about balance and creativity. Here are a few tips for styling your tray to perfection:
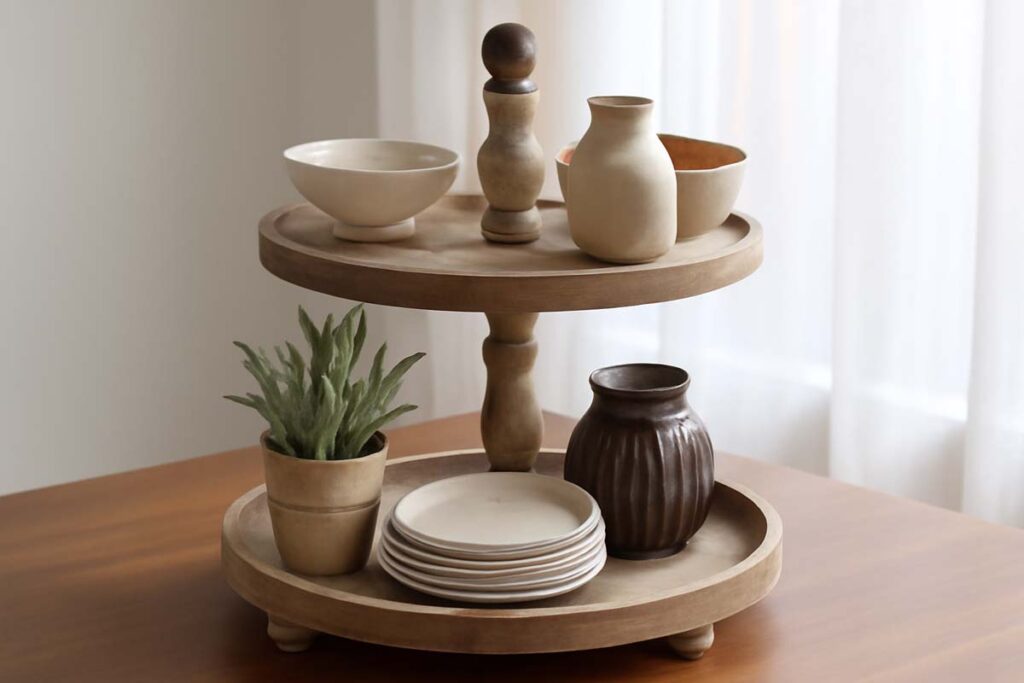
1. Start with a Focal Point
When styling, always start with a focal point on each tier. This could be a large item like a candle holder, a decorative bowl, or a beautiful cake stand. From there, you can add smaller items around it.
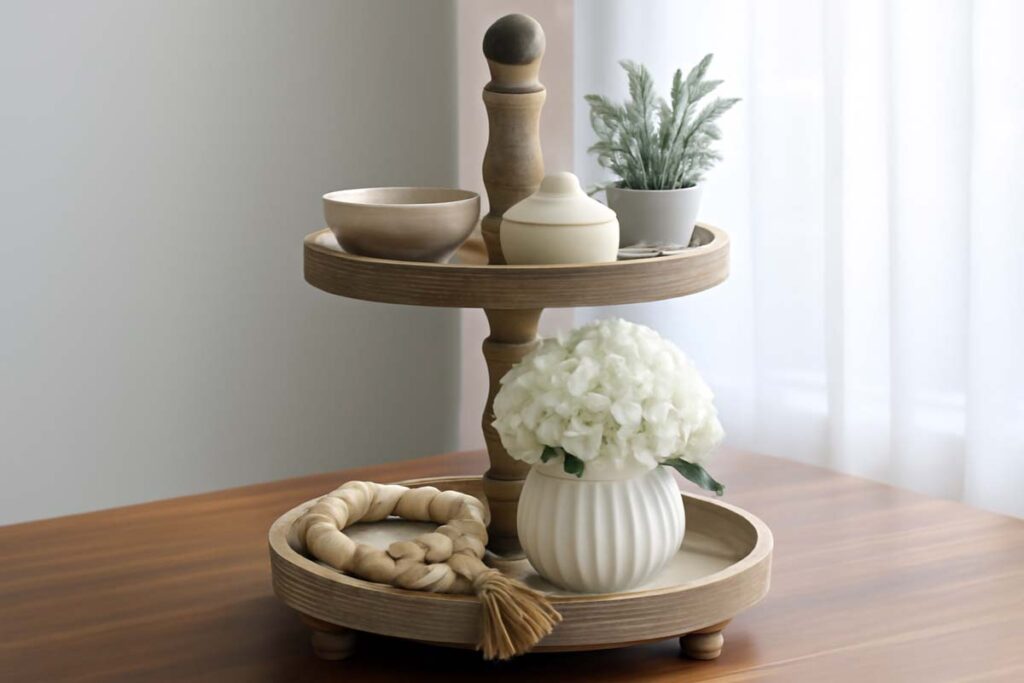
2. Add Layers
To make the most of your 2-tier tray, think about layering your items. Add height with decorative items, and make sure the different layers complement each other. Mixing textures (like smooth ceramics with rustic wood) creates a visually interesting look.
3. Keep It Balanced
It’s important to keep your tray balanced. Avoid overloading one side of the tray, as this can cause the tray to tip over. Keep the visual weight of the items even across both tiers.
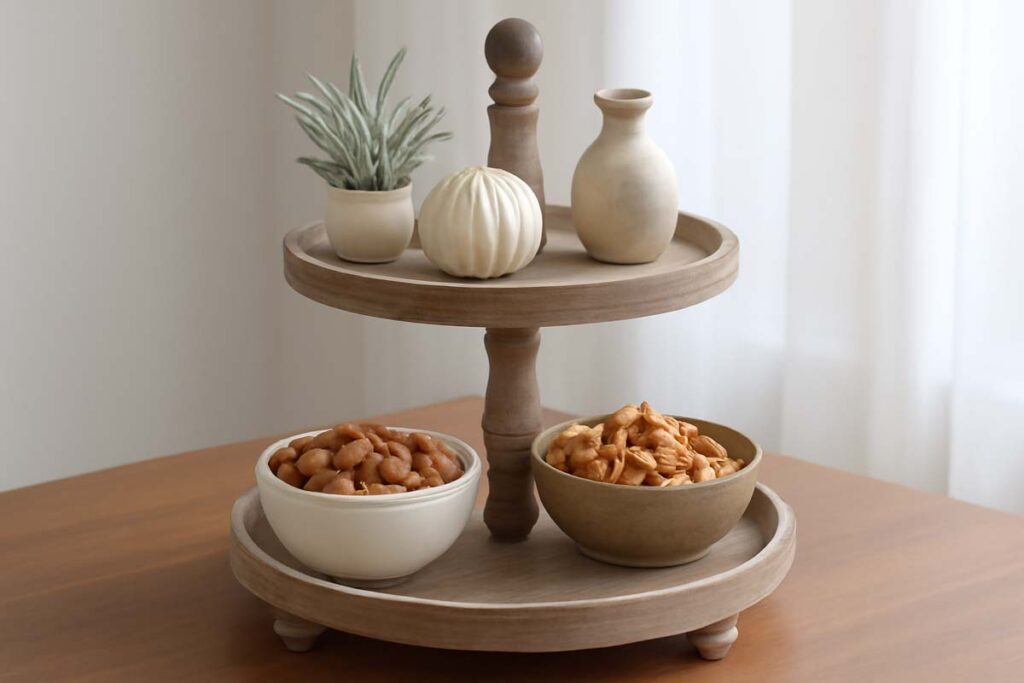
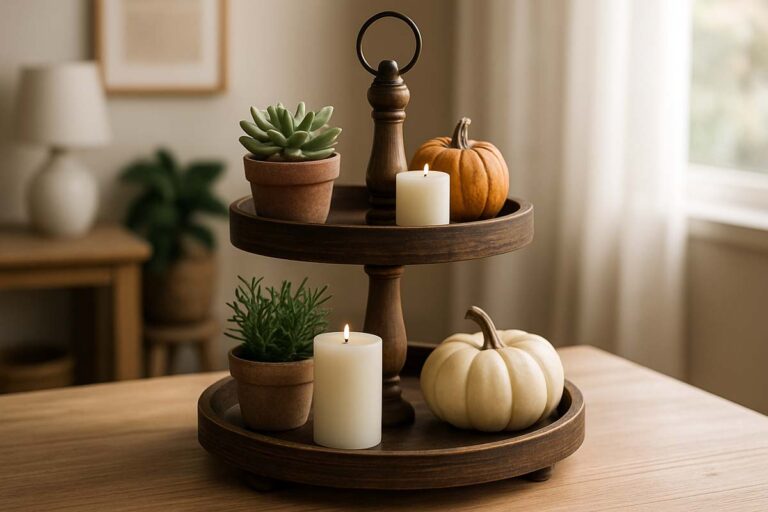
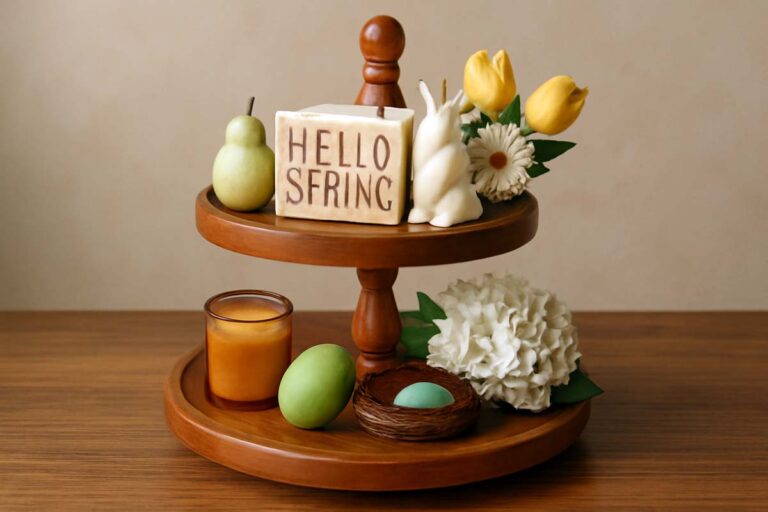
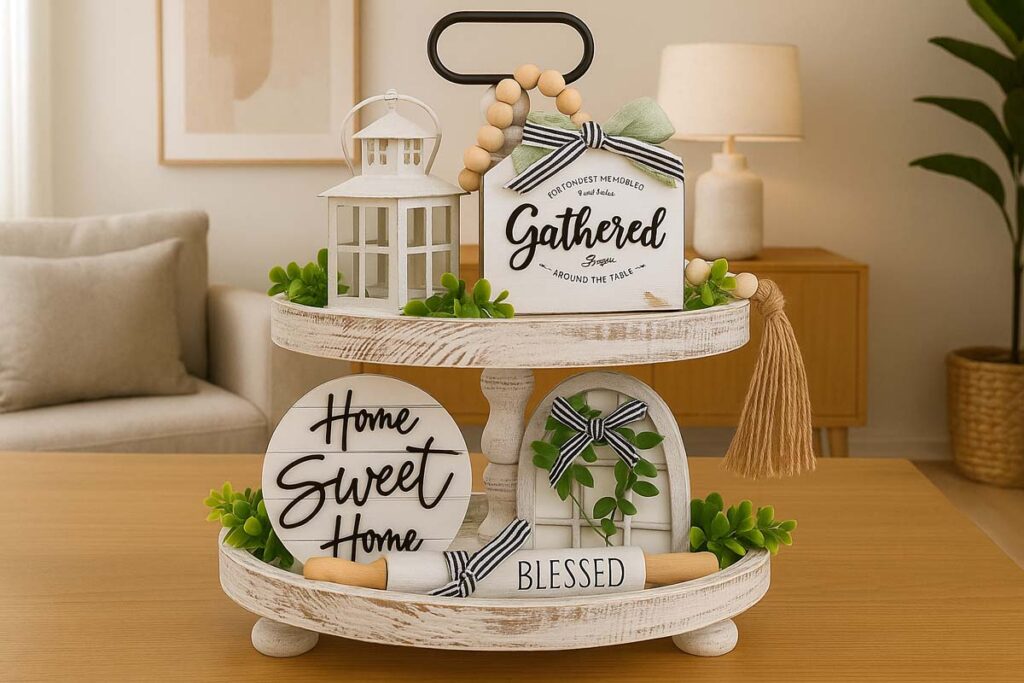
4. Use a Theme
Consider using a theme for your tray. If it’s for a party, choose colors that match your décor or the season. If it’s a holiday gathering, incorporate themed decorations like pumpkins for fall or ornaments for Christmas.

See more: How to Decorate a Tiered Tray
Tips for Maintaining Your 2-Tier Serving Tray
To keep your 2-tier serving tray looking its best, it’s important to clean and maintain it regularly. Here are a few tips:
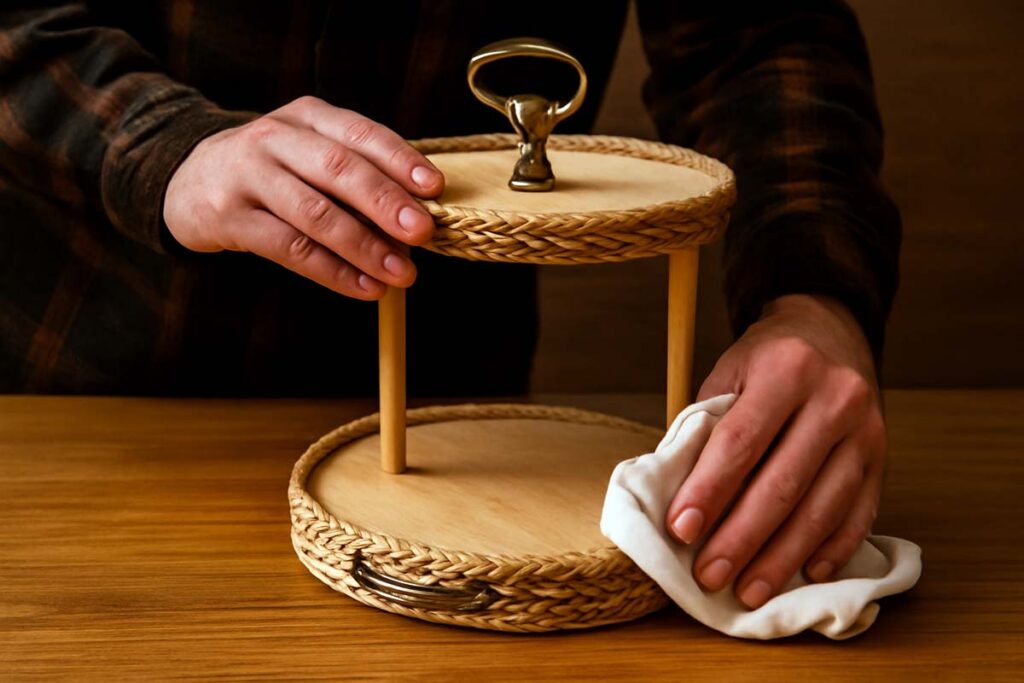
1. Wooden Trays
For wooden trays, avoid soaking them in water. Instead, use a damp cloth to wipe them down and dry immediately. Apply a food-safe wood oil periodically to keep the wood looking fresh and prevent cracking.
2. Metal Trays
For metal trays, use a soft cloth and mild soap solution to clean. Avoid abrasive scrubbers, which can scratch the surface. Always dry the tray thoroughly to prevent rusting.
3. Ceramic Trays
Ceramic trays are usually dishwasher-safe, but it’s always a good idea to double-check the manufacturer’s instructions. For hand-washing, use a soft sponge and warm, soapy water.
FAQs about 2 Tier Serving Tray
Final Thoughts
A 2-tier serving tray is more than just a practical kitchen accessory – it’s a statement piece that adds both functionality and beauty to your home. Whether you’re using it for serving food, organizing items, or displaying décor, a 2-tier tray is a versatile solution that can enhance any space.
By considering the material, size, and style that fits your needs, you can choose the perfect tray that complements your home. And with the endless creative ways to use and style your tray, it’s easy to see why it’s such a popular choice for homeowners and hosts alike.
I hope this guide has helped you understand the full potential of a 2-tier serving tray and inspired you to incorporate one into your home. If you have any questions or need further advice, feel free to reach out. I’m always here to help!