Tool Maintenance for Woodworking Newbies: Essential Tips

If you’re new to woodworking, there’s one thing you’ll quickly realize—your tools are your best friends. Whether you’re crafting a beautiful tiered tray stand or building something more complex, the right tools make the process easier and more enjoyable. But, like any good friend, they need a little care and attention to stay sharp and reliable.
In this guide, I’ll walk you through the essentials of tool maintenance, providing you with simple, actionable steps to keep your tools in top condition. Trust me, regular maintenance will extend the life of your tools and ensure that every project you tackle goes smoothly. Let’s dive in!
Contents Here
- 1 Why Tool Maintenance Matters for Woodworkers
- 2 Step 1: Clean Your Tools Regularly
- 3 Step 2: Sharpen Your Blades & Bits
- 4 Step 3: Lubricate Moving Parts
- 5 Step 4: Tighten Loose Parts and Bolts
- 6 Step 5: Store Tools Properly
- 7 Step 6: Check Electrical Components Regularly
- 8 Step 7: Replace Worn Parts When Needed
- 9 8. Setting Up a Maintenance Schedule
- 10 FAQs about Tool Maintenance for Woodworking
- 11 Conclusion: The Key to Long-Lasting Tools
Why Tool Maintenance Matters for Woodworkers
As a newbie, it can be tempting to focus only on the projects and forget about the tools you’re using. A well-maintained tool performs better, provides cleaner cuts, and reduces the risk of accidents. Plus, you save money by not having to replace your tools every few years!
Here are a few key reasons why maintaining your tools is crucial:
- Longevity: Regular cleaning and care can extend the lifespan of your tools.
- Accuracy: A sharp, clean blade or bit will give you better results.
- Safety: Well-maintained tools are less likely to malfunction, reducing the risk of accidents.
- Cost-Effective: Taking good care of your tools means you don’t need to buy replacements as often.
Now that we understand the importance, let’s get into the nitty-gritty.
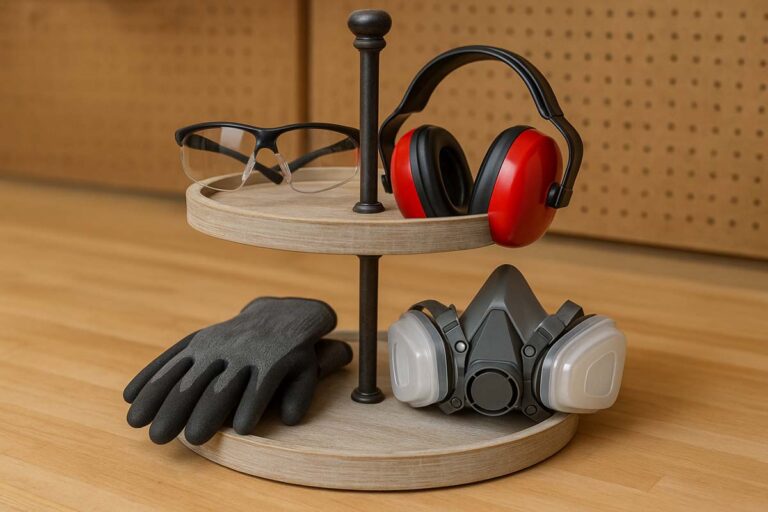
Also see: Essential Safety Gear for Tray Stand Builds
Step 1: Clean Your Tools Regularly
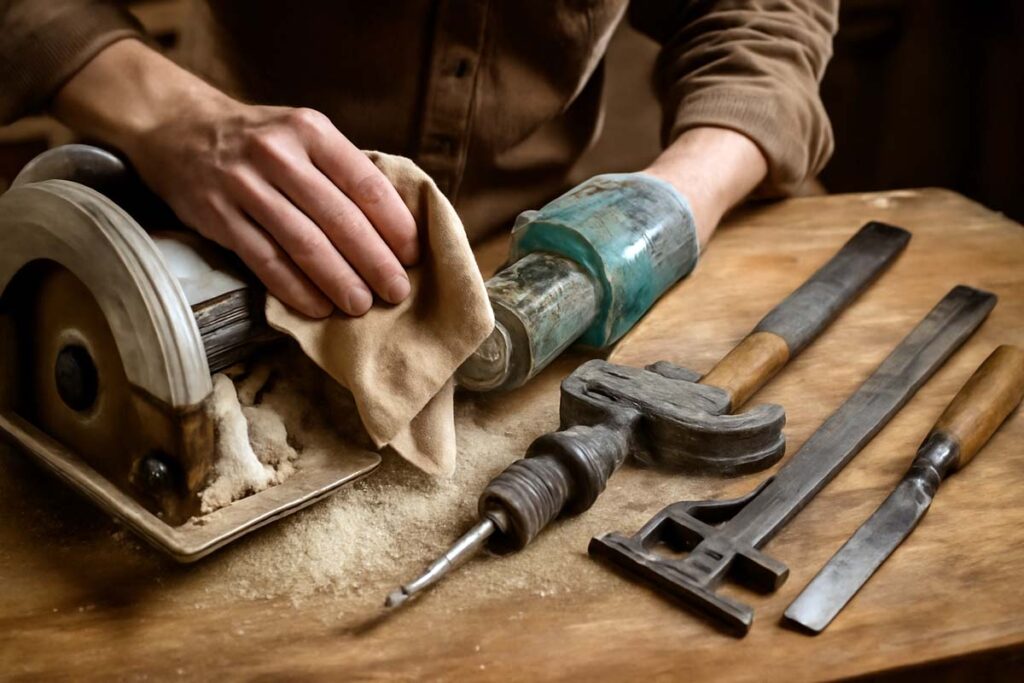
The first and most obvious step in maintaining your woodworking tools is cleaning them. Woodworking creates a lot of dust, sawdust, and residue, which can affect the performance of your tools. Whether it’s your saw, sander, or drill, dust build-up can hinder performance.
- Hand Tools (Hammers, Screwdrivers, etc.): Use a clean, dry cloth to wipe down your tools after each use. For more stubborn dirt, a wire brush or scraper works wonders.
- Power Tools (Saws, Drills, Sanders): Start by turning off and unplugging your tool. Use a soft brush or compressed air to remove dust from the crevices. You can use a mild detergent with water on a cloth to clean the exterior. Always ensure your tools are dry before storing them to prevent rust.
- Blades & Bits: For saw blades, planer blades, and drill bits, wipe them clean with a rag, and remove any resin build-up with a resin cleaner or rubbing alcohol. For stubborn pitch, a mixture of vinegar and water can work wonders.
Step 2: Sharpen Your Blades & Bits
Sharp blades and bits are essential for clean cuts and a smooth finish in your projects. Dull tools are not only frustrating to use, but they can also be dangerous. Woodworkers sometimes underestimate how crucial this step is!
- Hand Plane & Chisels: For hand tools like chisels, I recommend investing in a sharpening stone (wet or dry) and honing them at a consistent angle. You can use a leather strop to give them a polished edge.
- Saws: To sharpen your saw blades, use a file or a saw sharpening tool. Be sure to maintain the correct angle for your teeth.
- Drill Bits: You can sharpen your drill bits using a sharpening stone or specialized drill bit sharpener. Make sure the edge stays even on both sides.
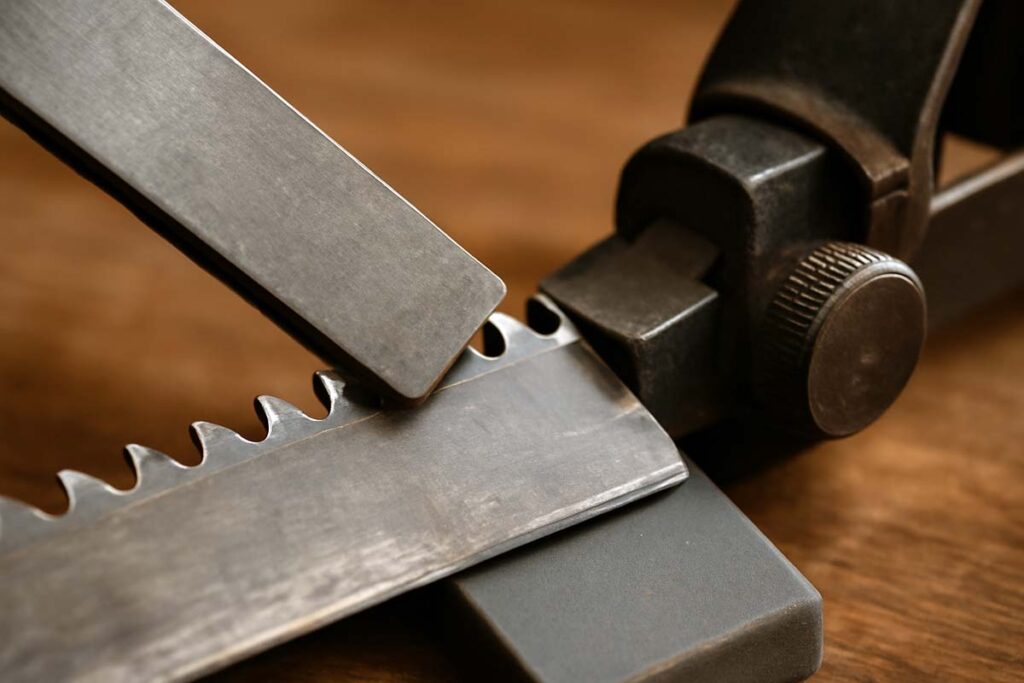
Remember, over-sharpening can wear out your tools quickly, so focus on keeping them just sharp enough to get the job done.
Step 3: Lubricate Moving Parts
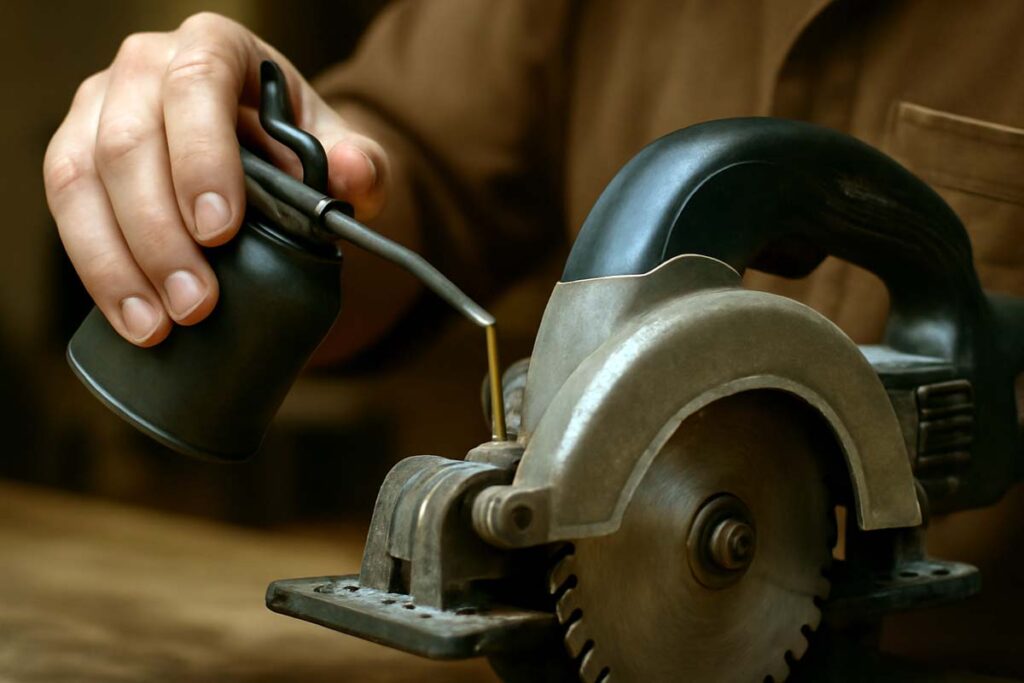
For tools with moving parts, lubrication is key. It keeps parts from grinding against each other, reduces friction, and ensures smooth operation.
- Power Tools: For saws, drills, and other power tools, refer to the manual for lubrication instructions. Many tools will have specific spots (such as gears or bearings) that need occasional lubrication. Use a light machine oil or specific tool lubricant, and don’t overdo it—just a small amount is usually enough.
- Hand Tools: Oil the joints of your hand tools, like your hammers, pliers, and screwdrivers. WD-40 is a great multi-purpose lubricant, but for long-term care, I recommend using a higher-quality machine oil or gun oil to avoid any rust buildup.
- Rust Prevention: If you live in a humid area, it’s especially important to use oil to coat your tools. It prevents rust and keeps your tools in top shape.
Step 4: Tighten Loose Parts and Bolts
Loose parts can lead to accidents and make your tools harder to use. It’s important to tighten any screws, bolts, or nuts regularly.
- Power Tools: After cleaning your tools, go over the key components—especially parts that experience heavy use, like the handle of a saw or the chuck of a drill. Make sure there’s no wobble or looseness.
- Hand Tools: For hand tools like pliers or wrenches, check the screws and joints. Tighten them when necessary to keep your tools working smoothly.

Step 5: Store Tools Properly
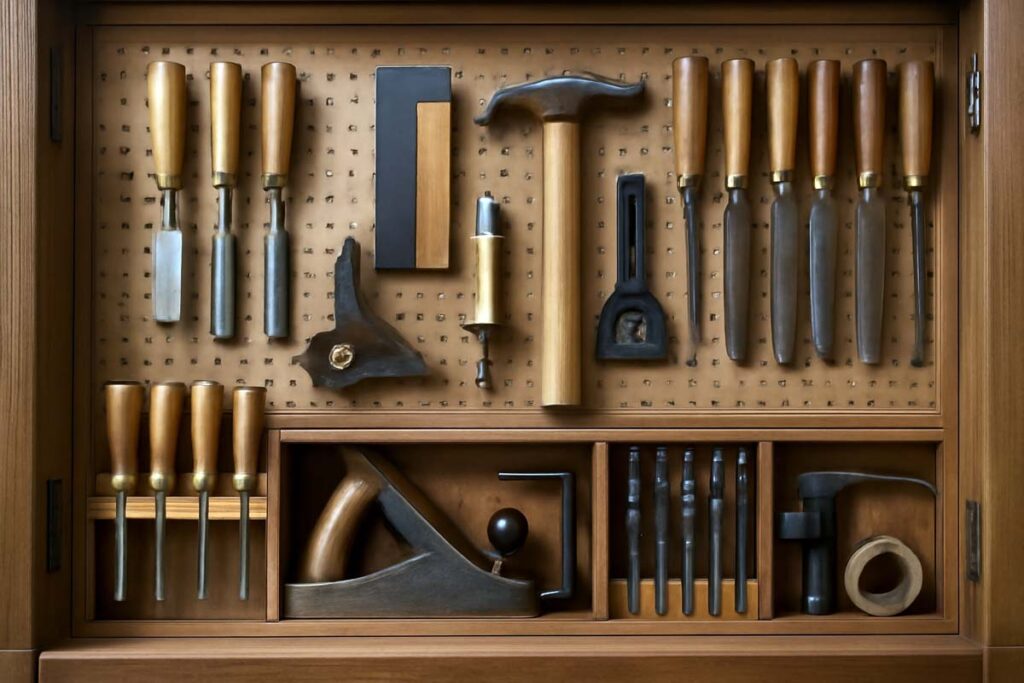
Where and how you store your tools can make a huge difference in their longevity. Proper storage helps protect your tools from dust, rust, and unnecessary wear.
How to Store:
- Hand Tools: Store them in a toolbox or a pegboard to keep them organized and easy to access. A tool chest is also a great investment for longer-term storage.
- Power Tools: Store power tools in a dry area, preferably in their original case or a dustproof container. You should avoid leaving them outside or in humid areas.
- Blades & Bits: Store your blades and drill bits in a drawer or box with dividers. Some people even use old pill containers or magnetic strips to keep small parts organized.
Step 6: Check Electrical Components Regularly
For power tools, one of the most important things to check is the electrical components. Frayed cords, loose connections, or faulty switches can all be a serious safety risk. Don’t take chances!
- Power Cords: Inspect power cords for cracks, cuts, or frays. If you find any, replace them immediately. If the tool has a removable plug, check that it’s secure and that the wiring inside isn’t exposed.
- Battery-Powered Tools: If you’re using cordless tools, check the battery terminals for any corrosion or dirt. Clean them with a cloth, and check the battery life regularly.
- Switches and Triggers: Test switches and triggers to ensure they’re working properly. If you notice any delay or malfunction, take the time to troubleshoot before using the tool.
Step 7: Replace Worn Parts When Needed
As with any piece of equipment, parts will eventually wear out. When this happens, it’s important to replace them to maintain the performance of your tools.
- Saws: The teeth on your saw blades can wear down over time. If they’re no longer cutting properly, it may be time to replace them.
- Drill Bits: These can become dull or bent after prolonged use. If sharpening doesn’t do the trick, it’s better to replace them.
- Sandpaper: For your sanders, replace the sandpaper once it starts to lose its grit. Sandpaper that’s too worn can actually damage the wood you’re working on.
8. Setting Up a Maintenance Schedule
You don’t have to clean or maintain your tools every single day, but having a maintenance schedule is key to staying on top of things.
A simple schedule could look like this:
- Daily: Clean sawdust and debris from hand tools and power tools. Wipe down surfaces.
- Weekly: Sharpen tools as needed. Check for loose parts and lubricate moving parts.
- Monthly: Inspect tools for wear and tear. Clean and oil tools that need extra care.
- Quarterly: Take apart any tools that need deep cleaning (like routers or drills) and check for buildup. Replace any worn parts.
FAQs about Tool Maintenance for Woodworking
Conclusion: The Key to Long-Lasting Tools
Taking care of your woodworking tools doesn’t have to be complicated. By following these simple steps, you’ll ensure that your tools stay sharp, functional, and ready to work on your next great project.
As a newbie, don’t be intimidated by the idea of tool maintenance. With regular cleaning, sharpening, lubrication, and storage, your tools will reward you with better performance and fewer headaches. And don’t forget: maintaining your tools means you’re taking good care of your craft—allowing you to create beautiful, functional pieces for years to come.
So, what are you waiting for? Get in there and give your tools some TLC. Happy woodworking!