3 Tier Tray Christmas Decor Ideas Everyone Will Love
3 tier tray Christmas decor ideas are one of my favorite ways to bring instant festive cheer to any room. Plus, they’re compact, so you don’t need a lot of space. In this article, I’ll share why these trays make holiday decorating simple and fun.
You’ll see how layering ornaments, greenery, and figurines can create a balanced, eye-catching display. Next, I’ll cover the basics—choosing the right tray, picking a theme, and gathering supplies—so you can build a stunning Christmas vignette from the bottom tier all the way to the top. Let’s get started!
Contents Here
- 1 Why a 3-Tier Tray for Christmas?
- 2 Choosing Your 3-Tier Tray
- 3 Planning Your Christmas Theme
- 4 Gathering Supplies
- 5 Styling Each Tier: From Bottom to Top
- 6 Complete Tray Trim: Putting It All Together
- 7 10 Creative 3-Tier Tray Christmas Décor Ideas
- 8 Tips for Sourcing Décor
- 9 Maintenance and Storage
- 10 FAQs about 3 Tier Tray Christmas Decor Ideas
- 11 Final Thoughts for 3 Tier Tray Christmas Decor Ideas
Why a 3-Tier Tray for Christmas?
A 3 tier tray offers vertical interest. It’s compact, yet holds a lot of items without taking up counter or tabletop space. Plus, you can group small decorative pieces together for maximum visual impact. Next, stacked tiers guide the eye upward, creating height and dimension on a buffet, mantel, or coffee table.
However, you might wonder: “What makes this different from any other Christmas centerpiece?” It’s simple: layering. By styling each tier with distinct elements that work together, you create balance. The result is a tidy, festive vignette that packs a punch without feeling cluttered. In short, a 3-tier tray is perfect if you love decorating but don’t want to juggle multiple larger items.
Choosing Your 3-Tier Tray
Before you buy ornaments, candles, and greenery, you need a sturdy tiered tray. Here’s what I look for:
- Material and Durability. Most trays come in wood, metal, or ceramic. Wood has warmth and natural appeal. Metal often holds up better to weight and spills. Ceramic can feel more delicate. I choose wood if I want classic farmhouse style. However, if I plan to place heavy items, I might opt for a metal frame with wooden shelves.
- Size and Shape. Measure the space where you’ll display the tray. I usually aim for trays between 12 and 16 inches in diameter for the bottom tier. That size fits nicely on most mantels or buffet tables. Next, confirm the overall height (often 20–25 inches). If your ceiling or shelves are low, choose a shorter stand.
- Style Cohesion. Your tray should complement other décor in the room. For example, if you already have a rustic wood table, a distressed wood tiered tray blends beautifully. But if your home leans modern, consider sleek black metal tiers with round wooden shelves.
- Stability. Check that each tier is level and firmly attached. I tap the handle gently to ensure it doesn’t wobble. A sturdy handle also makes moving the tray safe—even when fully loaded with décor.
Once I’ve chosen my ideal tray, I move on to planning my Christmas theme.
Planning Your Christmas Theme
Creating a cohesive look starts with a theme or color palette. You don’t need to reinvent the wheel. Here are some popular directions:
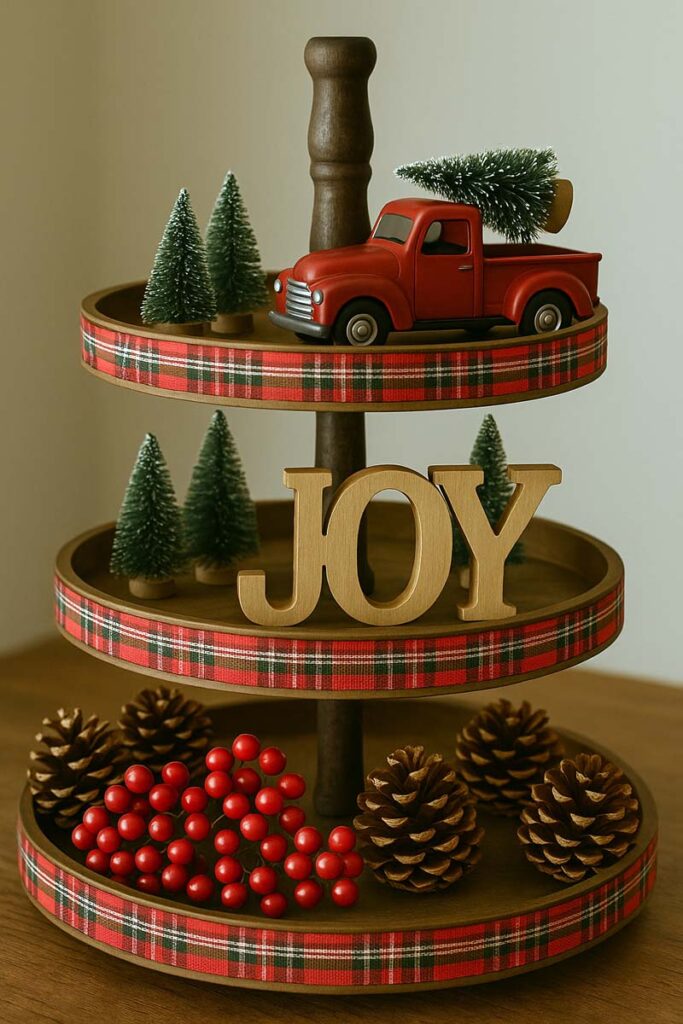
- Classic Red and Green. This is traditional and timeless. Think tiny red poinsettias, mini evergreen sprigs, and plaid ribbons.
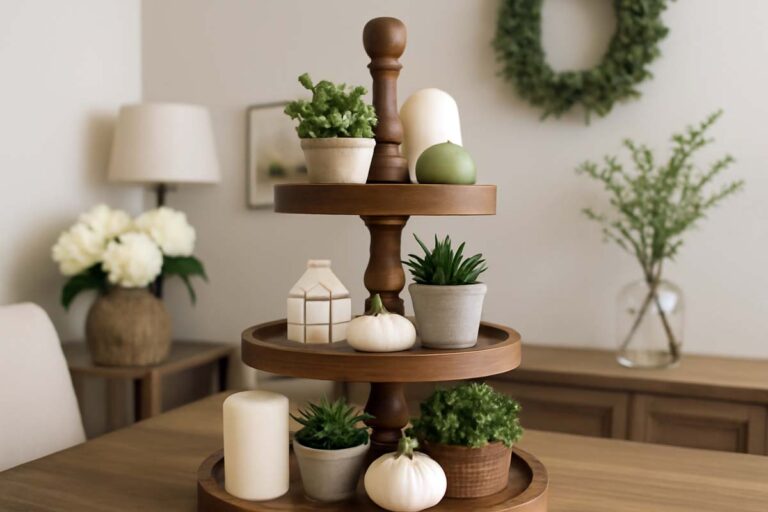
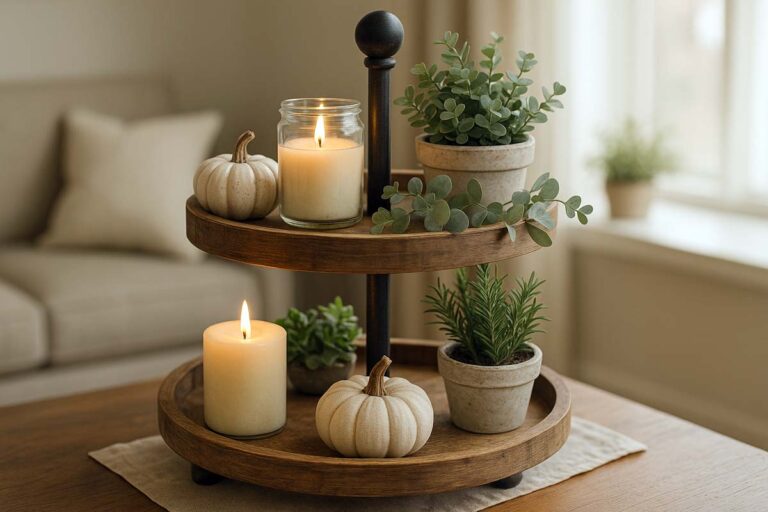
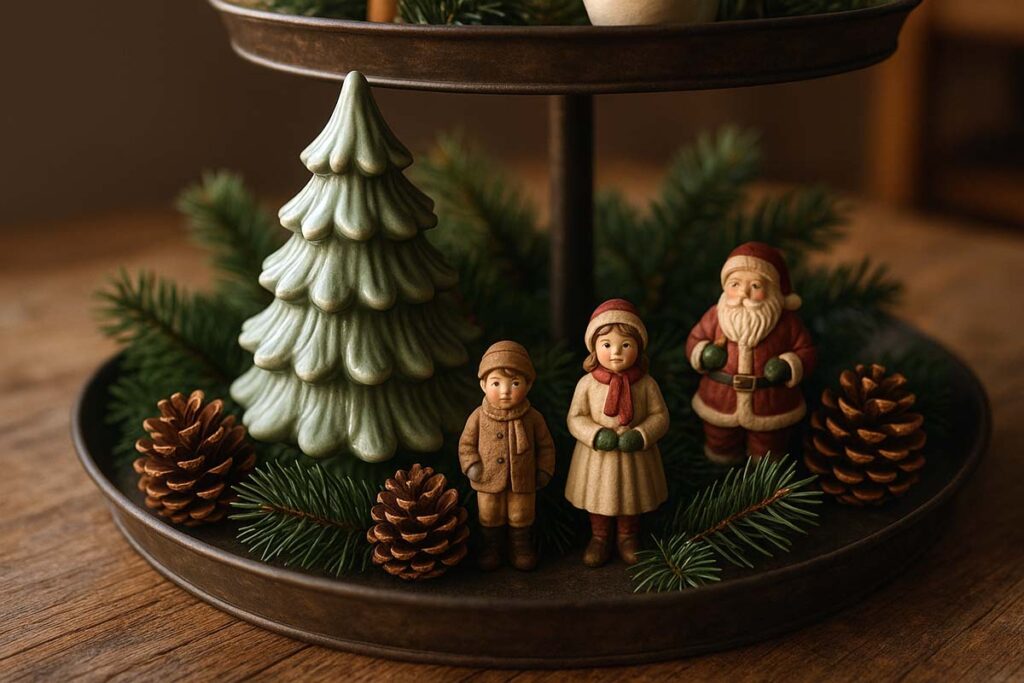
- Rustic Farmhouse. Burlap, white ceramic trees, wooden figurines, and neutral greens work perfectly. Plus, natural pinecones add textural interest.
- Winter Wonderland. Whites, silvers, and frosted greenery make your tray feel crisp and snowy. Sparkly accents and white berries bring in that icy vibe.
- Vintage Nostalgia. Tiny antique ornaments, old-fashioned toy figurines (like a miniature wooden train), and retro signage (e.g., “Joy to the World”) add sentimental charm.
- Glitz and Glam. Gold ornaments, metallic ribbons, and jewel-tone accents (emerald, ruby, sapphire) create a luxurious feel.
Next, pick a palette. I usually pick two main colors and one accent color. For example, red, green, and a pop of gold. That way, even if you mix textures—like wood, metal, and ceramic—the colors tie everything together. Once you’ve decided, jot down a list of potential items to include: ornaments, greenery, figurines, candles, wooden signs, and so on.
Gathering Supplies
Now that your theme is set, let’s gather everything. I recommend collecting more items than you think you need. You can always remove pieces, but if you run short mid-project, it’s harder to maintain cohesion. Here’s a basic shopping list:
- Greenery. Faux sprigs of pine, holly, or eucalyptus. I like several sizes—small picks that tuck between items, plus larger clusters for tier edges.
- Ornaments. Small ornaments (1–2 inches) that match your color scheme. Matte, glossy, or glitter-coated textures can all work together if colors align.
- Mini Figurines. Think miniature Santas, reindeer, nutcrackers, or snowmen. Keep sizes relatively small (2–3 inches tall) so they don’t overpower the tiers.
- Candles/Candleholders. Battery-operated tea lights are safer and mess-free. However, if you prefer real candles, make sure they’re in sturdy holders that won’t tip.
- Signs or Tiles. Tiny wooden or ceramic signs with holiday phrases (e.g., “Merry Christmas,” “Joy”).
- Natural Elements. Pinecones, dried orange slices, cinnamon sticks, or small wood slices. These add an organic, rustic touch—especially if you’re going for farmhouse style.
- Ribbons and Bows. Use ribbon to wrap around bulbs or tie into bows that you can prop on a tier. Choose wired ribbon if you want it to hold shape.
- Filler Items. Burlap balls, small wrapped gift boxes, or faux cranberries. These fill gaps and keep other items from shifting.
I always shop local craft stores, dollar stores, or discount retailers the week after Thanksgiving. At that time, many stores deeply discount seasonal items. However, if you want the very latest styles, shop early in November or late October.
Styling Each Tier: From Bottom to Top
Arranging décor on a 3-tier tray is like dressing in layers. You start with a solid base, then build up. Each tier should feel distinct yet connected to the overall theme. Here’s my step-by-step approach:
1. Bottom Tier (Foundation)
The bottom tier is your anchor. It can handle larger or heavier items. Follow these steps:
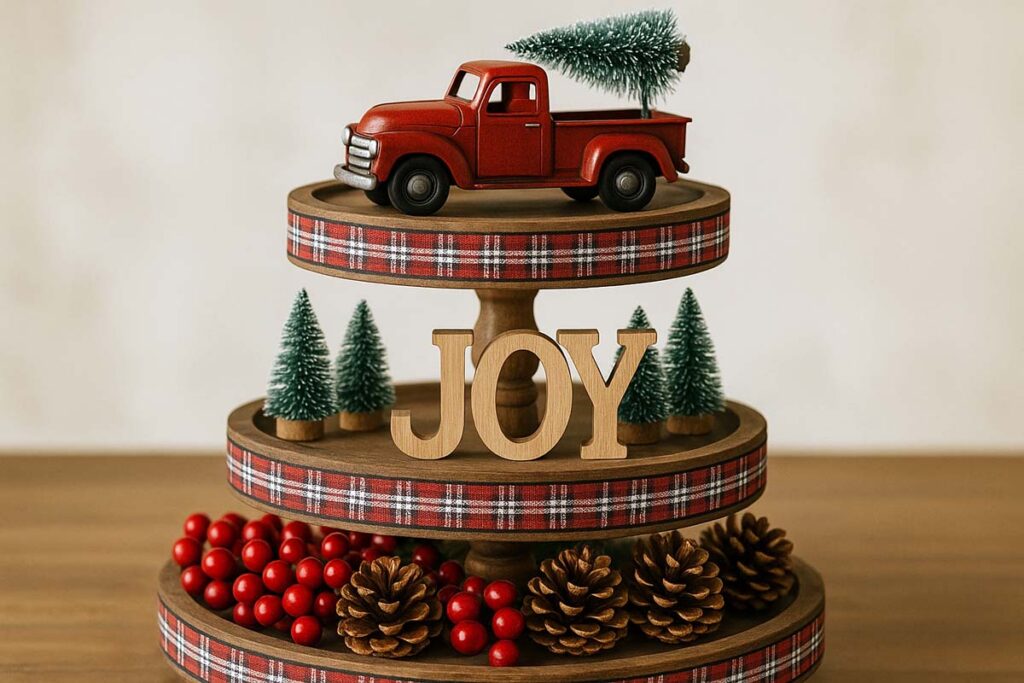
- Anchor Piece. Place a large item slightly off-center. For example, a bigger ceramic tree or a cluster of stacked wooden blocks painted with “JOY.” Off-center placement creates visual interest.
- Greenery Foundation. Tuck faux pine or eucalyptus around that anchor piece, letting sprigs extend slightly over the edge. This frames your center item.
- Group Items in Odd Numbers. People often style in groups of three or five. I place three small figurines (like Santas or reindeer) in a triangular arrangement in front of the anchor. That way, the eye moves naturally from one piece to the next.
- Add Filler Items. Use pinecones or mini gift boxes to fill gaps. Make sure no “holes” show—especially if someone approaches the tray at eye level. However, you don’t want to overfill; leaving a little negative space helps items pop.
2. Middle Tier (Focal Point)
The middle tier is where you draw the most attention. Here’s how I style it:
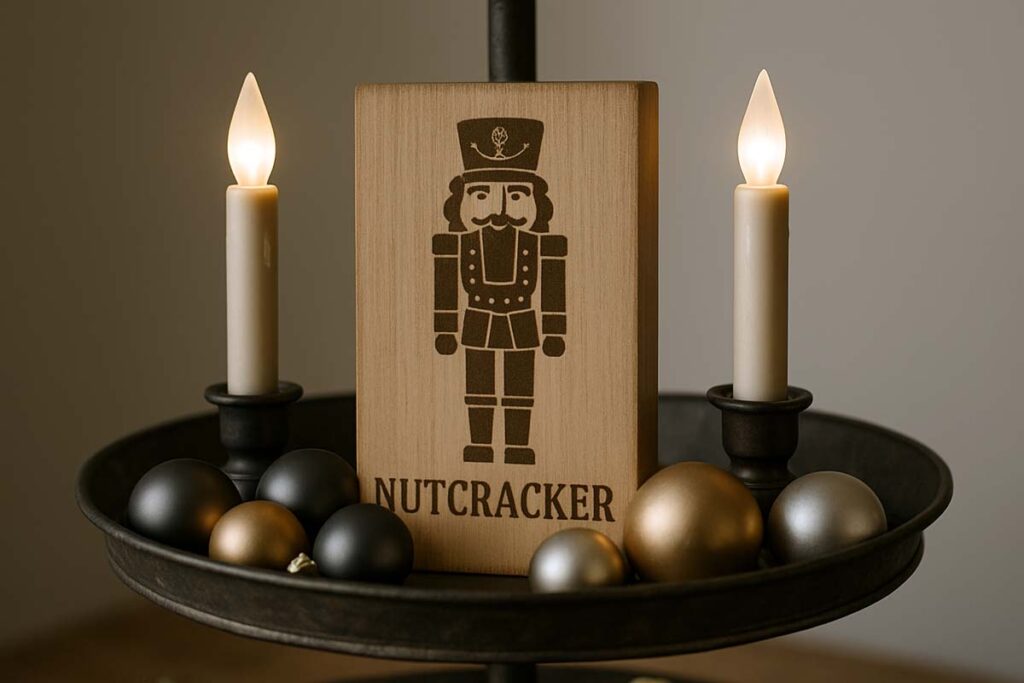
- Central Item. Use a medium-sized piece—like a vintage nutcracker or a “NOEL” wooden sign. Center it, but don’t push it to the absolute middle; a slight lean forward or to one side helps display depth.
- Layering and Height. Place two smaller items behind the central piece. For instance, a pair of battery-operated candlesticks or small ceramic villages. This creates depth behind the sign or figurine.
- Balance with Color. If your anchor on the bottom tier leans red and green, consider adding a gold or white accent here. That helps the tiers connect without being too matchy-matchy.
- Texture Variety. Mix metallic, matte, and natural textures. Next to the nutcracker, I might tuck in a glitzy gold ornament and a matte-finish pinecone. Transition words like “However” can remind you to switch textures.
3. Top Tier (Finishing Touches)
The top tier should feel light and airy. It’s the “icing on the cake” of your Christmas display:
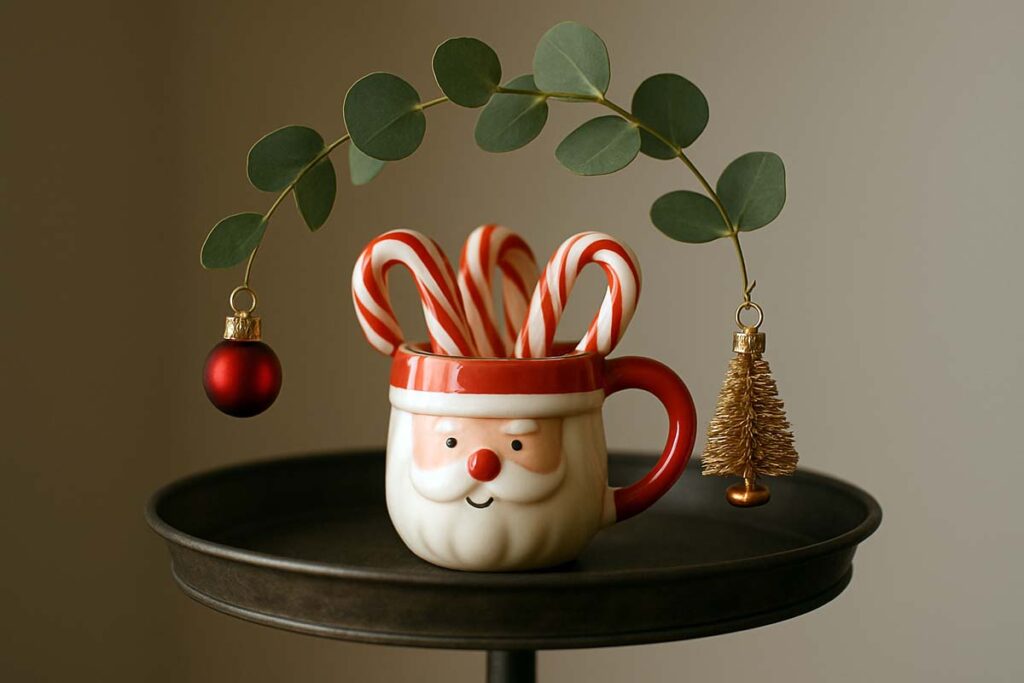
- Small, Eye-Catching Item. Use something like a tiny Santa mug filled with candy canes or a small snow globe. The height should be minimal—otherwise it feels too top-heavy.
- Minimal Greenery. A single sprig of holly or eucalyptus that arches over the tiny mug keeps the top tier from looking bare.
- Accent Ornament(s). Add one or two small ornaments on the sides. If you place one on each side, it looks balanced.
- Ribbon or Bow. Tie a small bow at the top handle or place a bit of ribbon next to the figurine. The ribbon’s color should tie into your palette (for example, a simple burlap bow for rustic, or a red velvet bow for a classic look).
Complete Tray Trim: Putting It All Together
Once each tier is styled, step back and assess overall balance and color flow:
- Eye Path. Your eye should move naturally from bottom to top. Make sure colors and textures repeat in some form on each tier. For instance, if you use matte red ornaments on the middle tier, echo a matte red ornament on the bottom or top tier.
- Avoid Overcrowding. If any tier looks too dense, remove one or two pieces. You want breathing room. Negative space helps highlight key décor items.
- Final Touches. Add battery-operated fairy lights winding around all three tiers. I recommend warm white lights (2700K) because they complement most color schemes. However, if you have a cool-tone palette (silver, white), use cool white LEDs (5000K).
- Secure Items. If possible, use museum-putty or small adhesive dots under heavier items. That way, when someone bumps the table, nothing slides off.
10 Creative 3-Tier Tray Christmas Décor Ideas
Below, I’ve compiled ten of my favorite theme-based configurations. Each concept is scalable based on your color palette and available items.
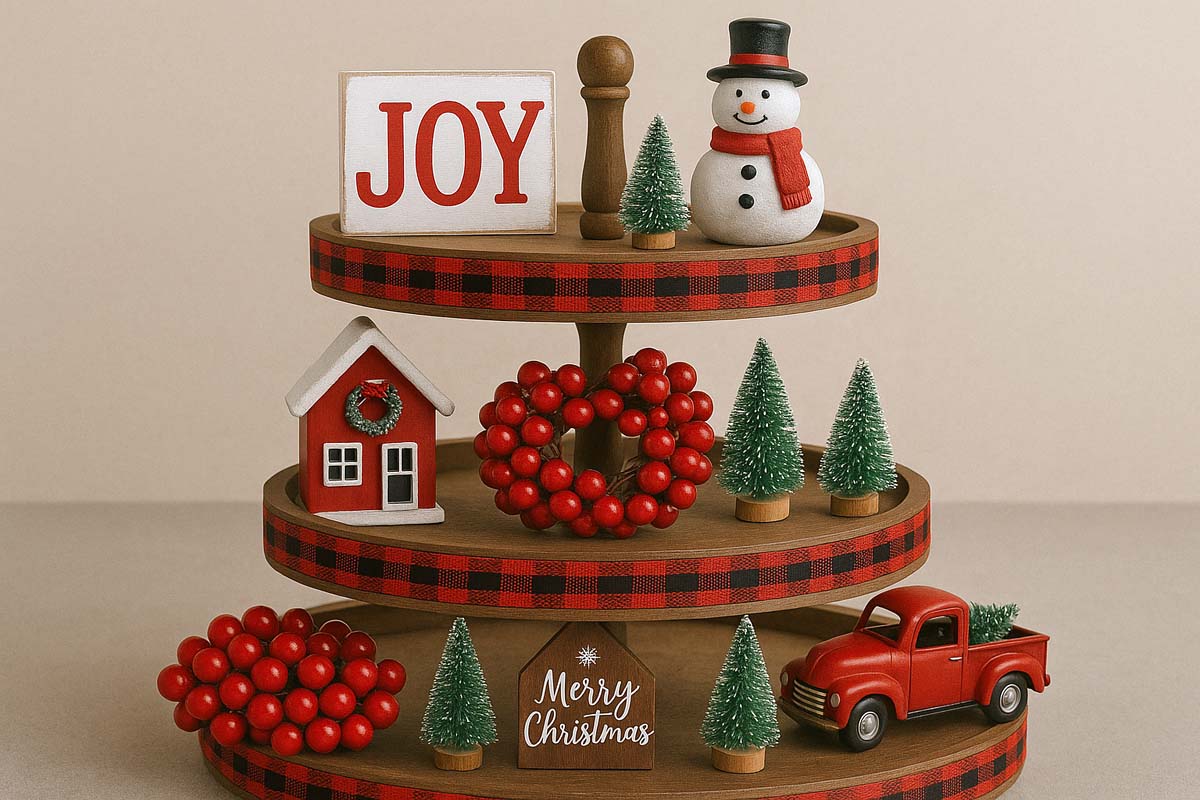
1. Red, Green, and Buffalo Plaid
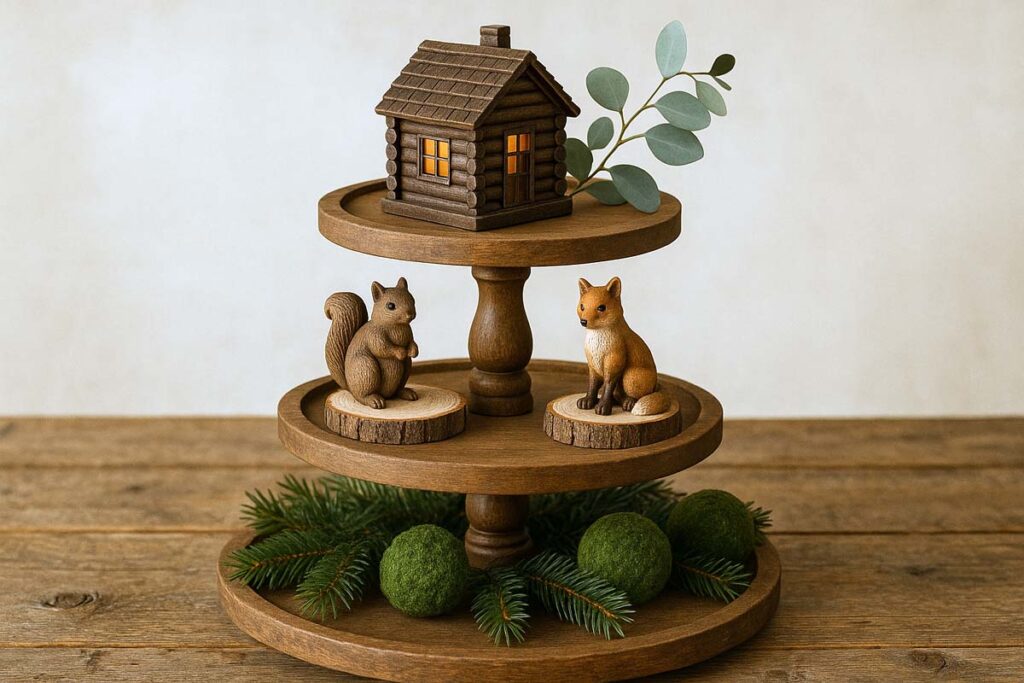
2. Woodland Whimsy
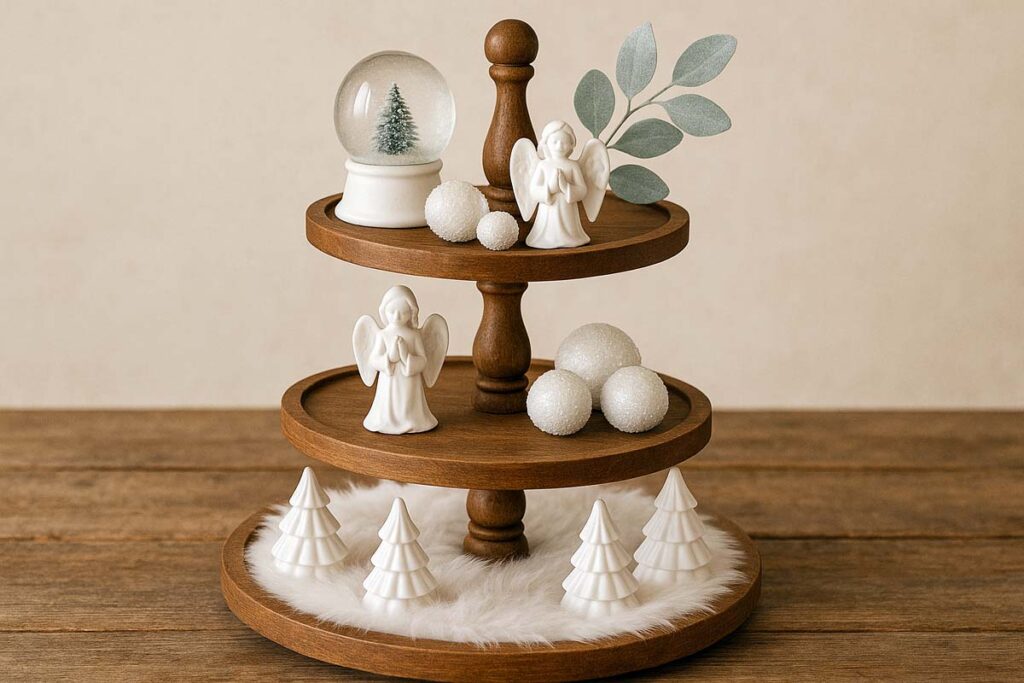
3. Snowy White Elegance
4. Rustic Farmhouse Cheer

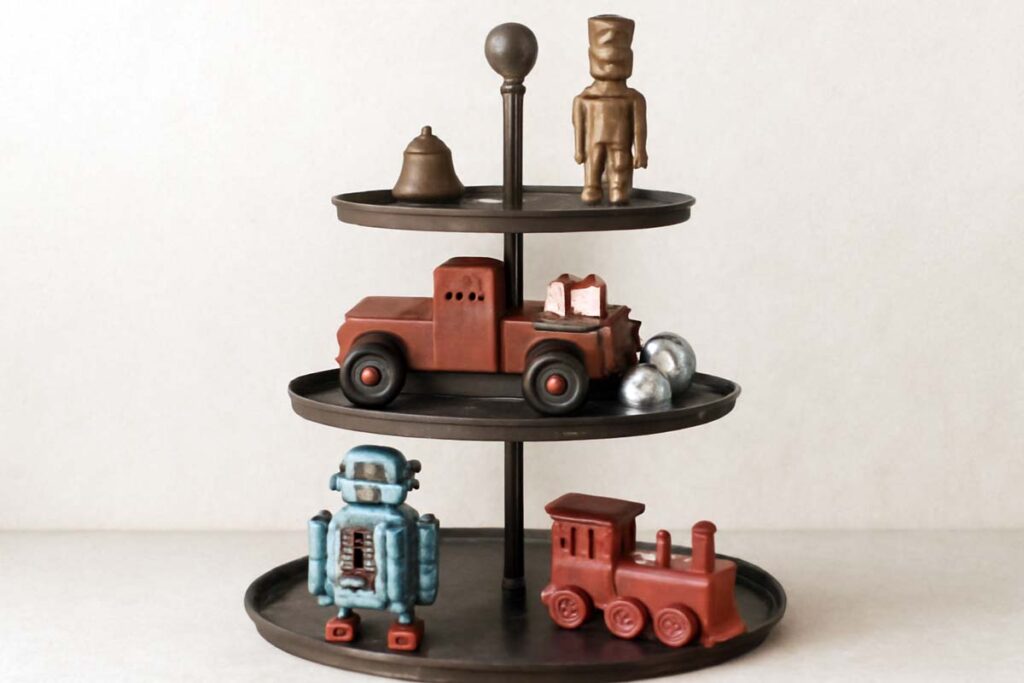
5. Vintage Toy Collection
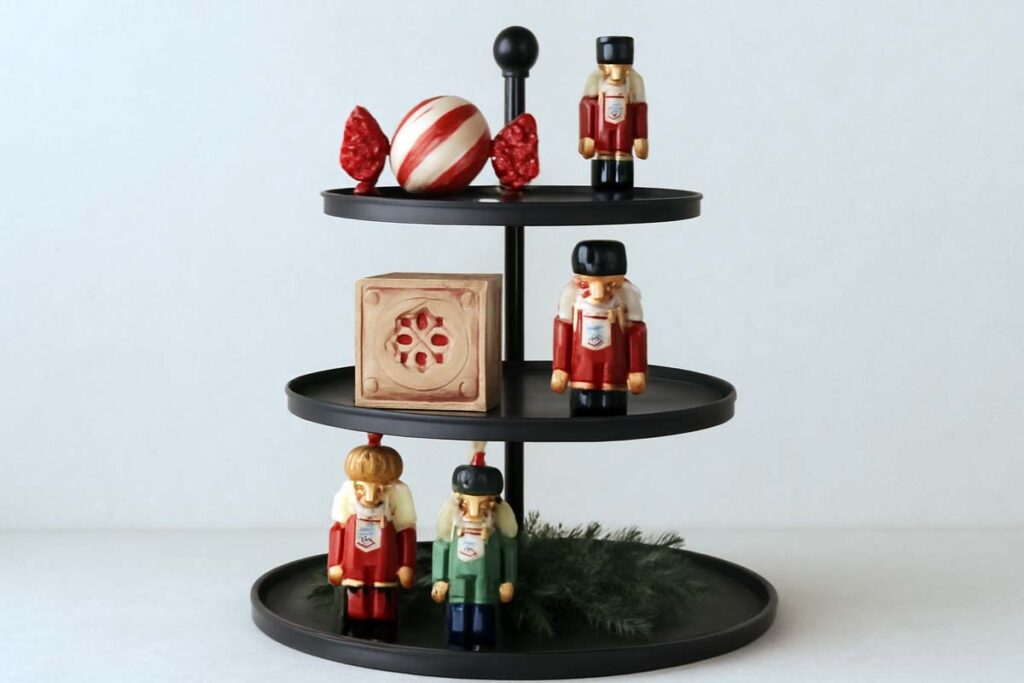
6. Classic Nutcracker Display
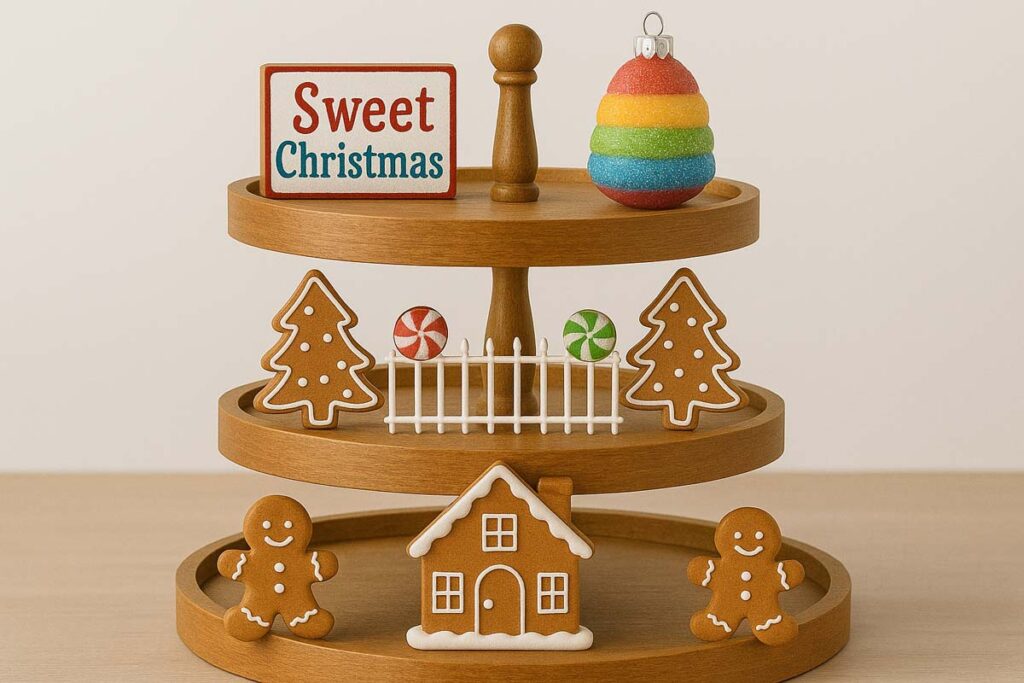
7. Gingerbread House Scene
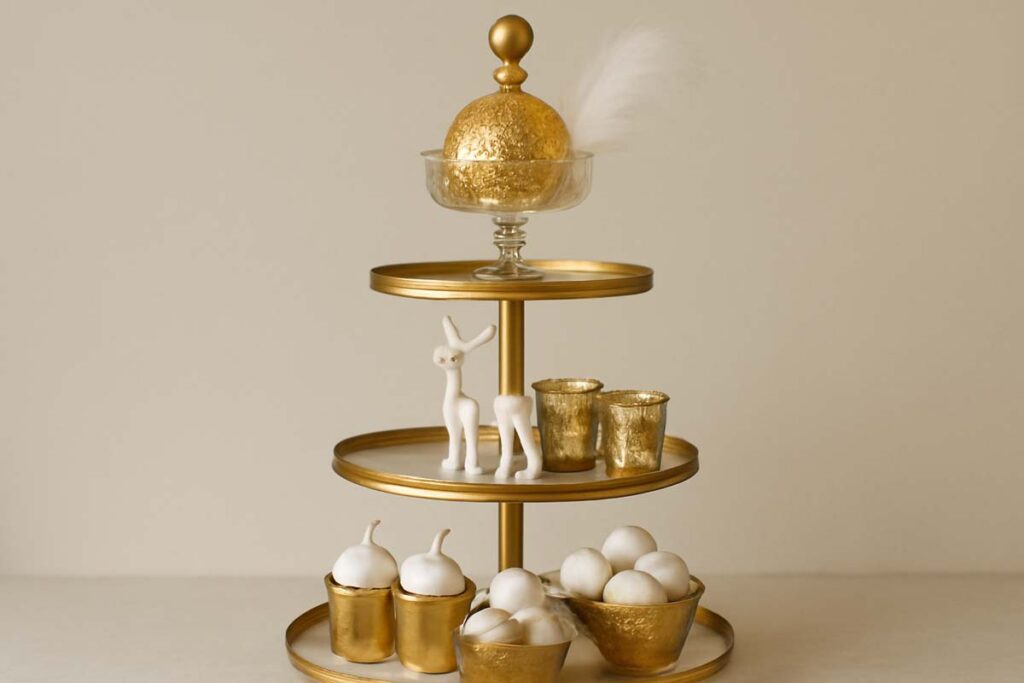
8. Gold and White Glam
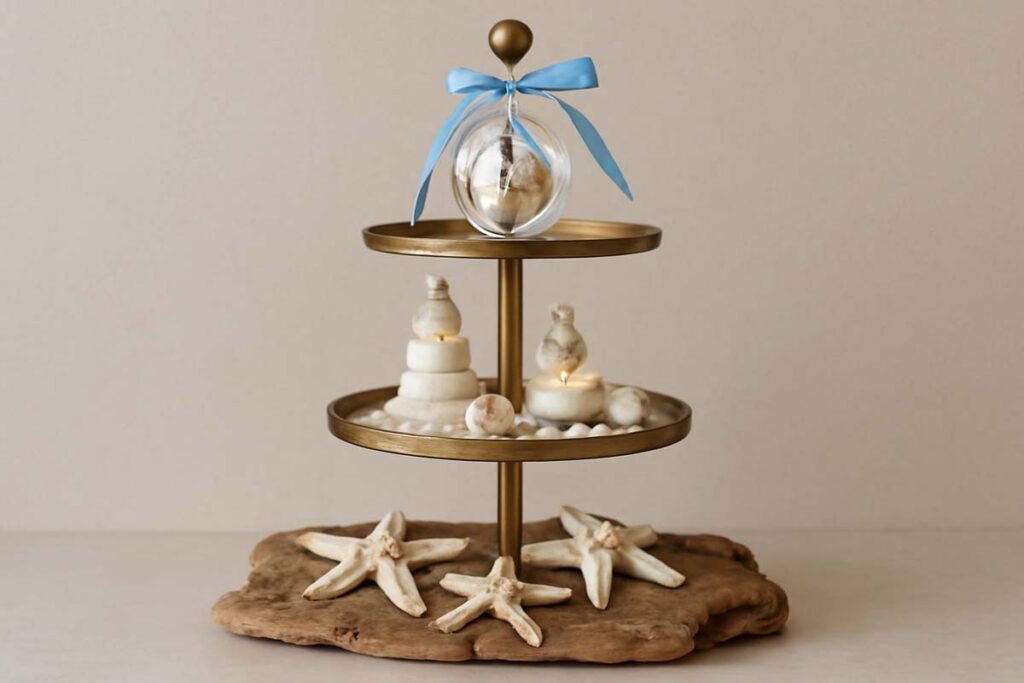
9. Coastal Christmas
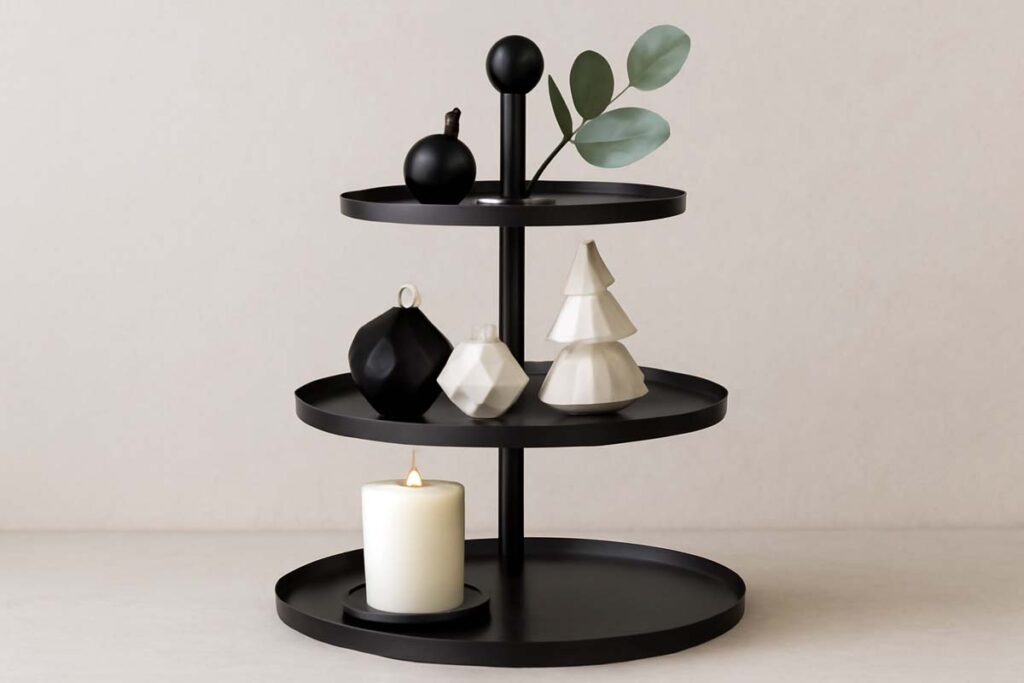
10. Minimalist Modern
These ideas are just starting points. Feel free to mix and match elements—plus, adjust colors to suit your personal taste.
Tips for Sourcing Décor
- DIY Projects. Next to saving money, making some items yourself ensures uniqueness. For example, cut wooden discs from a branch, paint them white, and write “Merry” in script for the middle tier.
- Thrift Stores and Yard Sales. You can often find vintage ornaments or small figurines at bargain prices. However, clean items thoroughly before adding them to your tray.
- Online Marketplaces. Etsy, Amazon, and small-business craft sites frequently offer one-of-a-kind items. Check shipping times to ensure they arrive before you need to style.
- Dollar Stores. They stock mini wreaths, small candles, and tiny ornaments. Often, their items are perfect for fillers. However, inspect quality—some dollar-store items look cheap up close. Hide imperfections behind larger pieces.
Maintenance and Storage
Once the holidays end, you’ll need to store your tray and décor safely. Here’s how I handle it:
- Label and Group Items. Use clear plastic bins with labels like “Tiered Tray: Ornaments” or “Tiered Tray: Greenery.” That way, next year you don’t hunt through multiple bins.
- Bubble Wrap Fragile Pieces. Place delicate ornaments and glass candle holders in bubble wrap. Store them in a cushioned box, preferably inside the bins with nonfragile filler items (e.g., burlap balls) as extra padding.
- Disassemble the Tray. If your 3-tier tray comes apart, take it apart. Store each tier in a protective cloth or newspaper so they don’t scratch each other.
- Test Lights Before Packing. If you used battery-operated lights, remove batteries to prevent leakage. Test them before you store so you know which sets to replace next season.
- Dust and Clean. Before storing, wipe down each piece with a soft cloth to remove dust or wax residue. This prevents buildup and makes styling next year faster.
FAQs about 3 Tier Tray Christmas Decor Ideas
Final Thoughts for 3 Tier Tray Christmas Decor Ideas
Decorating a 3-tier tray for Christmas is both fun and rewarding. It offers endless possibilities to showcase your style—whether you love farmhouse, modern, or classic holiday flair. Remember to choose a tray that fits your space, pick a cohesive color palette, and gather more décor than you think you’ll need. From there, style each tier thoughtfully, balance textures and colors, and secure everything for a polished look.
Happy decorating, and may your home feel merry, bright, and beautifully styled this Christmas!