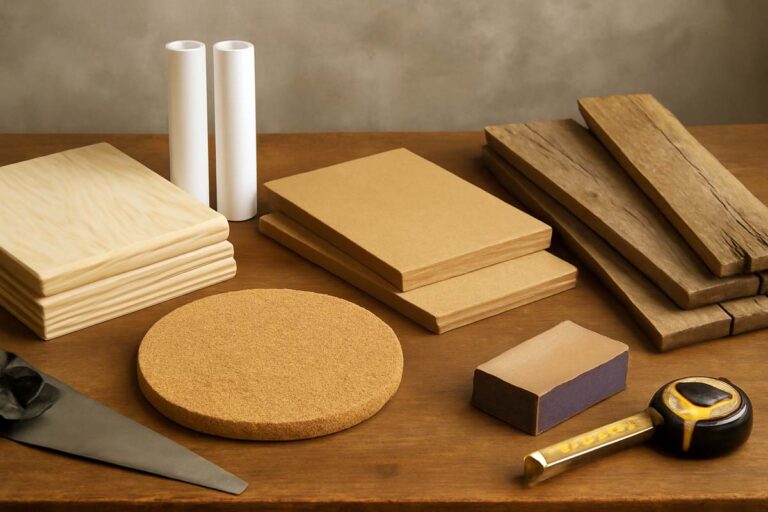
3/4 Baltic Birch Plywood: 6 Fast Ways to Upgrade Drawer Boxes
3/4 Baltic birch plywood gives woodworkers a stiff, clean-edged sheet good for cabinets, drawers, jigs, and shop fixtures. Most sellers label it “3/4,” but the panel often measures closer to metric thickness, so joinery and hardware layouts start with a real measurement. This guide explains what you are buying, how to spot a good sheet, what grades mean, and how to cut, edge, glue, and finish it without tear-out or glue lines.
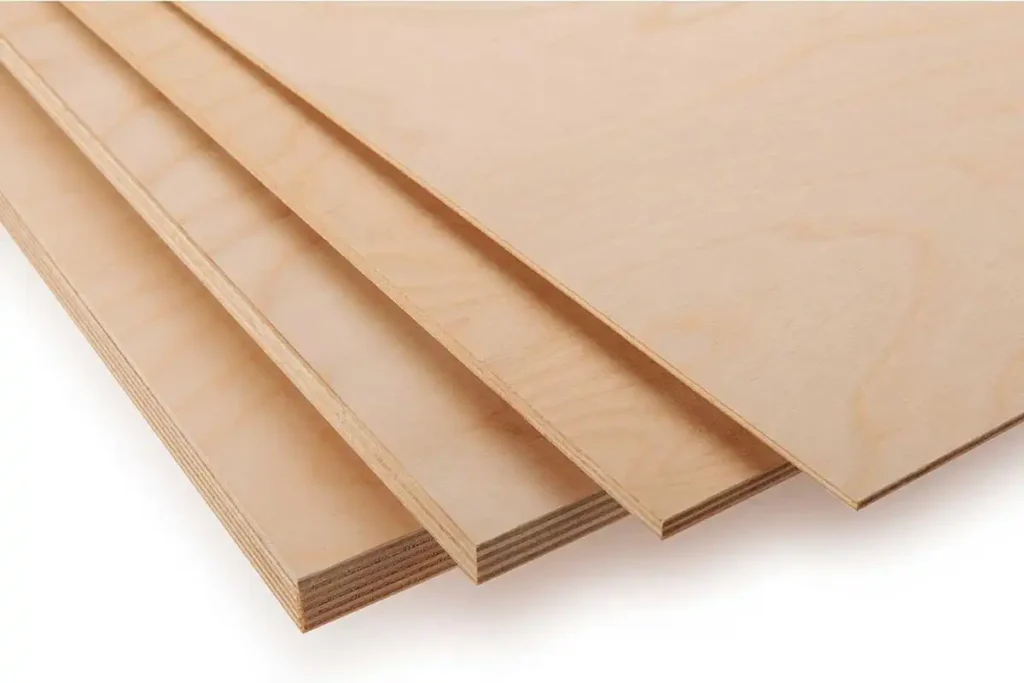
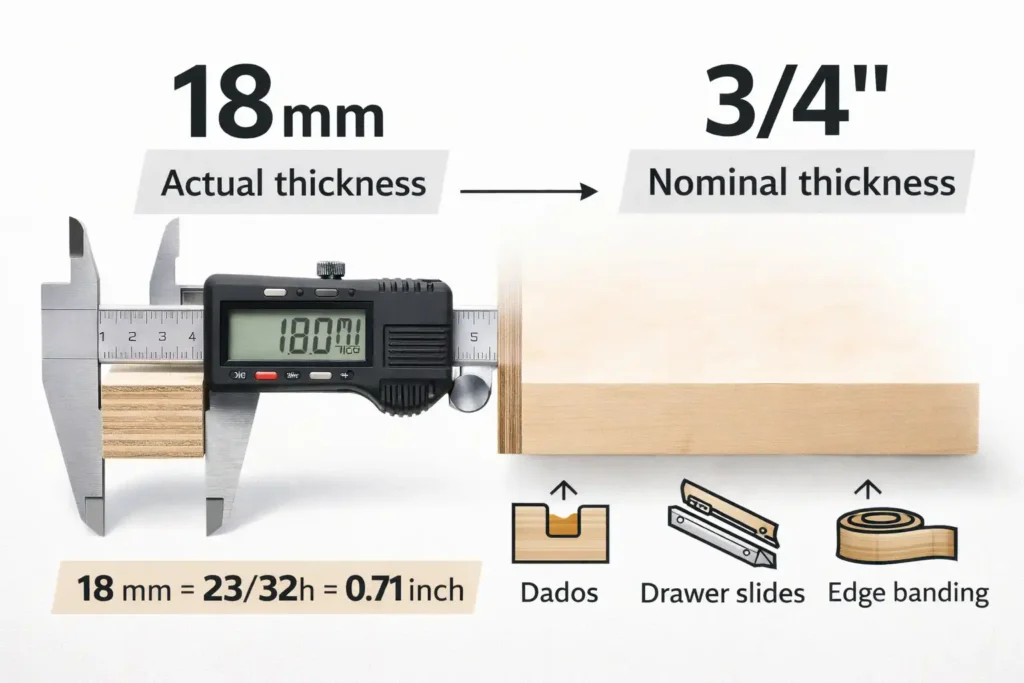
3/4 Baltic birch plywood usually refers to an 18 mm panel (about 0.71 in) built from many thin birch plies. Many yards stock it in 5×5 sheets, with some mills offering 4×8. Buy the flattest sheet you can find, confirm the actual thickness before cutting dados, use sharp blades for clean crosscuts, and seal or cover exposed edges for a finished look.
What is 3/4 Baltic birch plywood?
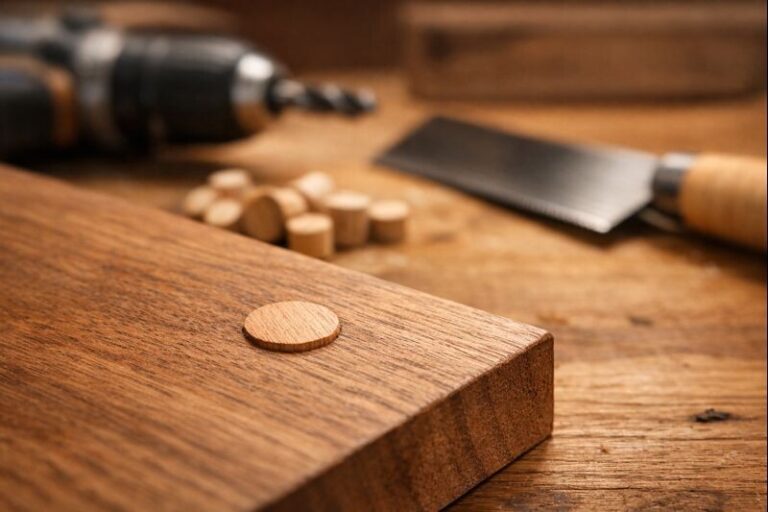
3/4 Baltic birch plywood is a multi-ply birch panel made with thin, uniform veneer layers. The core uses many plies, so edges look striped and machine cleanly. Better sheets have few or no voids, which helps dados, rabbets, and screws hold consistently.
“3/4” is a buying label, not a guarantee of exact thickness. Many suppliers sell “3/4 Baltic birch” as 18 mm, not a full 0.750 in. Check the given below example from Woodcraft Woodshop brand.
See more similar items for 3/4 inch:
- MakerStock Phenolic Baltic Birch 3/4″ 18mm (24″ x 24″)
- MakerStock Phenolic Baltic Birch 3/4″, 18mm (24″ x 48″)
- Custom Cut Baltic Birch Plywood 3/4 Inch
Why woodworkers pick it
Baltic birch earns its place when a project needs stable panels and crisp joinery.
- Uniform core: Thin plies reduce weak spots and improve screw holding compared to soft core panels.
- Clean machining: A consistent core supports dados, rabbets, and CNC or router work.
- Good edges: Exposed edges look intentional after sanding and finish, especially on shop fixtures and modern builds.
- Flat panels: Good stock stays flatter than many construction-grade sheets.
Grades: what the letters mean
Baltic birch often comes labeled with face grades such as B/BB, BB/BB, or CP/CP. Sellers also use “shop grade” or “utility” for panels with more patches and cosmetic defects.
The key idea: the first letter describes the better face, the second letter describes the back. A B face usually shows fewer patches and cleaner veneer than a BB face.
If you want a clearer breakdown of what suppliers mean by “Baltic birch” labels, use this explanation of Baltic birch plywood terms before you buy.
Grade selection tips
- Clear finish projects: Choose a better face grade on the show side.
- Paint-grade projects: A lower face grade works if you plan to fill and prime.
- Shop jigs and fixtures: Shop grade saves money and still machines well.
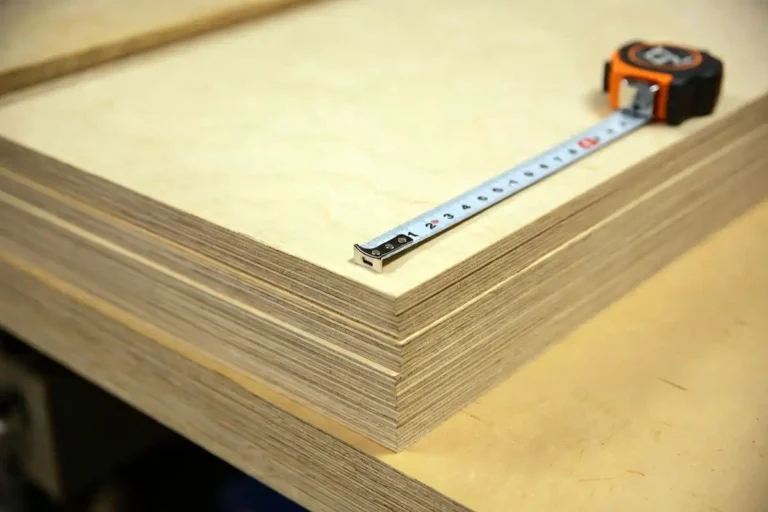
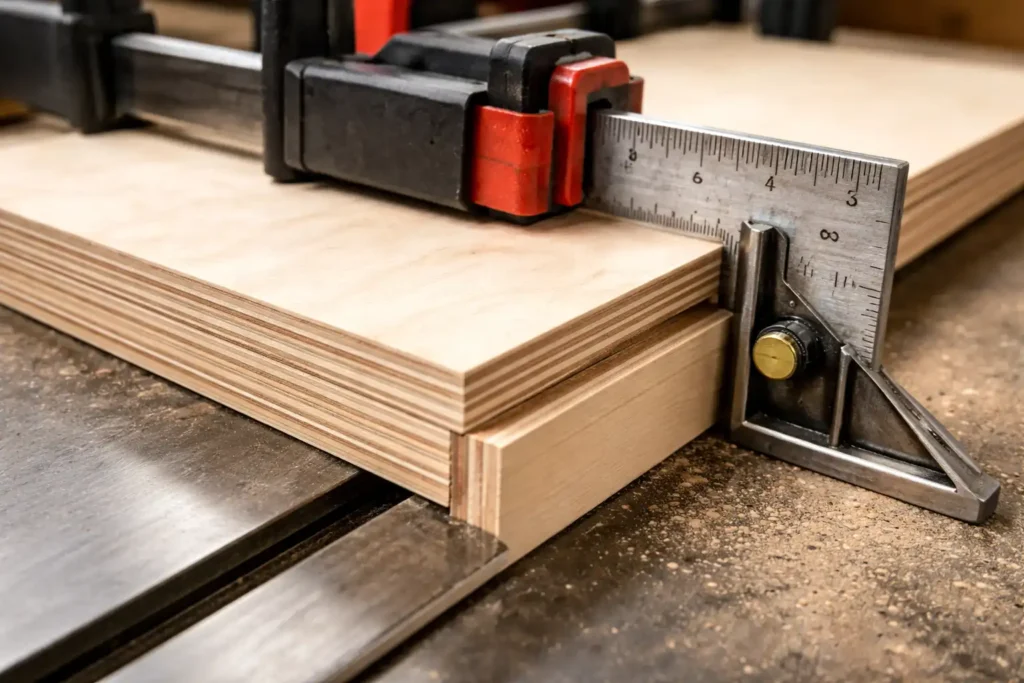
Thickness: why 3/4 rarely measures 3/4
Baltic birch commonly follows metric production. Many “3/4” panels measure close to 18 mm, and some measure closer to 19 mm. Thickness tolerance also varies by mill.
That measurement drives every fit-sensitive step: dados, drawer slide spacing, and edge banding flush trims.
For a quick refresher on nominal vs actual sheet thickness, keep this plywood thickness chart sizes guide handy when you lay out joinery.
A practical rule for joinery
Cut joinery to the actual sheet you hold, not the label on the rack. Use a test piece and dial in dado width with a shim, a stacked dado, or a router bit and fence.
Sheet sizes: what you will actually find
Many buyers first meet Baltic birch as a 5×5 sheet. Some suppliers also stock 4×8 panels marketed as Baltic birch, depending on the mill source.
Plan your cut list around what your yard carries. If you need help choosing layouts and minimizing waste, this overview of common plywood sheet sizes speeds up planning.
What to ask the supplier
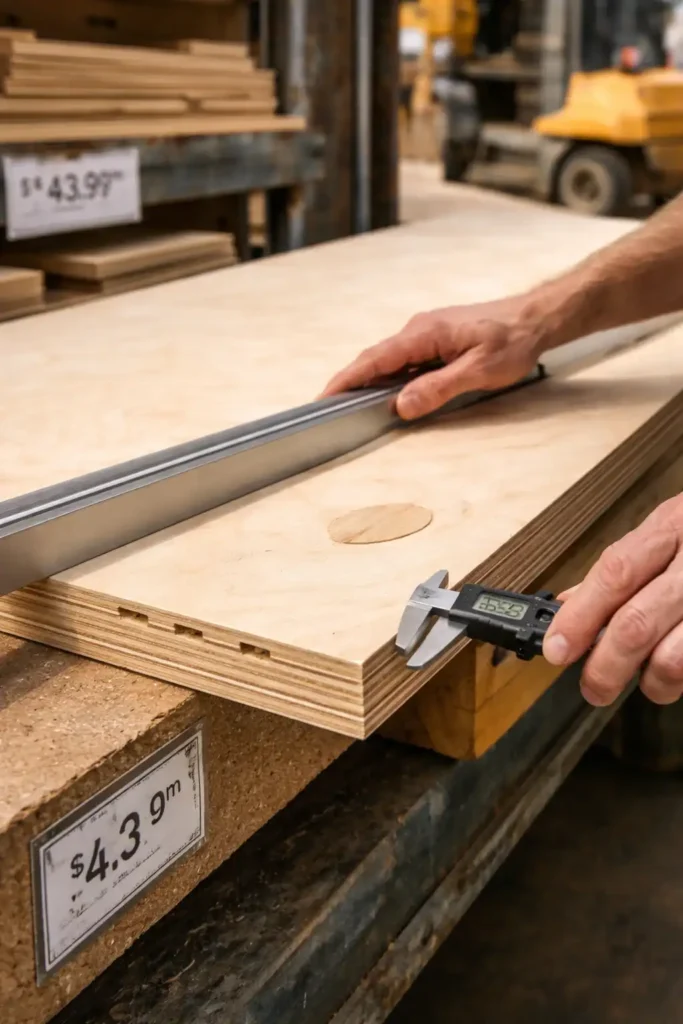
- Actual thickness in inches and mm
- Sheet size (5×5 vs 4×8)
- Face grade on each side
- Core quality (voids, patches)
- Glue bond rating (interior vs exterior use)
When 3/4 Baltic birch makes sense (and when it does not)
3/4 Baltic birch fits projects that need stable, square panels and clean joinery.
Good use cases:
- Cabinet carcasses and shelves with edging
- Drawer boxes and drawer dividers
- Router templates, sleds, and jigs
- Painted furniture parts that still need a stiff core
Cases where another sheet good fits better:
- Outdoor exposure: Use an exterior-rated panel designed for weather and seal all edges.
- Ultra-smooth paint: MDF paints smooth with less grain telegraphing, but it swells from water.
- Low-cost framing: Construction sheathing costs less and looks rougher.
How to choose a good 3/4 Baltic birch sheet at the rack
Use this quick inspection routine. It prevents surprises after you get the sheet home.
- Check flatness: Sight down the length and width. Reject sheets with twist.
- Scan the faces: Look for tight veneer, limited patches, and no open splits.
- Inspect the edges: Count visible voids and look for gaps that intersect the face veneer.
- Tap test for delamination: A dull thud in one area can signal a loose ply.
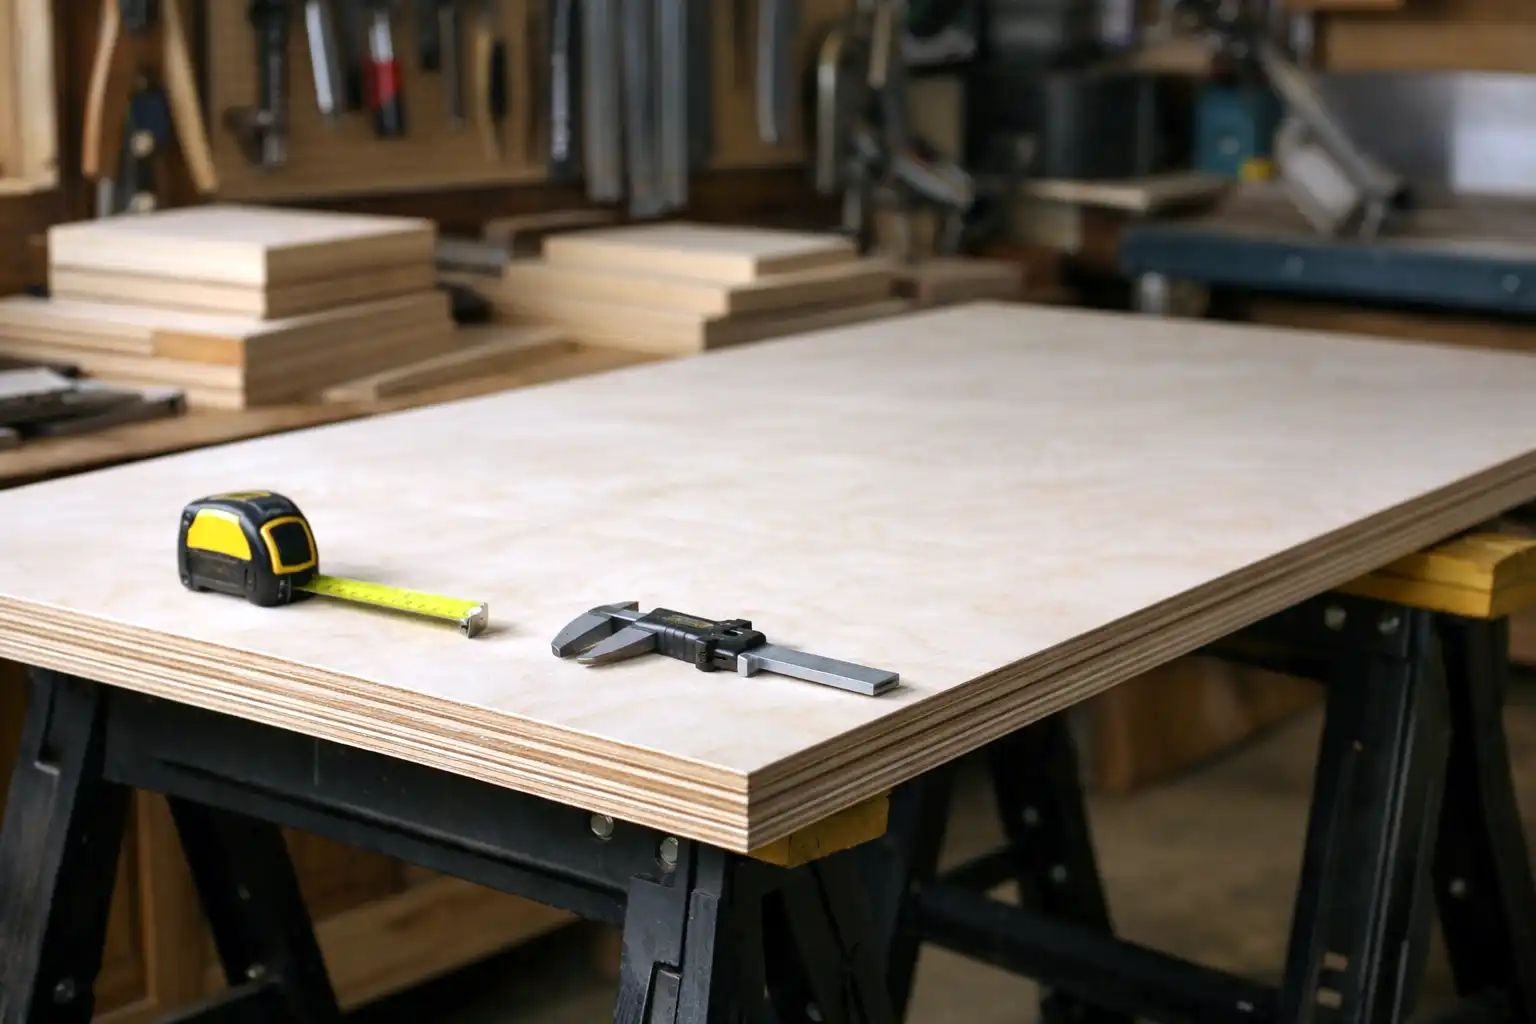
- Confirm thickness: Measure with calipers or a good tape and compare across corners.
How to cut 3/4 Baltic birch cleanly
Clean cuts come from sharp tooling, support, and the right cut order.
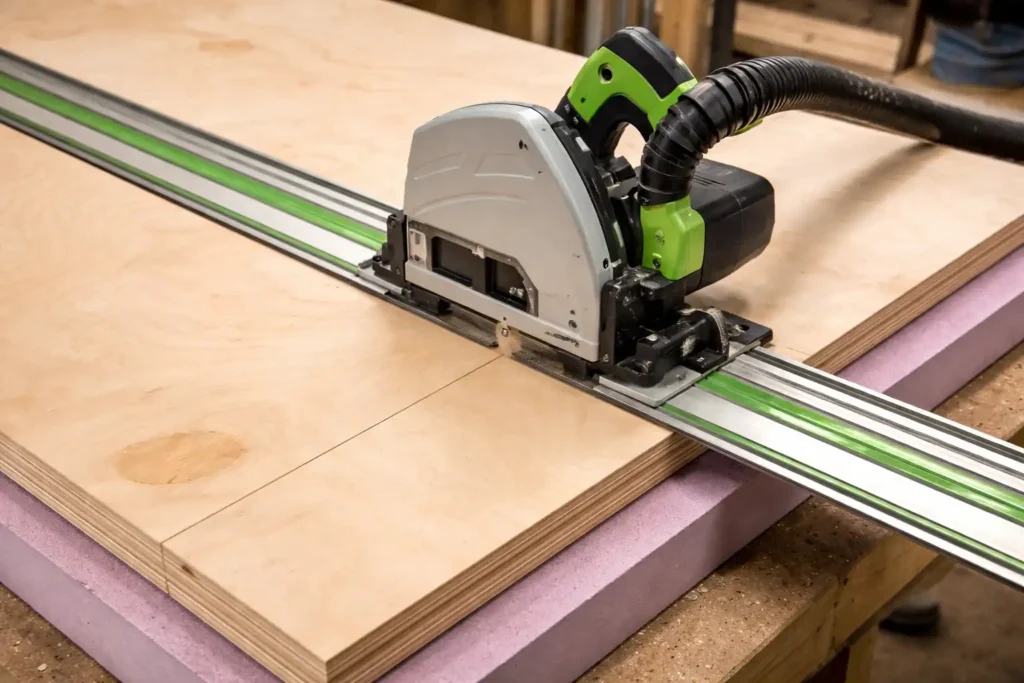
Breaking down a full sheet
- Support the sheet fully on foam insulation, a torsion box, or a cutting table.
- Mark parts with a knife line or a sharp pencil and a straightedge.
- Use a track saw or circular saw with a plywood blade for rough breakdown.
- Leave parts slightly oversized for a final pass at the table saw.
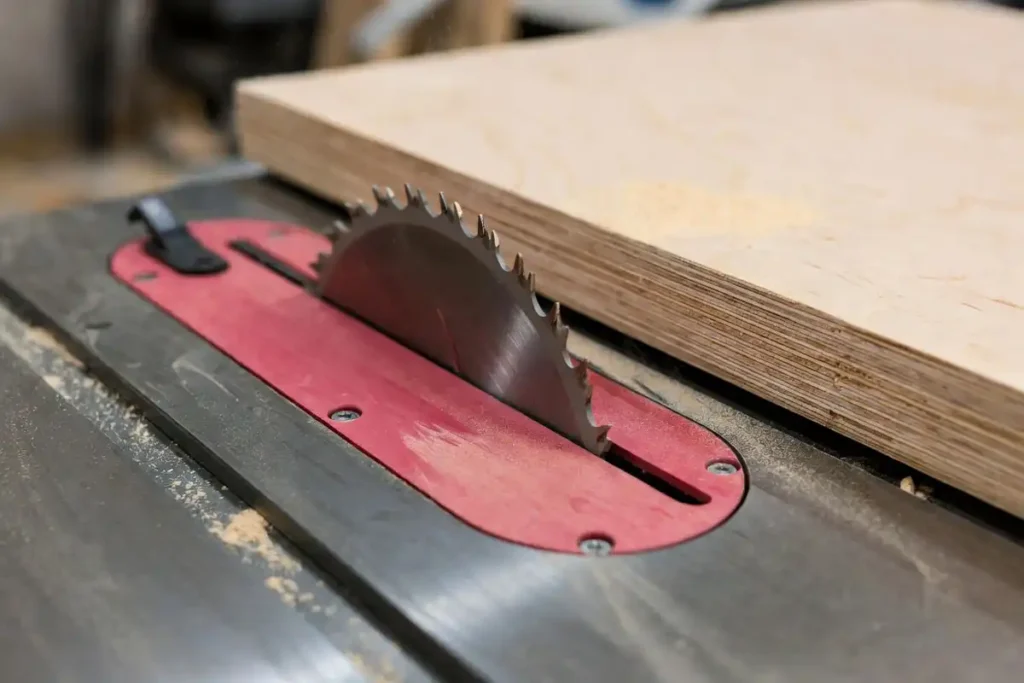
Table saw and miter saw setup
- Use a sharp, high-tooth-count blade for plywood.
- Set the blade height so gullets clear the surface, not the full tooth.
- Use a zero-clearance insert to support the veneer at the cut line.
- Crosscut with a sled or a well-tuned miter gauge to reduce chip-out.
Tear-out control that works
- Cut with the best face up on a table saw.
- Cut with the best face down on many circular saw setups.
- Score the cut line with a knife for brittle veneers.
- Use painter’s tape only as a helper, not as a fix for a dull blade.
How to join 3/4 Baltic birch panels
The consistent core handles most cabinet joinery well, as long as you size cuts to the real thickness.
Reliable joint options
- Dados and rabbets: Fast alignment and good glue surface.
- Confirmat screws: Common in casework when sized to the sheet and predrilled.
- Dowels or loose tenons: Strong alignment without relying on veneer thickness.
- Pocket screws: Work, but predrill and avoid over-torque to protect plies.
Gluing tips that prevent weak joints
- Sand lightly only if the face feels burnished. Clean veneer bonds well.
- Clamp for even pressure and full contact. Avoid clamp dents with cauls.
- Clean squeeze-out early, especially before finishing.
If you want glue options that bond plywood consistently, see this guide to choosing wood glue for plywood before you assemble casework.
Edge treatment: making the plywood edge look finished
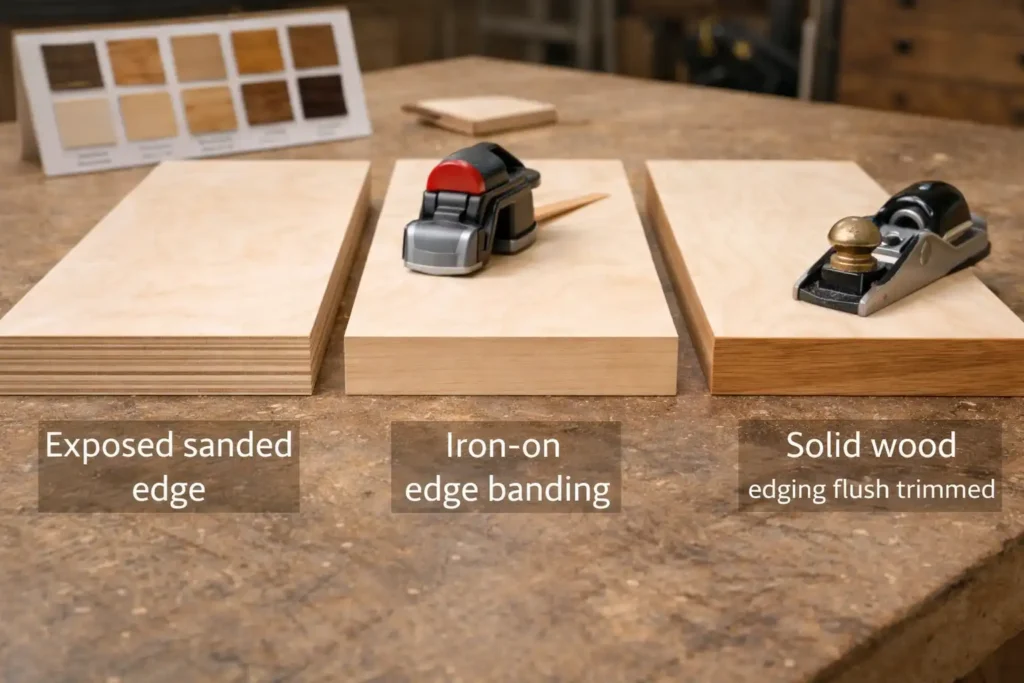
Baltic birch edges look good when you decide on a finish plan early. Exposed edges show every sanding dip and glue smear.
1: Keep the edge exposed
- Flush-trim parts so edges align cleanly.
- Sand edges evenly with a flat block to avoid waves.
- Ease the edge with a small chamfer or round-over.
- Seal and finish the edge the same day as the faces.
2: Apply iron-on edge banding
- Trim the edge straight and sand lightly.
- Heat and press the banding in short sections.
- Trim overhang with a sharp trimmer or block plane.
- Sand lightly and finish.
3: Add solid wood edging
- Rip edging slightly proud in thickness.
- Glue and clamp with cauls for even pressure.
- Flush-trim after cure.
- Ease the corner and finish.
Solid edging stiffens shelves and reduces the look of a “plywood stripe” when a project wants a furniture edge.
Finishing 3/4 Baltic birch plywood without blotches or glue shadows
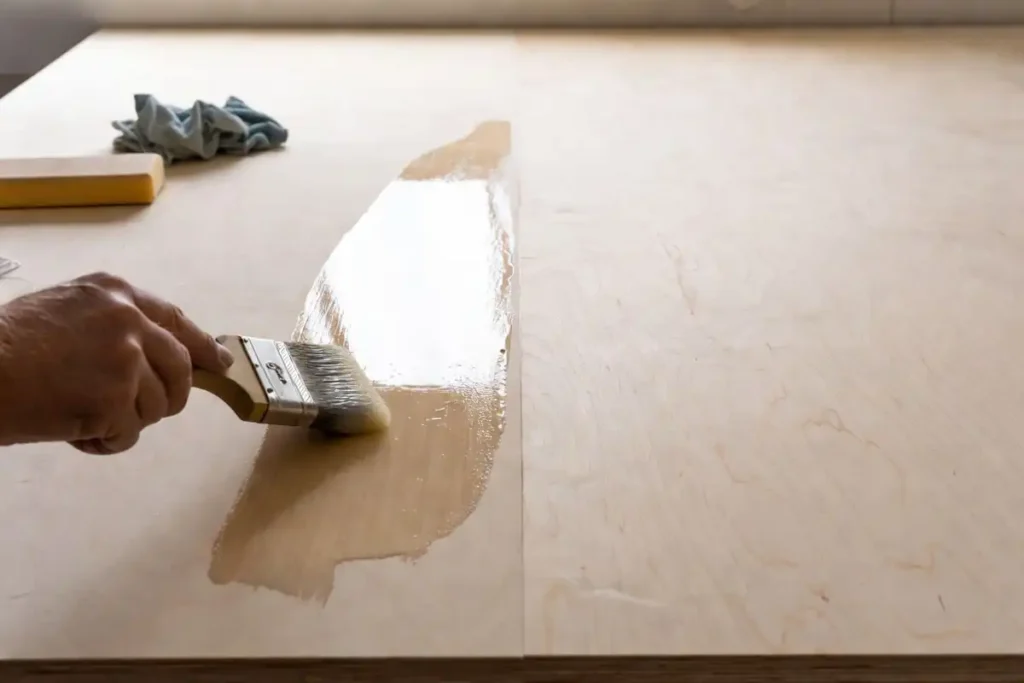
Baltic birch takes clear finishes well, but the face veneer is thin. Aggressive sanding cuts through the veneer fast.
A safe sanding approach
- Start with a light pass to remove handling marks, not to “level” the sheet.
- Sand with a block or a flat pad to prevent dips.
- Treat edges separately because end grain plies absorb finish faster.
Clear finish options that work
- Water-based polyurethane for a light, clean color
- Wipe-on finishes for controlled build and fewer runs
- Spray finishes for the most even film on large panels
Staining notes
Birch can stain unevenly. A conditioner or washcoat helps control absorption, especially on patched areas and edge plies. For stain-specific methods, follow this Baltic birch staining walkthrough before you commit to a full cabinet run.
Solutions for common 3/4 Baltic birch projects
Flat cabinet sides and backs
Use a consistent reference edge, square every cut, and assemble on a flat surface. Add a back panel or stretchers to lock the case.
Strong shelves with less sag
Add a solid wood nosing or a front rail. That extra depth at the front edge stiffens the shelf without changing the sheet thickness.
Paint-grade panels
Fill patches and edge voids, sand smooth, then prime before the topcoat. A high-build primer reduces grain telegraphing through paint.
Troubleshooting
Tear-out on crosscuts
- Replace or sharpen the blade.
- Use a zero-clearance insert or a backer board.
- Score the cut line with a knife before cutting.
Fuzzy edges after routing
- Reduce feed speed and use a sharp spiral bit.
- Climb-cut only for a light cleanup pass and with firm control.
- Sand edges with a block, not fingers.
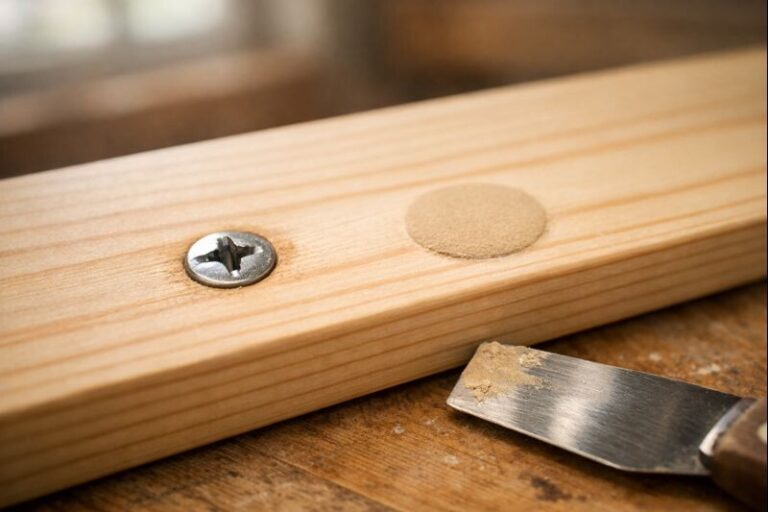
Visible glue lines after finishing
- Remove squeeze-out while it is rubbery.
- Use a card scraper for dried glue, then sand lightly.
- Wipe with mineral spirits (where finish allows) to reveal glue before topcoat.
Warped sheet after bringing it home
- Store flat with full support.
- Let the sheet acclimate in the build space.
- Break it down into parts sooner and sticker pieces for airflow.
Mistakes to avoid
- Cutting dados to “3/4” without measuring the sheet.
- Sanding faces aggressively and burning through veneer.
- Leaving raw edges unsealed in damp spaces.
- Over-driving screws and crushing plies near the edge.
- Buying the cheapest sheet for a show-face project and expecting clear-finish results.
Safety notes for cutting and sanding plywood
Plywood dust and glue binders irritate lungs and eyes.
- Use dust collection and a respirator rated for fine dust.
- Wear eye protection for every cut and trim.
- Use hearing protection around saws and routers.
- Support sheets fully to prevent binding and kickback.
- Keep hands away from the line of cut and use push tools at the table saw.
FAQs on the 3/4 Baltic birch plywood
How thick is 3/4 baltic birch plywood?
Most “3/4” Baltic birch is actually 18 mm thick, about 0.71 inch. Always measure your sheet with calipers before cutting dados or setting drawer slides, since thickness varies by mill.
How many plys in 3/4 baltic birch plywood?
An 18 mm (3/4 labeled) Baltic birch panel commonly has 13 thin plies, which is why the edge looks striped and machines well. Some mills use 11, so count plies on the edge.
Where do i buy 3/4 inch baltic birch plywood?
Buy 3/4 Baltic birch from a hardwood lumberyard, cabinet-supply house, or plywood dealer so you can pick flat sheets and a face grade. You can order online; search “18 mm Baltic birch” and confirm size.
Final Thoughts
3/4 Baltic birch plywood delivers stable panels, clean joinery, and good-looking edges when you buy the right grade and work to the real thickness. Measure every sheet, tune your cutting setup for veneer, decide on an edge plan early, and keep sanding light. That workflow produces cabinet parts and shop fixtures that stay square, assemble cleanly, and finish without surprises.